Our last assignment for class was working with motors: attaching them to things, and attaching things to them. There is a class at ITP called “If it moves, it breaks”, and I certainly now know why. Getting things to move can be a huge pain, even in my simple attempt.
In our second assignment, we were asked to make multiples of something. I had originally set out to make a kind of a musical instrument involving motors. At the end, I had everything I needed… besides something attached to the motors that could spin around and hit things to make sound. I knew we would be returning to motors later on in the semester, so I was happy to come back to the concept.
A different previous project also inspired me, which lead me to use cork again as a material. I went out and bought some materials and got started.
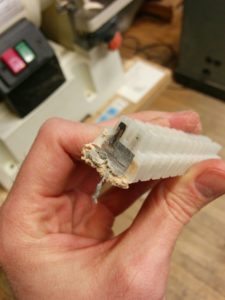
First was the screw block terminal, in order to get out the inner shaft couplers. I didn’t realize how easy it would be to damage the inner components by sanding too much.
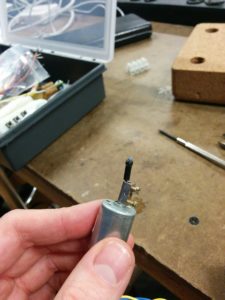
However, learning my lesson, I got into a groove and took out multiple shaft couplers. They fit on my DC motor nicely.
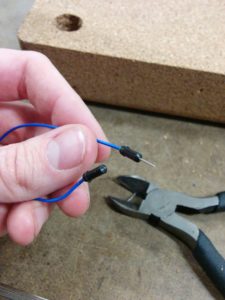
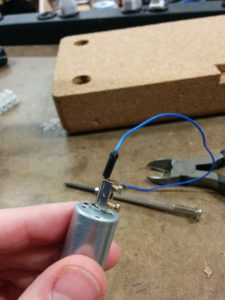
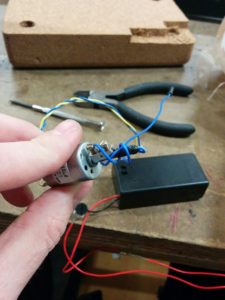
I wanted to have some kind of soft, flexible percussive element screwed in securely to the other side of the shaft coupler. I clipped the metal pin to one side of a jumper cable and then secured the other end into the coupler.
Then I turned on the motor:
And it immediately twisted up on itself. I thought maybe it was spinning too fast, so I tried to slow down the speed, straightened it out, and then hit it again.
It spun so fast that the plastic contact wore out in a second and sent the cable flying. Not the type of percussive effect I originally had in mind.
Maybe come back to that later, and moved on to mounting the motor.
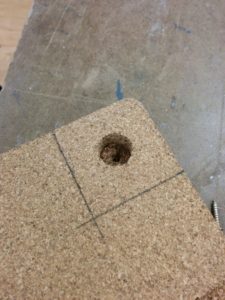
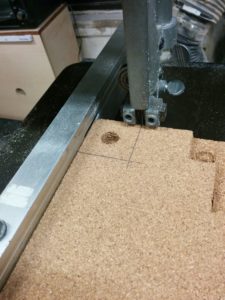
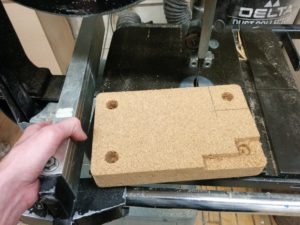
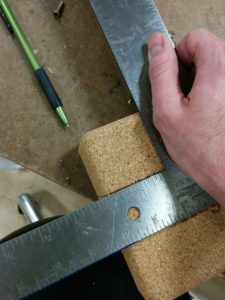
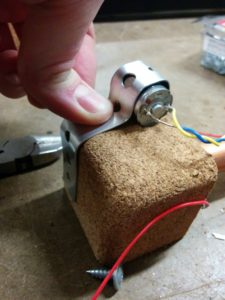
I still my cork from the fastening project, so I decided I would use the pipes from that and mount the motor to the cork. I hit it with the band saw…
And then tried the other cut, and realized there were space issues on the band saw. I really wanted to keep the band saw fence so I could get somewhat straight results, so I flipped the cork and cut.
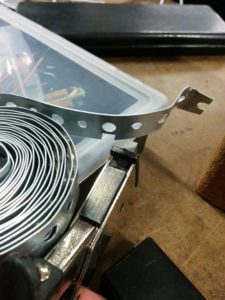
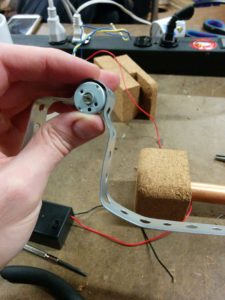
I had gone to the hardware store and gotten the metal bands with circles in them. We didn’t have any snips in the shop that could cut them, but the nibbler came through to save the day.
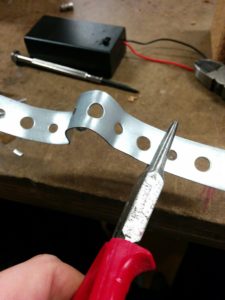
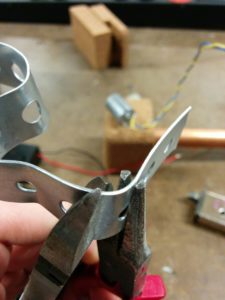
Then shaping the form of the band. Not as easy as it looks. The stiffness didn’t allow for very elegant shaping, but it did feel extremely sturdy.
Now back to my original issue:
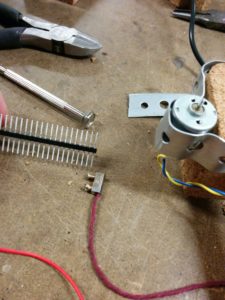
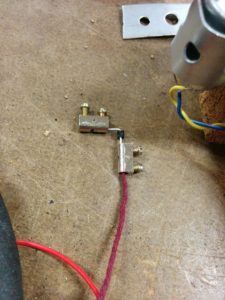
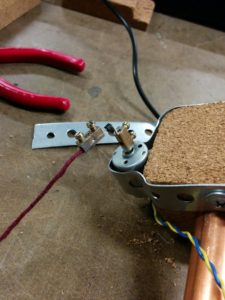
I created a 90 degree hinge for the couplers. (The straight male to male headers had more distance than the pre-bent 90 degree headers). Then I mounted both, thinking that perhaps giving the thread it’s own straight direction away from the axle, it might not get tangled on itself.
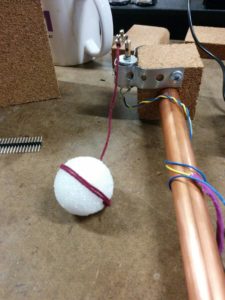
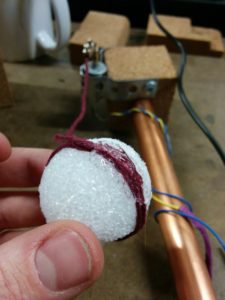
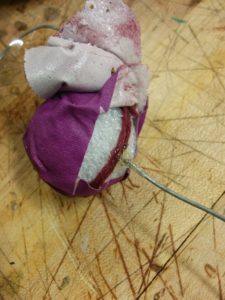
Plus a little bit of weight at the end. But nothing too heavy, so it was less of a weapon and more of an instrument. I had kept these foam balls I had bought for the original multiples project. Hot glue and some tape to prevent the foam from chipping and making dust everywhere (it’s a kind of… crispy? foam that flakes off).
And the test:
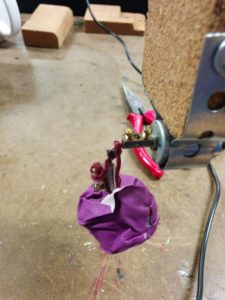
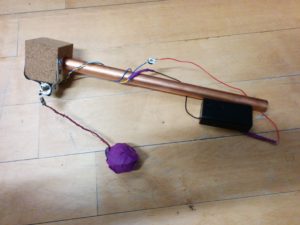
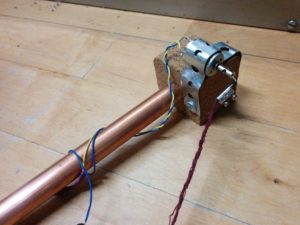
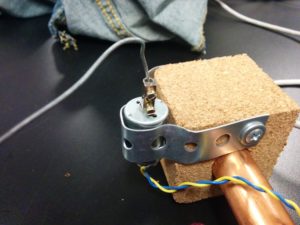
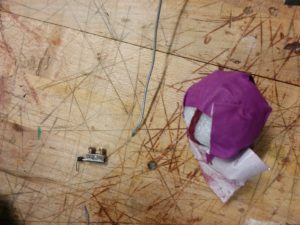
Yeesh. It looks to me like I will either need more distance from the shaft or a mounted wheel to achieve the effect I am going for. I’ve also considered flexible, but a bit more firm material than something like string. Maybe fishing line or a semi-rigid wire? I’m going to continue to hunt for the appropriate materials and try a few things out. But for now, some photos of what I have:
12-14-16, I’m adding some extra progress
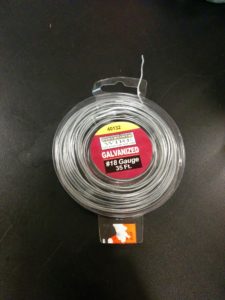
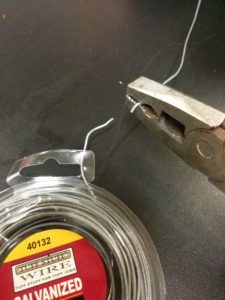
I went to the hardware store and got some thin but stiff wire. Something light, but could stay somewhat rigid.
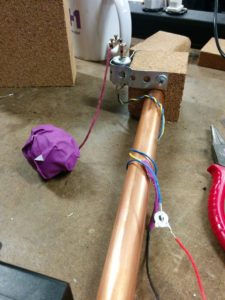
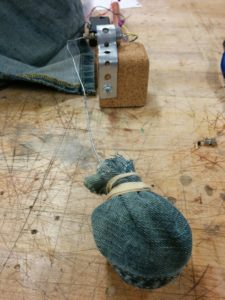
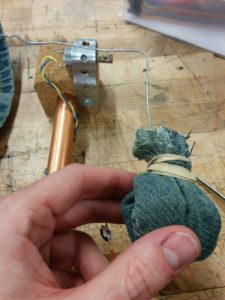
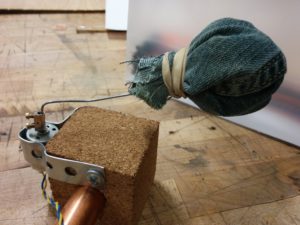
It was stiff enough to hold a (somewhat) 90 degree angle. It was actually nice to be able to bend it, as it gives the ultimate purpose of making noise a little more flexibility. I reused the ball and hot glued to secure.
But in order to give it a somewhat more finished look, I used the denim I had to create a soft type of mallet head. This is temporarily secured with a rubber band. I imagine in the future being able to wrap different materials around the ball in order to create different sound qualities.
The first arm length seemed to be a little too long, so took out the wire and shortened it.
Better, but not quite cutting it.
Starting to get a good effect, but running out of room.
I think I’m going to continue experimenting with different tips. The speed of the motor on it’s own seems so powerful, but when you put any kind of load on it, it slows down dramatically. I’m thinking of perhaps doing a simple rubber coating of the tip to make it as light as possible without leaving a sharp edge. There are a few other avenues I could take, and I’m excited to come up with more ideas.


Nice work so far. I think you’re on the right track with changing the material between the motor coupler and the ball. Maybe something a little thicker in diameter but flexible, rubber tubing perhaps. Or go the other way. Something stiffer with some flexibility, like piano wire or a stiff spring. Keep experimenting with material and how you attach it.
You might want to play with how much voltage you’re giving your motor. A little less will make it spin slower.