We have been pushed away from acrylic and plywood and towards… well, anything else! This week’s assignment is materials and fasteners. Exploring the broader world of materials and their benefits (and drawbacks) is important. And knowing how to attach them together wouldn’t be bad, either. But I was also really happy to see Ben’s emphasis on how fasteners can be emphasized rather than hidden. Sometimes you want to “celebrate the fastener”. Really inspired by this assignment.
I wanted to work with cork. Cork boards are one of my design go-to’s for personal spaces, as it allows me to attach and remove things at will. I like that re-usable and flexible aspect of being able to stick things into cork. Being able to change what is on my wall quickly, trying something out but take it down if I want without damaging a wall, it is great. That might be justifying my commitment issues, but that is the topic for a different blog post.
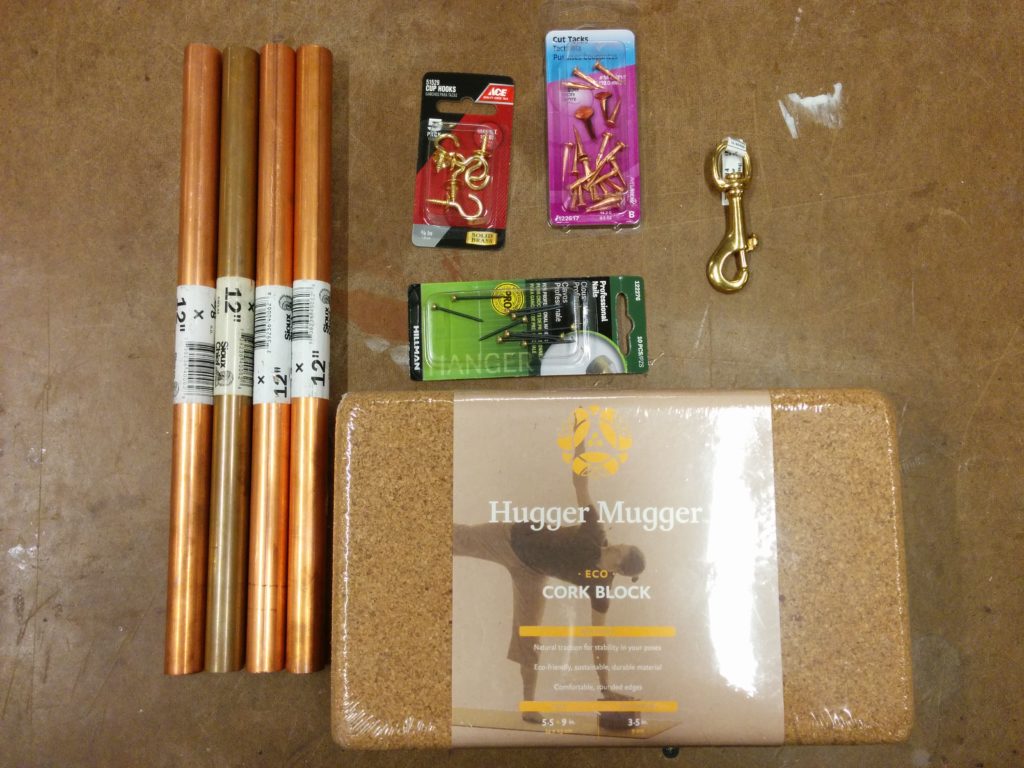
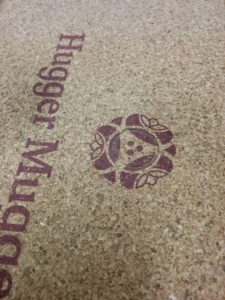
And despite it’s re-useability, it doesn’t (have to) look cheap. The raw texture of it appeals to me, and the cork I got was a yoga block from REI so it looked better than some of the flat cork board material I have gotten from Staples in the past.
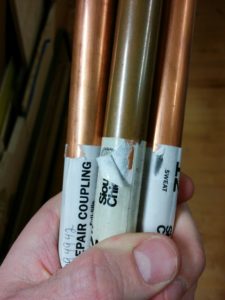
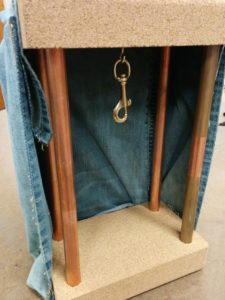
I wanted to use brass elements, as I haven’t really done much with metal yet. At the hardware store I got the last four of 5/8″ pieces of brass plumping pipes, and some decorative fasteners I thought might match.
I wanted to see how soft the cork was to work with. It was light, but felt dense at the same time. Pressing one of the brass pipes into it, with a decent amount of force, left a mark. If I really pushed or used a hammer, I could probably force it into the cork.
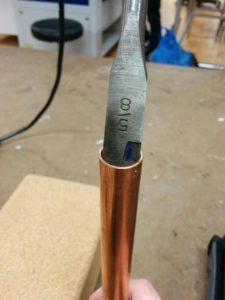
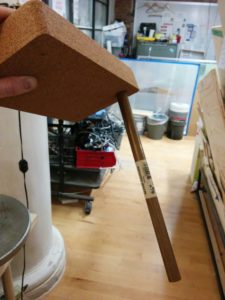
But I wasn’t going to take that approach. The 5/8″ spade drill bit was perfectly just smaller than the tube, which I wanted to mount into the cork. The sizing made me optimistic for a friction fit.
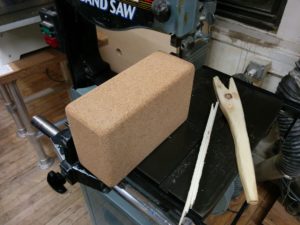
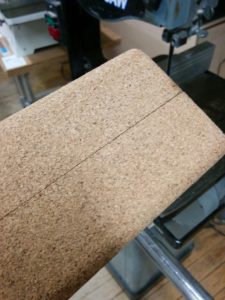
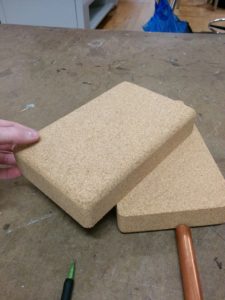
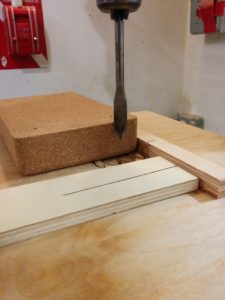
With some generous advice from the shop staff (again! I’m growing to love them), I setup the cork block to be cut down the middle. We weren’t sure what to expect, but it cut like butter. Very minimal amount of dust, and you would barely be able to tell that it was cut at all from a distance if they were held together. And then they smoothly rub together with no friction. They were fun to just kind of touch and play around with like a toy. I’m looking for excuses to use cork in the future because it is so fun to cut in this way.
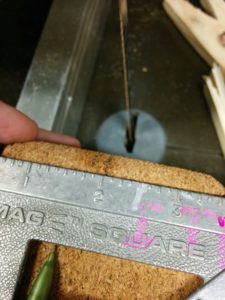
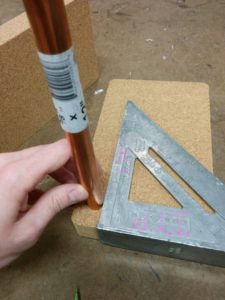
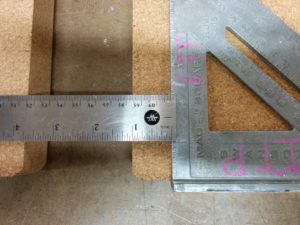
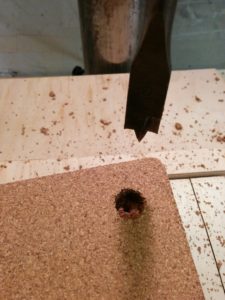
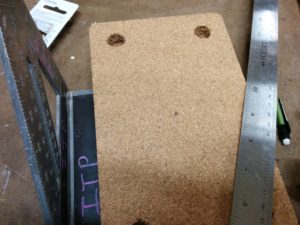
I figured out where I wanted to mount my pipes, marked both pieces appropriately, and setup the drill press. I figured out how much depth I wanted to achieve, and made a placement jig so that I could quickly drill the holes in a consistent manner. Coring out the cork was easy, but very messy. LOTS of cork dust. I tested the pipe, and at first was afraid the hole might be a little *too* small. But that turned out to be perfect. Great enough for a friction fit, but I could pull it back out if I needed.
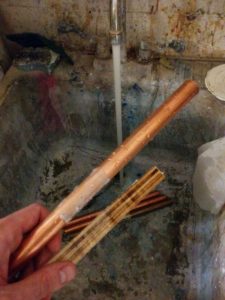
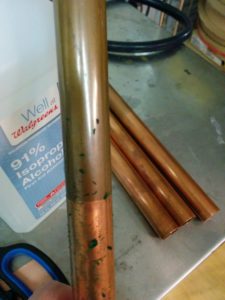
Grrrrrr! The stickers on the pipes could not be any stickier or harder to peel off. Once I finally did get them off by using the shop sink, there was still adhesive on the surface. I took some isopropyl alcohol and rubbed the gunk off of them, which took longer than I thought.
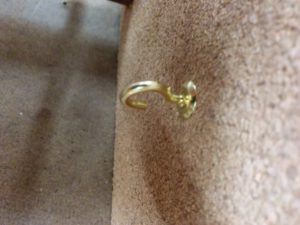
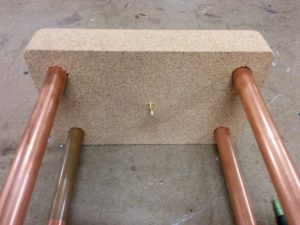
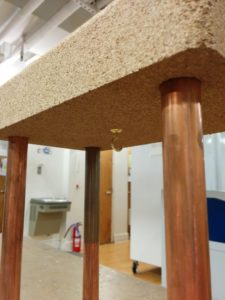
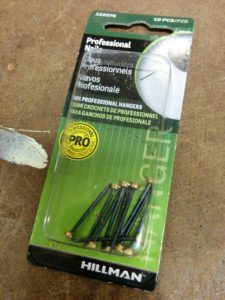
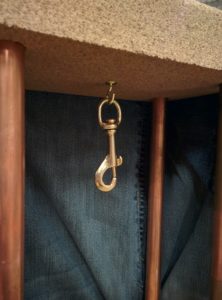
Fasteners. I had gotten little golden colored hooks that had threaded screws as their base. Marking out the middle of one of the cork pieces, I put the hook in the center of it.
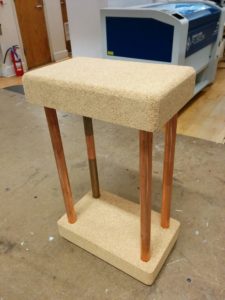
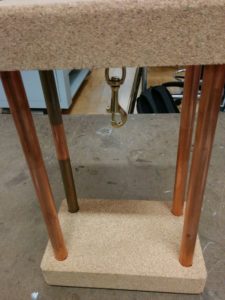
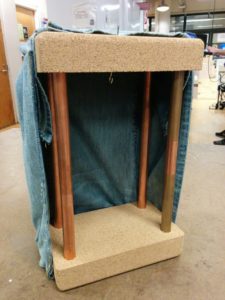
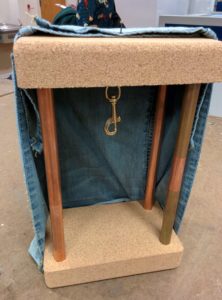
After that, I hung the metal carabiner/key holder on the hook. That this point, I thought that I had something compelling looking. I have consciously not told you what I was making up until this point, because I wasn’t entirely sure what it was that I had in my head when I started. I’m imagining many potential uses for this basic form. Maybe hanging a small succulent to dangle in the middle, or a small light source. Or maybe it is just a really fancy key holder.
The real point of it is that you can tack things into it and change it’s appearance and functionality. With this in mind, I moved onto my next step and next material.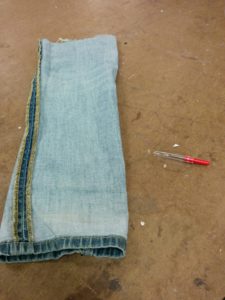
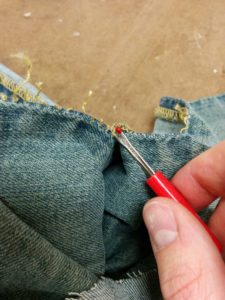
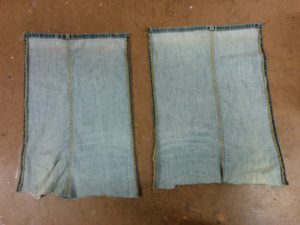
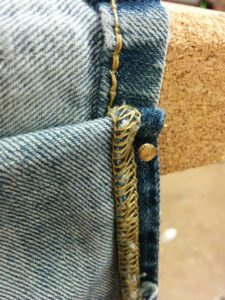
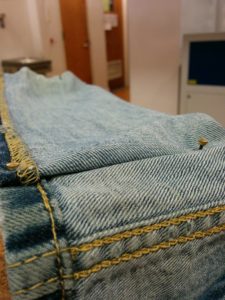
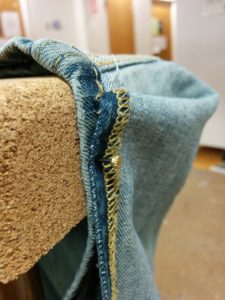
I had a pair of jeans that had been torn very badly at the knees and were only getting worse. I decided to gift myself a new pair of jean shorts and get some material for my homework at the same time. I used a seam ripper from the soft lab and flattened out both pieces.
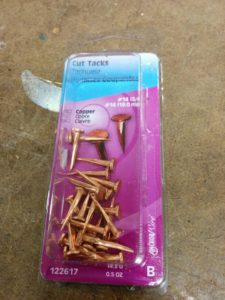
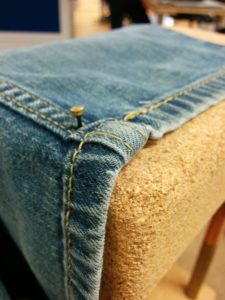
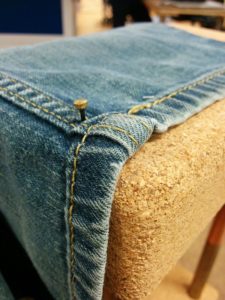
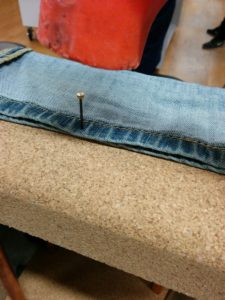
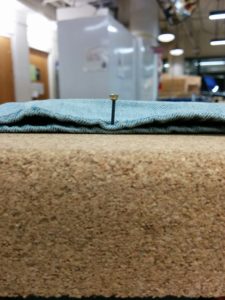
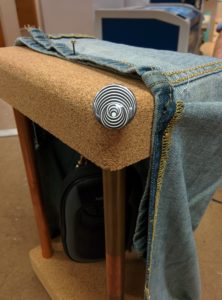
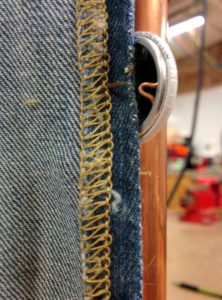
I wasn’t sure which fastener I wanted to use to connect the denim to the cork. But thats ok, because its cork! I can always take them out and put in something else. I opted for the smaller nails, and left them a little elevated in order to make them more prominent and noticeable.
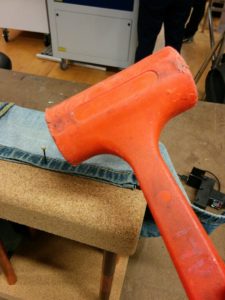
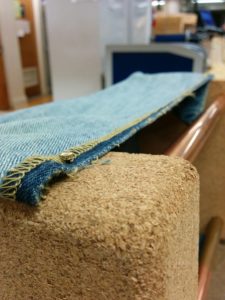
While I could push them in for the most part, at some points it was way more difficult so I used a mallet. I also decided I liked the inside of the denim better than the outside, so I undid everything and flipped it (thanks again, cork!).
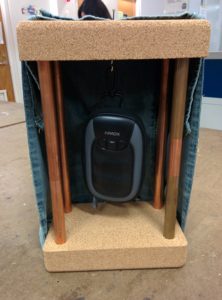
I then hung a portable speaker in the middle. It can open up and hold a phone inside of it. This was one of my initial ideas, that I could kind of create a speaker enclosure that looks pretty by making something that wraps around a pre-existing speaker.
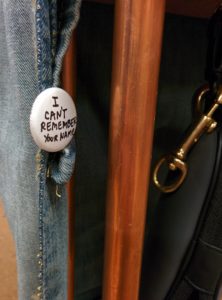
When first looking for materials, I had the “cork + warm metal” material palette going. But I was afraid it was going to get a little too steampunk-y. But again, the fact that you can stick anything into the cork helps with the potential versatility a lot. Yuèpíng was nice enough to let me borrow a couple of her pins to test out my customization theory.
Adding and removing the pins left minimal wear. I’m sure if this was used constantly, eventually the materials would look a little worse for wear. But for the time being, the use case worked. I’m happy with the end result… even if I’m not entirely sure what this thing is. It is sturdy enough to stand on it’s own and hold certain amounts of weight, but also temporary, flexible and re-useable. Really glad I got a chance to play with cork, and will be using it again in the future. Going to try and hunt down some affordable sources to stock up.






Nice work, glad you liked the cork so much. Remember, cork also sand very easily and can be laser etched.
I’m worried about the small hook you installed. I think if anything heavy is hung from it, it will rip out. I would either get a beefier hook or one that can be bolted all the way through the cork. Maybe show off more hardware at the top of the piece.
Getting the labels off of material can sometimes be a real pain. But the pipes can be lightly sanded and buffed, it will give them a nice brushed look. Keep in mind, the pipes will start to tarnish if they are not sprayed with a clear coat or some kind of polish.
I’m not sure you need the denim. I’m glad you tried it out, but I think it is a stronger piece without it. Just my opinion though.