I’m moving along with my Physical Computation final, trying to stay on track while still taking things step by step. Benedetta keeps reminding us to start with the basics to make sure everything works before getting started with something larger. Maybe it is because I’m also doing Intro to Fabrication, but I keep thinking about end stage type decisions. It is good to reorient myself and start at the beginning.
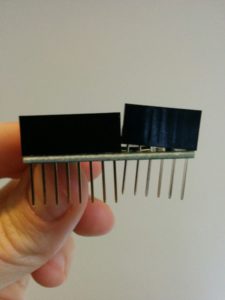
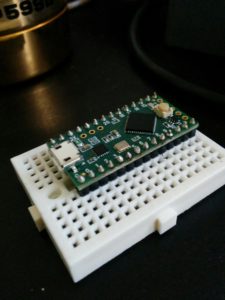
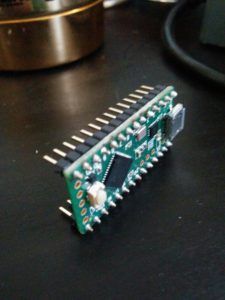
My Teensy LC came! And it is very… teensy. Also, it came without headers and I wasn’t sure which ones to get. Benedetta suggested the combination male and female ones, but we didn’t see any specific header pairings for the Teensy on the Adafruit site. I wound up getting the Arduino ones, and then also a set of male headers as well. And I’m glad I did:
There weren’t male and female headers that spanned the entirety of the Teensy’s pins. I saw that the two separate pieces would add up to what I needed, but I didn’t expect them to not be able to sit side by side. After this, and looking at many, many Teensy how-tos and tutorials, I noticed that everyone seems to use it with a breadboard and male headers. I wound up using the strips of male headers instead (glad I ordered more than I needed!).
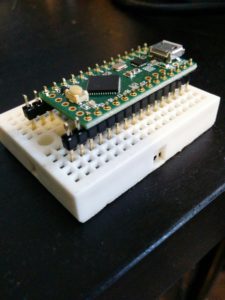
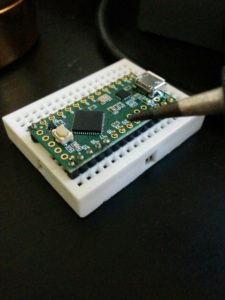
I snapped off the last two pins on each row and soldered everything together.
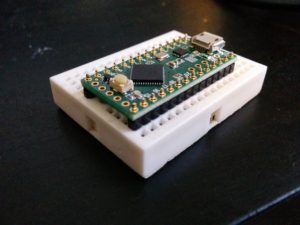
You’ll notice that there are pins on the end that don’t have headers in them. This was also done by example, seeing what other people were doing online with posted tutorials. I had access to the ground, source, and pins that I wanted, so I figured I would let it go for now. Plus, it lets me straddle the middle of the board.
Took me a bit to get into the groove, but I got everything together. Perhaps not the prettiest… there are some burn marks here and there. But it works! Here is the blink example from the teensy library (slow blinks normal, fast blinks when pressed).
I spent a fair bit of time getting all of the Teensy software on my computer and working correctly. Wouldn’t say it is hard, but perhaps a little “fussy” depending on your luck. The most recent Arduino IDE isn’t compatible with the Teensy libraries yet, so I had to roll back my Arduino IDE version. Once I figured out that, there were some issues with loading programs onto the board. The error messages are different with the Teensy, and there can be extra steps when programming it. It was giving me problems. Going step by step, piece by piece, I figured it out. I had used a micro USB cable I had lying around… and it seems that it only transmits power. NO DATA.
Once I swapped it for a functional one, I was able to upload to the board and got that blink sketch going. You’ll note that I’m not using any resistors on my breadboard. The Teensy button examples state that every digital i/o has a pullup resistor and that you can use an active low i/o implementation with the board. Feeling good about that, I continued with further experimentation and got the Teensy to output MIDI and send it to a testing Max MSP patch that I setup. I used an existing MIDI controller I had to make sure things were working, and then threw the Teensy into the mix:
After my headaches with data-less USB (and I mean…really? Just… why??), I received an all new appreciation for functioning hardware. There is a little fussiness with detecting the MIDI events in the software, but I’m confident that I can optimize that just fine when the time comes.
Next I will be getting more buttons going, streamline the wiring and working on a decent temporary mounting solution so I can get some initial functional playtesting going. I’ll be updating next with a more detailed timeline for the next couple weeks.
