This week we were tasked with making enclosures. Since we’ve also been ramping up towards the end of Intro to Physical Computing, this assignment coincided with making some next-step proof of concept builds for my final project in that class.
I asked Ben for some advice, and was convinced to start out more basic. My initial instinct was to try and create a curved shaped enclosure right off the bat, but it makes more sense to start simple. Using a normal pre-made enclosure and then attaching it to a microphone clip seemed to be a good first step.
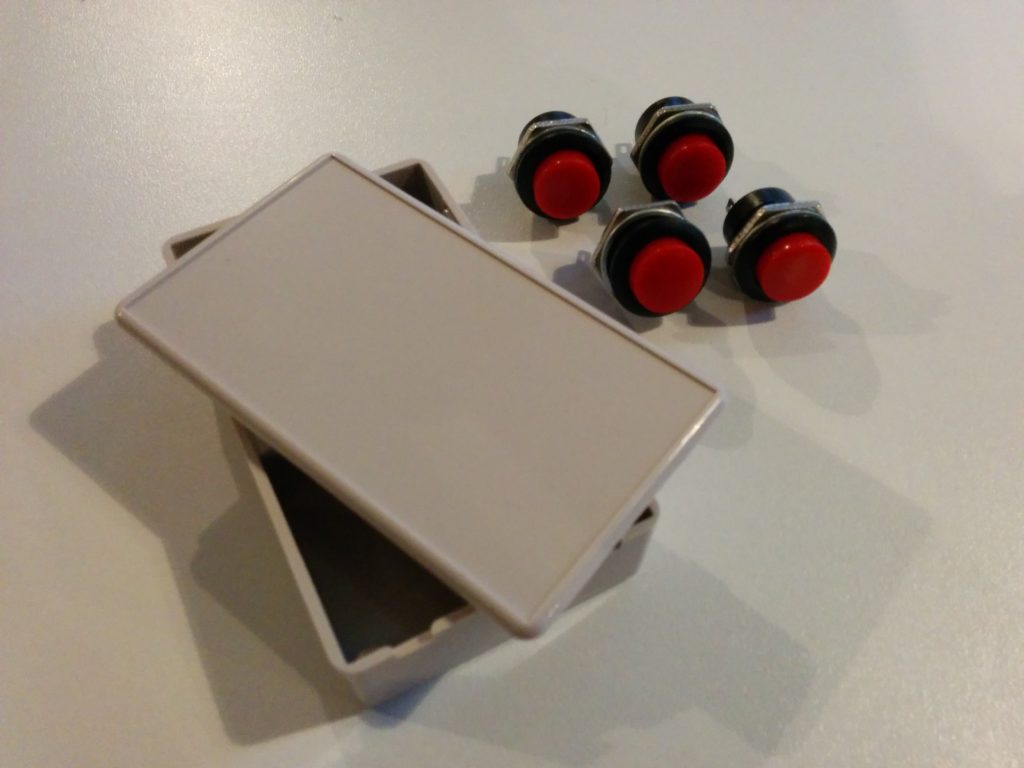
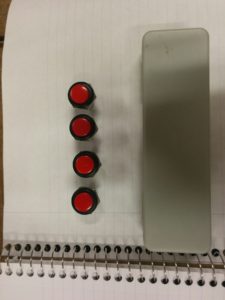
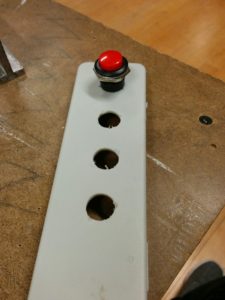
I went to Tinkersphere and bought a project enclosure that complimented the size of my microphone clip, and then bought surface mount buttons for it. They were the rare kind that make no noise when you press them (if I am using this with a microphone, it is best to avoid clicky noises). With these two constraints, my choices were made fairly quickly for me. However, I wasn’t so sure about the spacing:
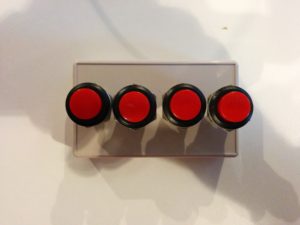
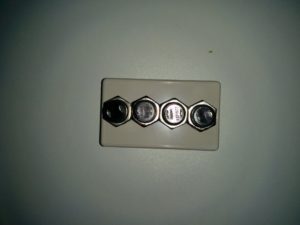
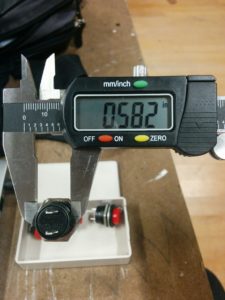
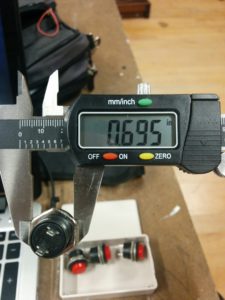
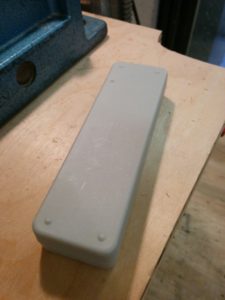
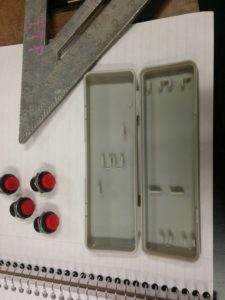
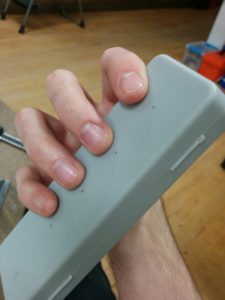
While perhaps technically possible to fit all the buttons onto the surface, I started having second thoughts when I brought everything back to the shop and was able to measure. Luckily, Ben had given me a different enclosure to try out. The more I looked at it the more it made sense:
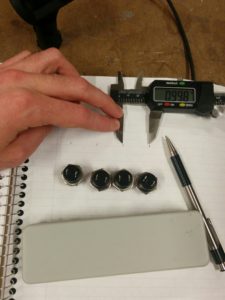
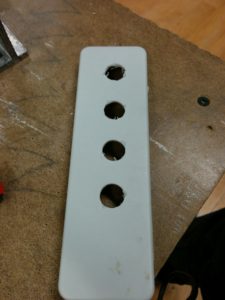
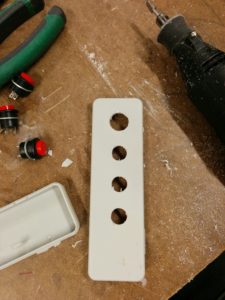
“Small is hard” kept echoing in my head, and even though larger I felt like this could work decently for my play testing. I went to measure out the distance between buttons and started making some holes on the drill press.
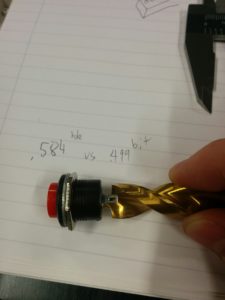
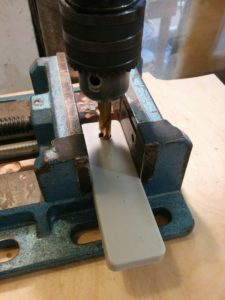
The box had two hinges made of plastic, one broken. Trying to clamp it effectively weren’t going well, and the one good hinge was looking a little flimsy so I just separated the pieces. Made for a much more secure clamp. Also, as you can see from my notes, I could only find a 1/2″ bit in the shop, and nothing larger. Would have to do for now, as John explained that the larger spade bits we have in the shop shouldn’t be used on plastic.
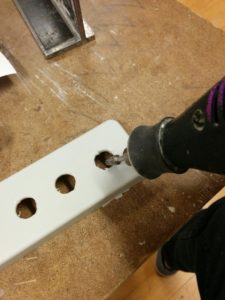
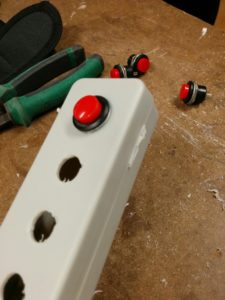
The holes came out alright, but I was hoping that maybe I could just kind of force the buttons in. The plastic turned out to be much more resilient than to allow that. So I cleaned out the inside pieces of the enclosure and started slowly, piece by piece, expanding one of the holes with the Dremel.
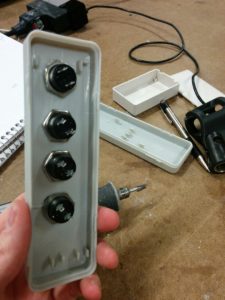
It was more Dremeling than I thought I would have to do. You can pretty clearly see the hole size difference with the naked eye. It wasn’t too bad, but if I was making multiples this is where I would be kicking myself and/or going on a quest for the perfect bit.
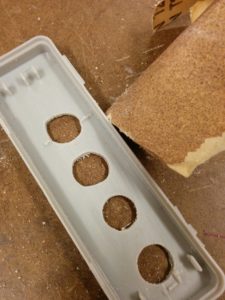
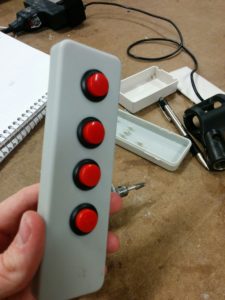
Which is even more apparent when you look at the end result. After trying to keep an even hand, slowly testing the button and returning to the Dremel, then sanding out the end results, some of the holes were looking… interesting.
However ugly, they were effective. Constantly testing them made sure that the buttons fit as tightly as possible.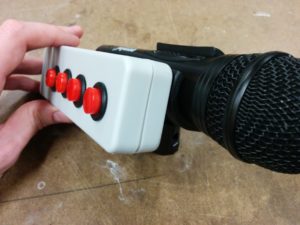
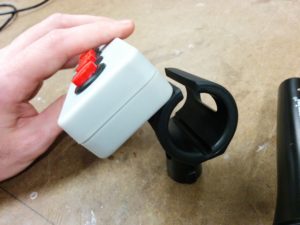
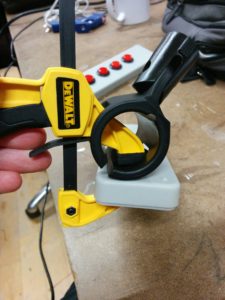
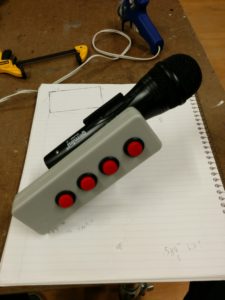
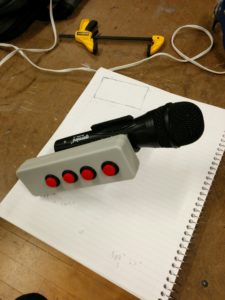
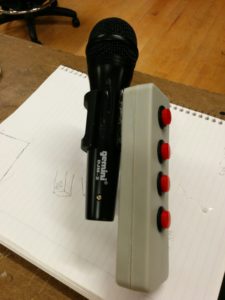
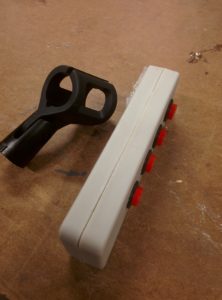
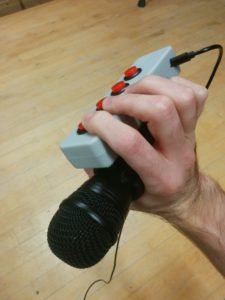
Putting this up against the mic clip, I was happy that I started walking before I ran. Going with a more straightforward box now feels like a wiser choice when considering how things can and will change over my prototyping process. But I wasn’t sure of the best way to properly attach them together. Because of the nature of the clip, which expands as mics are inserted and is tightly flush against the surface of the mic neck, there were many approaches that I would normally take that were off the table.
Not entirely sure where to turn… I went with plain ol’ hot glue.
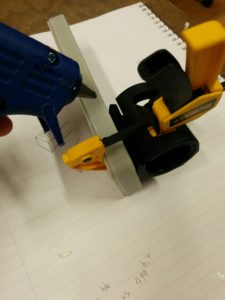
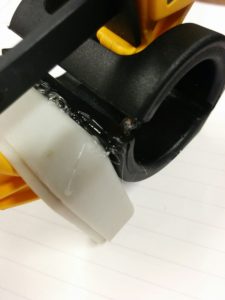
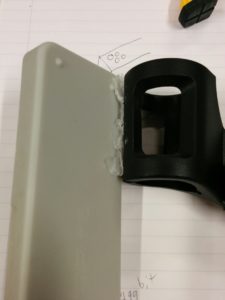
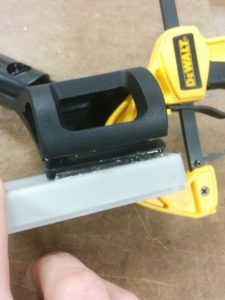
Hot glue. It’s like this totally normal thing that people use all the time, right? Wow can it get messy quick. One day I would like to get some tutoring on elegant hot glue technique (if such a thing exists). Luckily, it was easy enough to pull away the fine strands and peel off the egregious errors where necessary. I wound up with somewhat of a loose hinge:
Then with that I was able to do a second round that covered more surface area and adhered solidly.
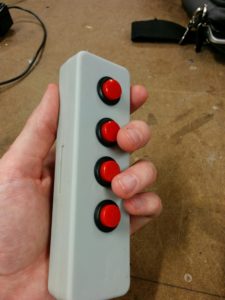
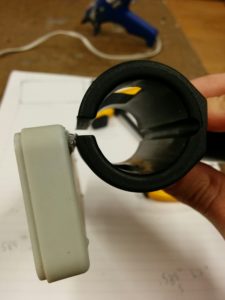
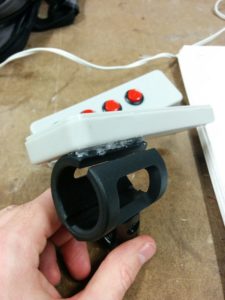
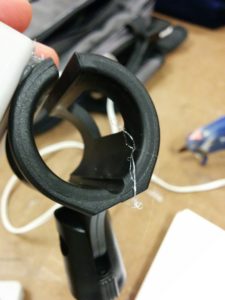
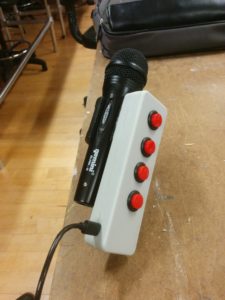
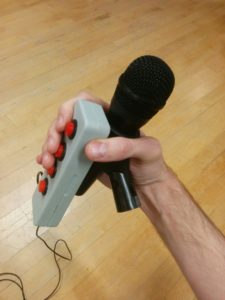
Yeesh! These glue strands get everywhere. But after some cleaning up I wound up with something fairly sturdy:
That is where I’ve left off for now. I have some parts coming in, and depending on specifics might change the focus of the rest of this assignment. It could make sense to just keep it more or less looking the way it is and hook it up to my microcontroller once I get all the parts, and keep this as a version 1.0 functional prototype. However, despite it’s early 80’s beige/gray charm, there is a part of me that would like to make this look a bit more presentable. Updates will soon follow.
Part 2
Having some issues uploading my images, but I will do so as soon as my internet connection gets a little better. In the meantime, I have added a little slot for my microcontroller to sit inside of the enclosure. There were some other issues, but I’ve got some decent end results to share. More updates tonight and tomorrow!
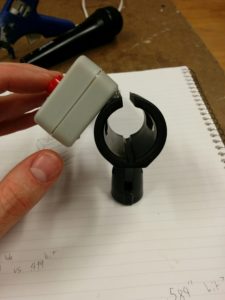
The first dissapointment I had upon returning to my project was that the hot glue did not hold. Not sure if this was due to being bumped (it was in my open project box), or otherwise.
But it was an opportunity to make the work a little easier to handle. I received the microcrontroller I need for my Physical Computing class, the Teensy LC.
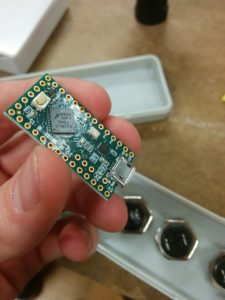
But there are no mounting holes on the board! I hadn’t accounted for this when I originally ordered, but it removed the option of using standoffs as a mounting solution.
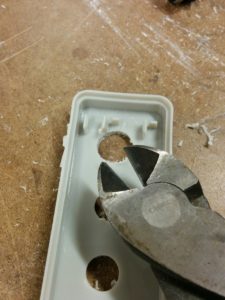
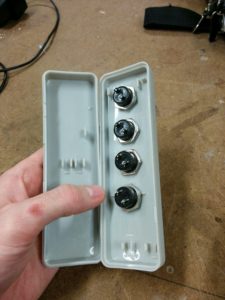
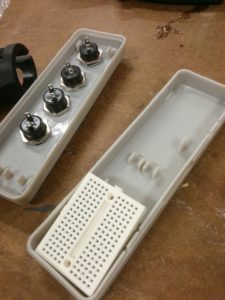
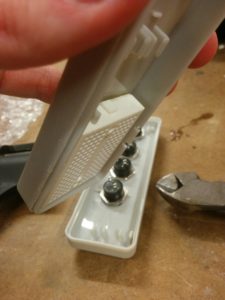
I started clearing out space in the enclosure in order to hold a bread board, which fit *just* perfectly…
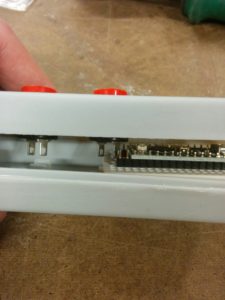
Until I put the board onto the bread board and saw I didn’t have enough clearance. The last button was getting in the way.
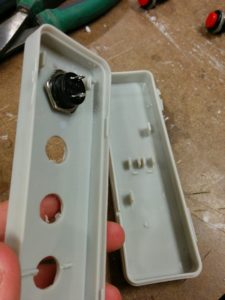
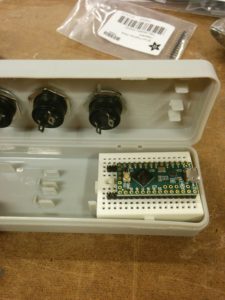
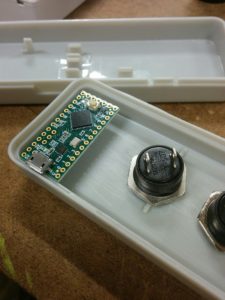
I started playing around with placing the board onto the plastic nibs that were inside of the enclosure to start.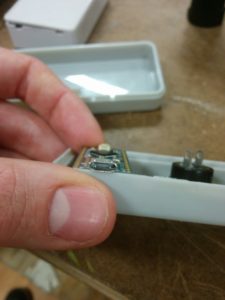
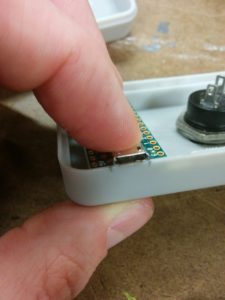
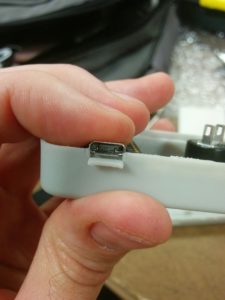
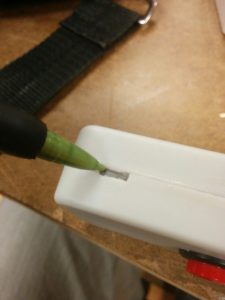
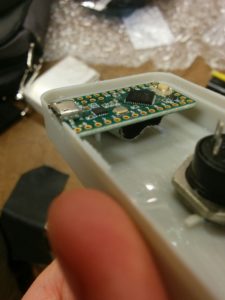

It isn’t very pretty right now, but I think for my initial functional play testing this can serve its purpose. Next step was to re-glue and attach a cable.
Once I had gone all in on my enclosure choice, it made it a little difficult to go back. But I think after this assignment I’m definitely going to re-asses my options. For my playtesting, I might wind up kind of hacking this thing apart into something resembling less of a traditional enclosure for the sake of being able to re-wire and re-position things quickly. But I certainly learned plenty about what was possible in terms of pre-made enclosures and will feel comfortable about going to the drill press to quickly produce little homes for my projects.

Nice work. I like that you used the enclosure and tools you had at hand. Getting the holes the right size and spaced without the proper drill bit can be very challenging. And hot glue is a good temporary solution, but not great in the long run. I’m not surprised the glue failed. There are glues out there that will work (http://thistothat.com/) but I’d like to suggest something different.
What if you lose the mic clip altogether? Maybe elastic straps attached to the back of the enclosure. Maybe zip ties. Maybe velcro. You just have to hold the mic in place.
Also, maybe some laser cut panels and standoffs instead of a project enclosure could help. You could easily get the right sized holes and reposition them easily if need be. Let me know if you have any questions.