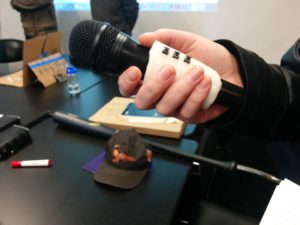
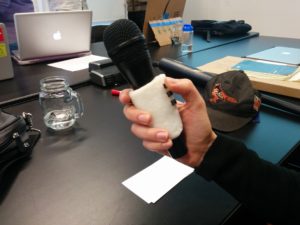
After presenting my initial concept to the class, my next step was to create a playtesting prototype. I felt fairly confident that I knew what it would feel like in my hand, but it really did help to have something in my hand. This was made from prototype plastic. After warming it up, I flattened it out like a pancake. Then I wrapped a microphone in saran wrap, then wrapped the prototype plastic around the microphone. I put it into the freezer to harden, and then used a dremel to generally trim the shape. Once satisfactory, I warmed up the piece again, just soft enough to be able to push some push buttons securely into it’s surface.
I used this as a conversation piece when conducting user interviews. I went to the Tisch performing studies floor to talk to different artists about the possibilities of using this device, and what features they might want or wish for it. While there were some wonderfully exploratory and experimental ideas, there were also some practical features that were desired for experimental performances. One artist brought up the issues of timing, synchronization, and the need for discrete control and messaging systems in regards to controlling a performance seamlessly. There was a visit to the Music Tech program where I talked some researchers who gave me some input but also some history and terminology around somewhat similar approaches. I also went to the Steinhardt, and talked with faculty in the Vocal Performance program. We had great conversations about vocal science and pedagogy. However, I learned that the Vocal Performance process eschews microphones almost entirely! This is why you do user interviews.
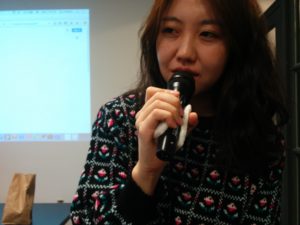
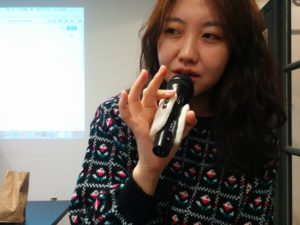
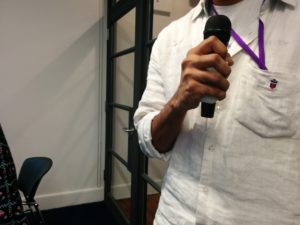
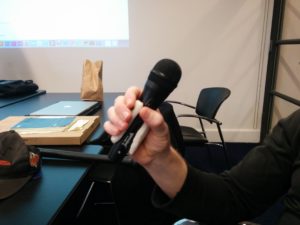
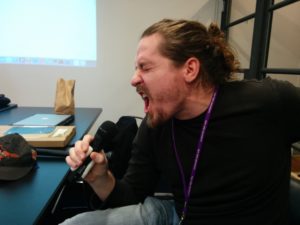
Then in class we did some play testing. I was very curious as to how people would naturally grip the prototype without any prompting. This was very useful to me to think about input placement and functionality. I could go on and on about this, but I think I will leave the elaboration for a different post. For now, let’s look at the grips:
It was interesting not just to hear what people thought would work well, but to simply see how they held and interacted with the prototype without prompting. This was a great help in planning out button sizing and placement.
I had come to a crossroads, however. Seeing people interact with the piece further re-iterated that I should further focus on an activity and a user. I am confident that I will continue to work on this in the future, so I’m not too worried about making a “wrong” choice. With that in mind, it made sense to stick with my first instinct; a device specifically for musical interaction.
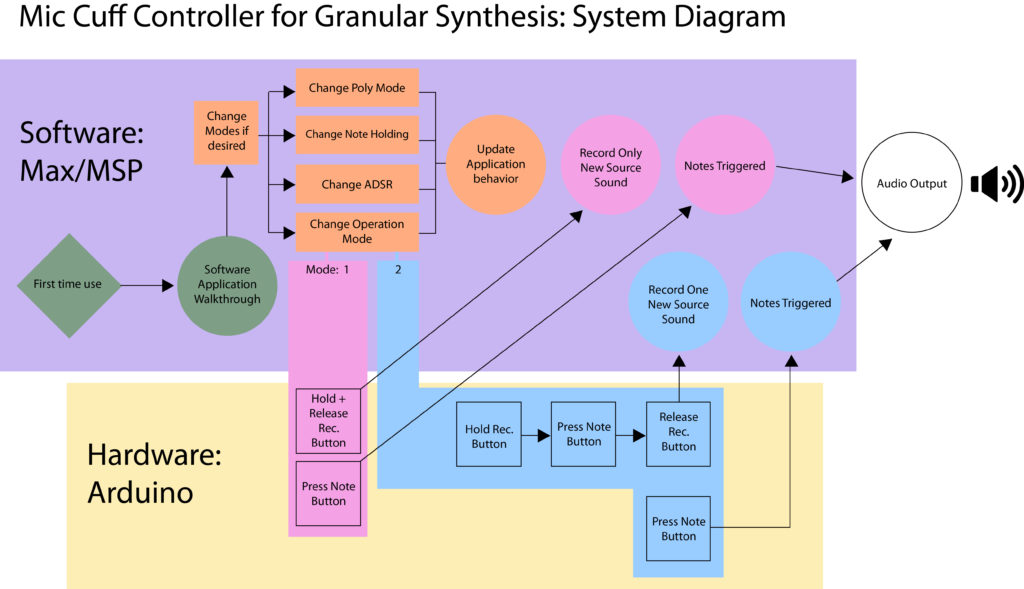
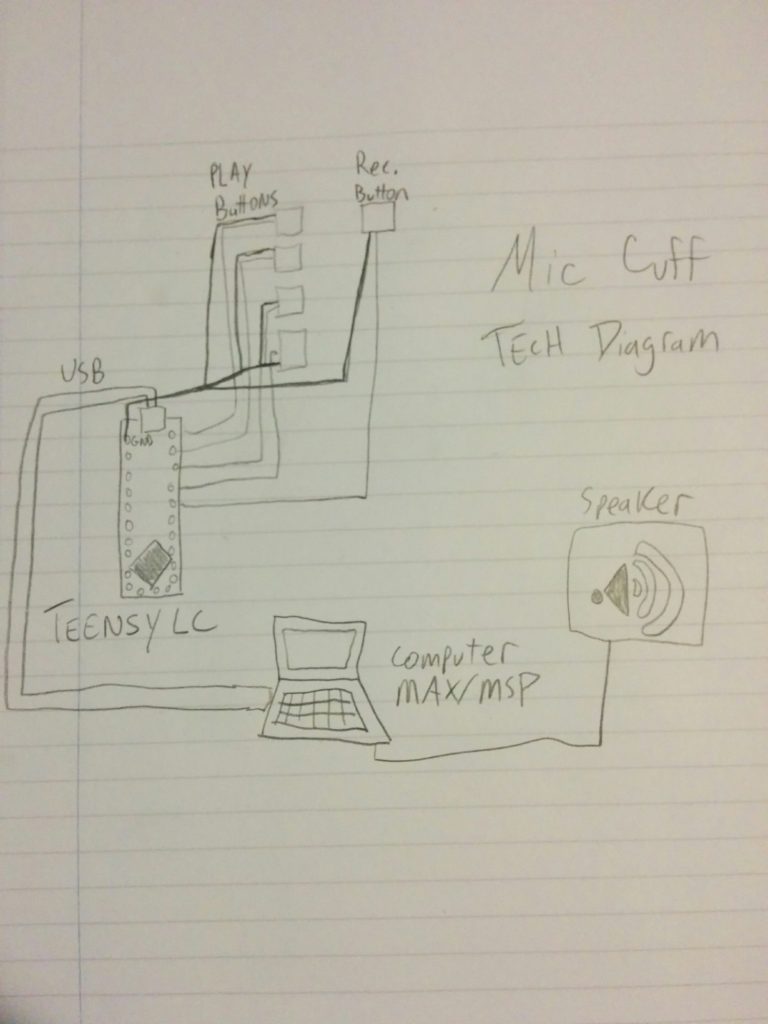
With that in mind, here is my first system diagram:
Technical diagram:
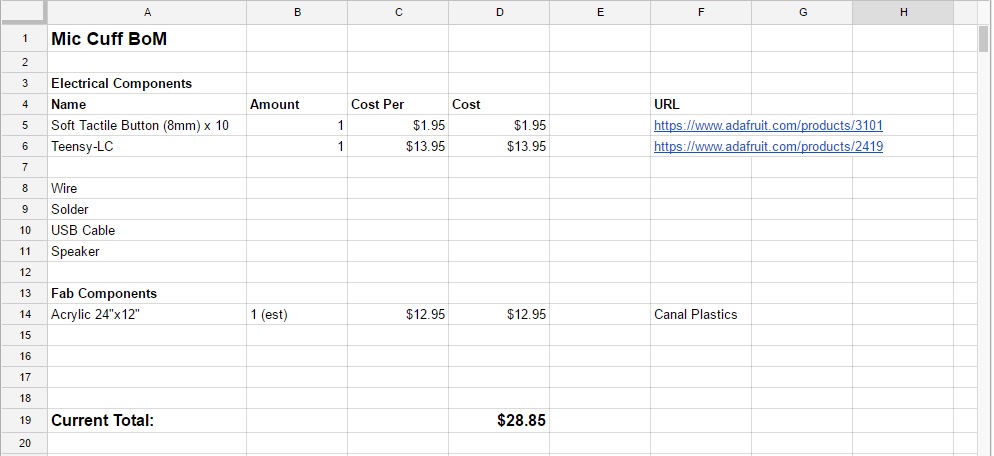
And bill of materials:
I’m going to be using a Teensy LC for it’s size, cost, and ready to rock MIDI implementation (that I’ve used before on the Teensy ++). For now, I am going to try to work some kind of enclosure of bent acrylic, but I am expecting to play around with a few different enclosure types before fully settling.
My parts are ordered and I will be doing some acrylic tests (and consulting) over the following week.
