“Don’t fall in love with the laser! DON’T fall in love with the laser!” While I will never forget Ben’s words, I will say that at the very least I had a great weekend with the laser and I will be calling it back.
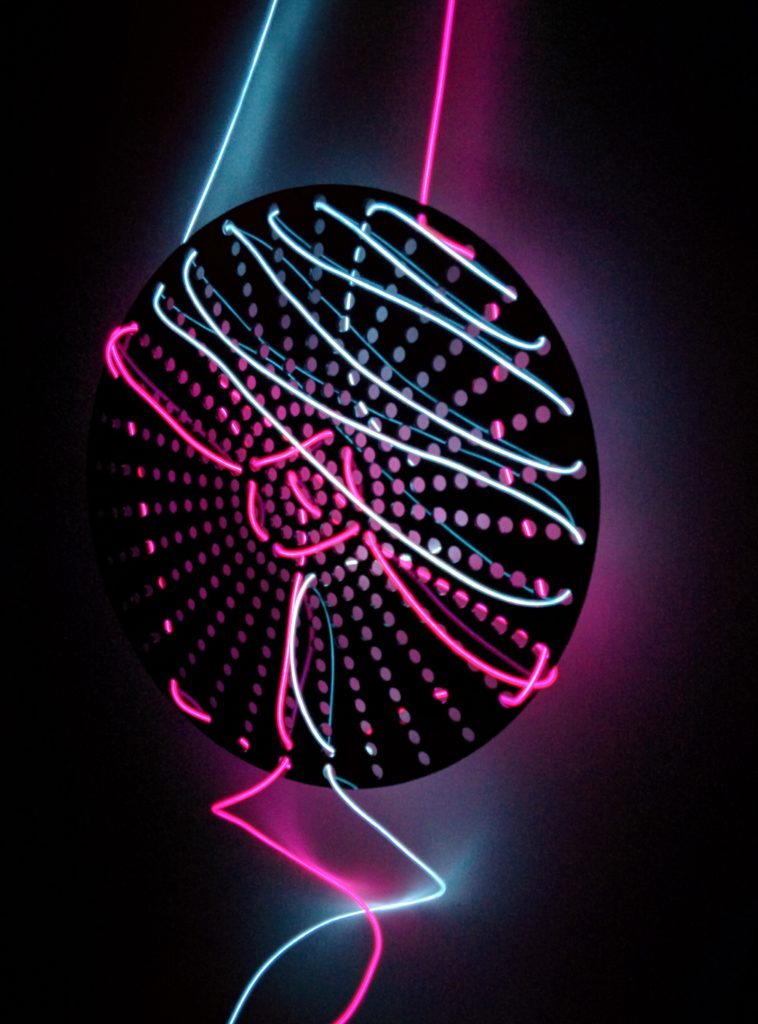
Having never used acrylic before, I was curious about making something that could accentuate the shiny, slick qualities of it. I had some EL wire around that I hadn’t gotten to use yet, and came up with a lighting idea. An acrylic cut shape with multiple holes in it that I could weave the EL wire in and out of. The wire seemed sturdy enough to hold itself and light amounts of weight, so I got excited enough about the idea to see how it would actually work.
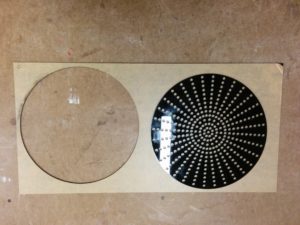
I was really happy with my trip to Canal Plastics. They were a great help, there were a bunch of 24″x12″ precut sheets of laserable acrylic that fit our bed dimensions perfectly, and they offer student discounts of 10%.
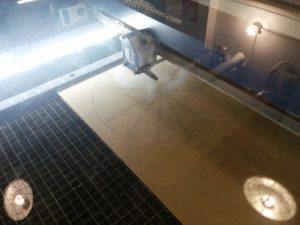
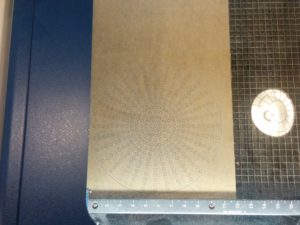
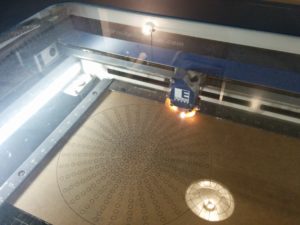
I was advised by people in the shop to keep the paper on the acrylic while laser cutting, and given some friendly advice about speed, power, and frequency. I started cutting at 50/100/100.
I ran it twice just to be safe.
But it wasn’t budging, and the tape trick of trying to pick up cut pieces was not working at all. After further discussion, I dropped the speed to 30.
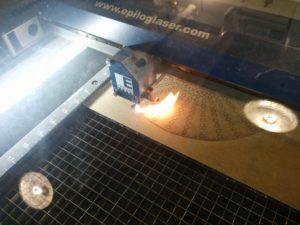
A few flareups on the surface convinced me thoroughly why the fan needs to be on. However, after two extra times on 30/100/100… still not budging…
Take advice, but cautiously. And double check everything. After 4 laser sessions, I went to the source and checked the cutting guide on the ITP website. Suggested speed? 15. Change the settings and here we go.
Woo! Really glad for that fan now. But it was working. The pieces were starting to fall on their own.
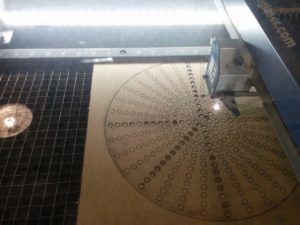
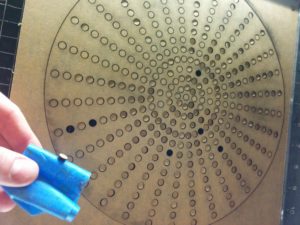
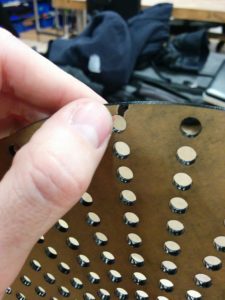
And the tape trick was working like a charm. I moved everything to a table and started popping out the little pieces. Using my hands was fun, like popping bubble wrap. But towards the lower right side I needed to use a screw driver for a little extra help.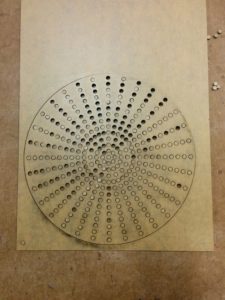

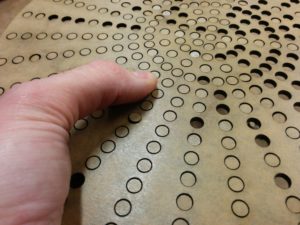
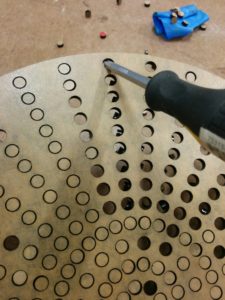
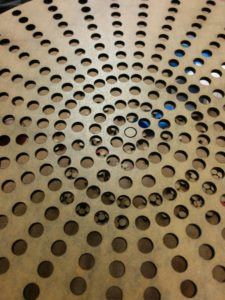
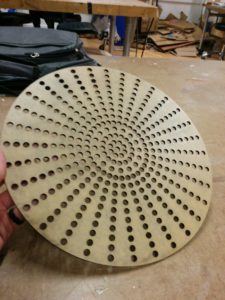
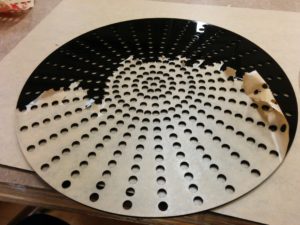
And then I started removing the tape
I think that, in the end, I am happy I kept the tape on. Being able to see the laser cuts (or lack there of) was a real help when I was having trouble. However, it was a bit finnicky cleanly taking all of it off when there were so many intricate cuts. Worth keeping in mind for future jobs.
Next up was the EL wire.
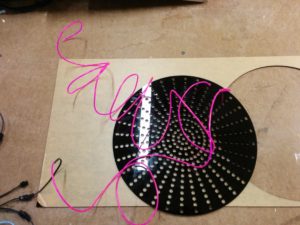
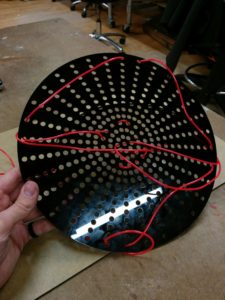
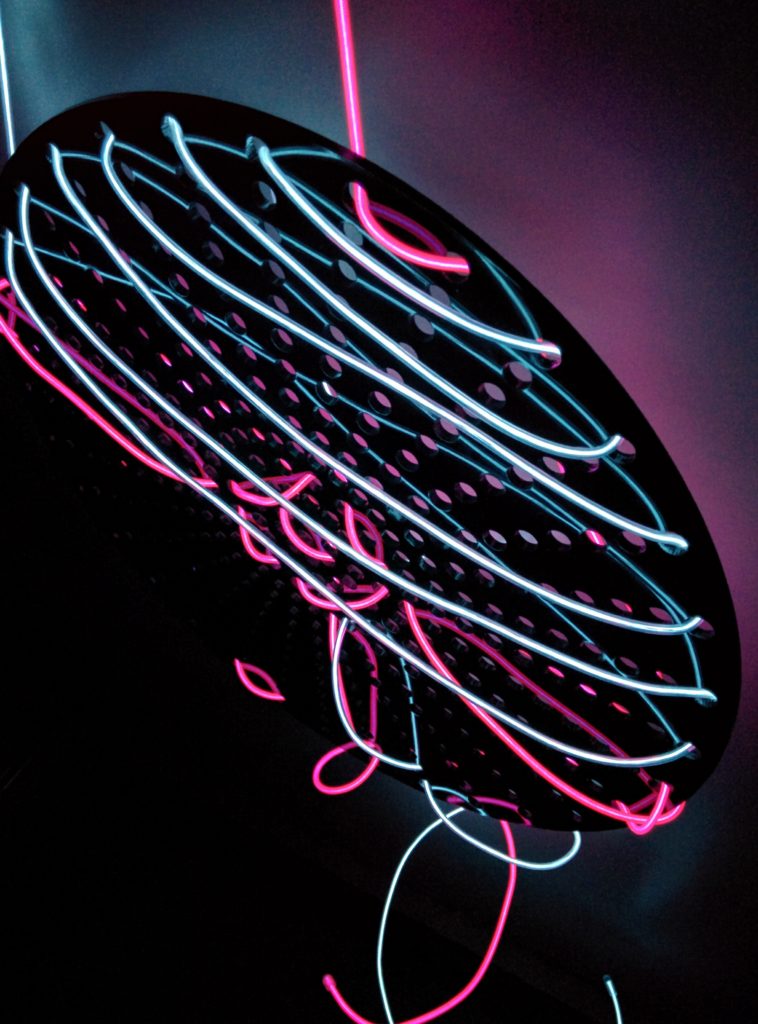
I think there should be honest subtitles for classes at ITP. This should be, “Intro to Fabrication: Why did I think that one part would be easy?” Feeling like I was done, I started “just” threading the EL wire through the holes in my desired pattern. Getting to know the right amount of flex and force, trying to keep things straight, double checking my work, all while trying to be gentle with everything was more difficult than I thought it would be. Essentially, I’m trying to do a kind of EL wire cross stitching. It is possible, but just for the record, not nearly as quick as with needle, thread, and cloth.
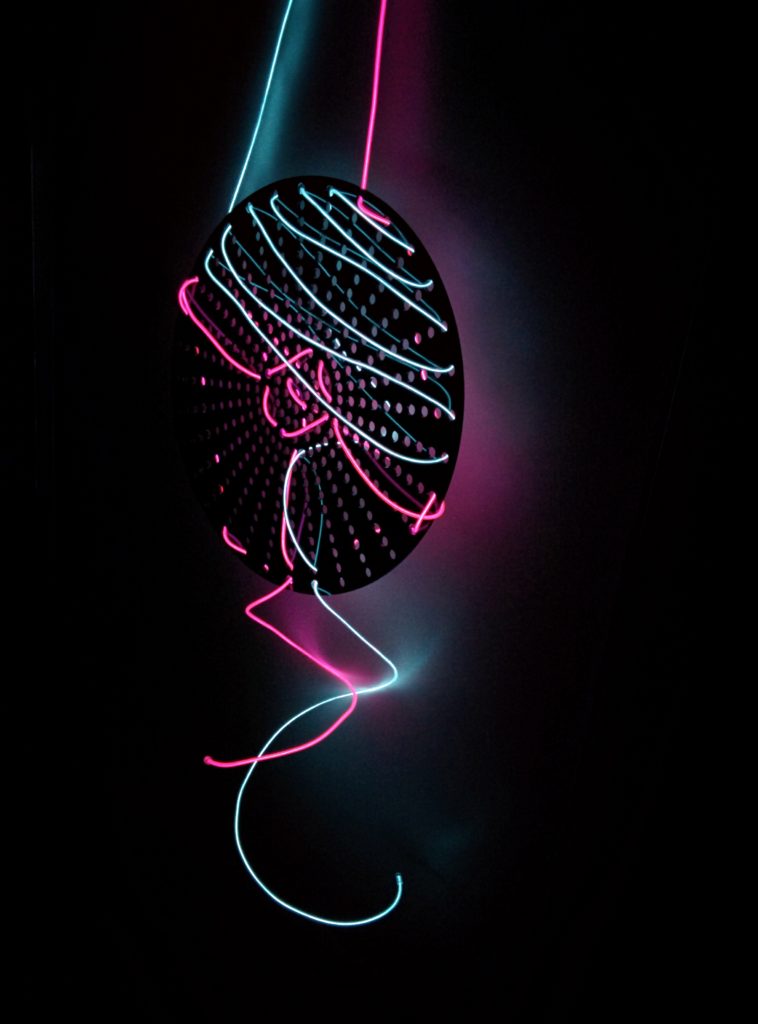
But in the end the idea works, perhaps with some managed expectations. I think I might try to iterate a bit on this to help manage the wire more, but I like the effect overall in a dark room.
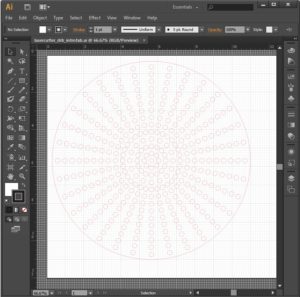



Nice work. I’m glad that the lasering went well for you. Yes, the proper settings for cutting acrylic are 15,100,5000. And you probably would’ve had to run the job twice at 15 speed. I’ve been starting at 13 and run it twice, just to be safe.
I like that you incorporated the EL wire, but that stuff doesn’t like to bend to sharply. I can see why it was challenging.