This week’s blog for physical computation was a request to document our lab work. After having gone through the basics of electricity flow and Ohm’s law (and maybe re-reading some of the concepts a few times…) we have started turning on LEDs, and are moving into making switches. But before we get excited about all the shiny possibilities, let’s set up our board properly.
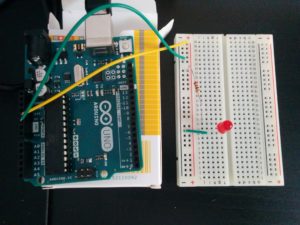
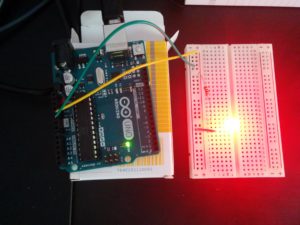
What is the equivalent of “Measure twice, cut once,” but for electronics? Benedetta has done a great job warning us about consistently removing the power while working on our circuits. First, I want to make sure that my LED lights up without too much juice, so I have the trusty ol’ 220 Ω resistor protecting it. And with power, it lights up.
Now we can add a button in the middle of this chain and to see if we can create a light switch.
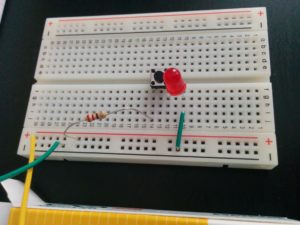
And the test…
Success!
Now that I know the LED can turn on (without any smoke or funky melting plastic smells), and get toggled on and off with a normal push button switch, I went about to creating my own switch type mechanism.
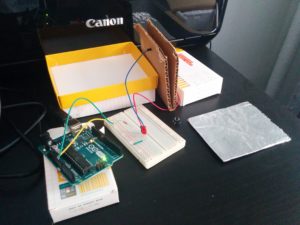
I like the idea of switches that aren’t necessarily buttons or levers or toggles. Conductive surfaces can allow for a kind of “presence” sensing that is effectively seamless. I came up with an idea of a switch that might work like an ID that you would dip into a card reader. When the ID was successfully entered into the machine, a light would confirm.
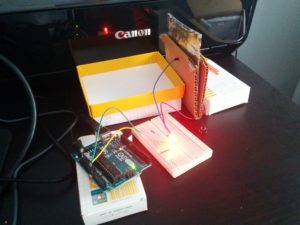
Materials: card stock wrapped in tin foil, a folded piece of cardboard, some tape, and some wires to bring signal back to the breadboard. I assumed that tin foil was conductive, but just to make sure I wanted to test. (Who am I kidding? I just wanted to try out my fun new multimeter)
Next, the wires are placed where the switch was. Coming off of the resistor, one wire is punched through the bottom right of the cardboard enclosure. Then continuing onto the LED, one wire is punched through the top left of the cardboard enclosure. Differing heights and sides made sure that the two wires would not accidentally touch each other on their own, complete the circuit and create a ‘false positive’ for lighting up the LED.
Fun stuff! Easy to forget that you can make all kinds of interactions with tape, paper and foil. After I made this, I definitely kept thinking about all the different variations and elaborations that are possible when working from this basic concept.
This is fantastic! The switch is brilliant and thank you so much for the documentation! Hope you enjoyed testing your multimeter, it will come incredibly handy. Great work!