Our task for this week in intro to fabrication was to make multiples of a design (at least 5). I have had an idea for what I’ve called a “percussive wand”, a tool that allows a DC motor and attachments to be used as a musical instrument. At first I thought about the multiples challenge in terms of something that would fit as a set of things. However, it occurred to me that if I wanted to do user testing of a prototype, it might be good to have multiple prototypes to give out.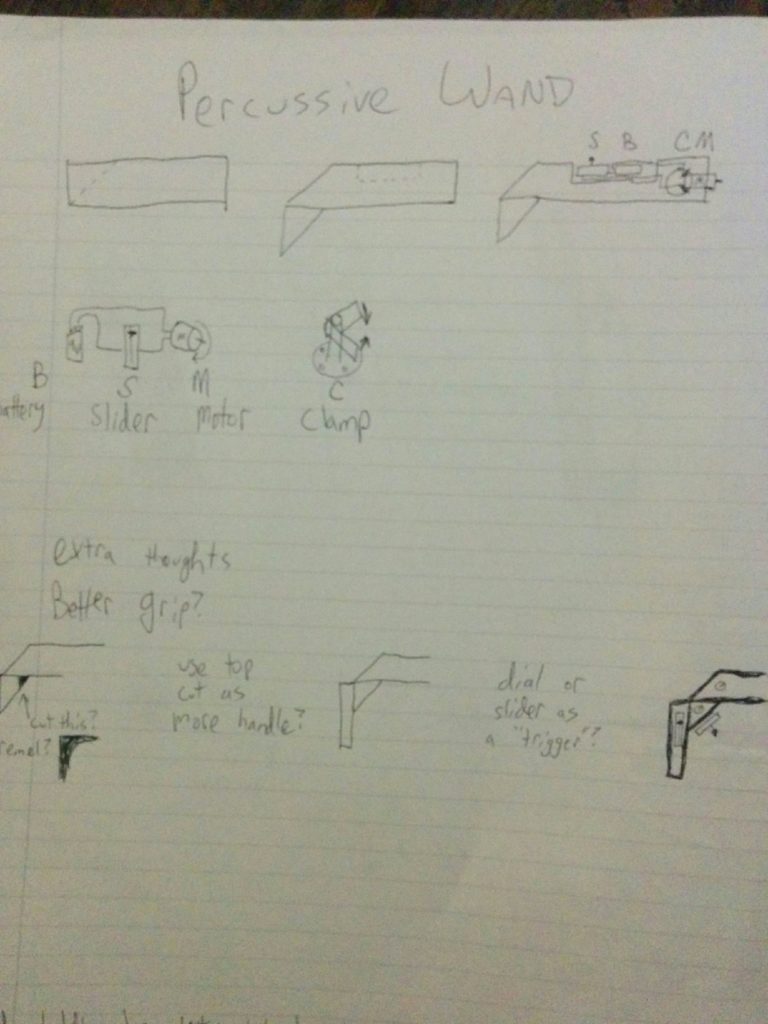
Starting Material
I went to Midcity Lumber and picked up 8ft of 2×4 pine. I figured that each wand would be approximately 1ft long, so to acheive 5 solid pieces I bought more than I needed.
Process
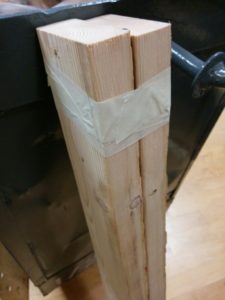
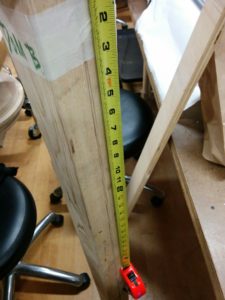
Midcity does $2 a cut. For the sake of my fellow MTA riders, I had the 8ft cut into two pieces. When I returned to ITP, I started measuring initial cuts. From 4ft to 1 ft pieces.
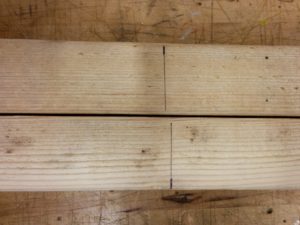
But the Midcity cuts weren’t perfect. I had initially thought I would be clever and use the mitre saw to cut both pieces at the same time. However, after marking the middle point of both pieces, I realized that they weren’t *exactly* the same length. It wasn’t that much more work to individually cut each piece, so I opted for that.
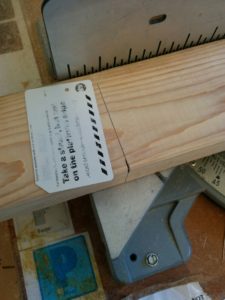
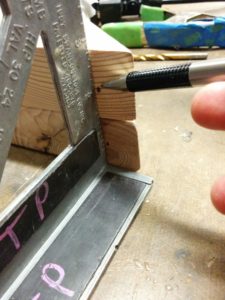
A little improvisation when I needed a straight edge to draw the cut…
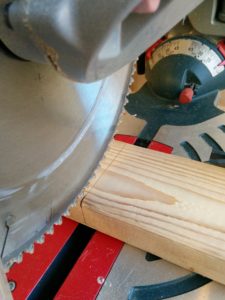
Will definitely need to sand these! I knew cuts were rough, but I was surprised at the amount of splintering.
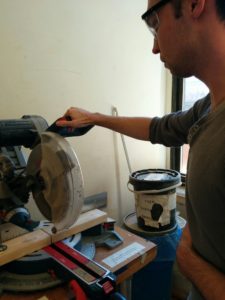
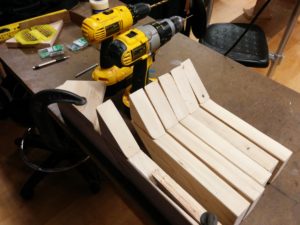
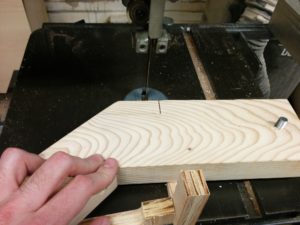
Moving onto the 45 degree cuts. This creates the handle for each wand, allowing a sloped end that meets up with the handle. Additionally, it saves material.
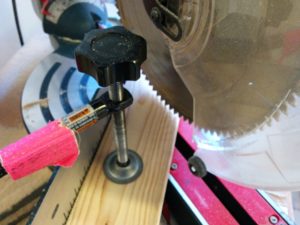
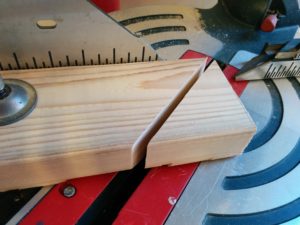
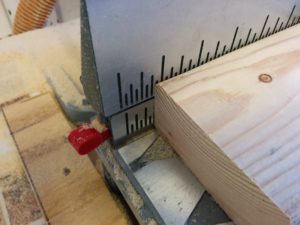
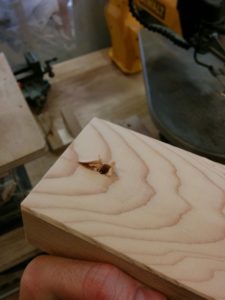
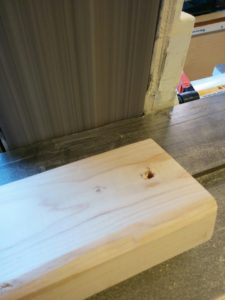
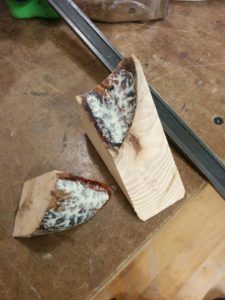
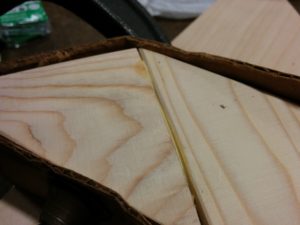
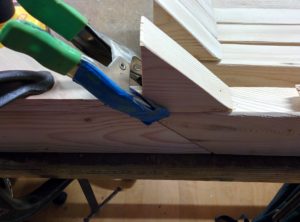
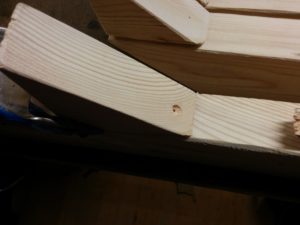
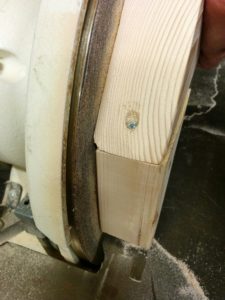
Weird… didn’t notice those little dots before. Wait! I forgot a shim when clamping!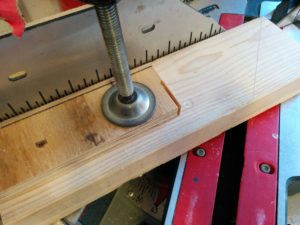
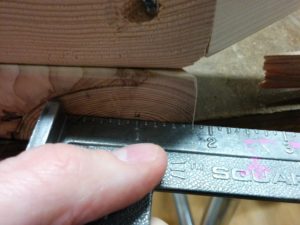
Measuring out positioning the mitre saw, when I realized… “Hey… this top one moves!”
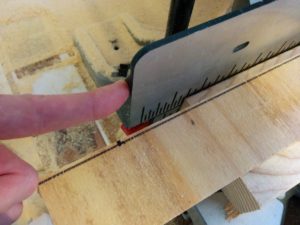
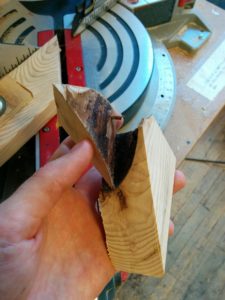
I cut 8 pieces and hit my first Bad Pancake™ ! When sawing into one of the pieces, it seems like I hit or dislodged a gnarly knot inside of the 2×4.
I had my first pieces, and then did an initial sanding.
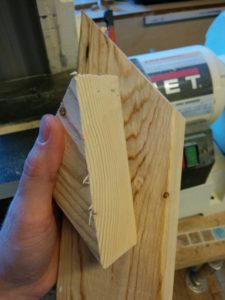
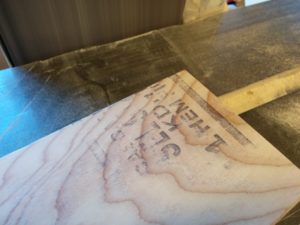
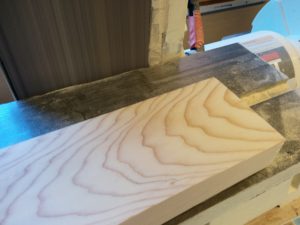
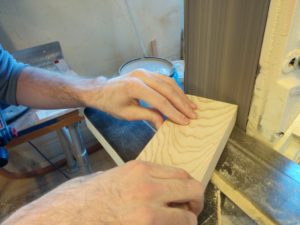
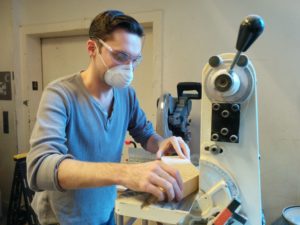
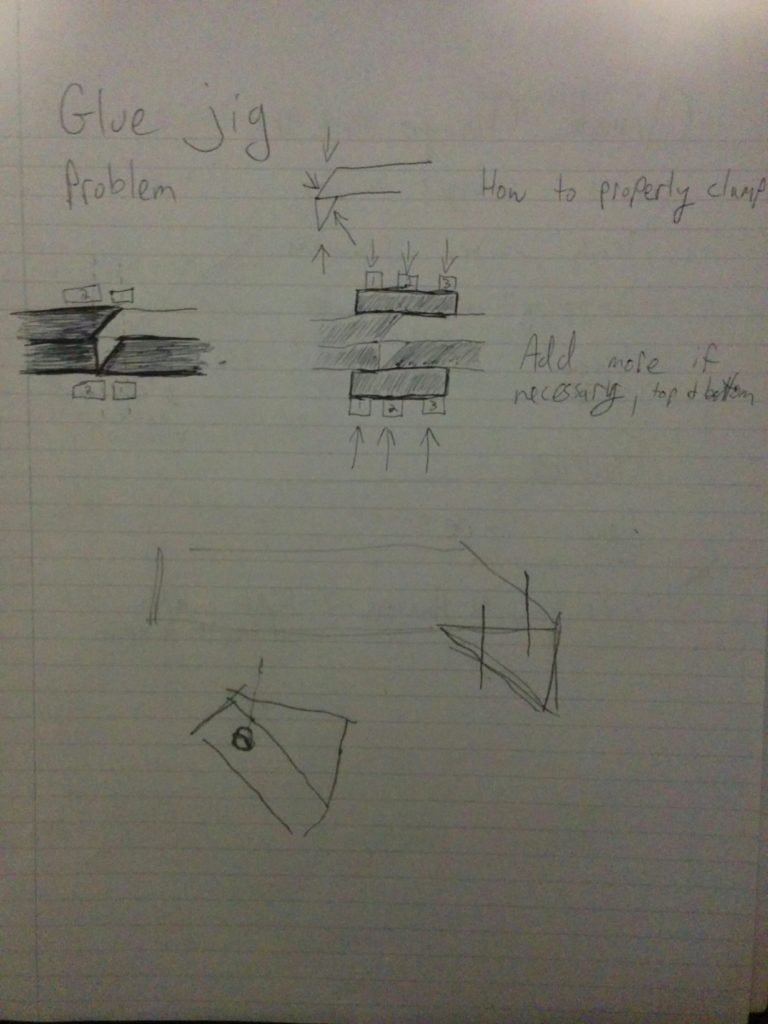
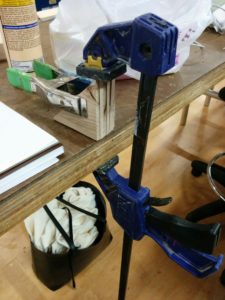
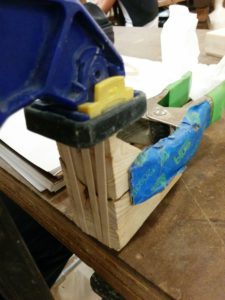
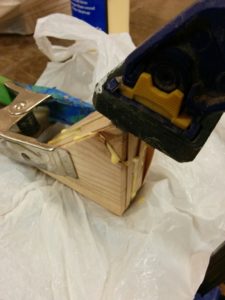
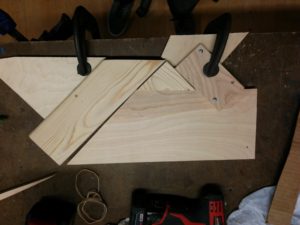
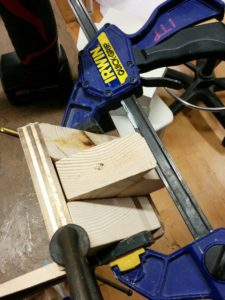
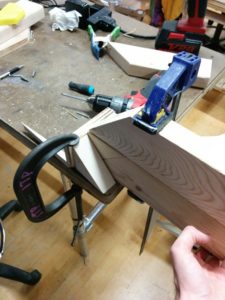
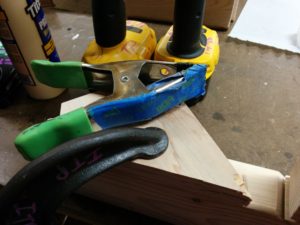
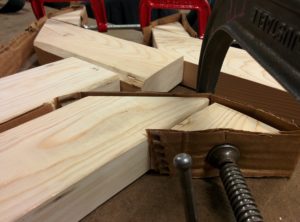
Can I save a pancake? I used some wood glue and clamps to see if it could be salvaged. Had to go with the speed clamp because the heavier clamps kept tipping everything over.
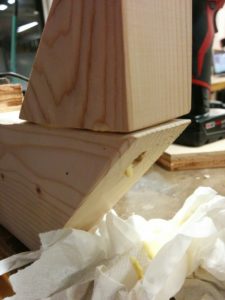
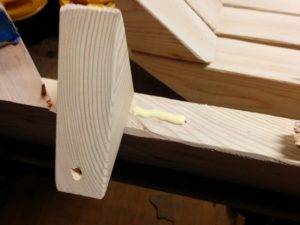
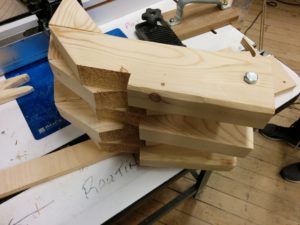
Did it work? Not like this! I waited 30 minutes as directed and the piece came apart pretty easily. I proceeded to totally over compensate, making a bit of a glue-y mess in the process. I waited longer for the clamping and managed to save the pancake! Maybe not the best choice for final production, but perhaps useful in my jig process later.
Making a jig
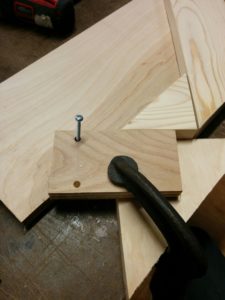
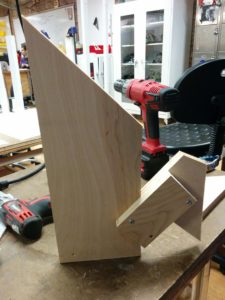
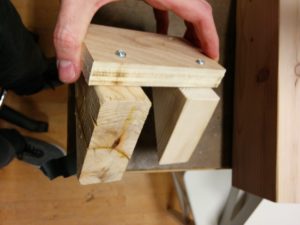
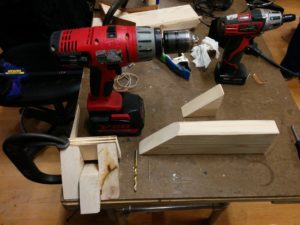
I was trying to find a good way to position my pieces and keep them stable as I did my first drilling. This is where you can really see that each piece is certainly not “exactly” the same. This ain’t photoshop! No copy and paste here.
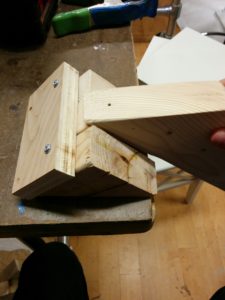
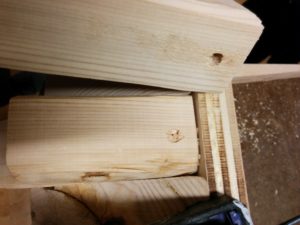
This made designing a good jig a little tough. I needed a tight fit, but thats hard to do when things aren’t exactly the same. Had to mess with it a bit… and then it failed on me. Turns out I wasn’t putting enough screws in it, and it started moving on it’s own. Not helpful, jig. I decided to re-think my approach.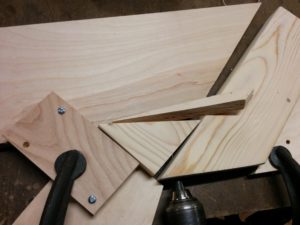
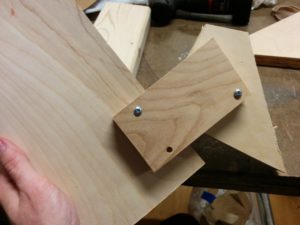
Back to the drawing board. I never lost faith in you, bad pancake. Your second life in service to the jig will never be forgotten.
The first (full) pancake
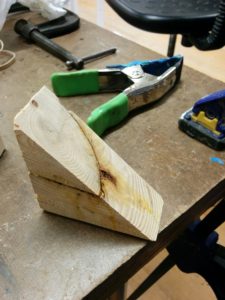
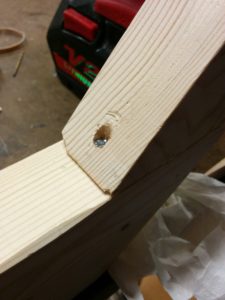
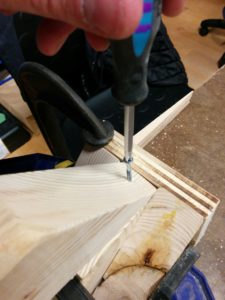
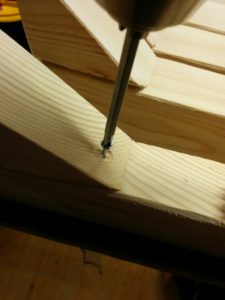
Before duplicating my process, I wanted to test it. I used one small drill bit as a pilot hole, then used a 1/4″ drill bit to just hit the top and allow for a screw head. Then I screwed that, moved the handle, applied glue between the handle and the body, and then did my drill and screw routine on the other side. Then clamp as the glue dried. (And slowly learning my lesson about using too much glue.)
Assembly line
At the end I had a decent piece that felt sturdy in the hand. Then I started prepping everything for the assembly line. Marking out drill spots, arranging my clamps and double checking the workflow.
Stain?
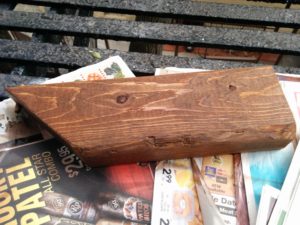
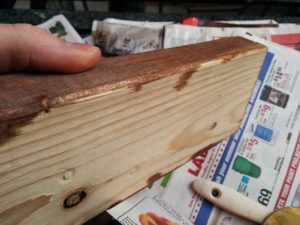
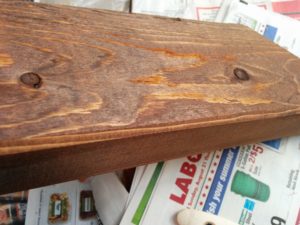
I brief intermission followed as I had to go home for the day. I took a piece of wood with me and tested some stain that I bought, since we aren’t allowed to use stain in the shop. After an overnight drying, it was interesting to see the results. I kind of liked the color, but I feel like it would do well with a waxing. Ultimately, with some other issues outstanding (more on this later), I decided to go against staining. If I needed to make changes and alterations, it would just mess up my stain job, I’d need to re-apply, and make things even more messy and complicated. Interested in using it in the future, though.
Glue n’ Screw
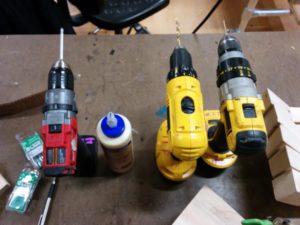
With that tangent aside, I set up the workflow for the rest of the pieces. Going to the shop when no one is there is *very* useful, as you can take as many drills as you want. I laid them out in order: pilot drill, space drill, glue, screw.
I even made a little makeshift shelf for my small clamp so it would be elevated and within arms reach.
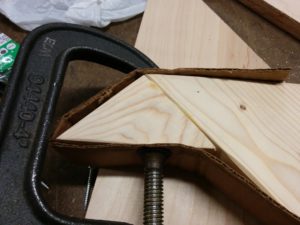
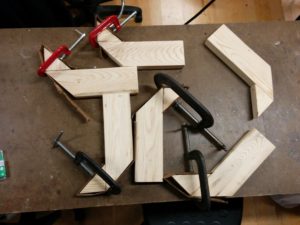
Then I used cardboard to protect all the pieces and clamped them up for a while.
Sand again
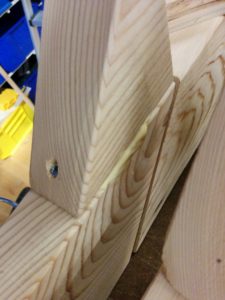
I can almost hear Ben’s laughter now. None of these were “exactly” the same at all. Handles weren’t perfectly lined up, and gaps between the handles and the wand were visible and varied from piece to piece. This didn’t interfere with the base function, however. I decided to sand them down to make them as flat and uniform as possible, and additionally soften sharp edges that would be gripped by hands.
The heartbreak
Why Amazon? Why? Whyyyyyyyy? One of my sets of components had been damaged in transit and was being re-sent… for delivery on Wednesday. Additionally, there were some issues with delivery of the other pieces. I now know more about the ITP, NYU and USPS mail system than any sane person needs to. But I was sweating a bit as well. This is what I was keeping in mind when I didn’t stain: if I had to change things around, I might need to make more cuts or change the design in order to get something done by Tuesday.
Time to improvise
As of this writing, I am waiting on a few other pieces of gear. Depending on when I get what I get, I’ll need to adjust my final project. Will I get my materials on time? Will I have to radically change my final design? Will Ana up front ever forgive me for pestering her incessantly about when packages are getting in? Find out next time in part two of… The Multiples!
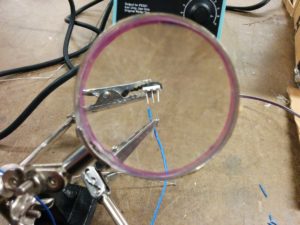
Thank your shop staff: Dhruv
I have been blessed by the friendly shop staff! Dhruv helped me figure out an alternative mounting solution that would replace my broken/missing delivery.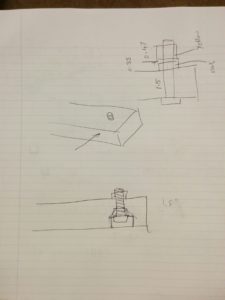
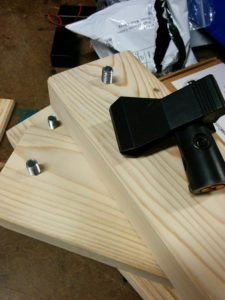
Essentially, we found a threaded bolt that was the perfect size for the clips that I have. Dhruv helped me get the right drill bit, and I went at testing the theory.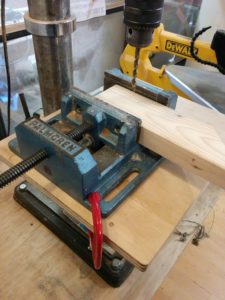
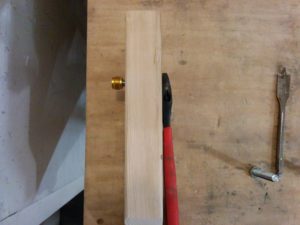
Yes! After the proof of concept, I was ready to continue. First marking, then drilling, and of course going back to the sander yet once again.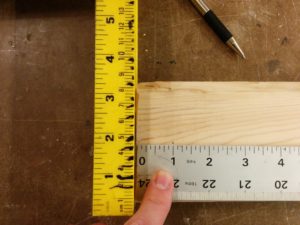
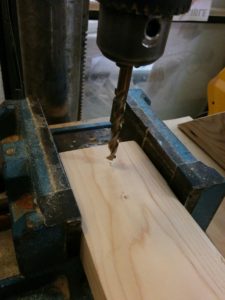
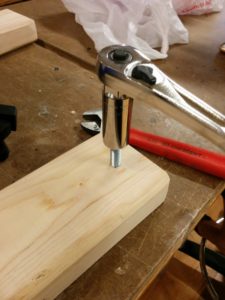
I found the right tool for the job (ratchet, and then wrench for more delicate scenarios). Then, I laid out everything again to do my assembly line round 2.
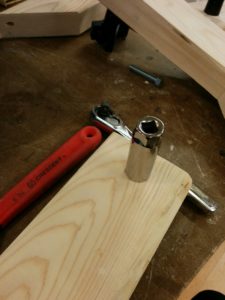
Not without a brief heart attack thinking that I had permanently attached a ratchet head to one of my pieces. (It was really… really stuck on there.)
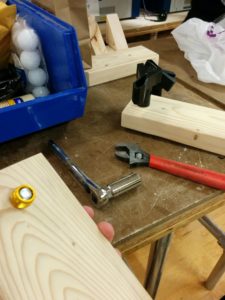
And I got it working! Except…♫one of these things is not like the other, one of these things does not belong♫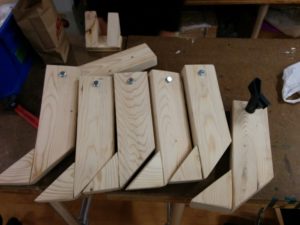
(Yes, it annoyed me enough that I fixed it. Luckily my design made it simple to unscrew and re-screw everything back together the right way).
As of this writing, I had gotten this far but still hadn’t received my packages yet. Desperate, defeated, and considering an expensive run to Tinkersphere. But just when I was getting ready to give up, I received a call… from the Campus Mail Services!
I’m not sure I will be able to post everything completed before 6pm tonight, so I wanted to get this blogged least to show how much I have gotten so far. I’m confident I will finish tonight and have something to show tomorrow morning. Updates to follow, stay tuned!
And now, for the thrilling conclusion of… The Multiples!
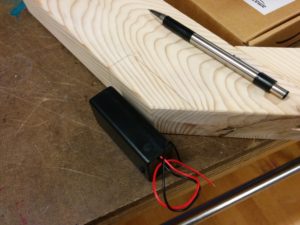
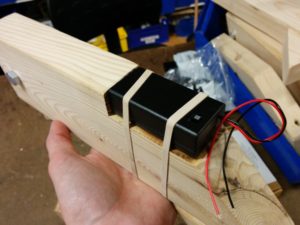
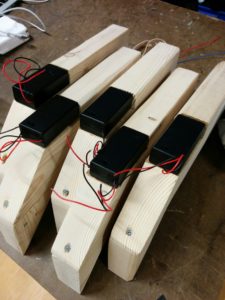
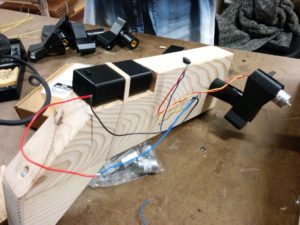
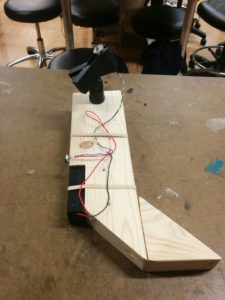
Motors! Battery cases! And just when I thought it couldn’t get any better, Ana hand delivered my batteries to the shop. Lets get these guys on!
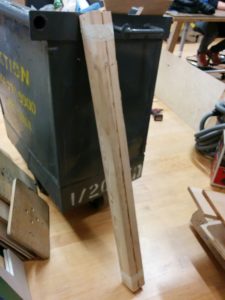
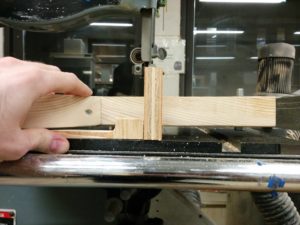
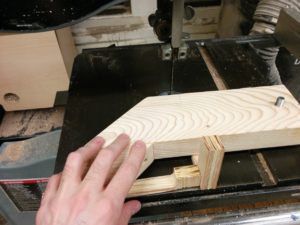
Of course, it would have been better to not have the screws in. But instead of undoing and redoing those, I found some wood scraps to elevate as I cut.
With my first test set, I was ready to duplicate.
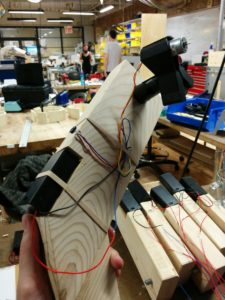
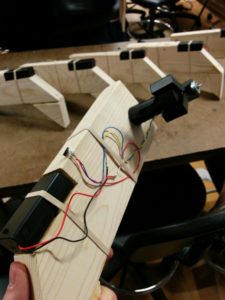
Lots and lots of soldering for the wiring
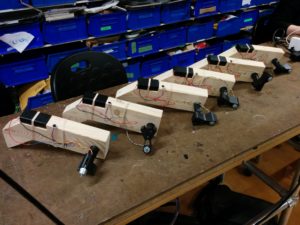
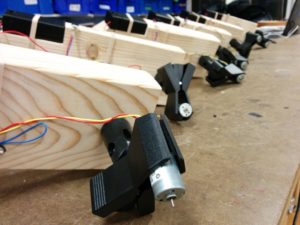
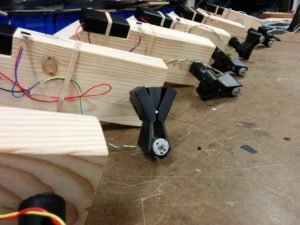
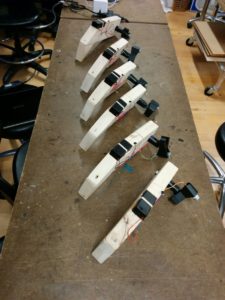
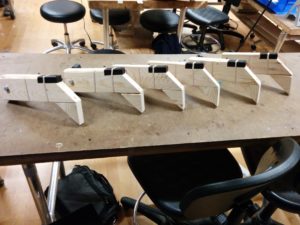
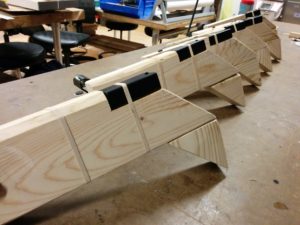
The final product(s)
I had some material I was trying to attach to the motor in order for it to hold different percussive mediums (brush, wire, etc). However, that did not work out that well. I think I’m going to set these aside for now and perhaps take more time in approaching that specific feature in more detail later.
*Phew!* I got something to show tomorrow. Certainly learned a lot. Can’t wait to discuss more and see what the rest of the class has cooked up.
And that concludes the thrilling tale of The Multiples!



Nice work and great documentation.
You made your own jig, fantastic! The wands are coming along nicely. Don’t worry if the parts don’t come in. Like I said, I care about the process more than the pieces. They look good so far, don’t worry about functionality.
Who told you you can’t use stain in the shop? We do it all the time. Also, a good stain finish takes days if not weeks to dry, I’d recommend holding off until Thursday with stain.