Excited to go into a new class for the second half of the semester! Ben started off Intro to Fabrication with a really wonderful story about a flashlight he made for his grandmother when he was a child. Our first assignment was to build a flashlight of our own. The definitions have been generously outlined as something 1) portable, that 2) creates light.
Inspiration
I like the idea of things that are dual use, to save on resources, space and money. Maybe not the best example, but I’ve always been drawn to the glowing umbrellas in Blade Runner. A light and an umbrella in one! (Not sure how often that is needed, though…)

As for this assignment, I thought it would be nice to create a flashlight that wouldn’t only sit in a drawer for most of it’s life. A more practical approach would be something like a lantern. It can be portable light when you need it, but can also sit stationary as a lamp.
Drawings
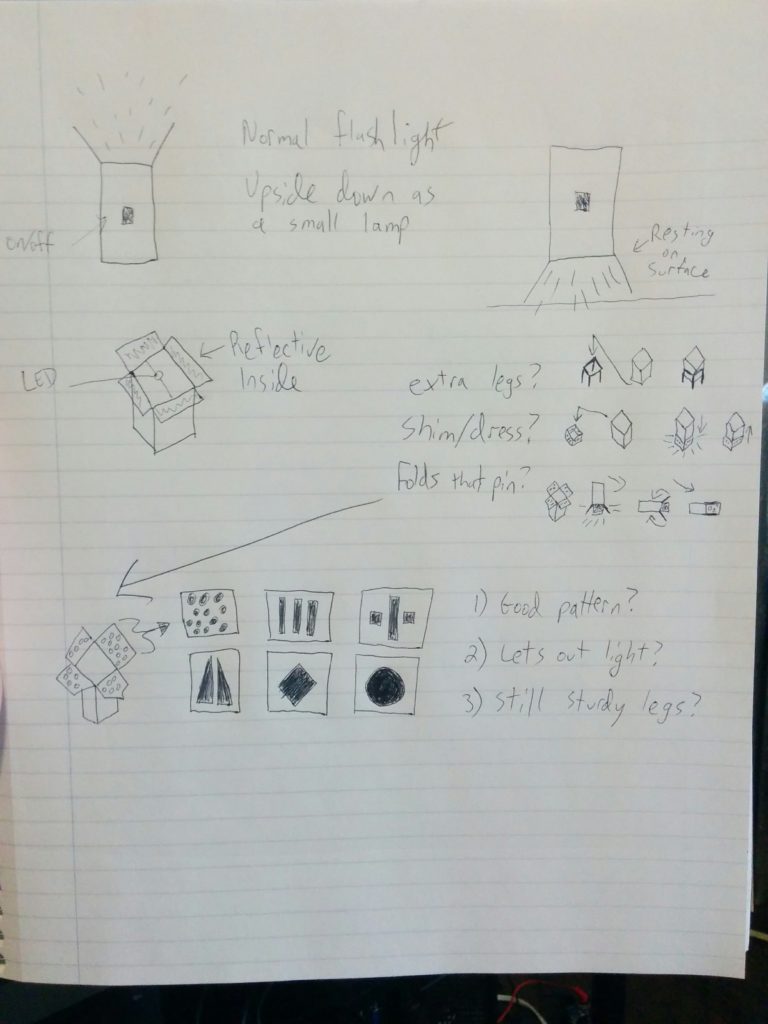
Maybe there could be a specially shaped lamp that could have the functionality of a flashlight when desired. A lamp type use case when needed, and directed light when desired.
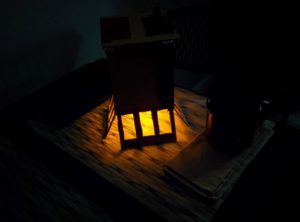
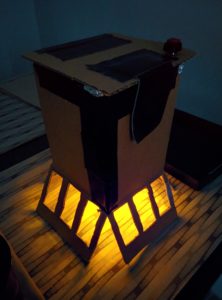
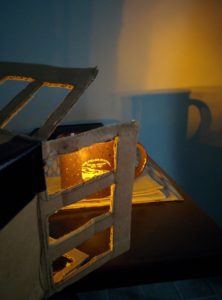
What I came up with was essentially a “standing” flashlight. Hold it like a normal flashlight in one use case, but when you place it light-down there are affordances to let certain amounts of light through.
Raw Material
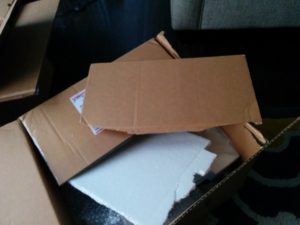
I enjoy having clever ideas, but I am skeptical of “clever” ideas. What if there is a good reason I haven’t seen this kind of design somewhere? I thought the best initial incarnation of this concept would be cardboard. Test out if the general form is even a good idea to begin with.
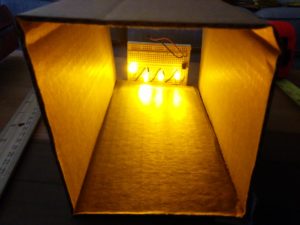
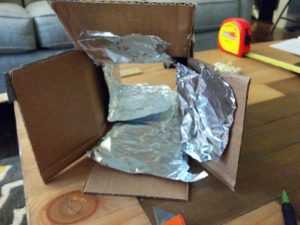
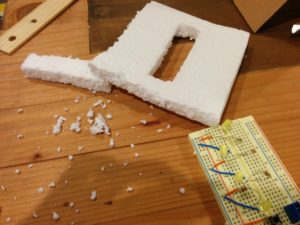
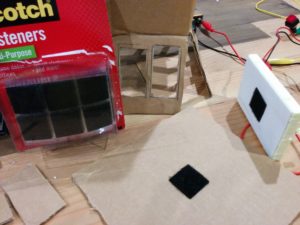
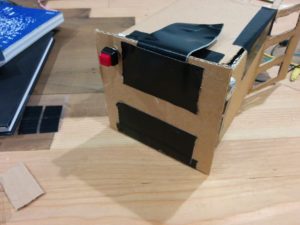
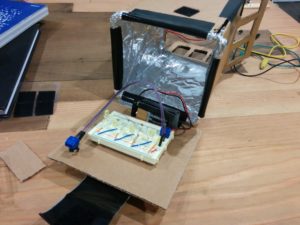
The cardboard is brought together by duct tape. The inside of the piece has tin foil on the sides to increase reflectivity, which is held into place by duct tape and normal clear tape. There is also a little patch of velcro for functionality I will outline later. At one point I used to styrofoam to test out some functionality, but it did not stay in the final design.
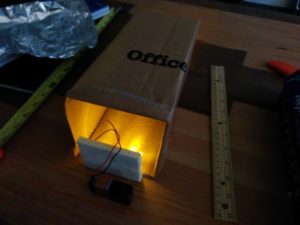
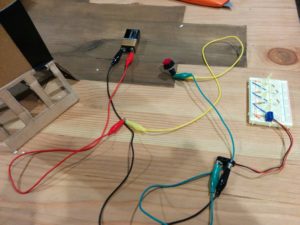
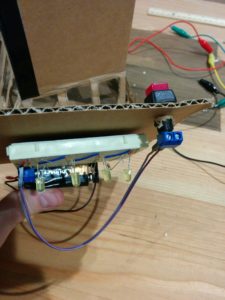
The light source is a breadboard with 4 yellow LEDs, appropriate resistors, a 9 volt battery source with appropriate connection terminal, and a “soft touch” switch. These are connected via stiff, on-board jumper wires, a looser jumper cable for the switch, a screw terminal to connect the switch to the wires. I used some alligator clips during testing of the circuit, but they did not stay in the final design.
Mid-Process
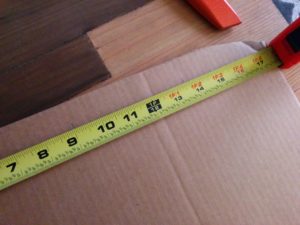
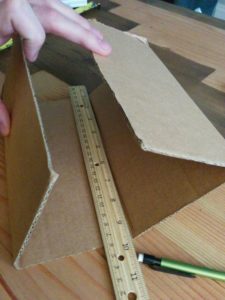
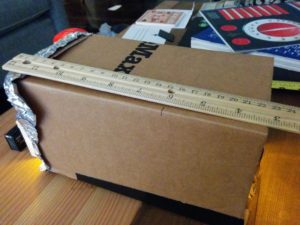
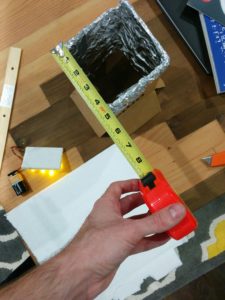
The questions started almost immediately, as I was unsure what would be a good size for the frame. I wanted something small enough so that I could hold it in my hand but large enough to justify as a stationary light source. I wound up going with 4.5 inches.
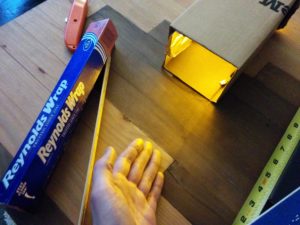
I wired up my breadboard with 4 LEDs and a 9 volt battery and shone the light through my cardboard tunnel. Not too bad.
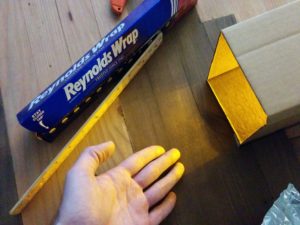
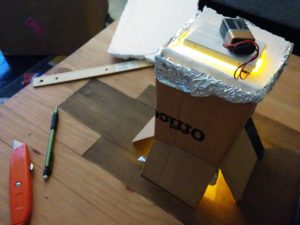
Then the tin foil was added to increase light reflection. Not really sure this made that much more of a difference. To my eye, it was more than these photos might convey, but certainly a minimal difference. However, the light was coming out and was forced into a direction, so I decided there was enough functionality for now.
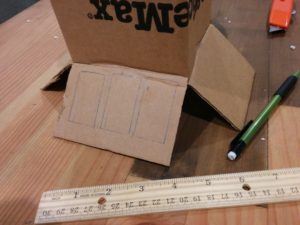
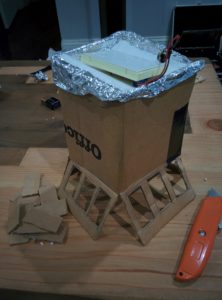
Cuts were added to the bottom 3rd of the cardboard to create the lamp legs, and measurements were made in order to cut a piece of styrofoam. This was a quick way to punch out a hole and rest my light on top of the structure to see how the lamp functionality worked.
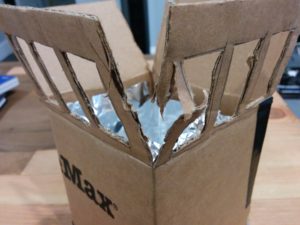
Getting there. But the legs need to allow more light out. I measured and drew my window holes, and cut with my box cutter. Not without some issues…
But eventually they were all clear. This was the moment of truth: would the legs hold the weight of the entire light source?
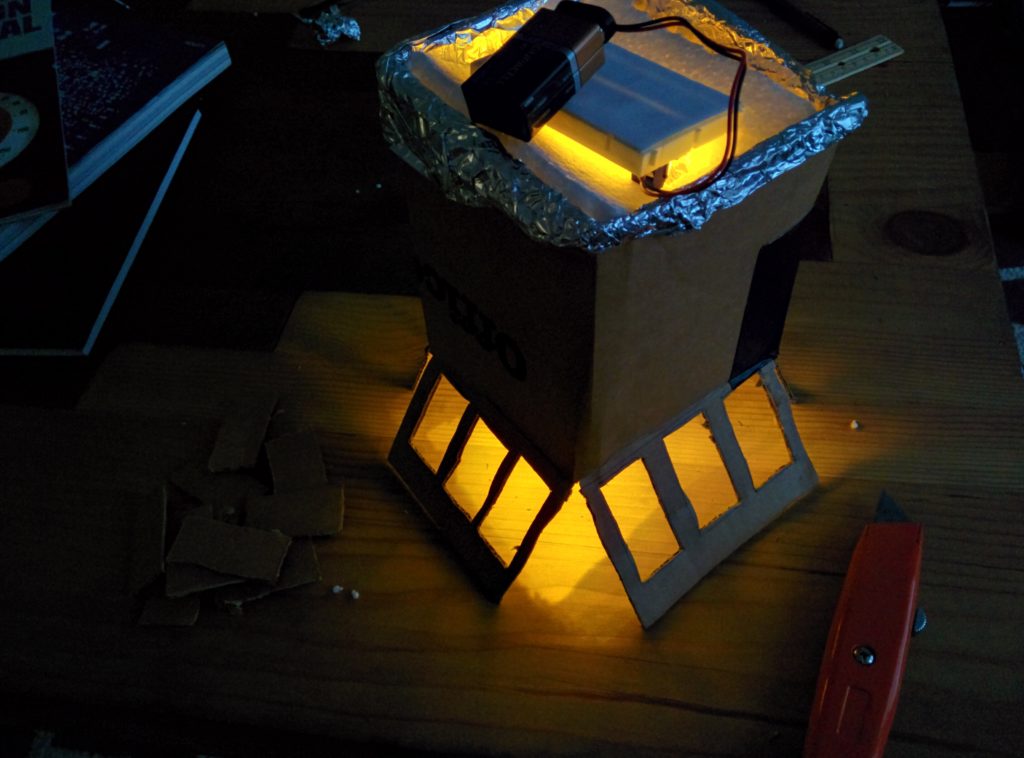
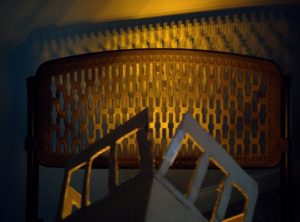
It stayed up! Also, this gave me a moment to turn off the lights and test the LEDs. Glad I went with the yellow, which provide a much warmer glow.
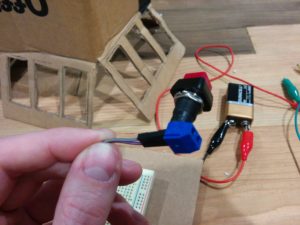
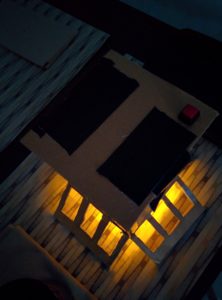
The switch was tested with alligator clips, then made more permanent with male to female jumper wire, a block terminal, and the soft touch switch. I cut another piece of cardboard to make a more permanent top, and attached the breadboard to it via a patch of velcro.
A cross pattern cut was made, which allowed me to push the push button base through while keeping as much tension as possible to hold the button in place.
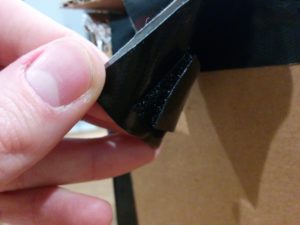
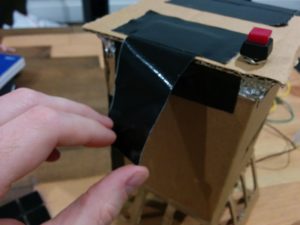
Then I taped one side of this ‘lid’ to the top of the structure. Instead of taping the entire piece down, I created a kind of flap out of duct tape on the other side. This attaches to the side of the light with velcro. This allows access to the inside, for electrical troubleshooting, replacing batteries, or adding/removing LEDs.
List of tools used
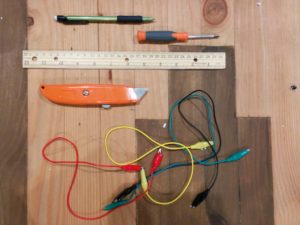
The star tool of the show was a box cutter for going through cardboard and styrofoam. Pencil and measuring tape for marking things out, along with a hard ruler for marking as well as being a hard object to bend cardboard around in straight lines. A very small flat head screwdriver was used to secure the block terminals that held the wiring. Alligator clips were used for the testing of the circuit.
Final Images
Despite its cardboard prototype appearance, I’m happy with the result. The variations on this concept are many; differing sizes, leg/body ratios, and patterns for letting light through. Getting something together, even if only in cardboard, gives a good opportunity to really feel what design choices can resonate the most.

test
I agree, prototyping in cardboard is the way to go. Great way to get scale and form together without wasting expensive materials.
I feel this design needs a handle on the top. Maybe the button could be incorporated into it. Also, I think if you painted the lantern one color it would unify it more. Hide the tape a little.
I don’t know if the tin foil is needed, I like the warm light the LEDs and the cardboard produce.
Great job with documentation.