I was paired with Jinhee Ahn to work on our midterm for PComp. We had a brainstorming session about what fun ideas we could bring to life, and Jinhee had the idea to create tiny turntables to control music of some kind. But what songs? She thought of Pen Pineapple Apple Pen.
https://www.youtube.com/watch?v=d9TpRfDdyU0
At first we laughed, but thought that it might actually be fun to make a game out of it. Maybe this was more like a game, where you input pen, pineapple, and apple all in the correct sequence. Sort of like a game of Simon, or Rock Band. But you were allowed to control the pace, where you are guided to learn the sequence of inputs but can do so at your own pace.
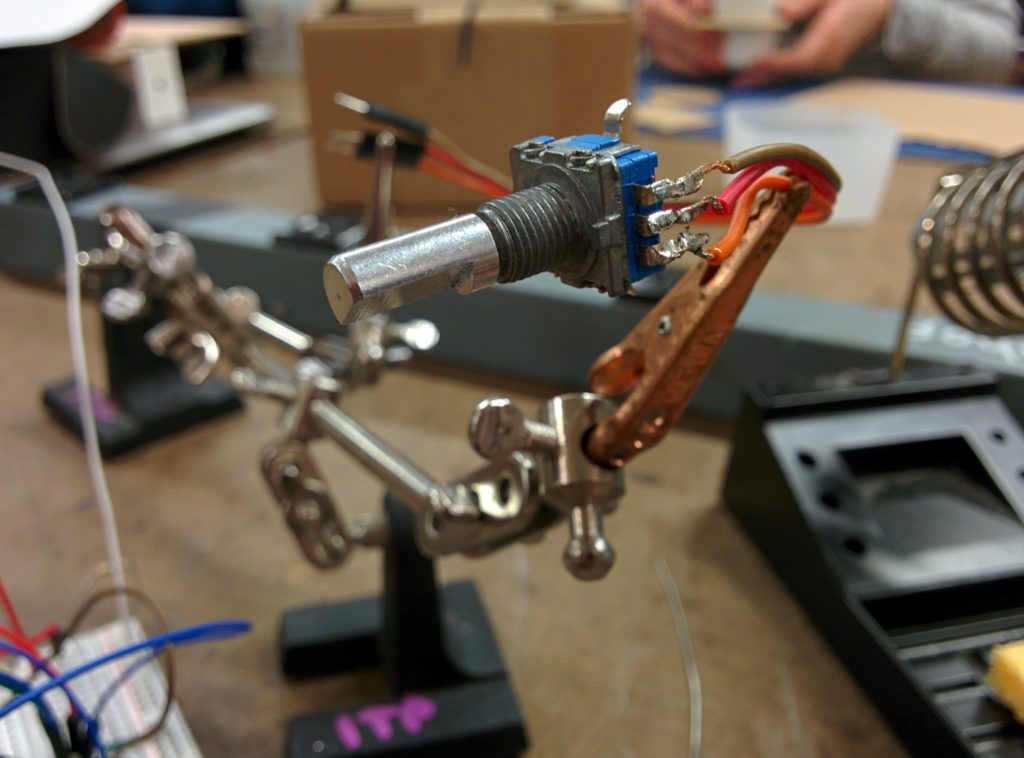
We decided on rotary encoders for the turntables, since we wanted to be able to fully spin them forever like you would a real turntable. This became tricky, because working with encoders is different than a normal potentiometer knob, even if they look similar. The example code that I found (much credit to the bildr website) and many others like it seemed to guide me towards learning about “interrupt” pins on the Arduino.
Interrupts are great! Interrupts are useful! According to the bildr website, they should be considered “magic”! I’m in. But not so fast! It seems that an Arduino Uno only has 2 interrupt pins, and I need two for each rotary encoder. Time for an upgrade. The Arduino Mega has 6 interrupt lines, solving my input issues.
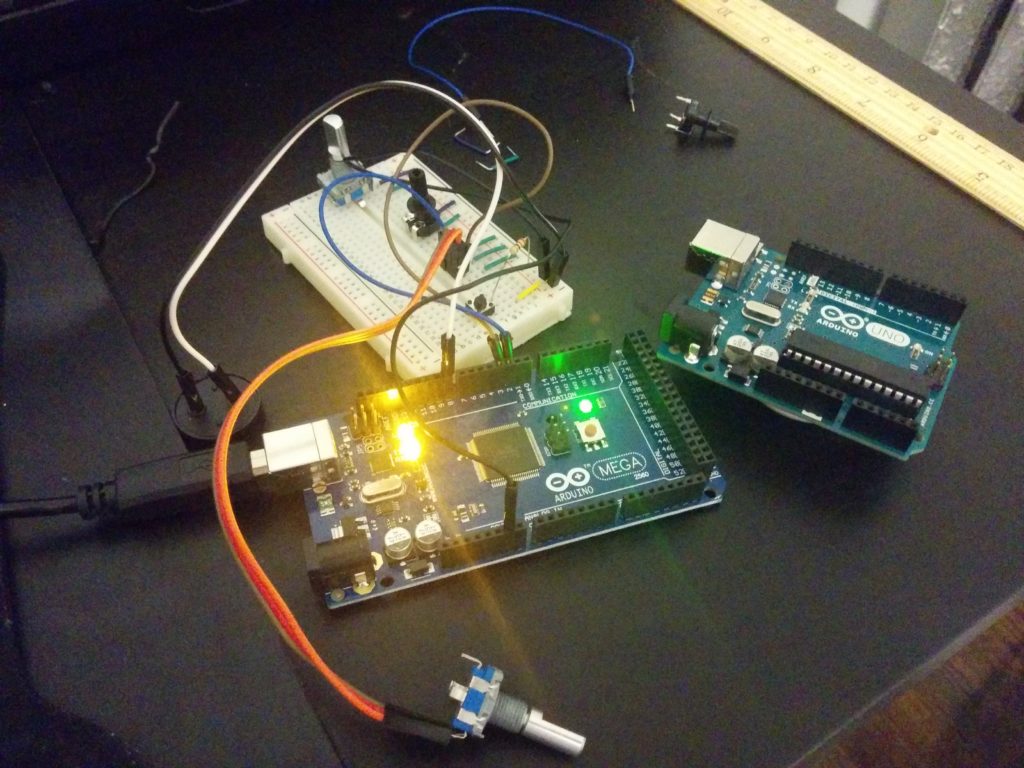
To split up the work load, I did most of the coding. My first task was to find a way to play PPAP on the Arduino. Fortunately for me the internet is deep and weird.
https://www.youtube.com/watch?v=3XXajtg0zKc
On YouTube someone was kind enough to load a chiptune cover of PPAP, played within an oldschool “tracker” audio program. This displays the notes being played. Then I could transcribe them into MIDI notation using an online audio program. If you feel like downloading my translation of an internet meme into a MIDI file, you can grab a copy/play/remix it here:
https://onlinesequencer.net/334305
And for the final step, I found a site online that takes MIDI files and then converts them into code that can be used by the Arduino tone() function.
https://extramaster.net/tools/midiToArduino/
*Phew!* Lots of translations in a row, but it worked.
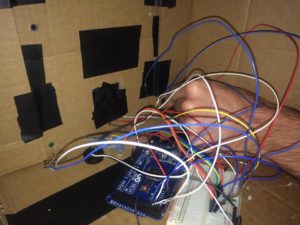
The program itself knows all the notes, and plays them back when the appropriate instrument is activated. A light above each input indicates which one you should be using. This means I had to keep track of the notes, the position of each note in the song, and the “parts” for each song that would correlate with each instrument. So, “I have a pen” is four syllables, and hence four notes. You will need to hit the “pen pad” (a piezo sensor) four times to step through that part of the song. Then the next part is “I have an apple”. In this case, at the start of this phrase the current position is on the fifth note, which has been manually assigned to the second “part” of the song. When in this part, a different LED is activated, and the “apple” record is the only instrument that can move the music forward.
It is amazing how much you can take for granted when coming up for an idea for a program. “Oh, its the notes and then you’ll just say what parts of the song…” Then you have to actually code it, breaking down all the discrete little conditions you gloss over when thinking of how something should work.
Additionally, this was a good learning exercise for coding Arduinos specifically. Working a lot in p5, I was easy to take for granted something like the array.length() property. Arduino does not work that way, so the number of notes was manually counted out and hard coded as it’s own integer.
Link to my currently messy code can be found here.
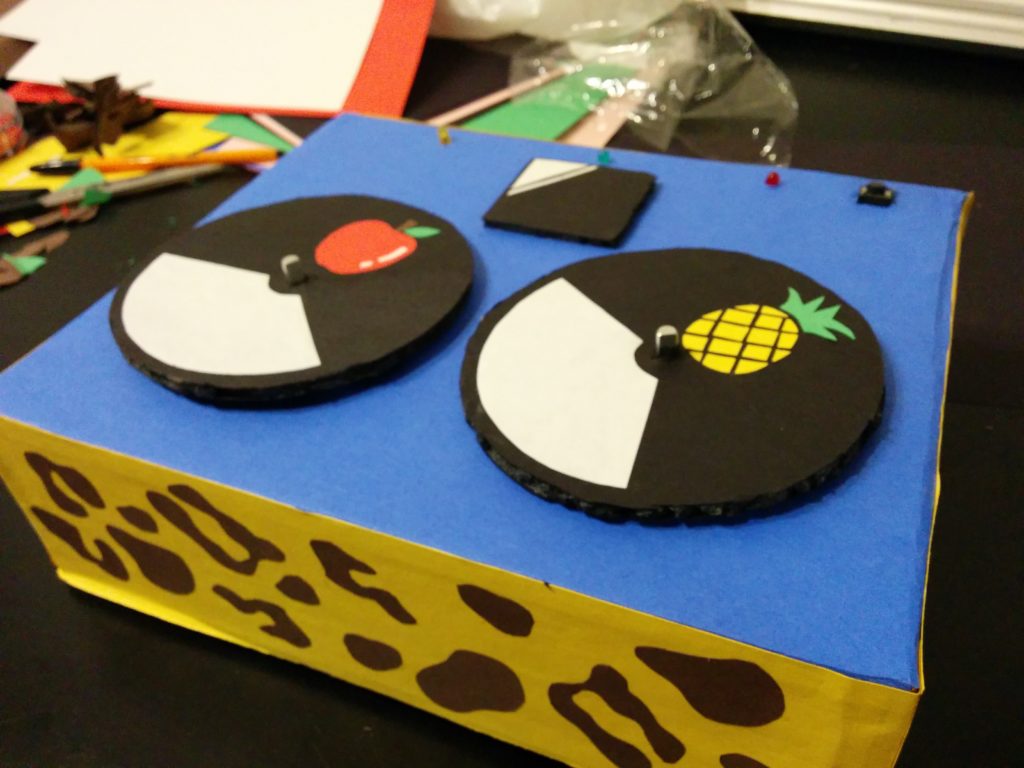
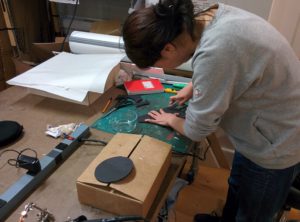
Jinhee’s graphic design experience really made a big difference once we were all done. Even as a prototype, going the extra mile to give something the right look can be worth it. Our device is now clearly a fun, whimsical toy.
There are some interesting UX revelations here, and certainly some general knowledge that will be kept when considering future projects with Arduino. But I think for a prototype, this is a good proof of concept to try out the ideas we were going for.
