Here is the final presentation for my Mic Cuff Controller:
Category: Intro to Physical Computing
PComp: Final Project Update
This past week we had a play testing session with one of the other Physical Computing sections. 
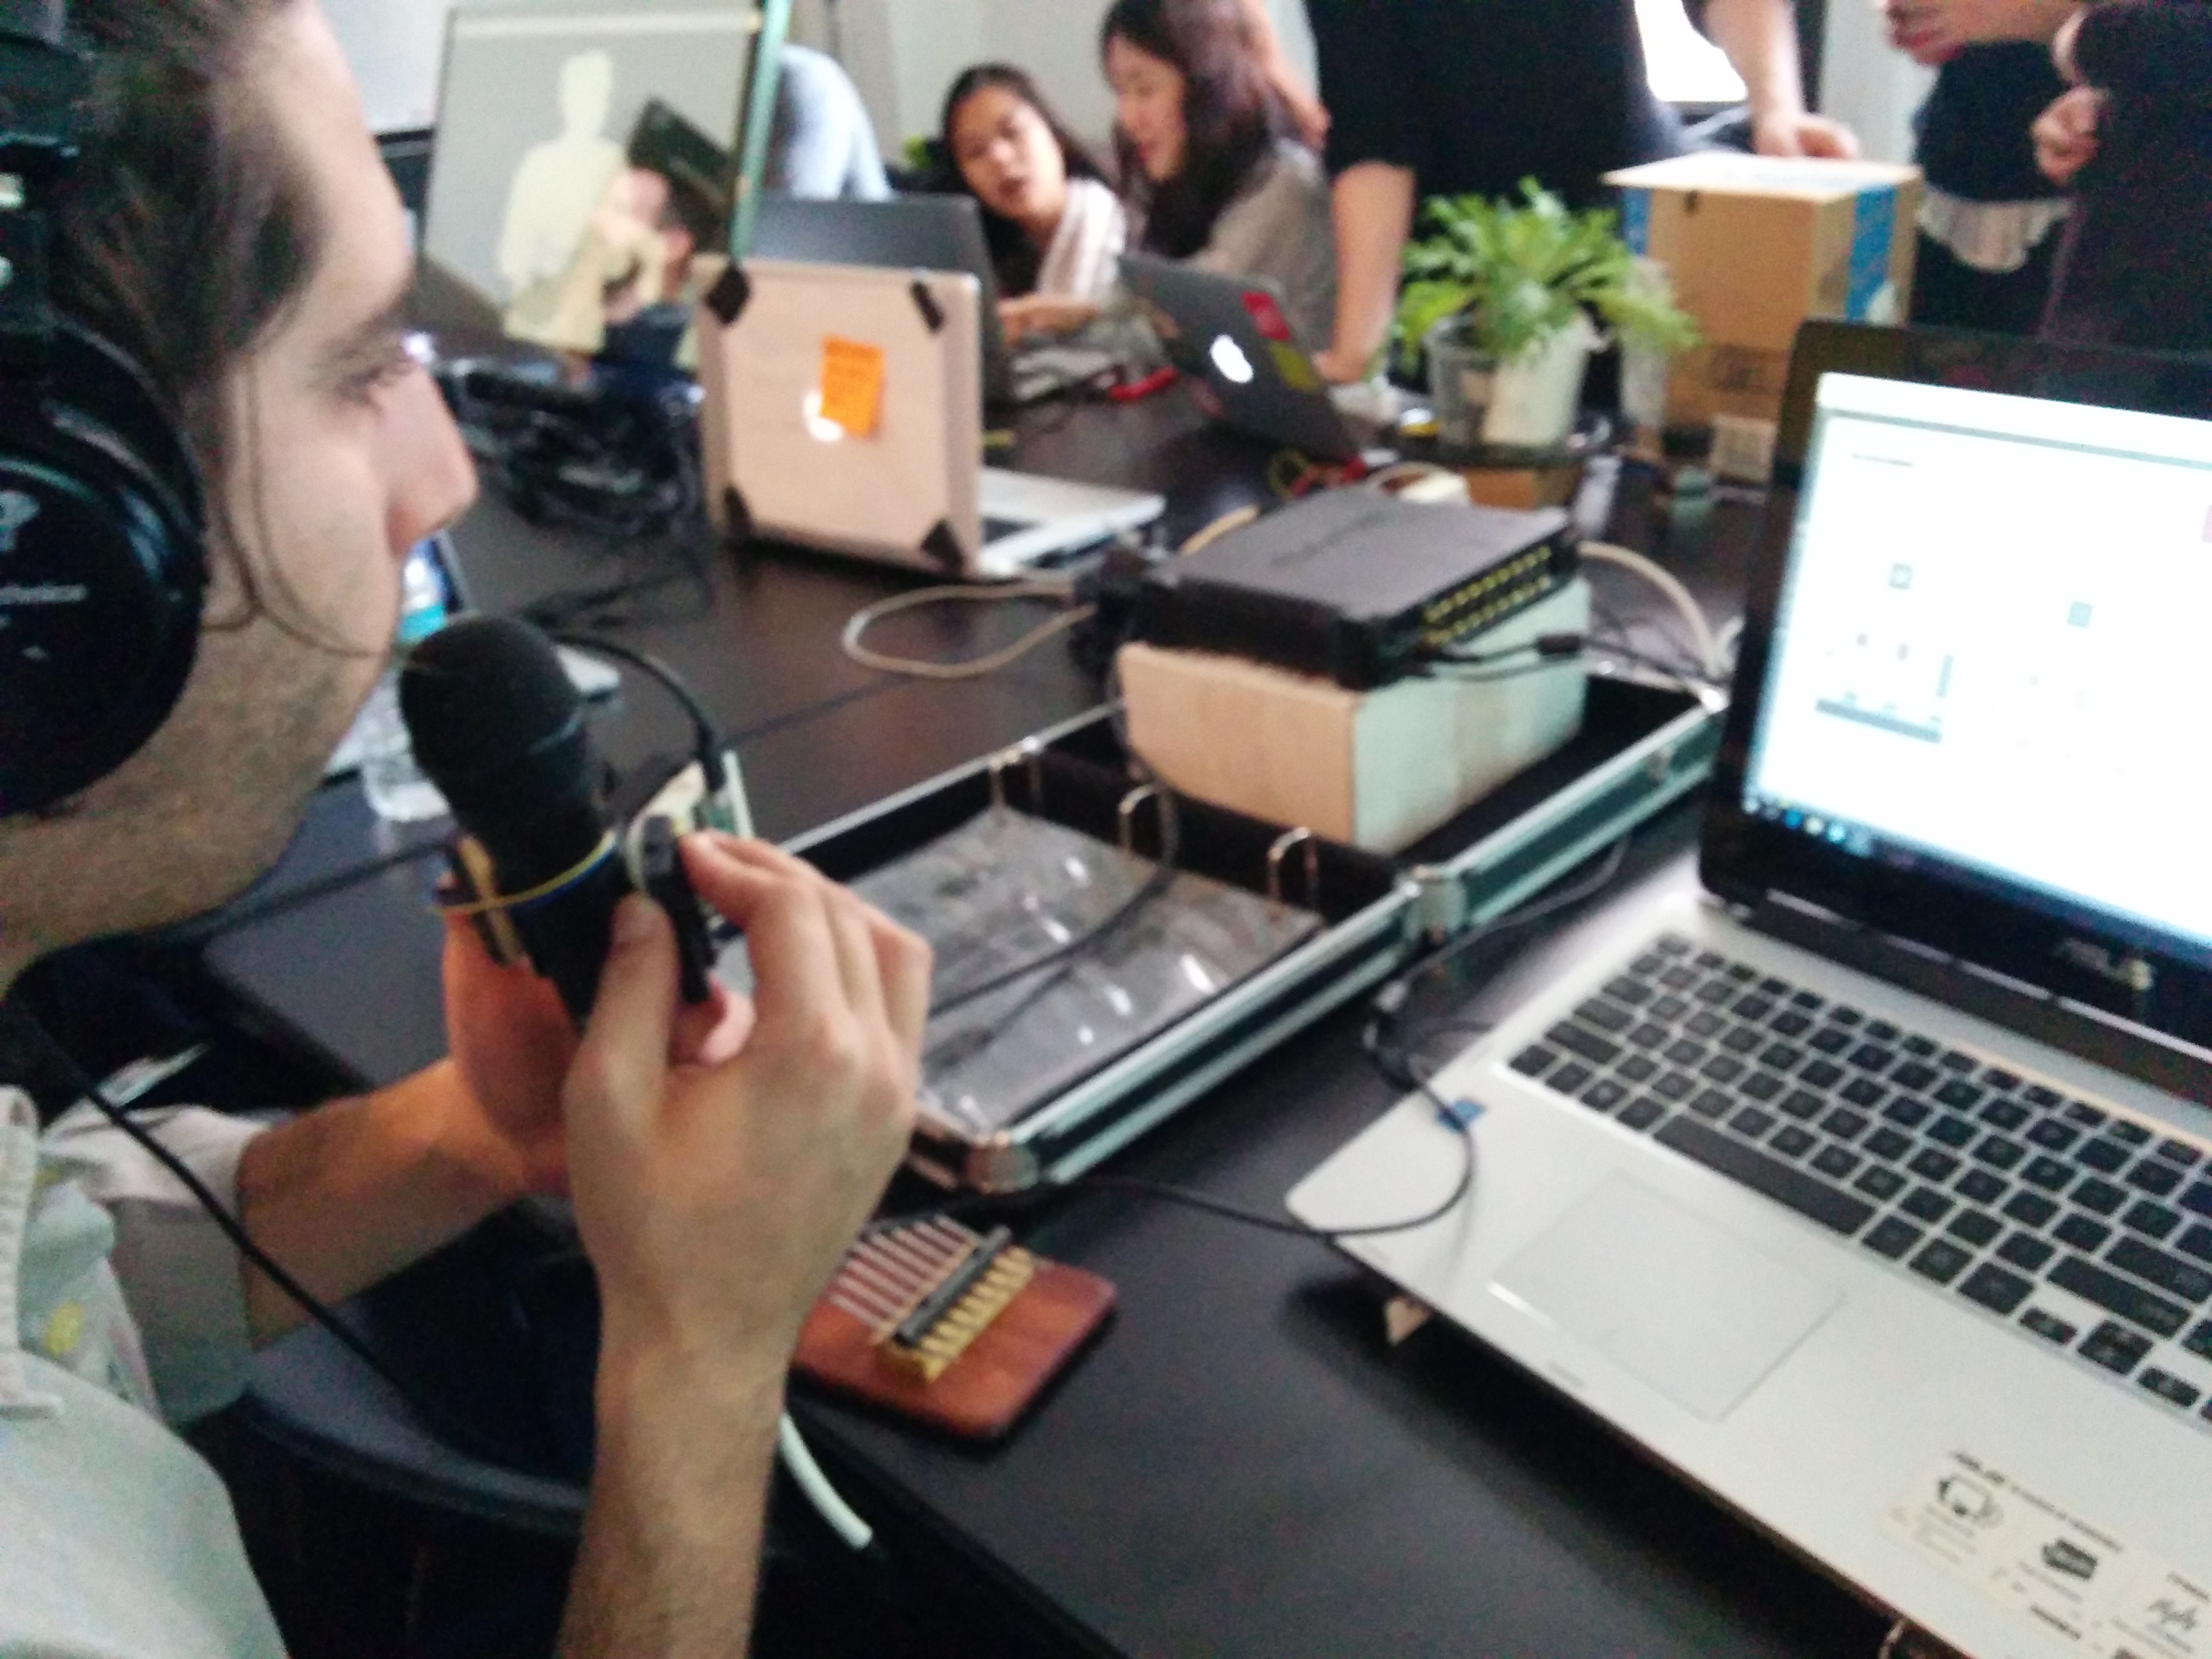
It was good to see people who hadn’t heard of my project before approach it for the first time. Also, it seems that the people with musical performance and production experience almost immediately understood the usage and potential. Very encouraging.
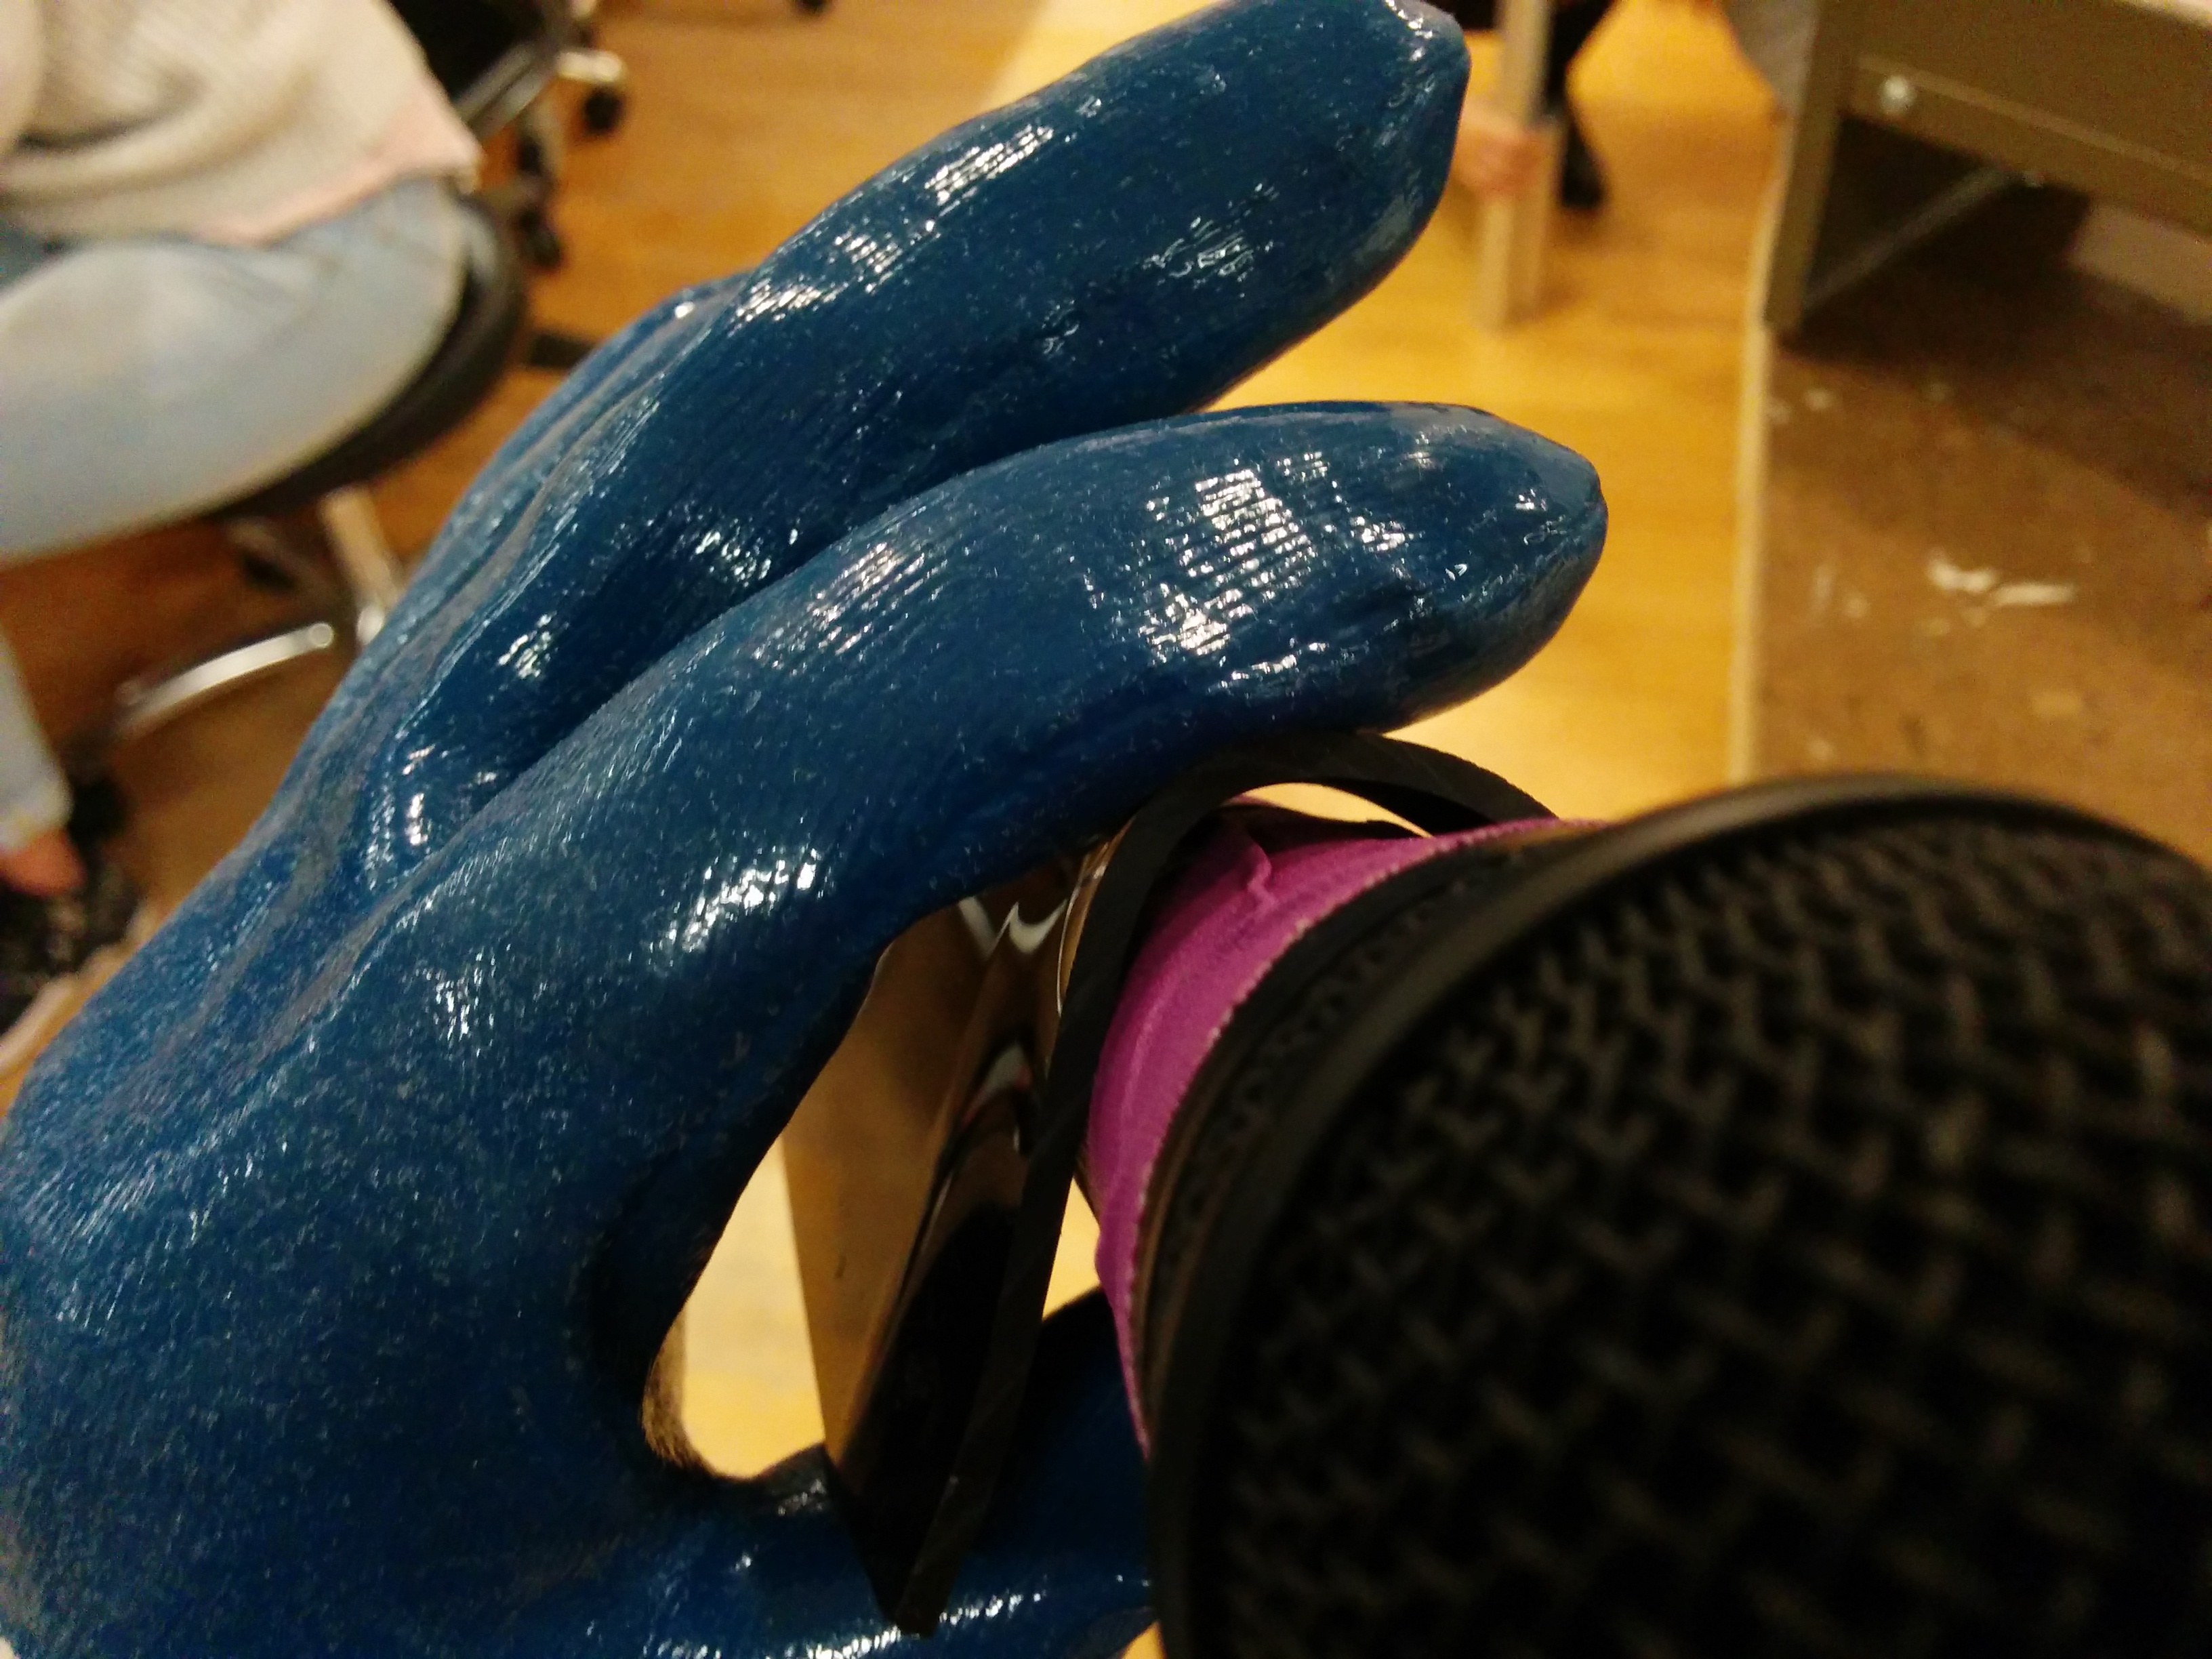
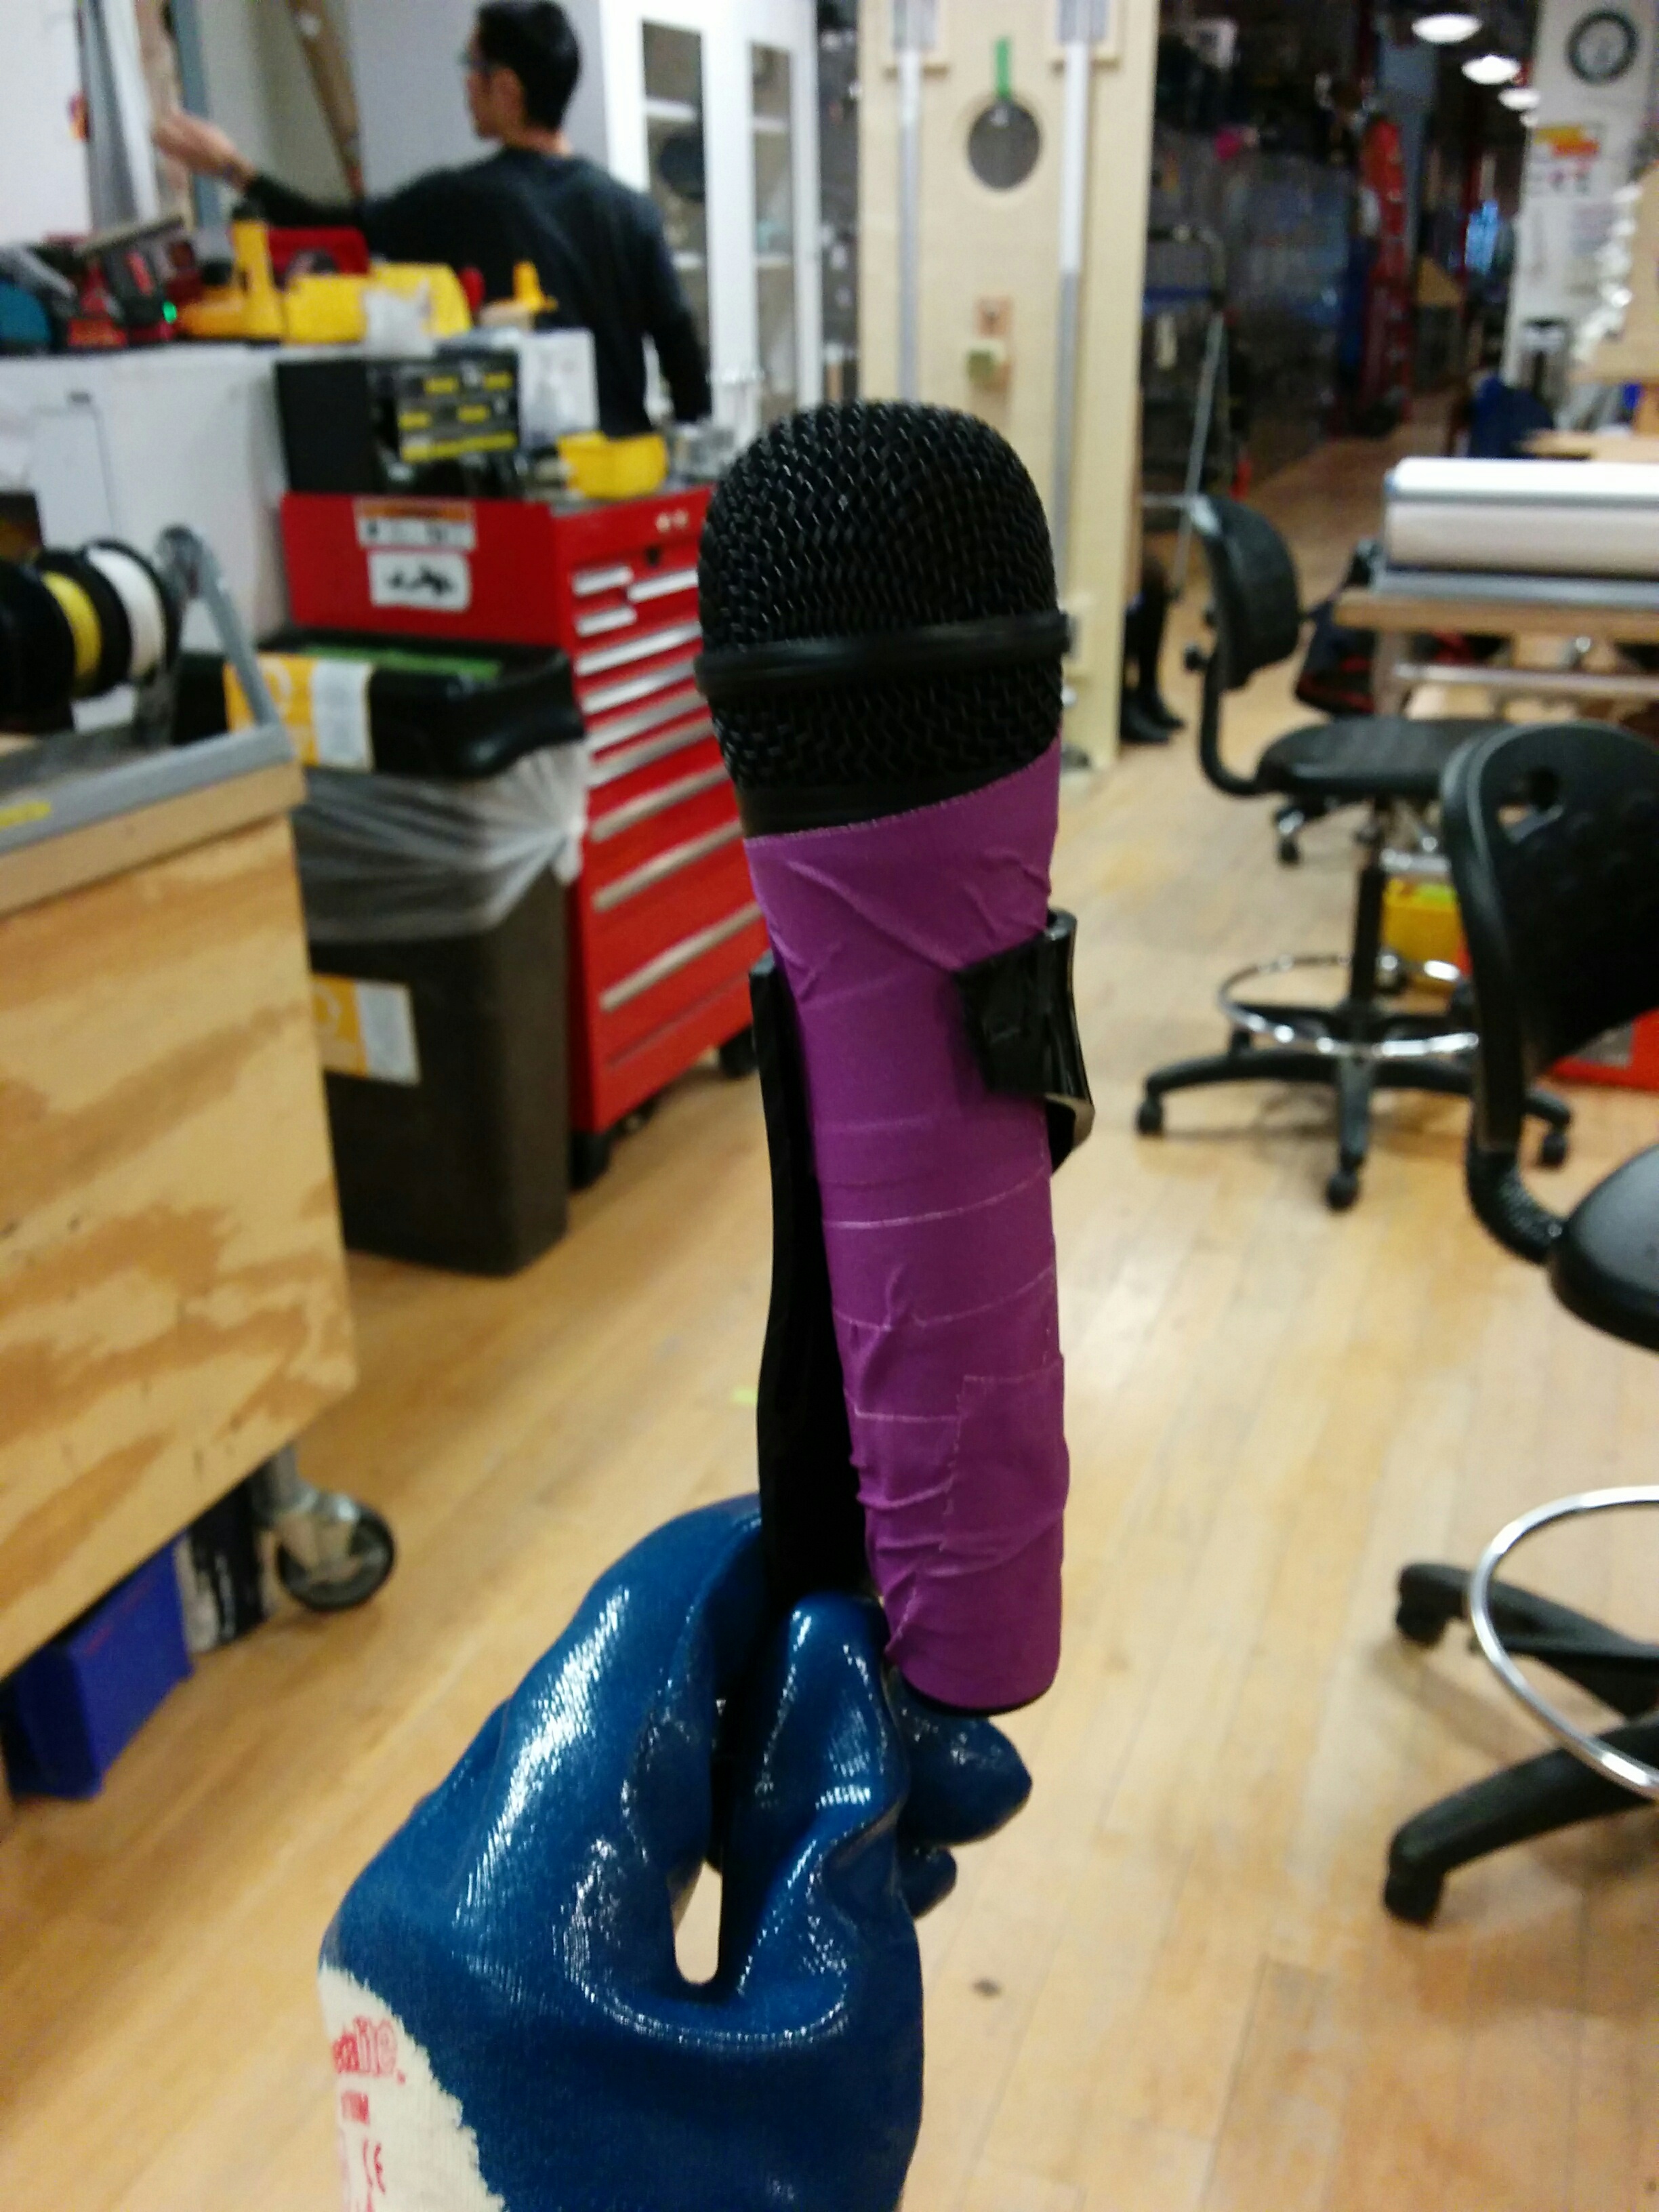
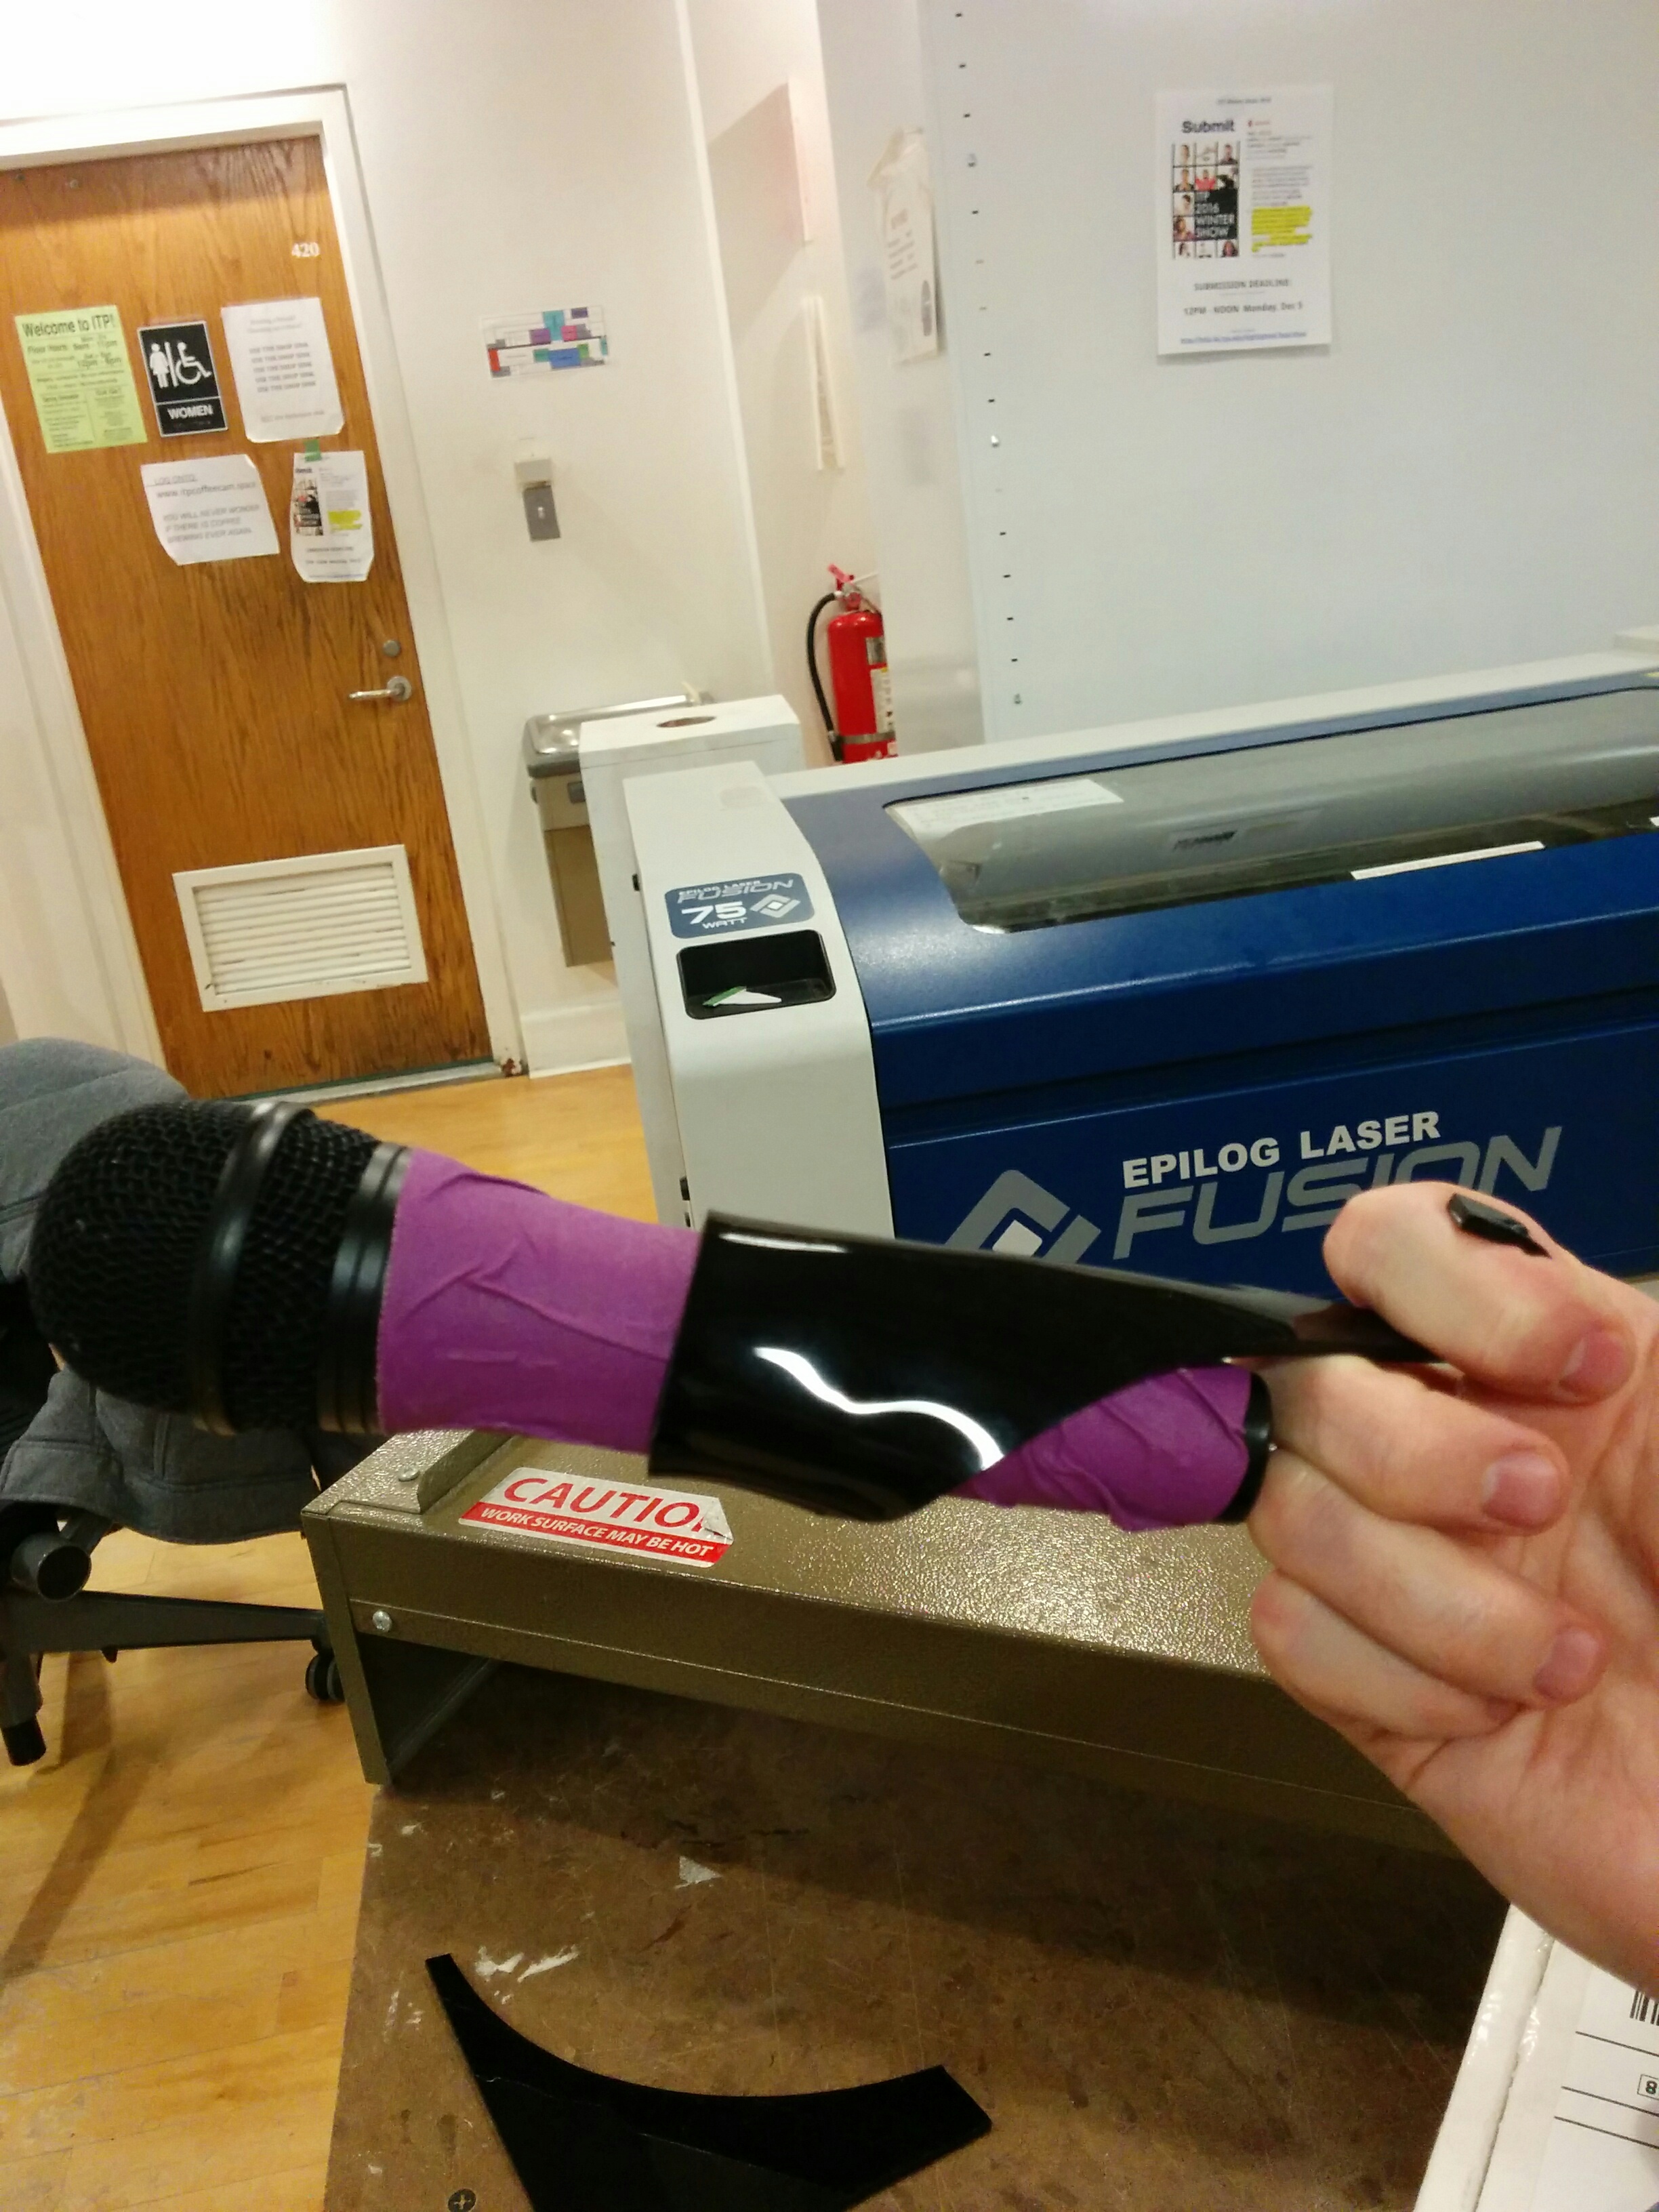
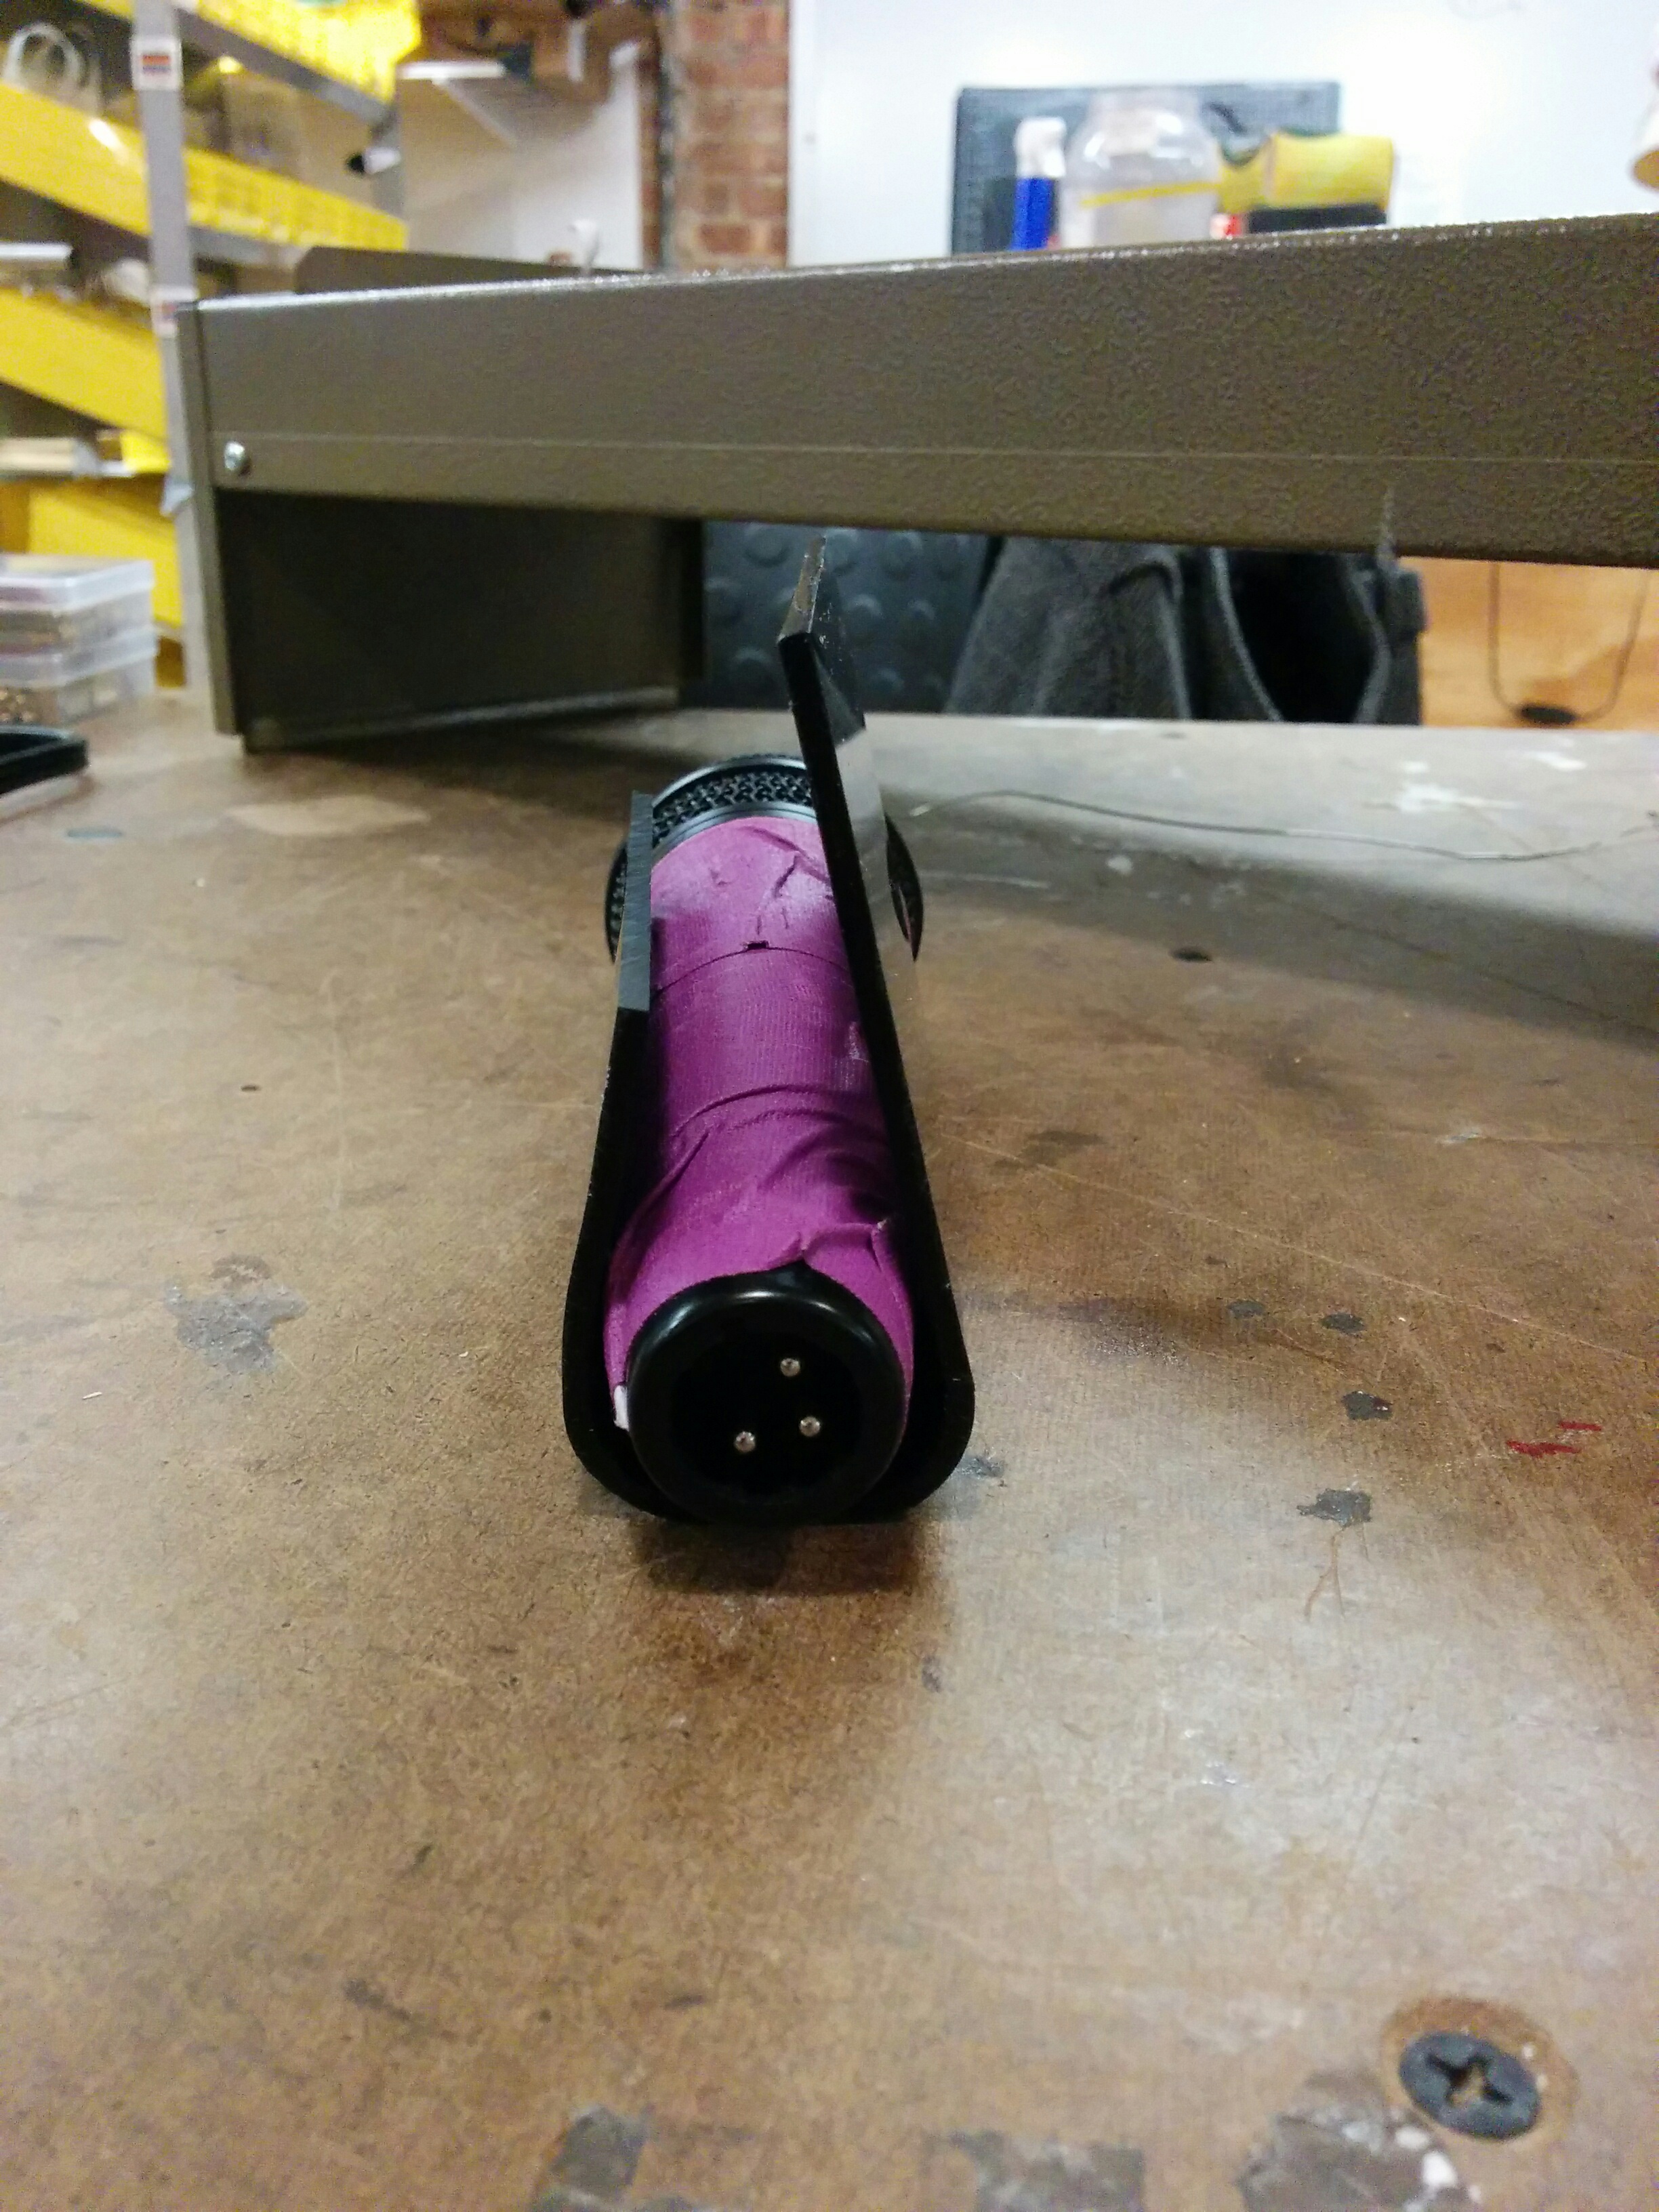
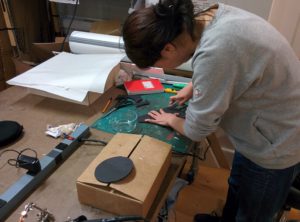
I’ve been a bit obsessed with having a low profile and slick fabrication of the Mic Cuff. The grip and feel of it is as much a functional interface question as it is about the aesthetic appeal. I went out on a limb with an idea, trying to work with bent acrylic.
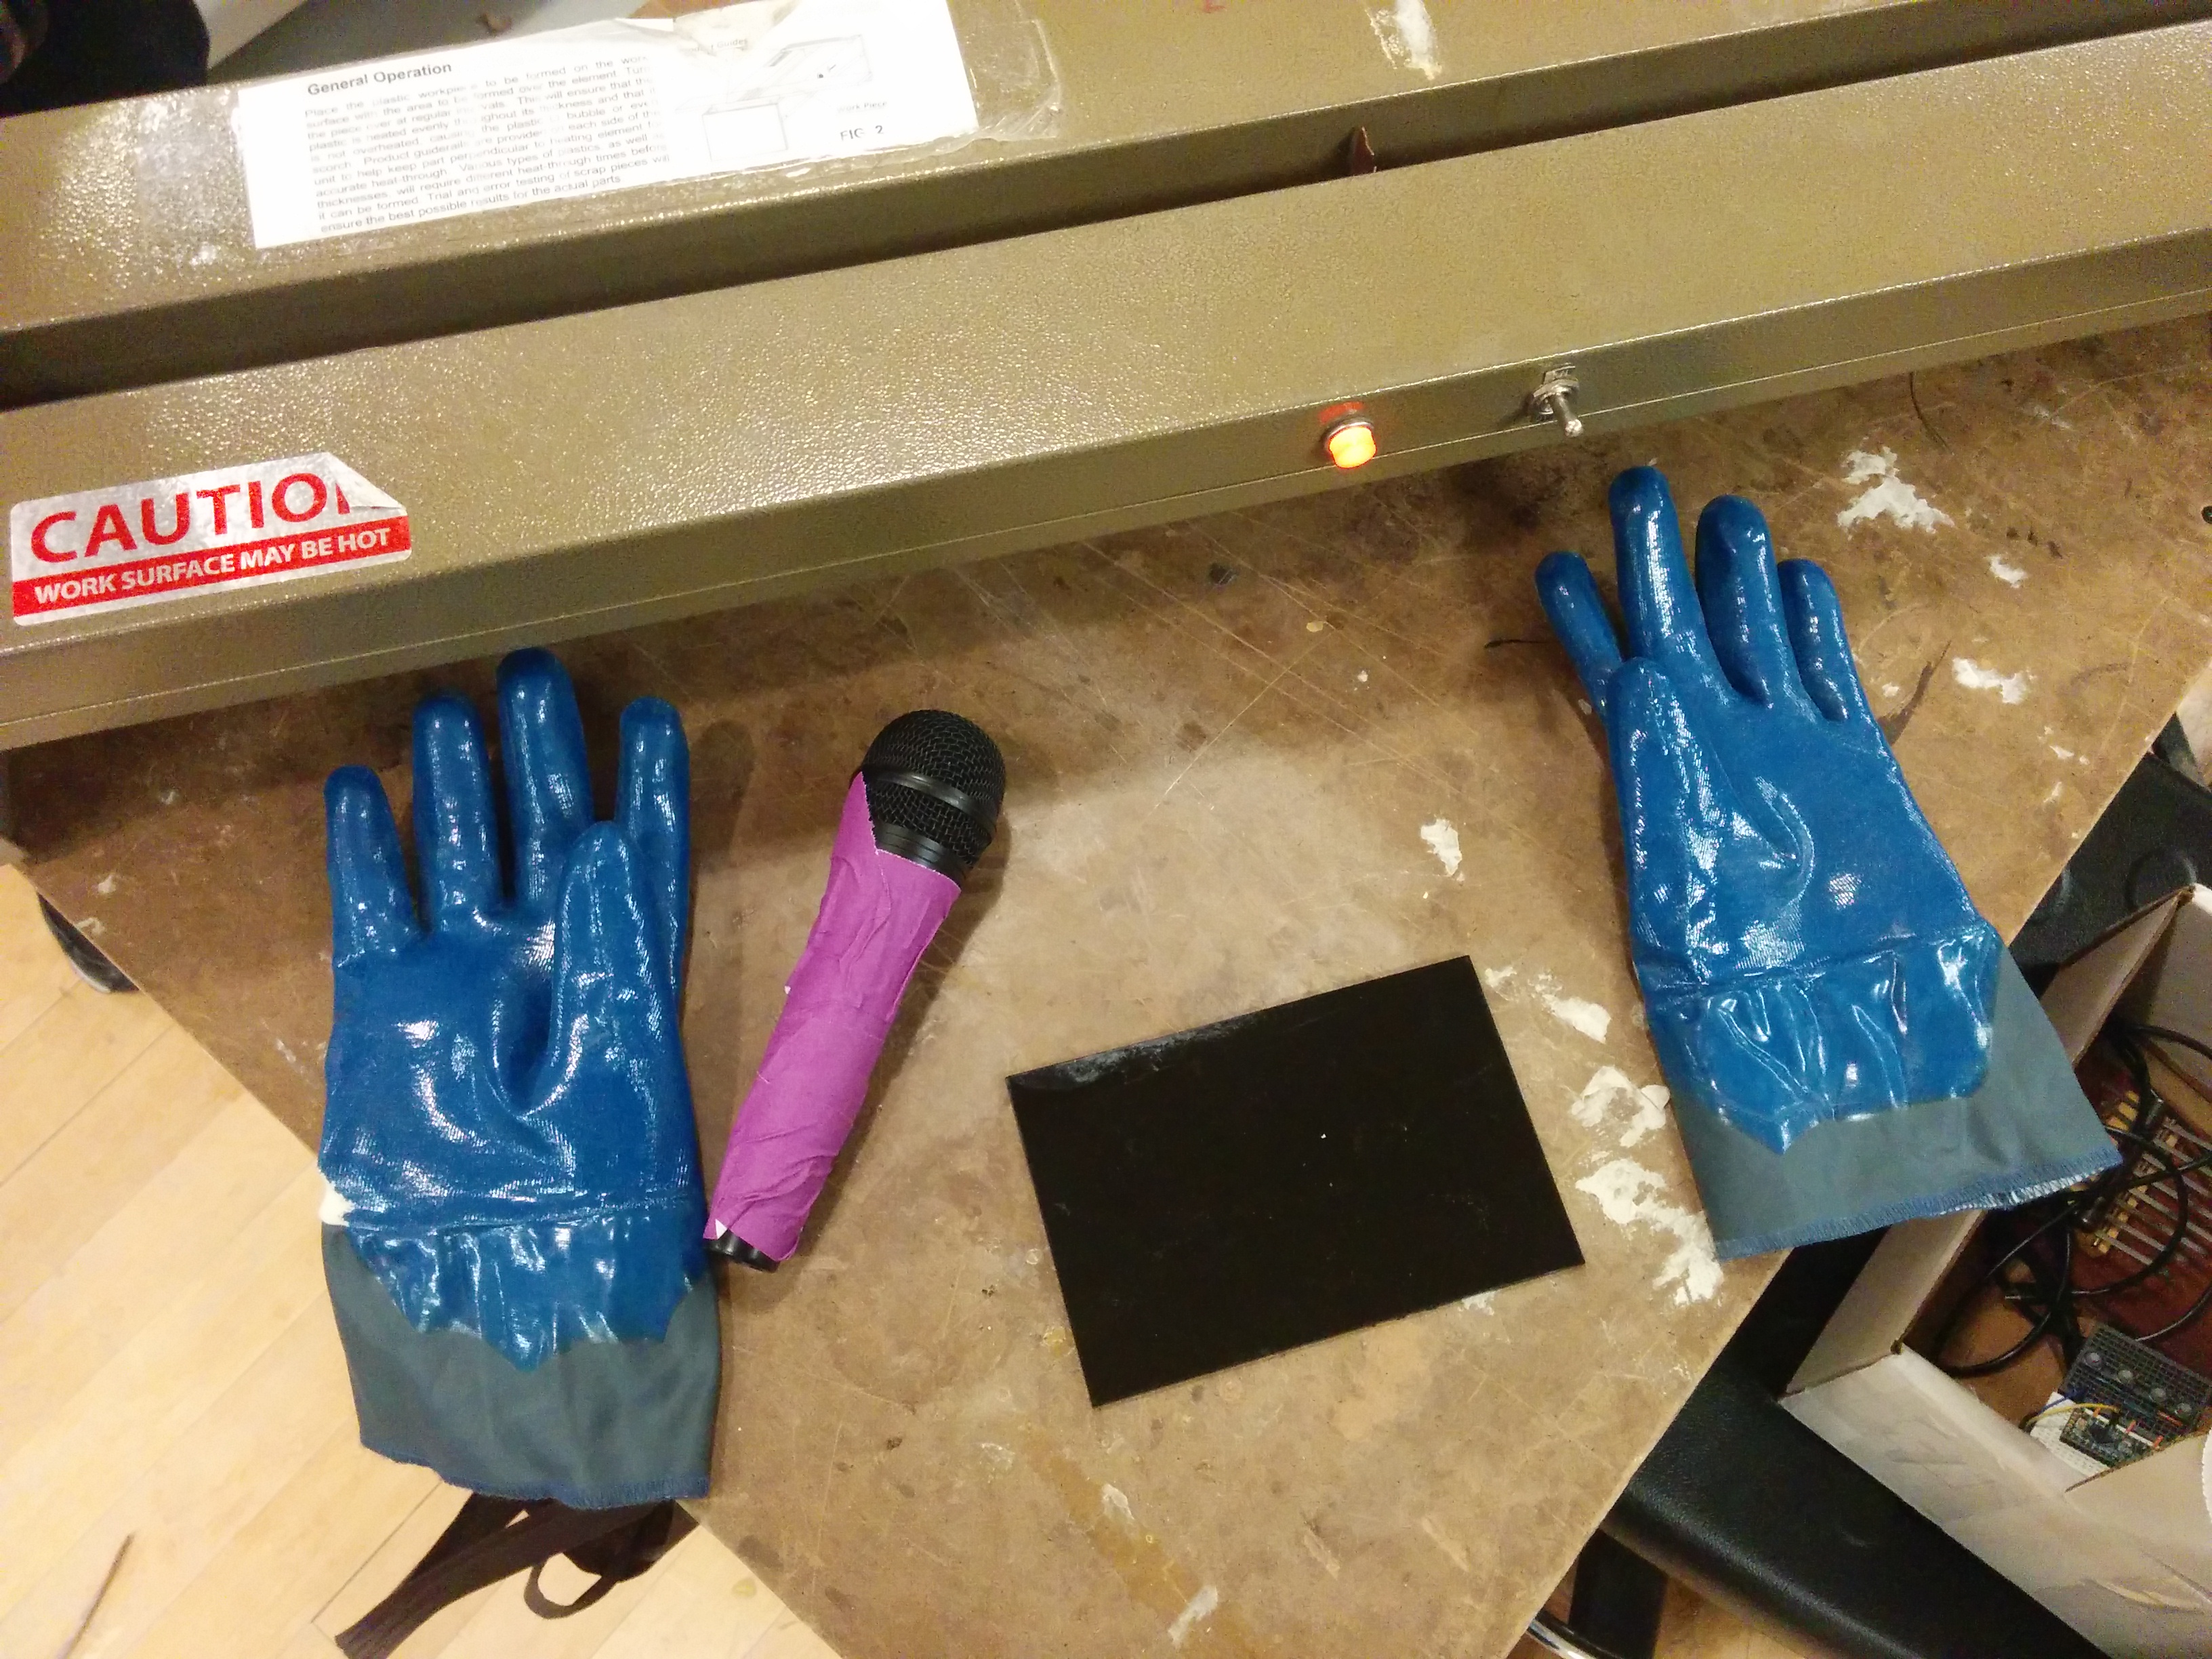
I had done some measurements and cut a couple rectangles to work with. But I needed to practice on a scrap piece first and see how this might work.
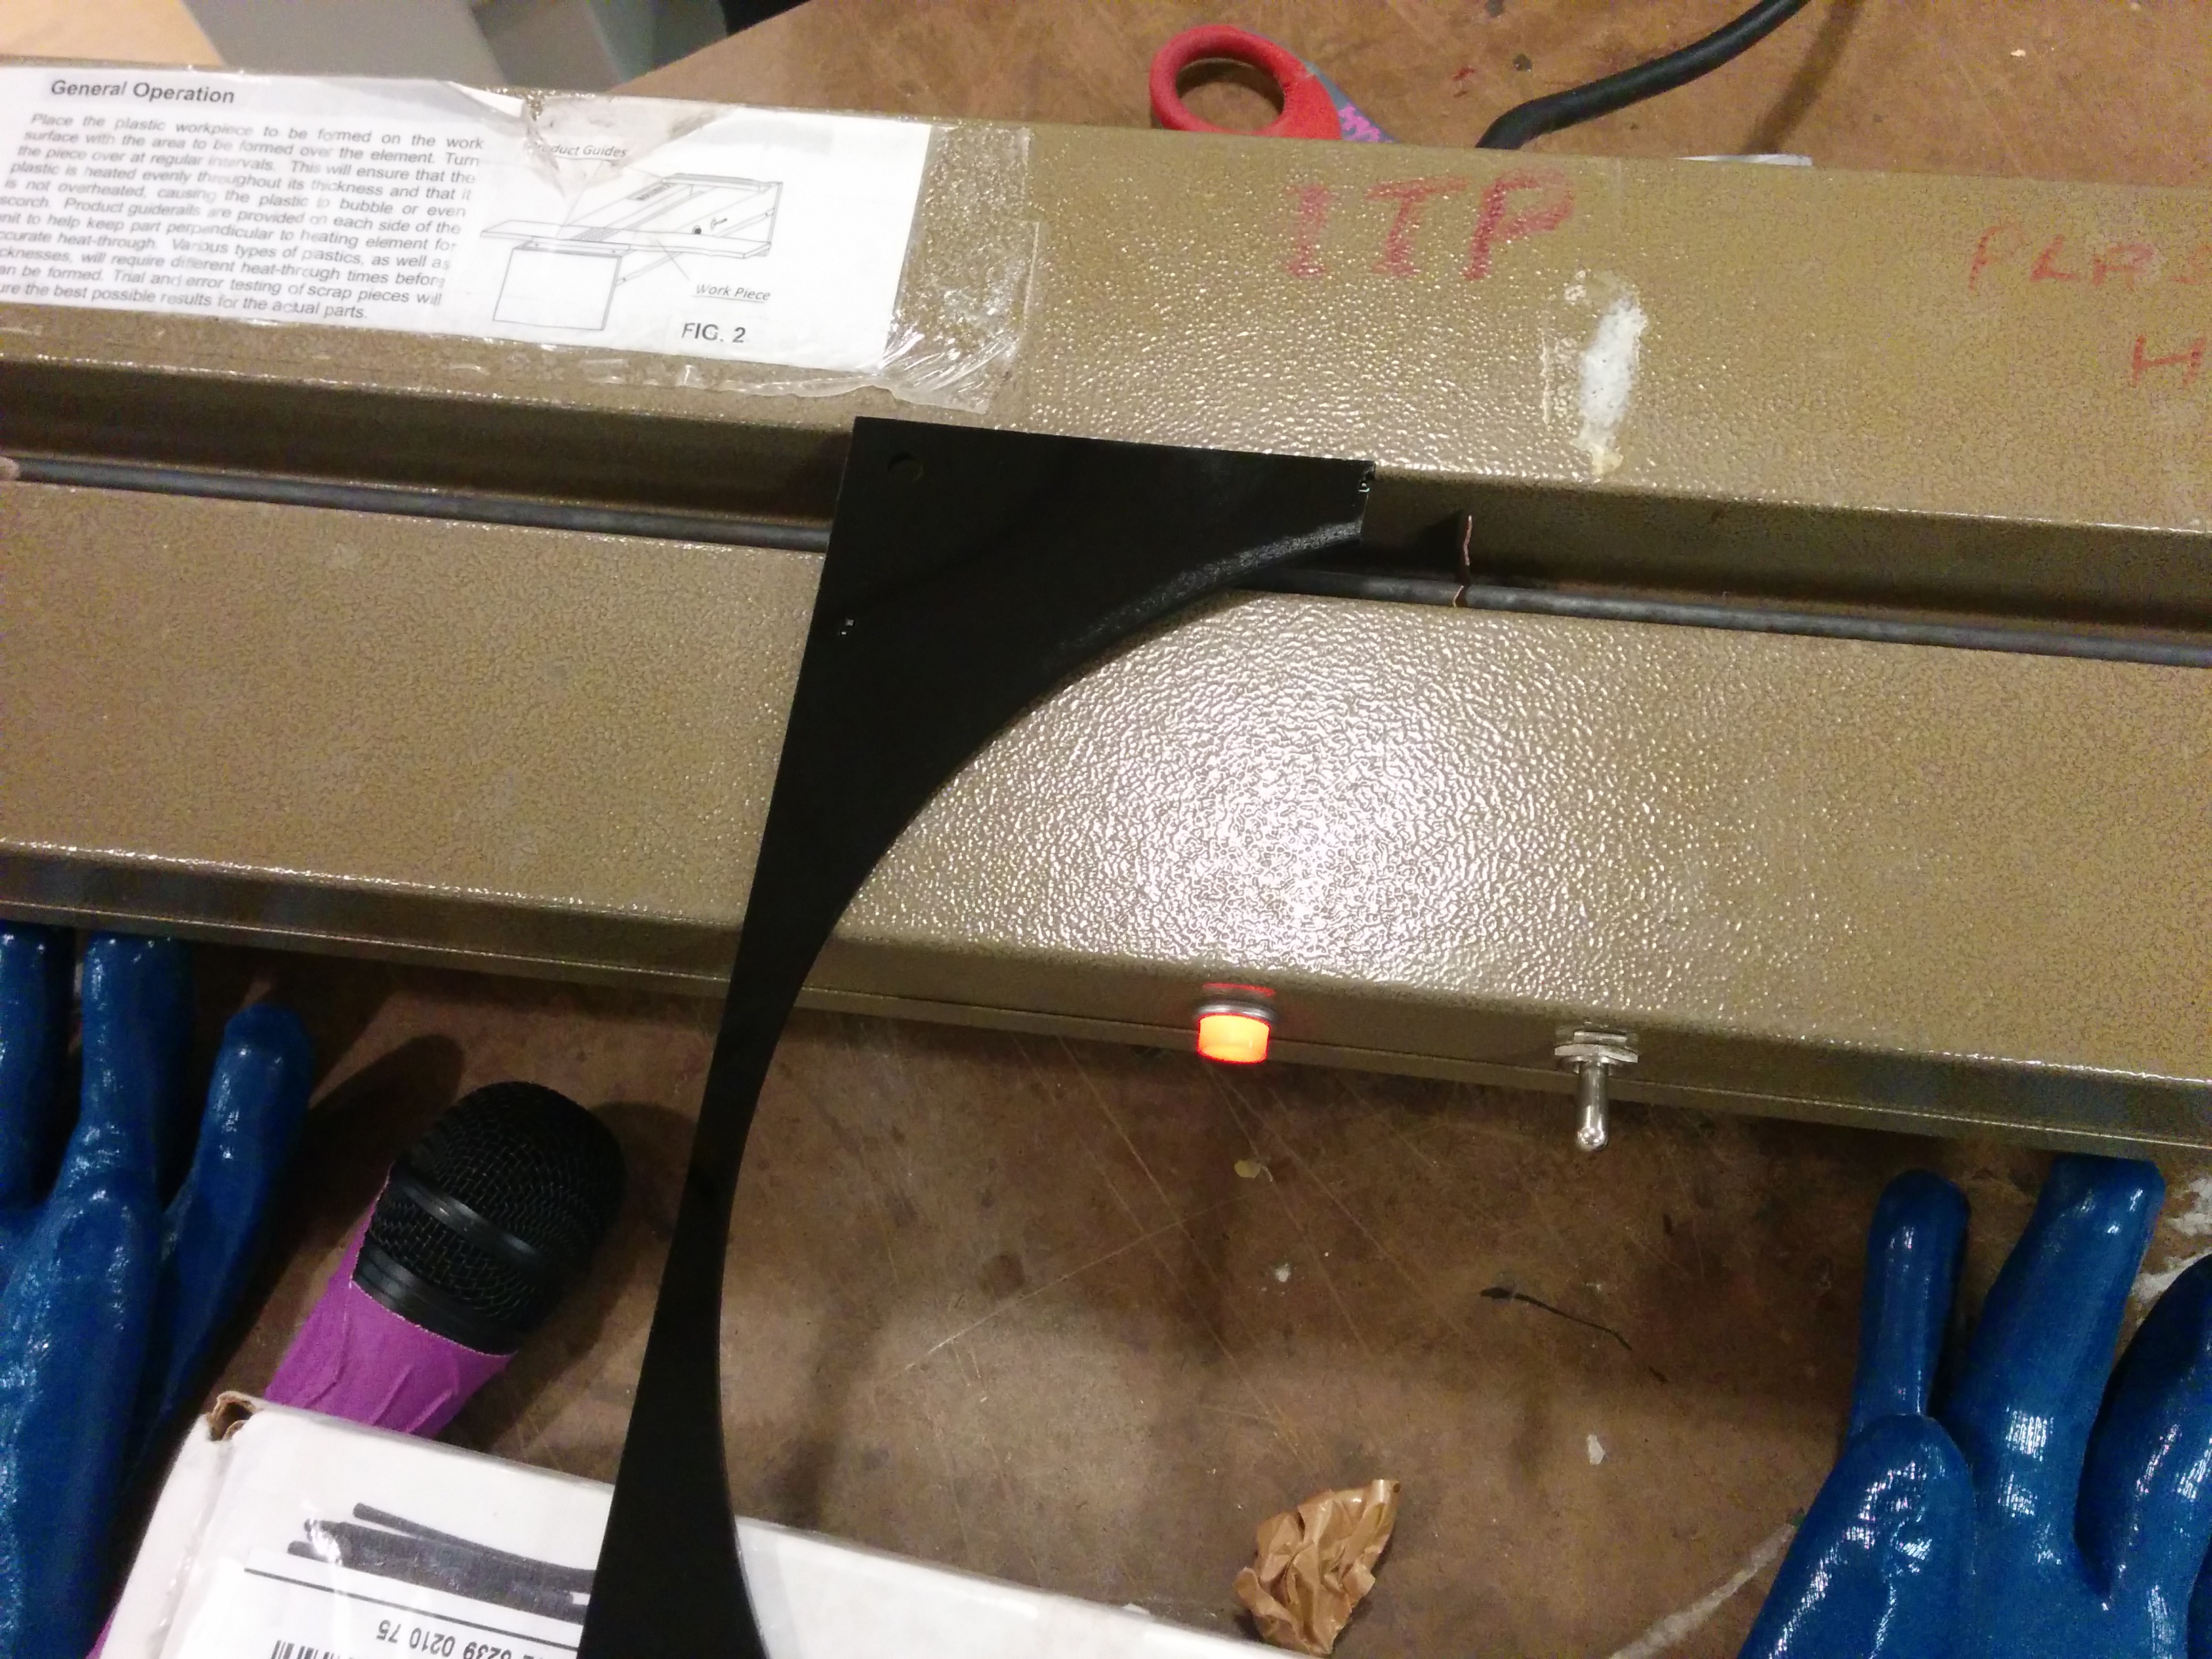


Definitely takes a while to understand the feel of bending acrylic, but I got something functional. And I was pretty happy with the sturdiness.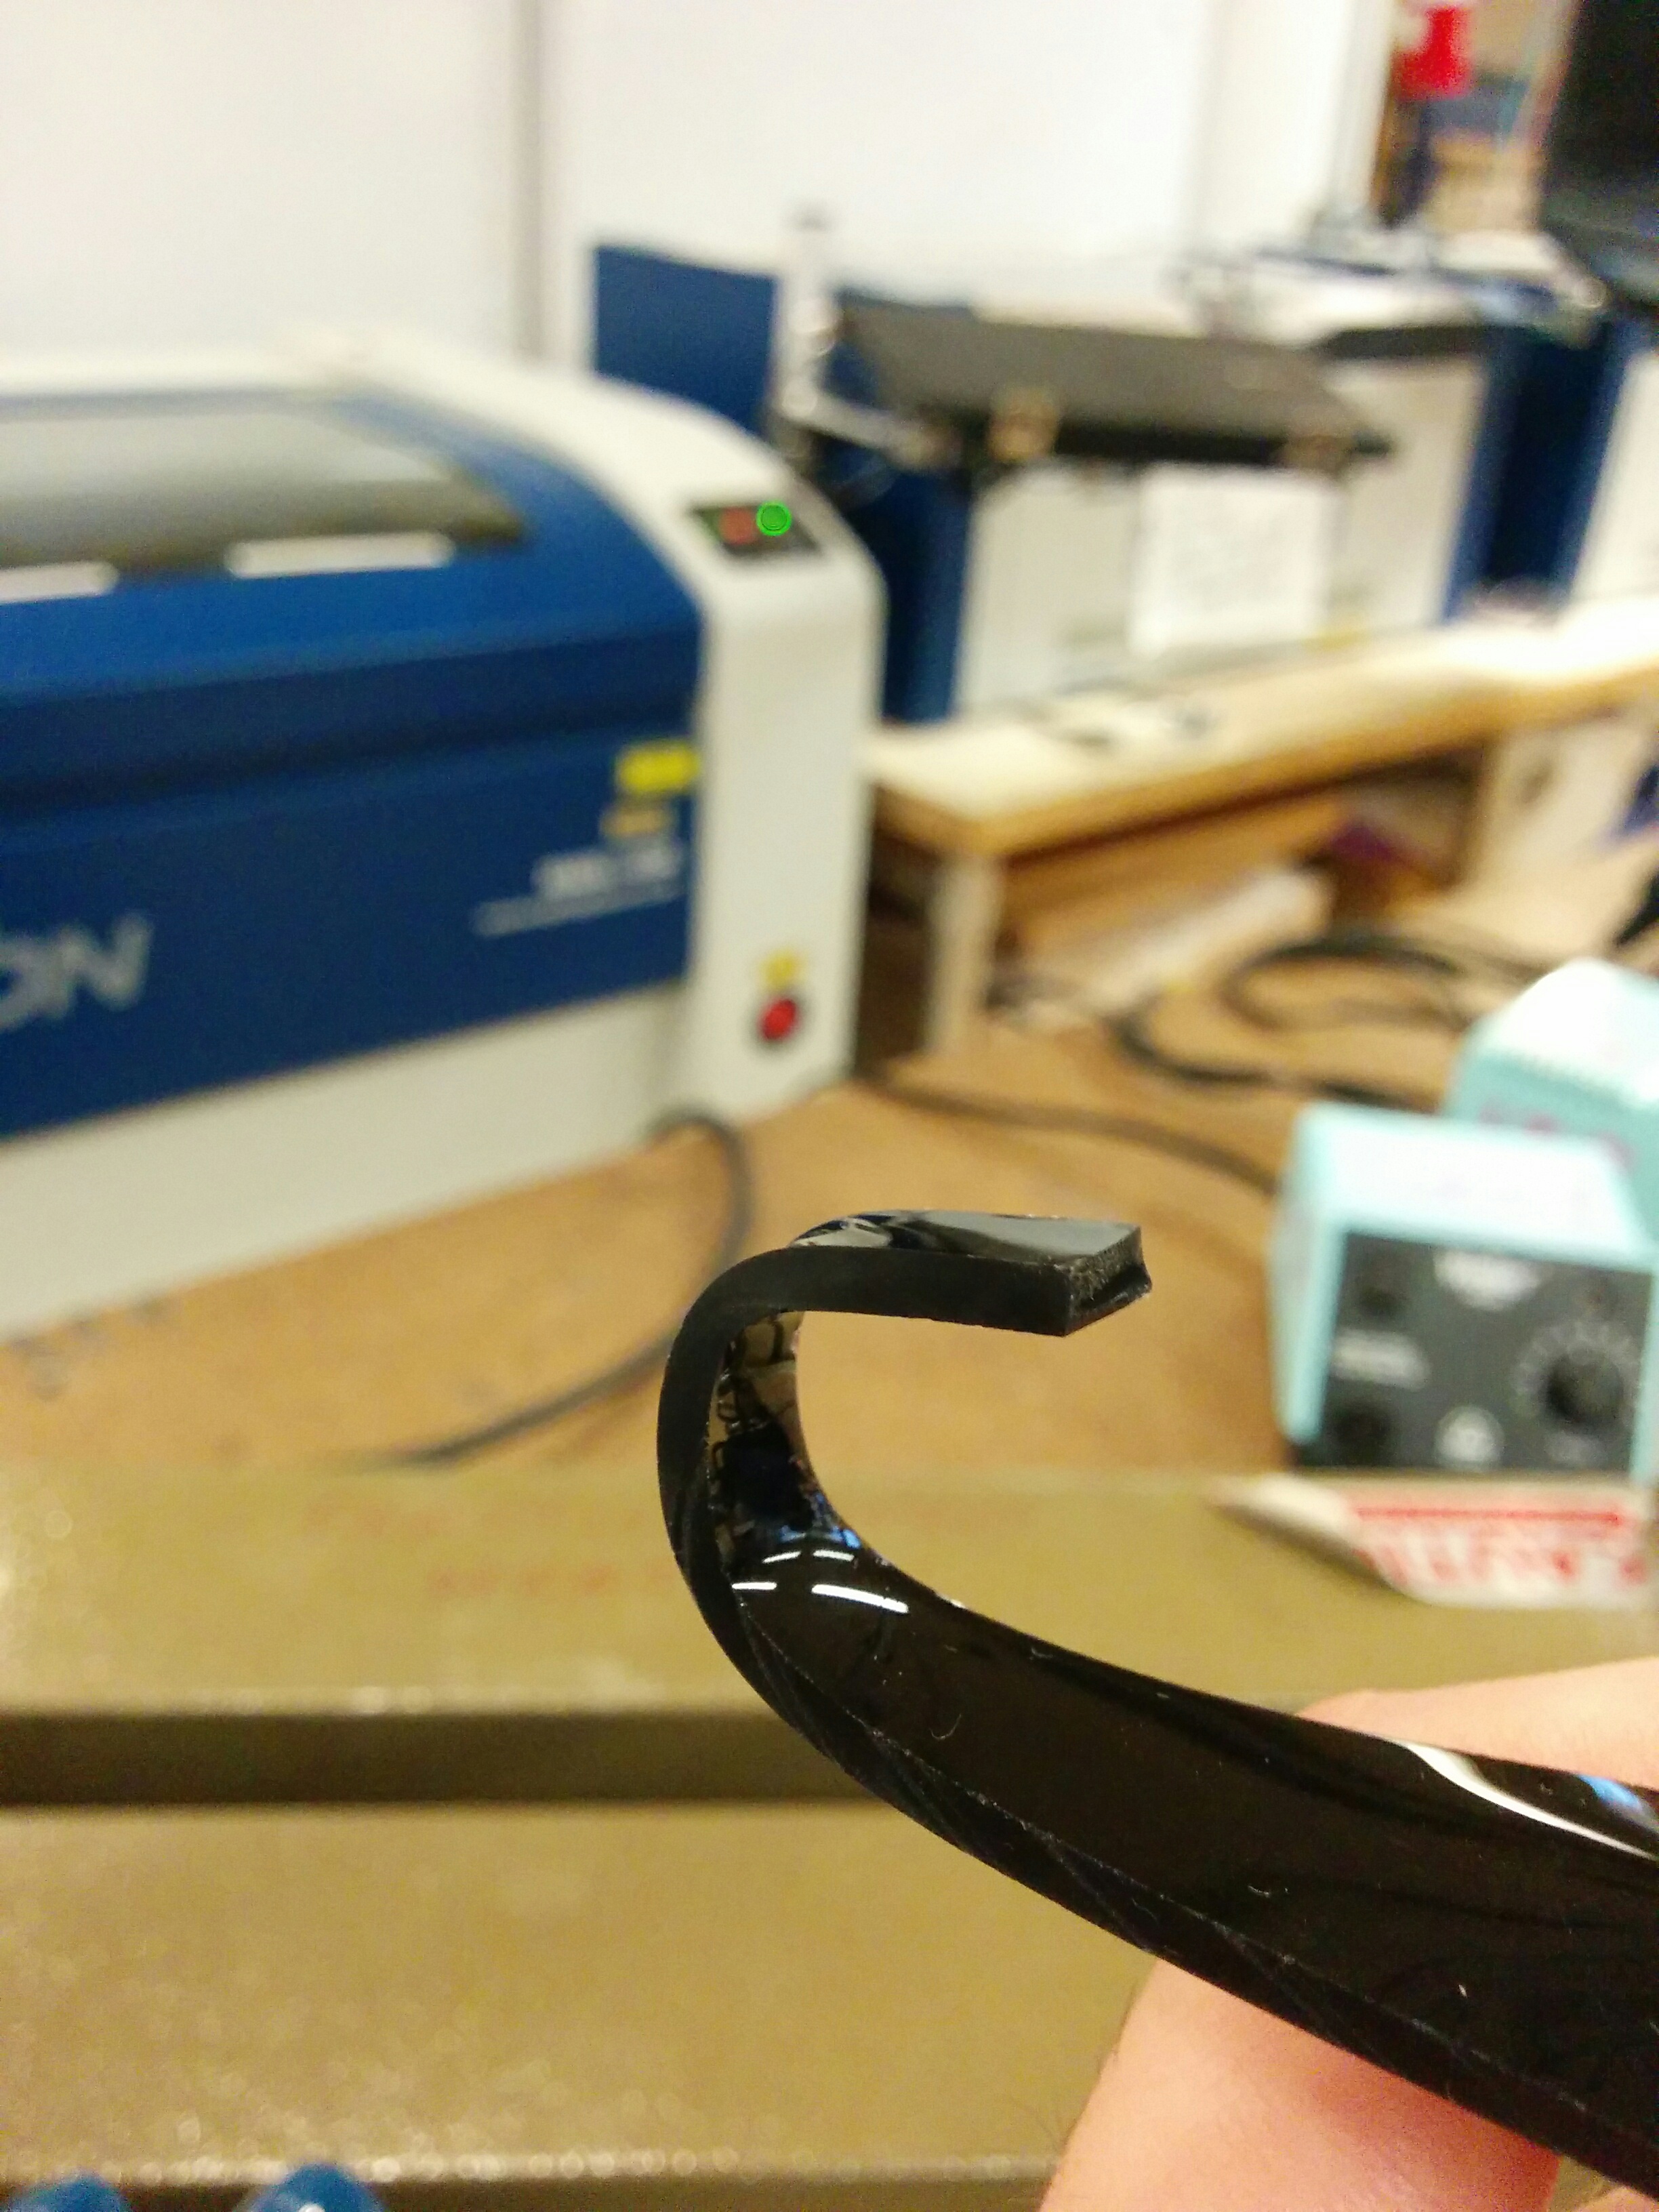
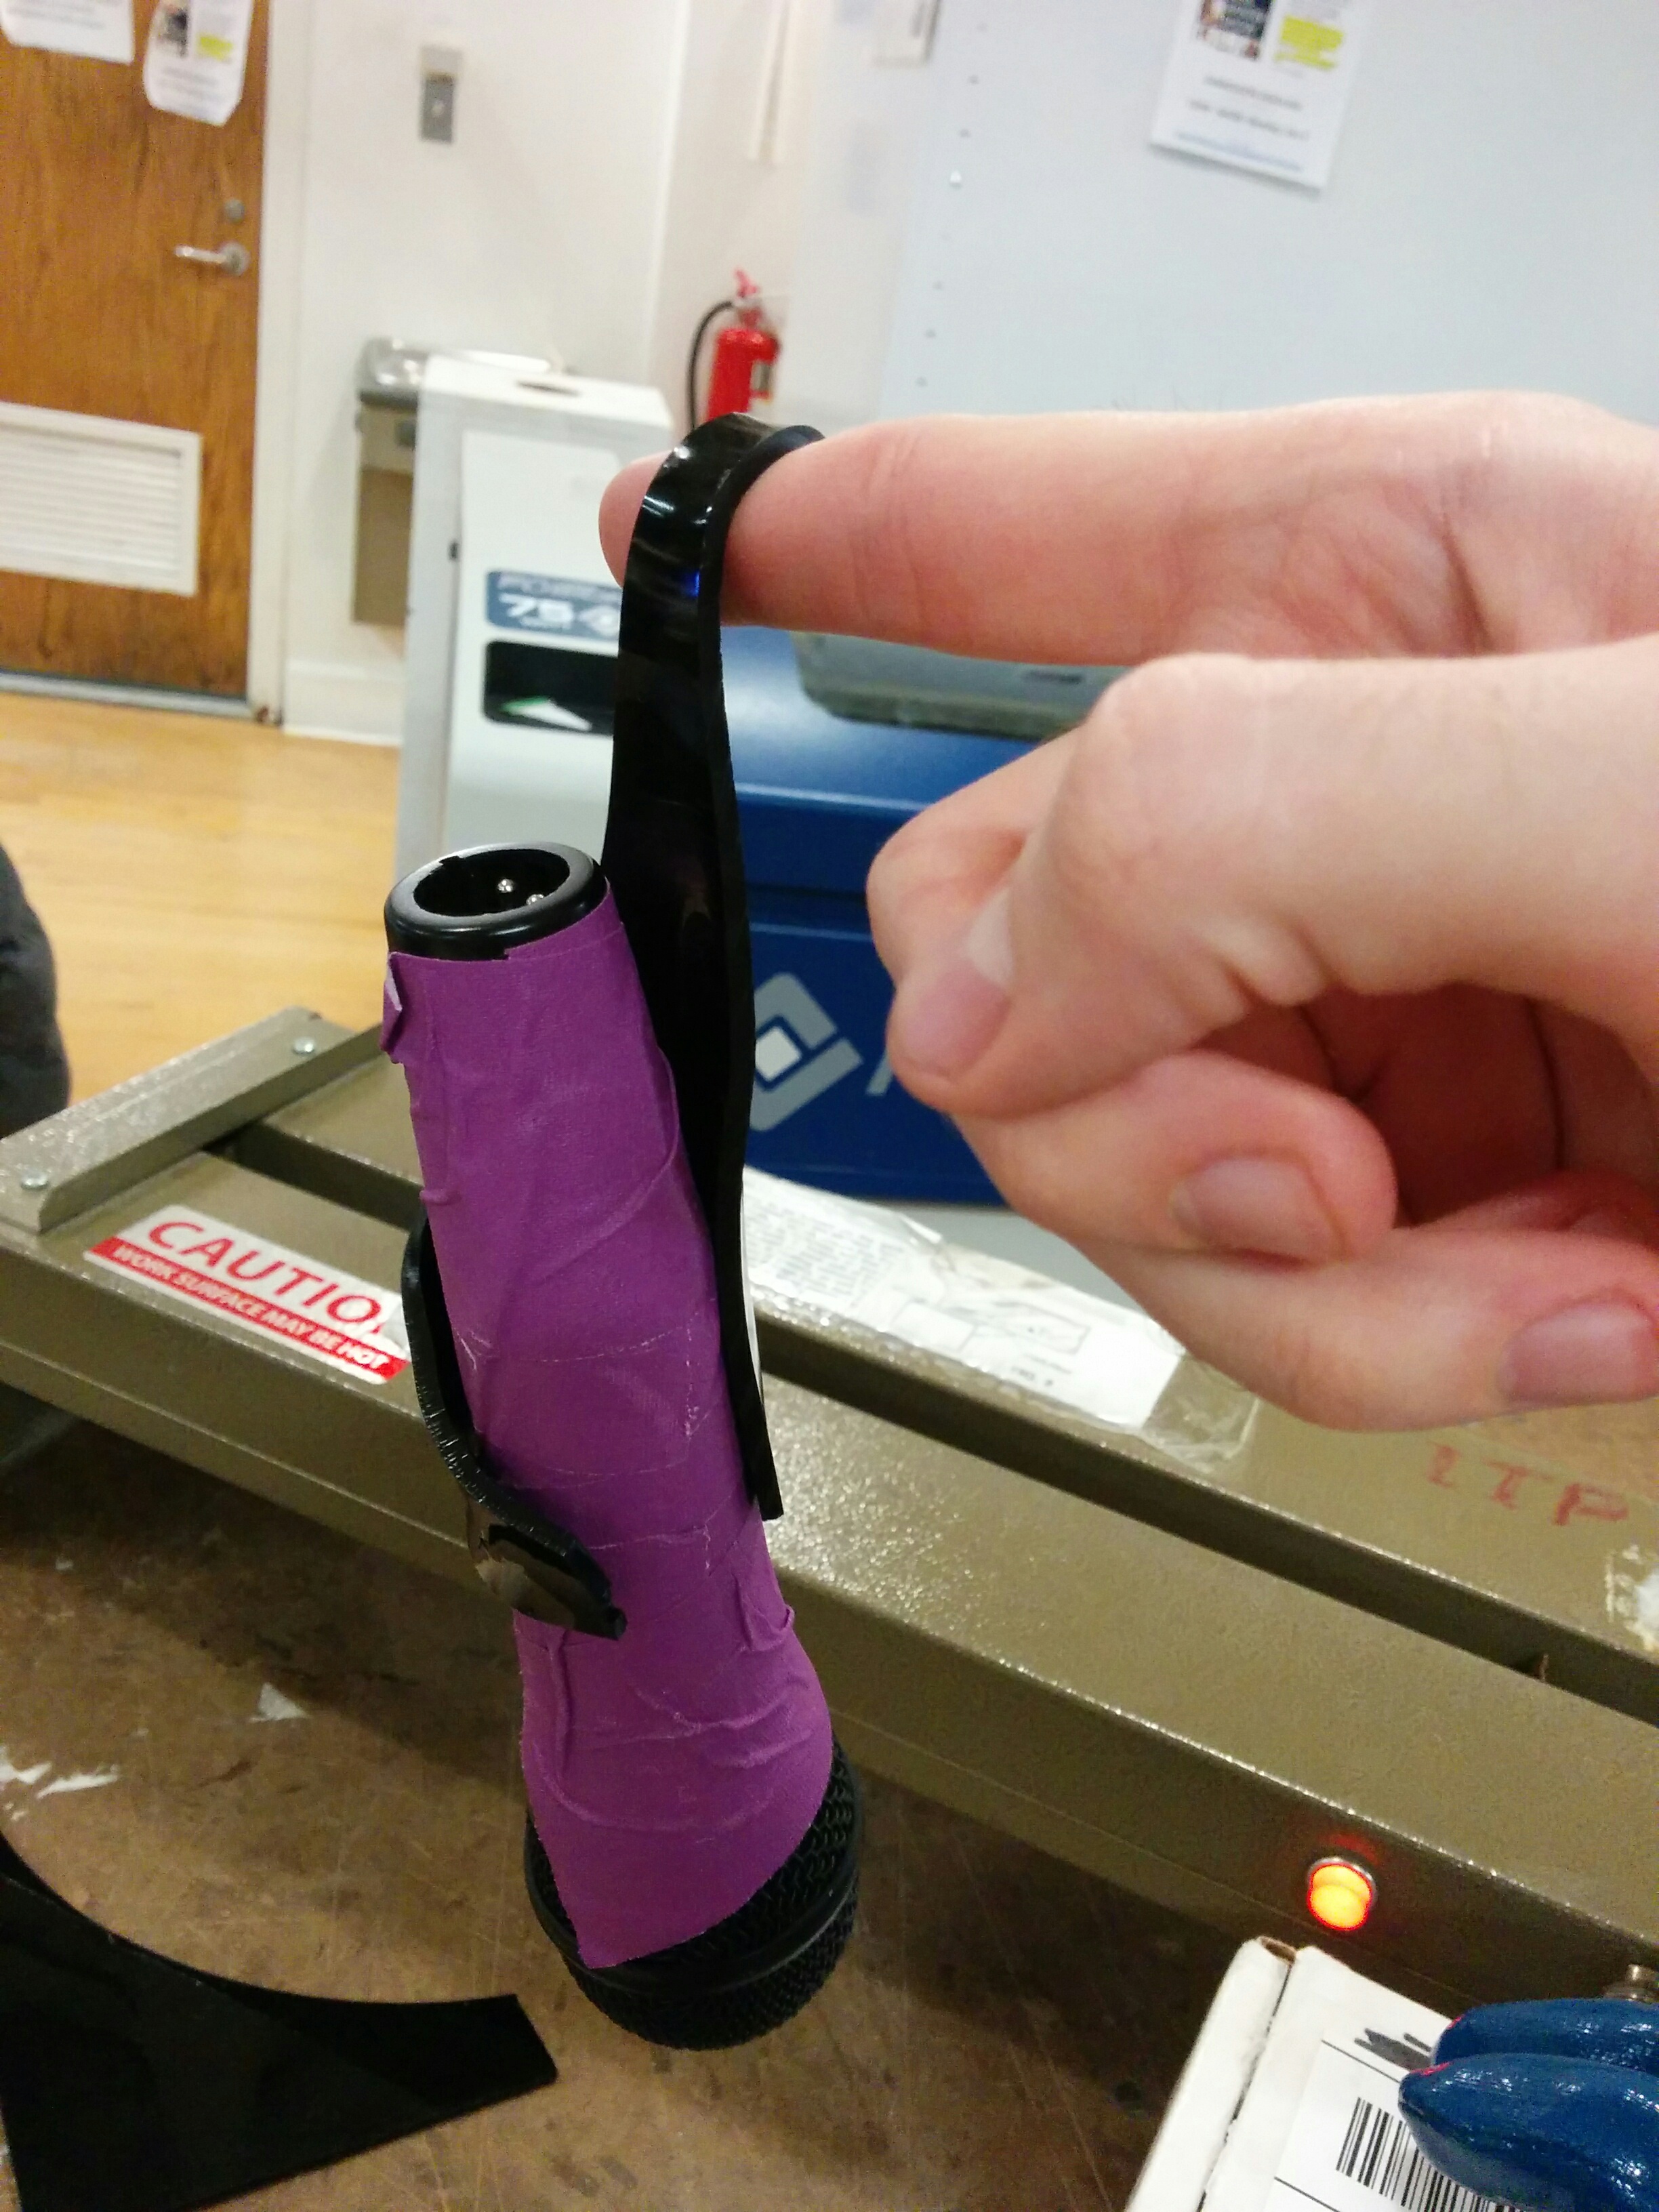
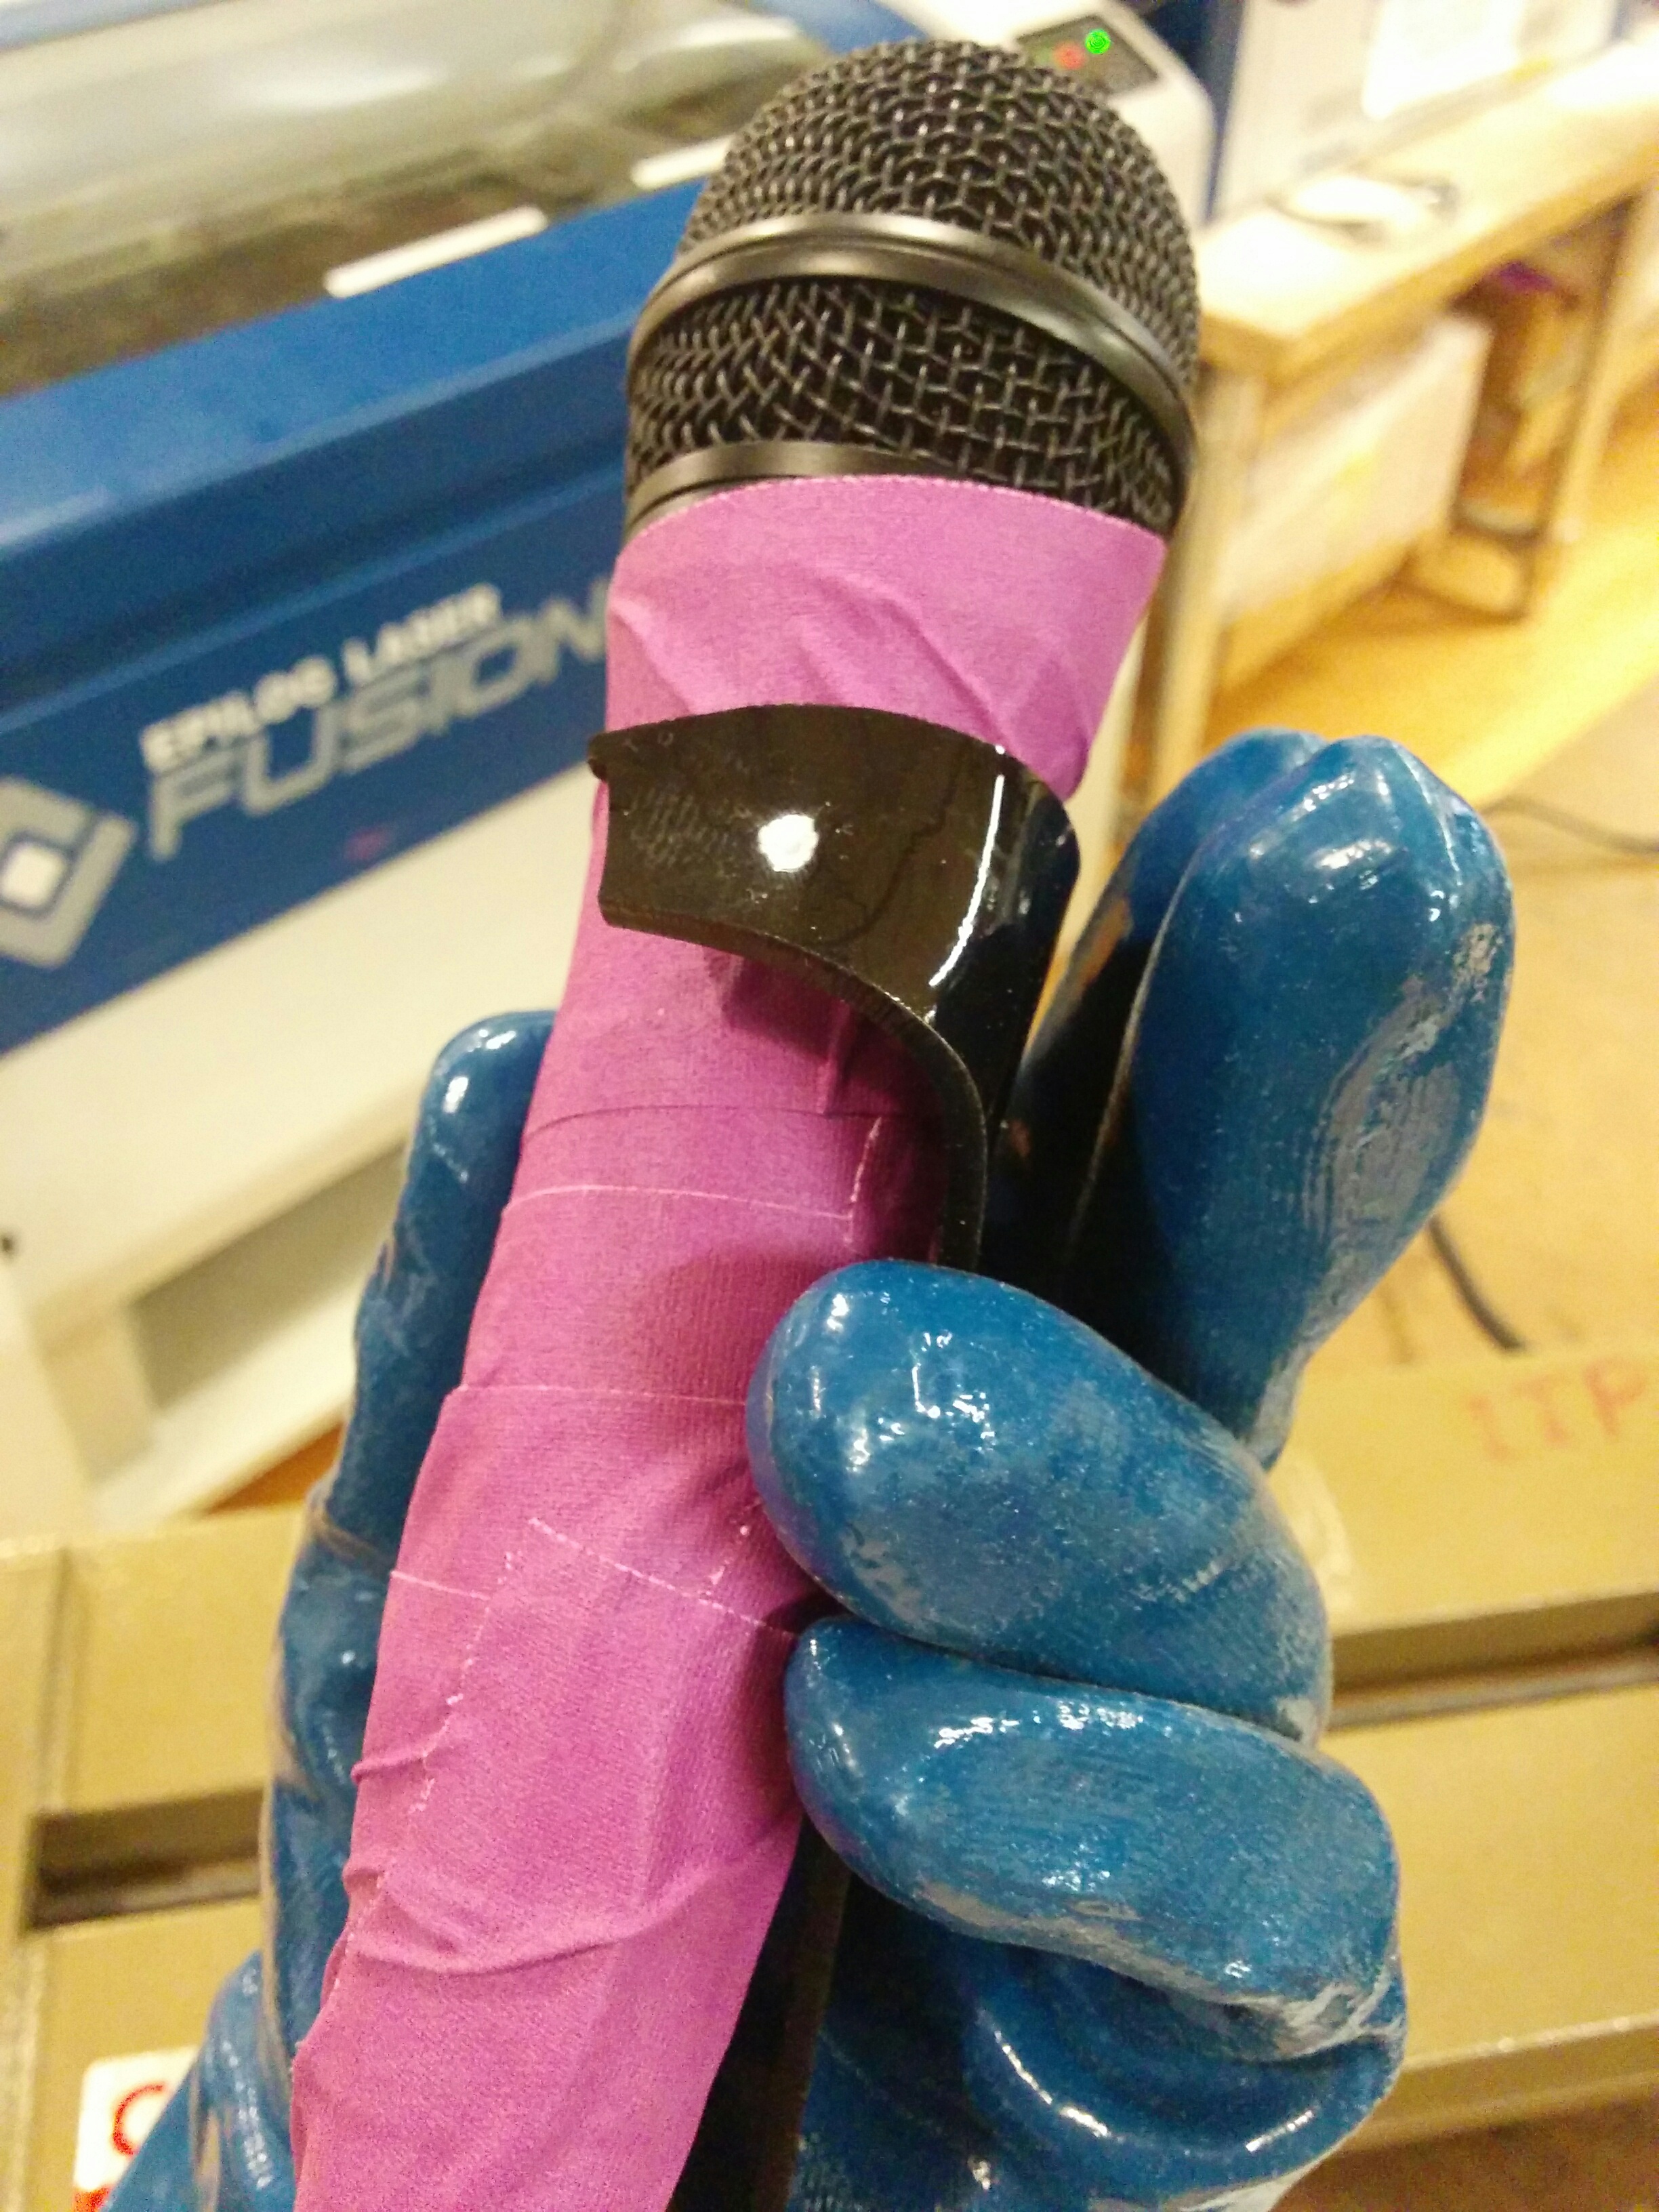
Moving onto the main piece.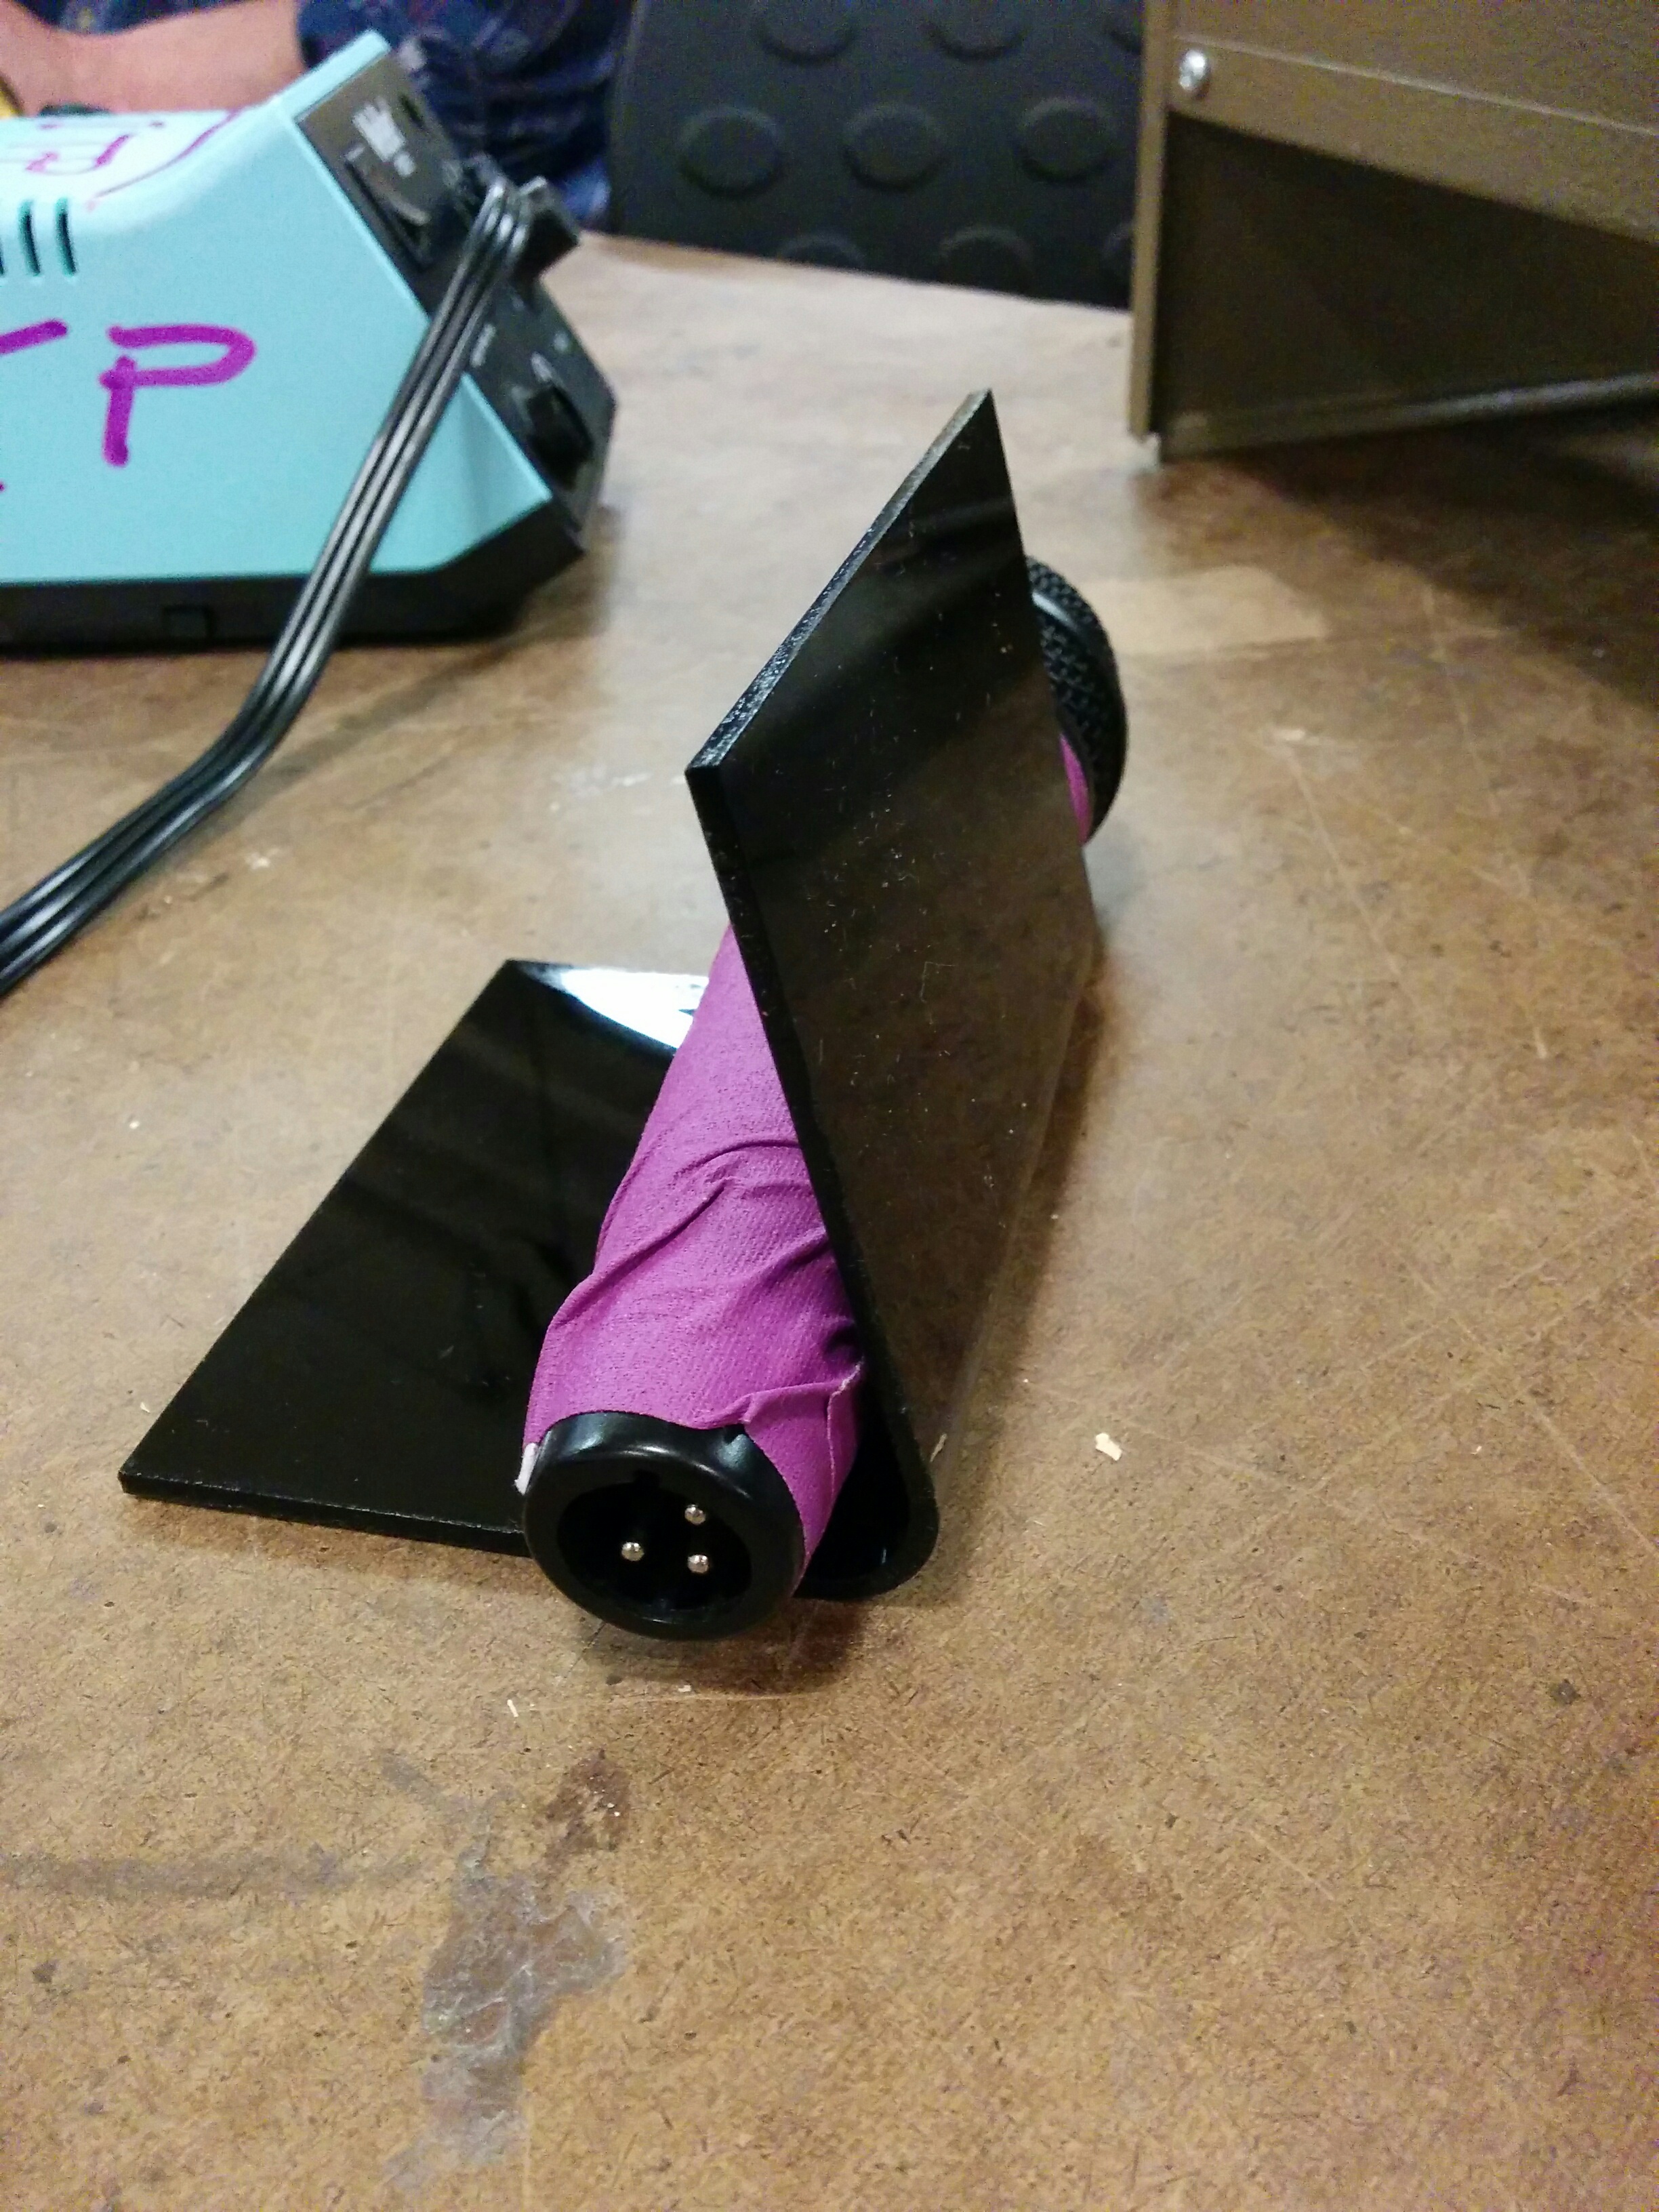
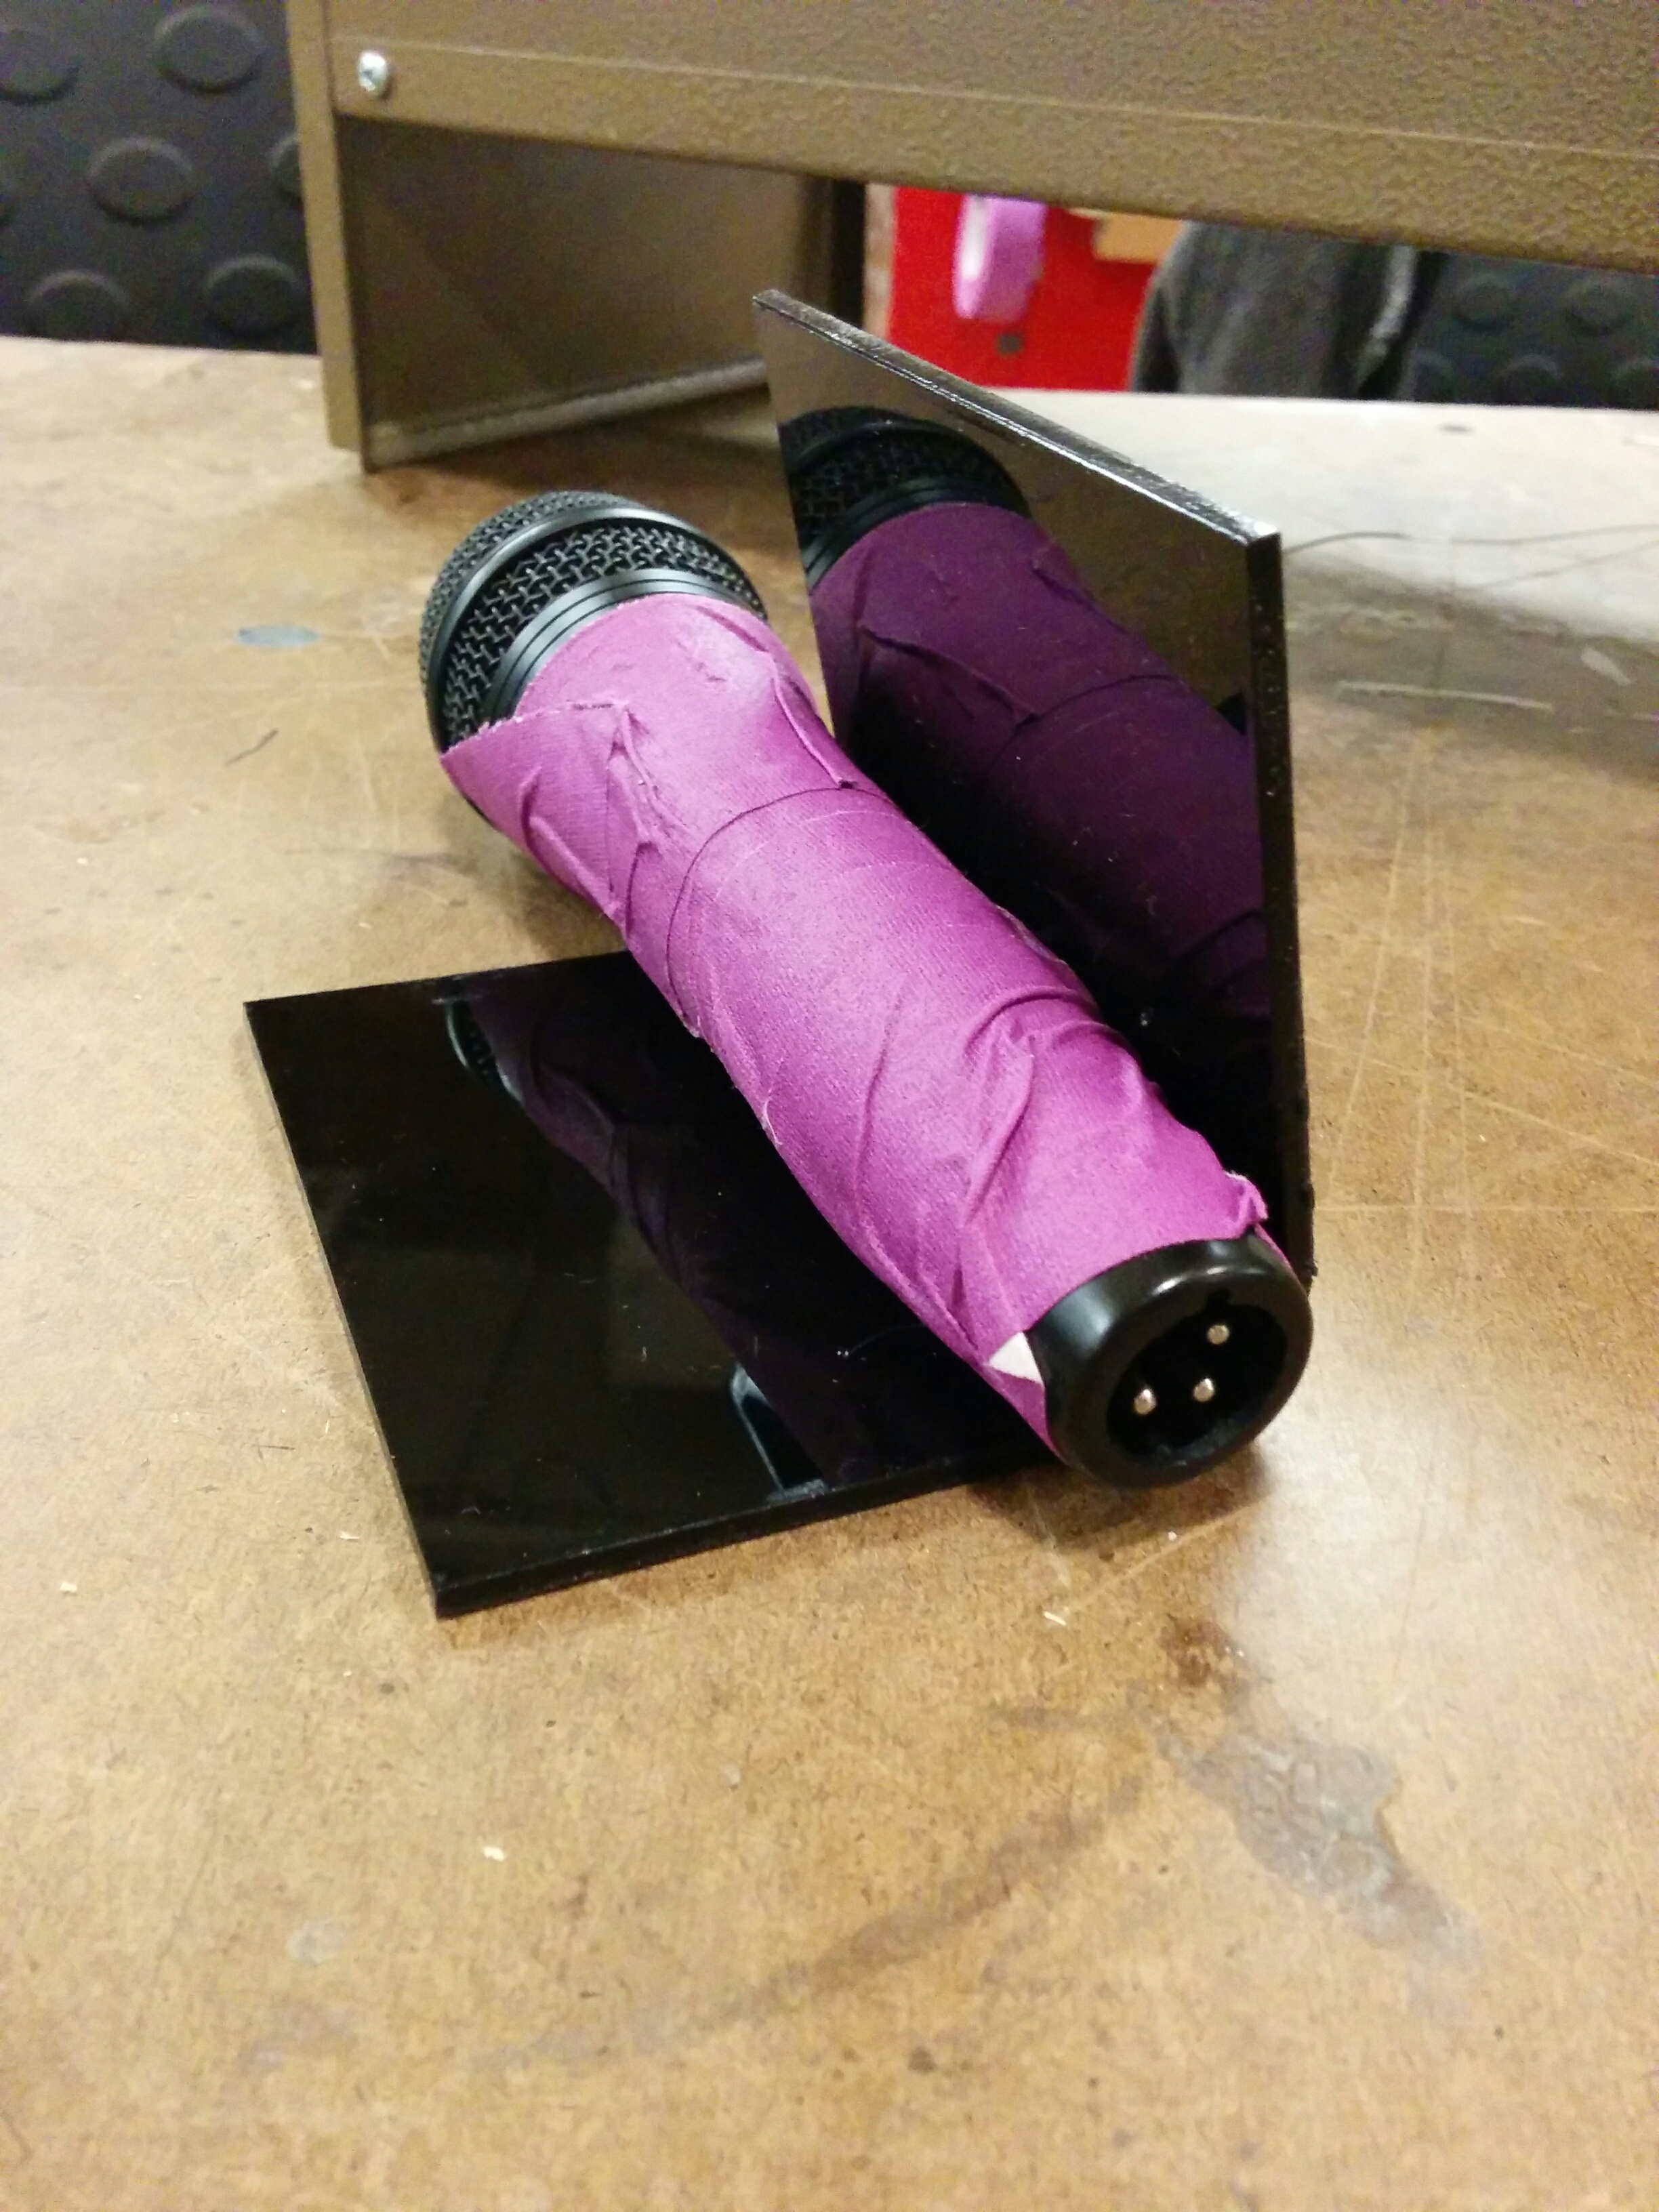
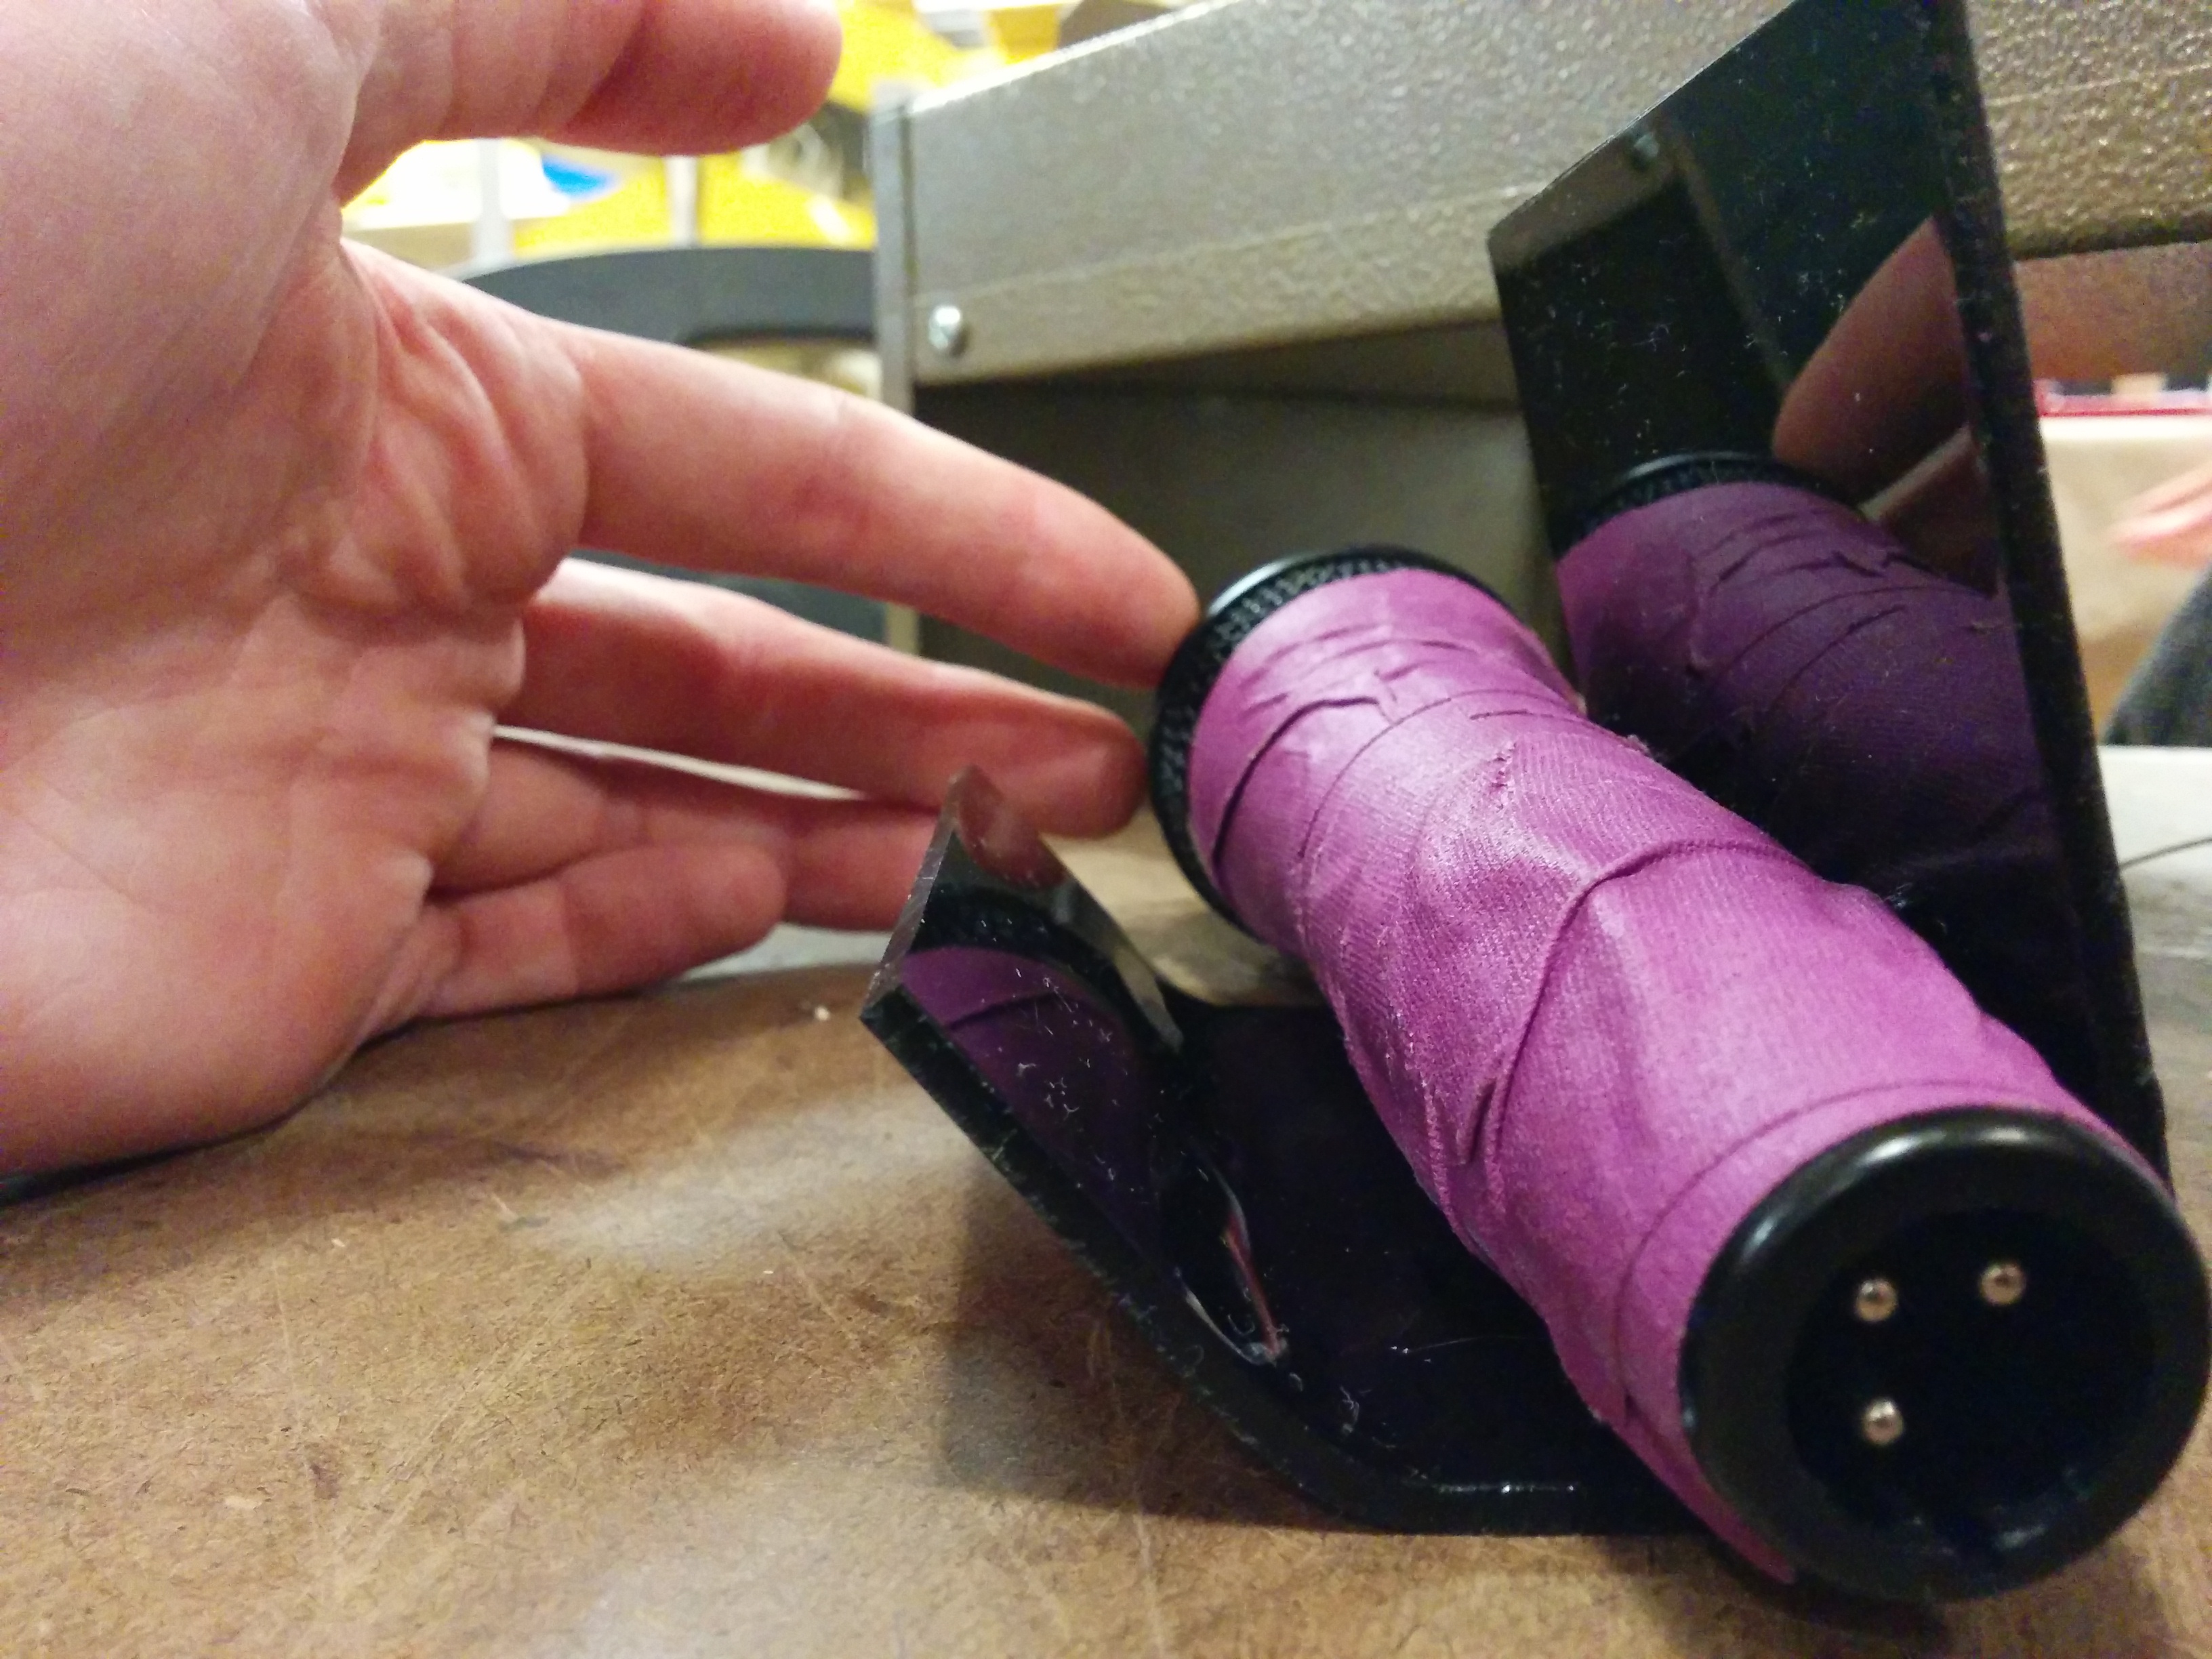
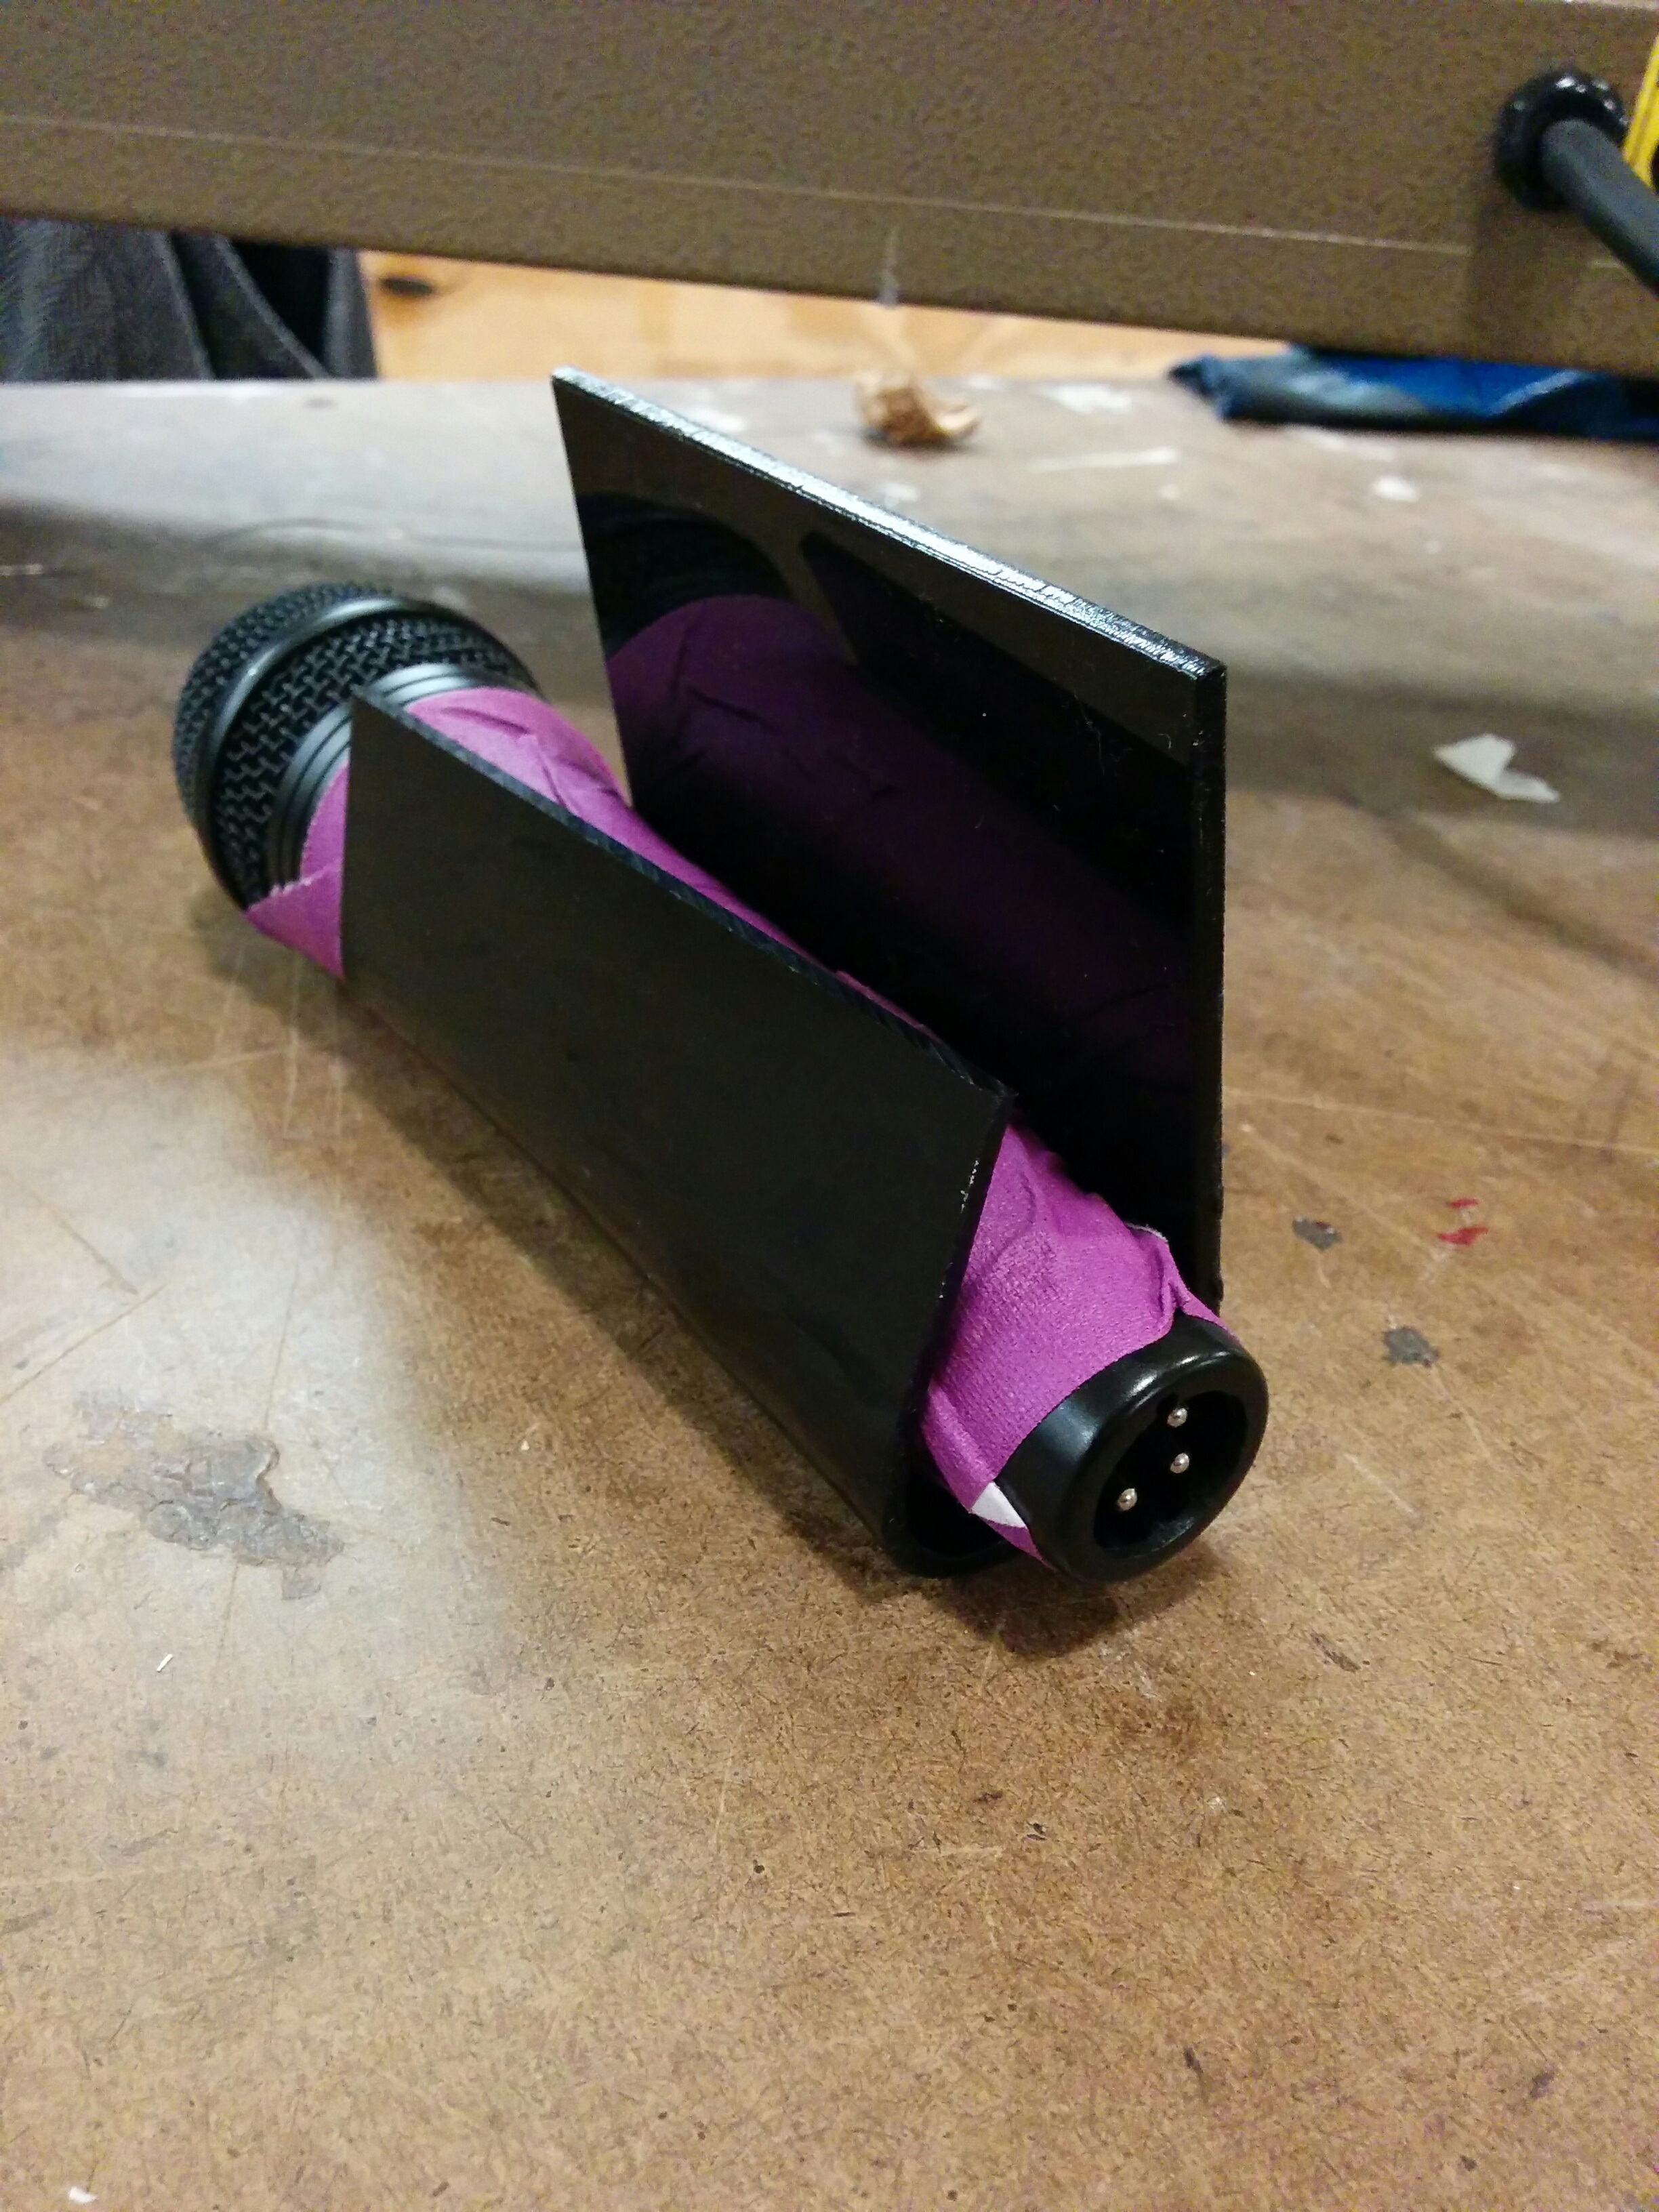
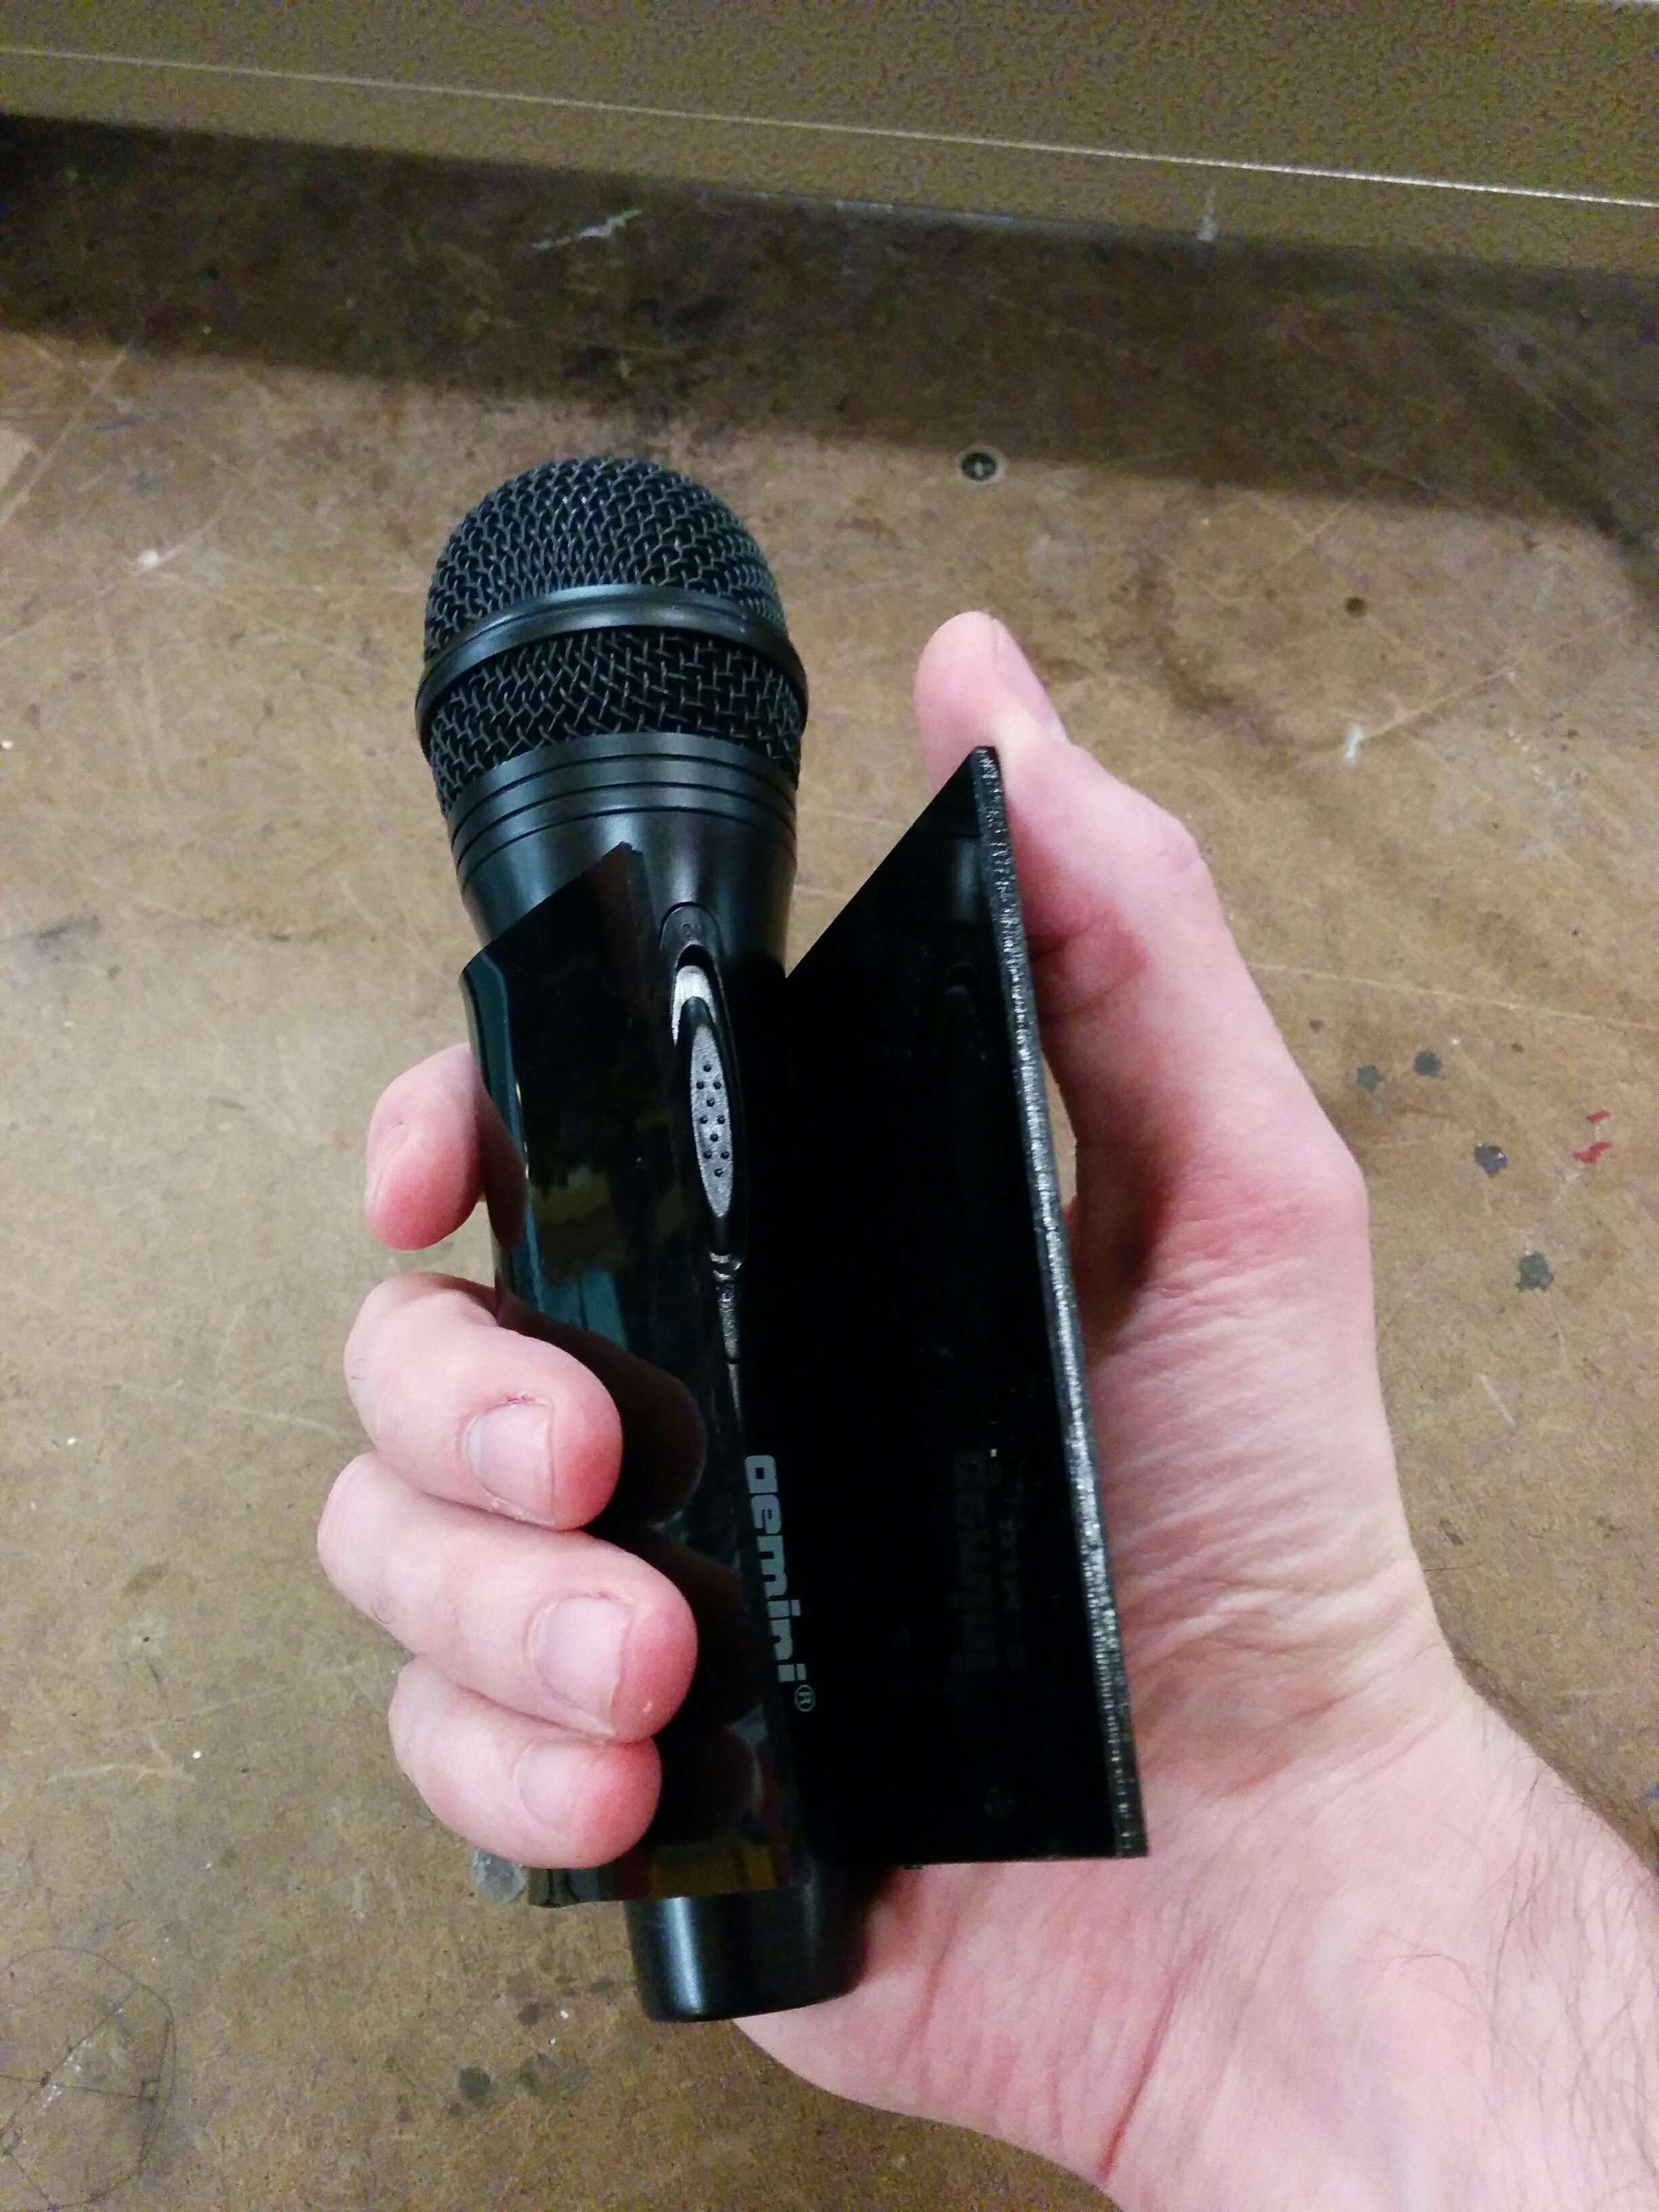
Not too bad. Felt good in the hand. The next step was figuring out how to mount onto the surface effectively. Keep in mind, the inside of the cuff has to be smooth in order to accommodate the mic.
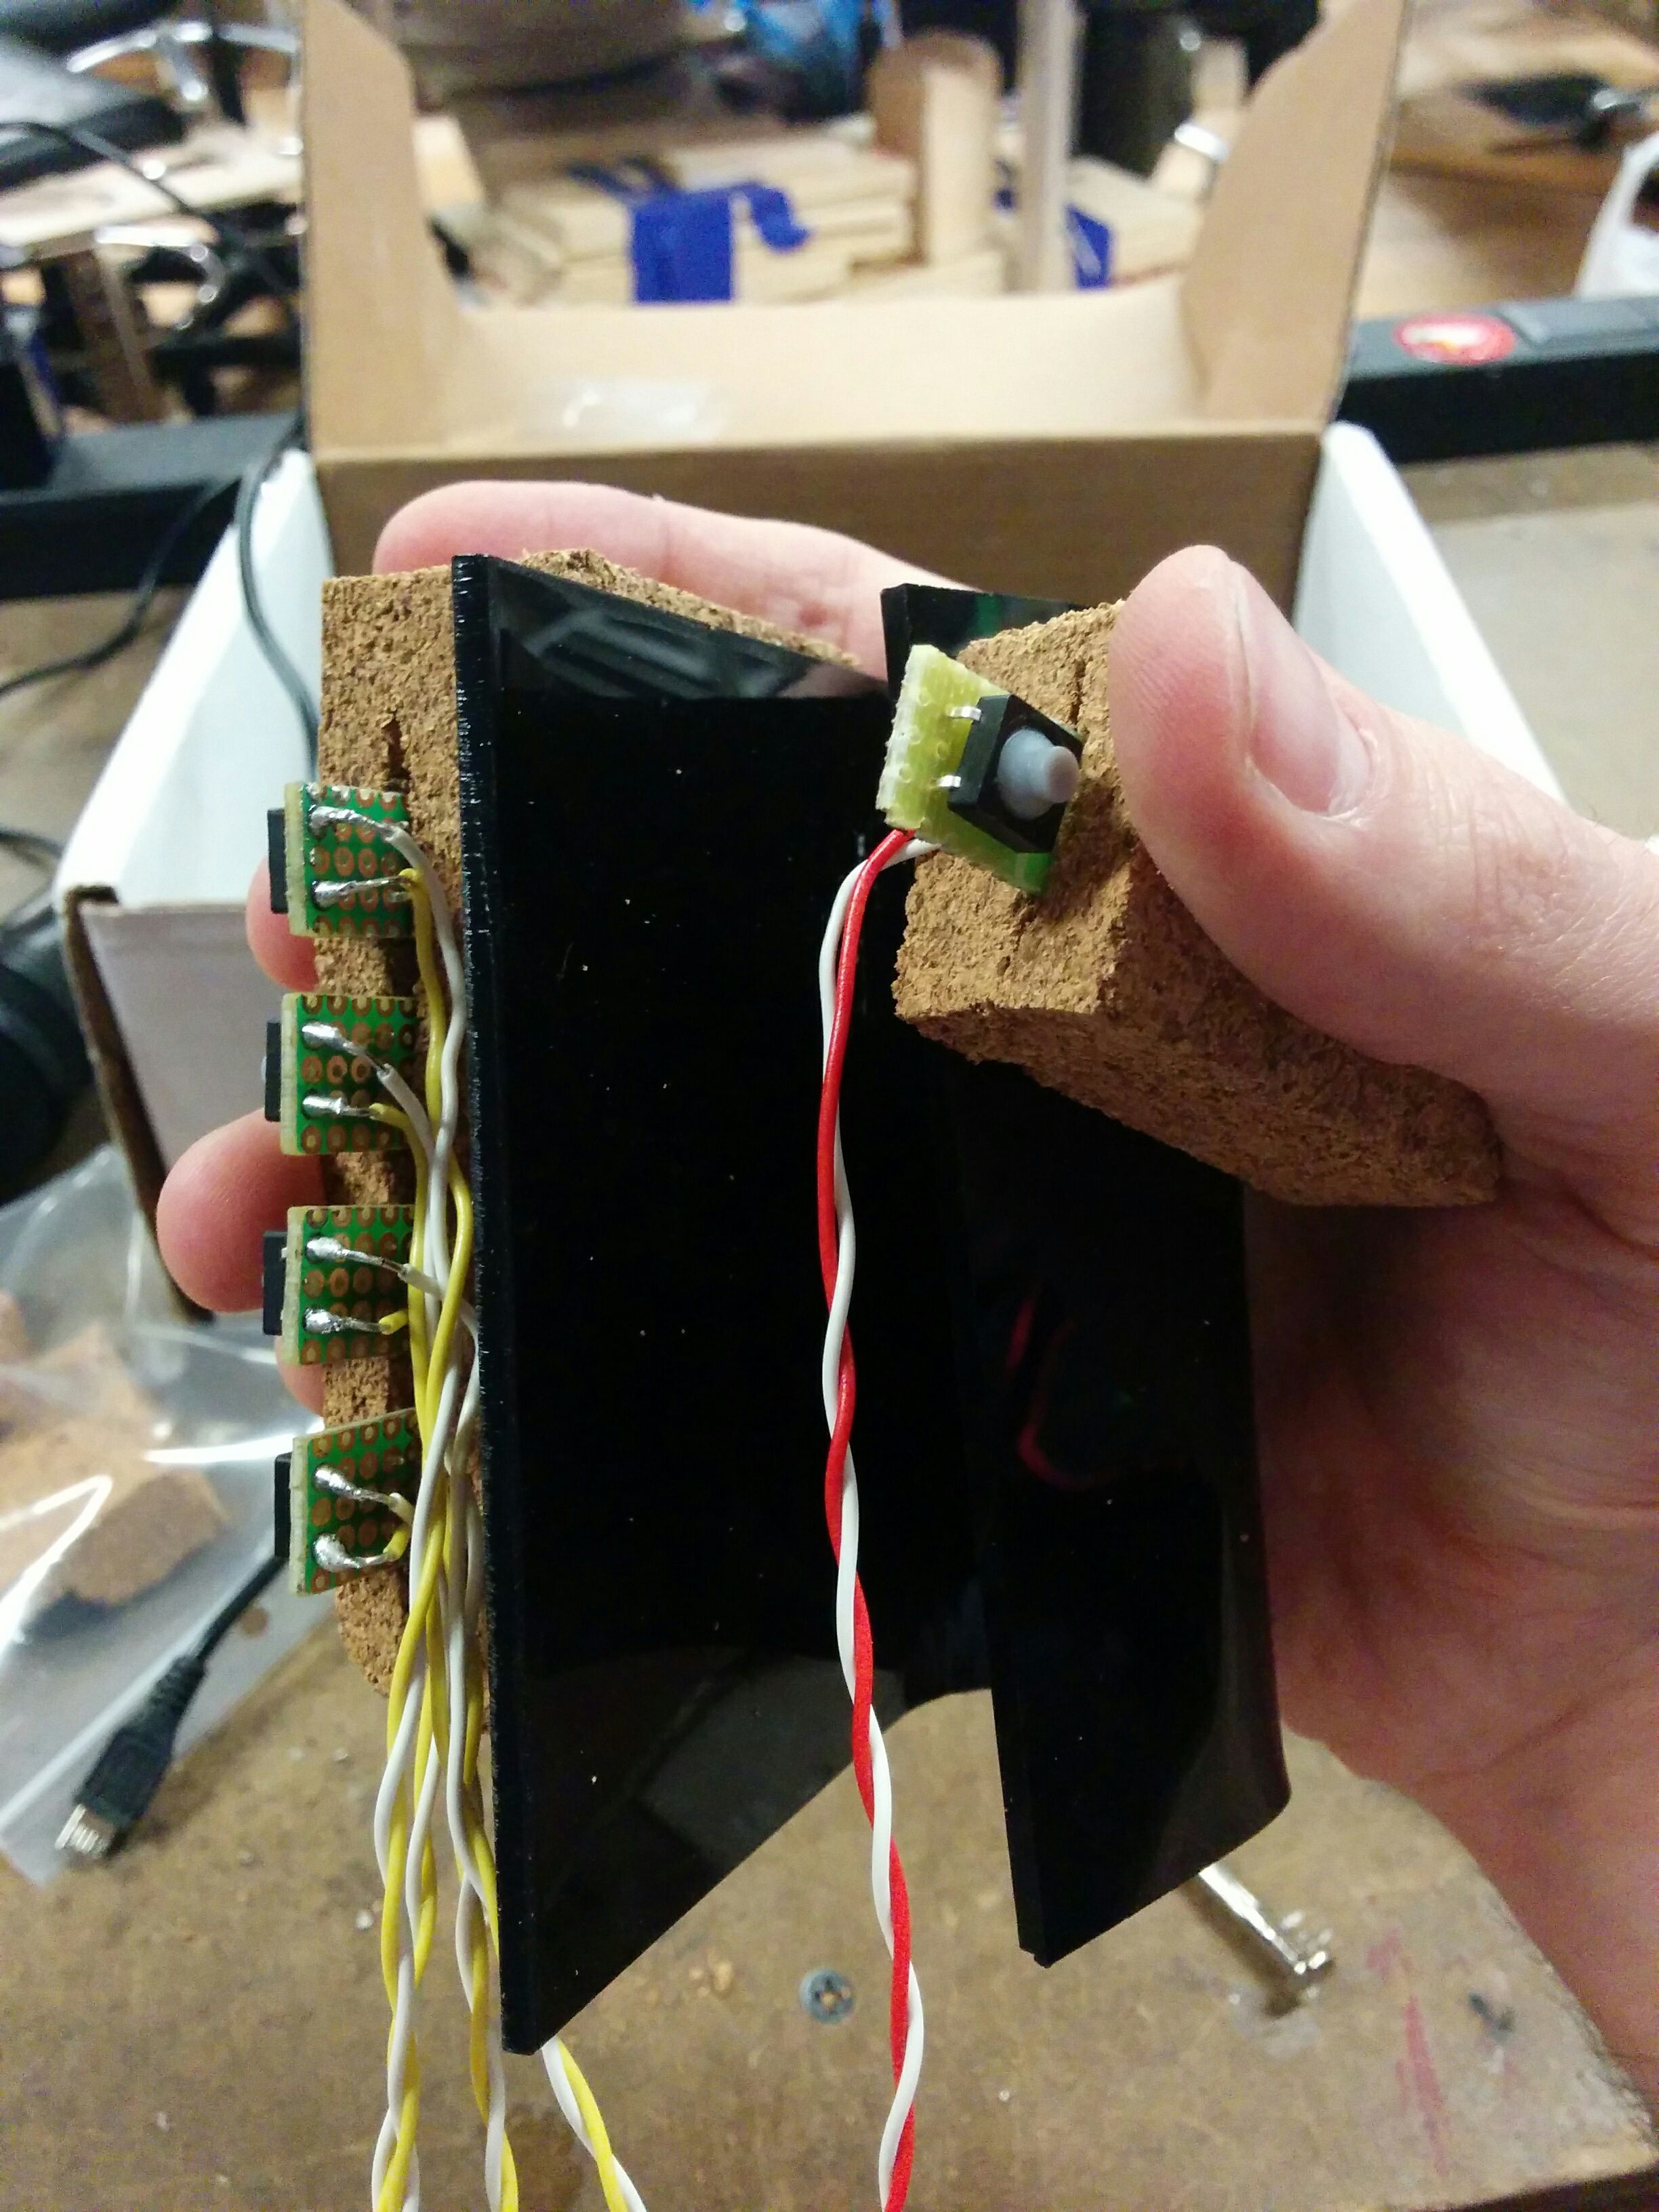
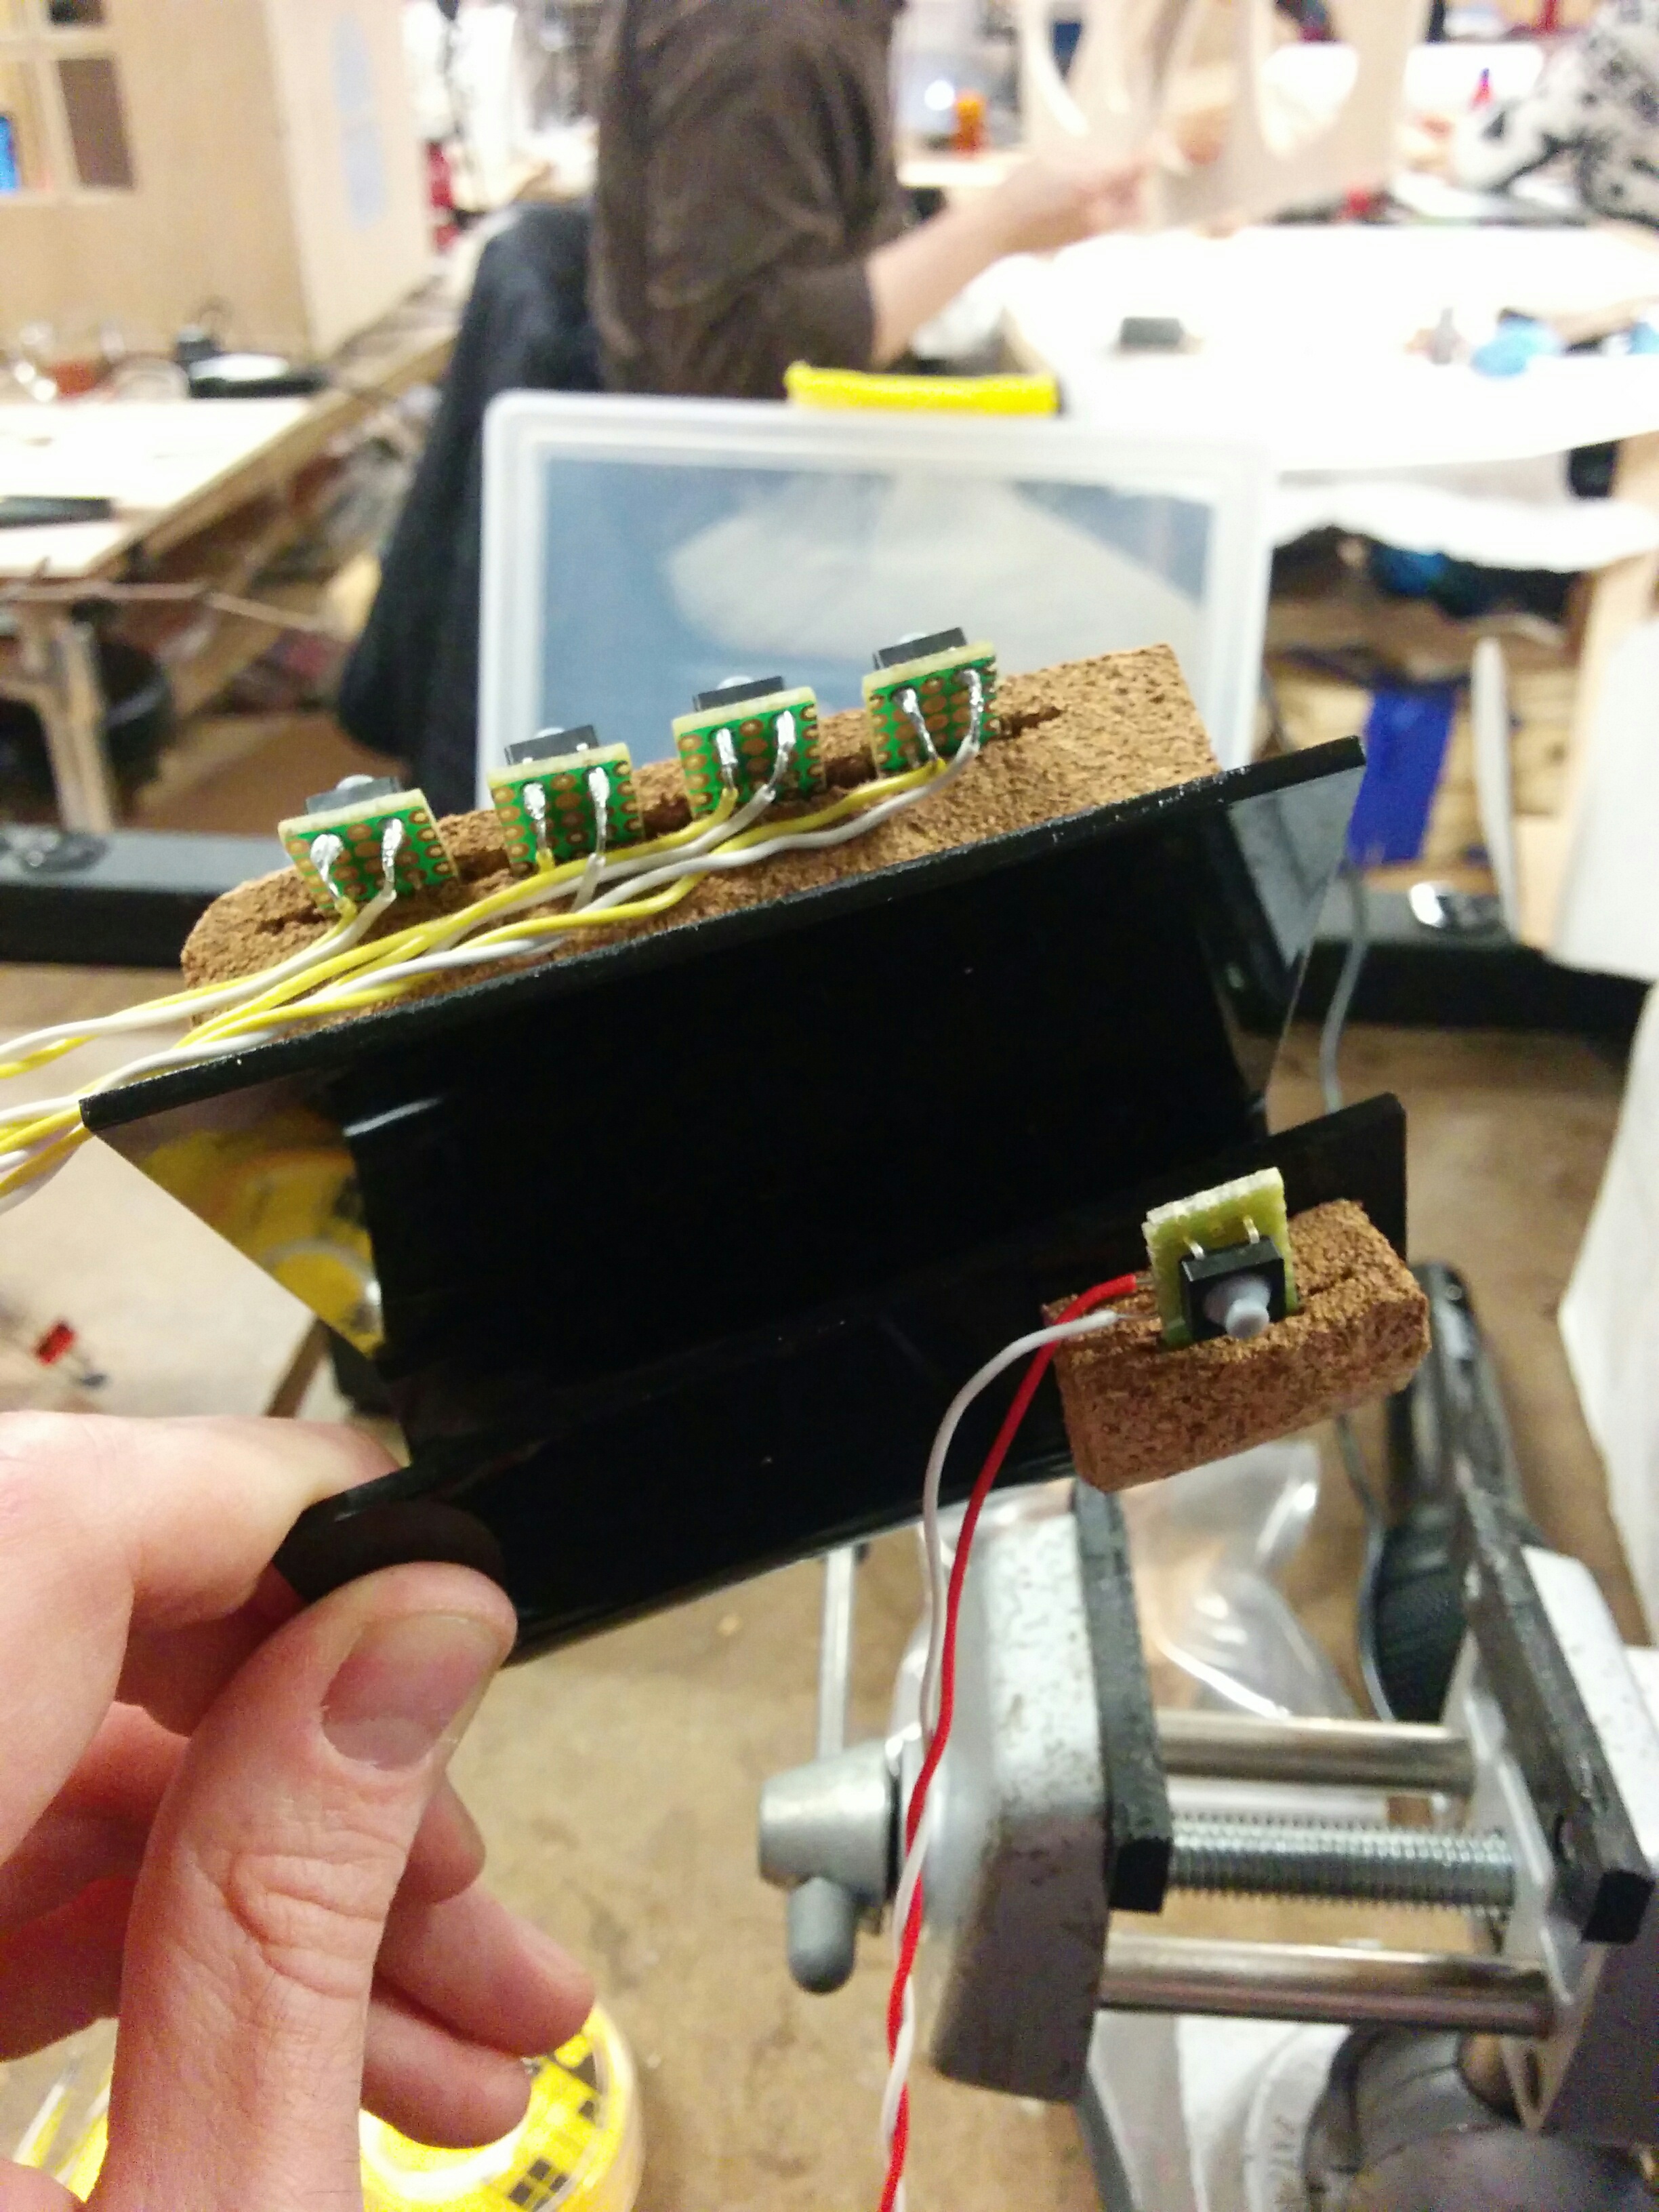
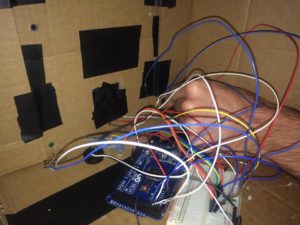
In order to make it as light and as uncluttered as possible, I decided to move the board off of the cuff. Wires will go to a separate controller, which will then plug into the computer via USB.
Moving onto my button mounting concept
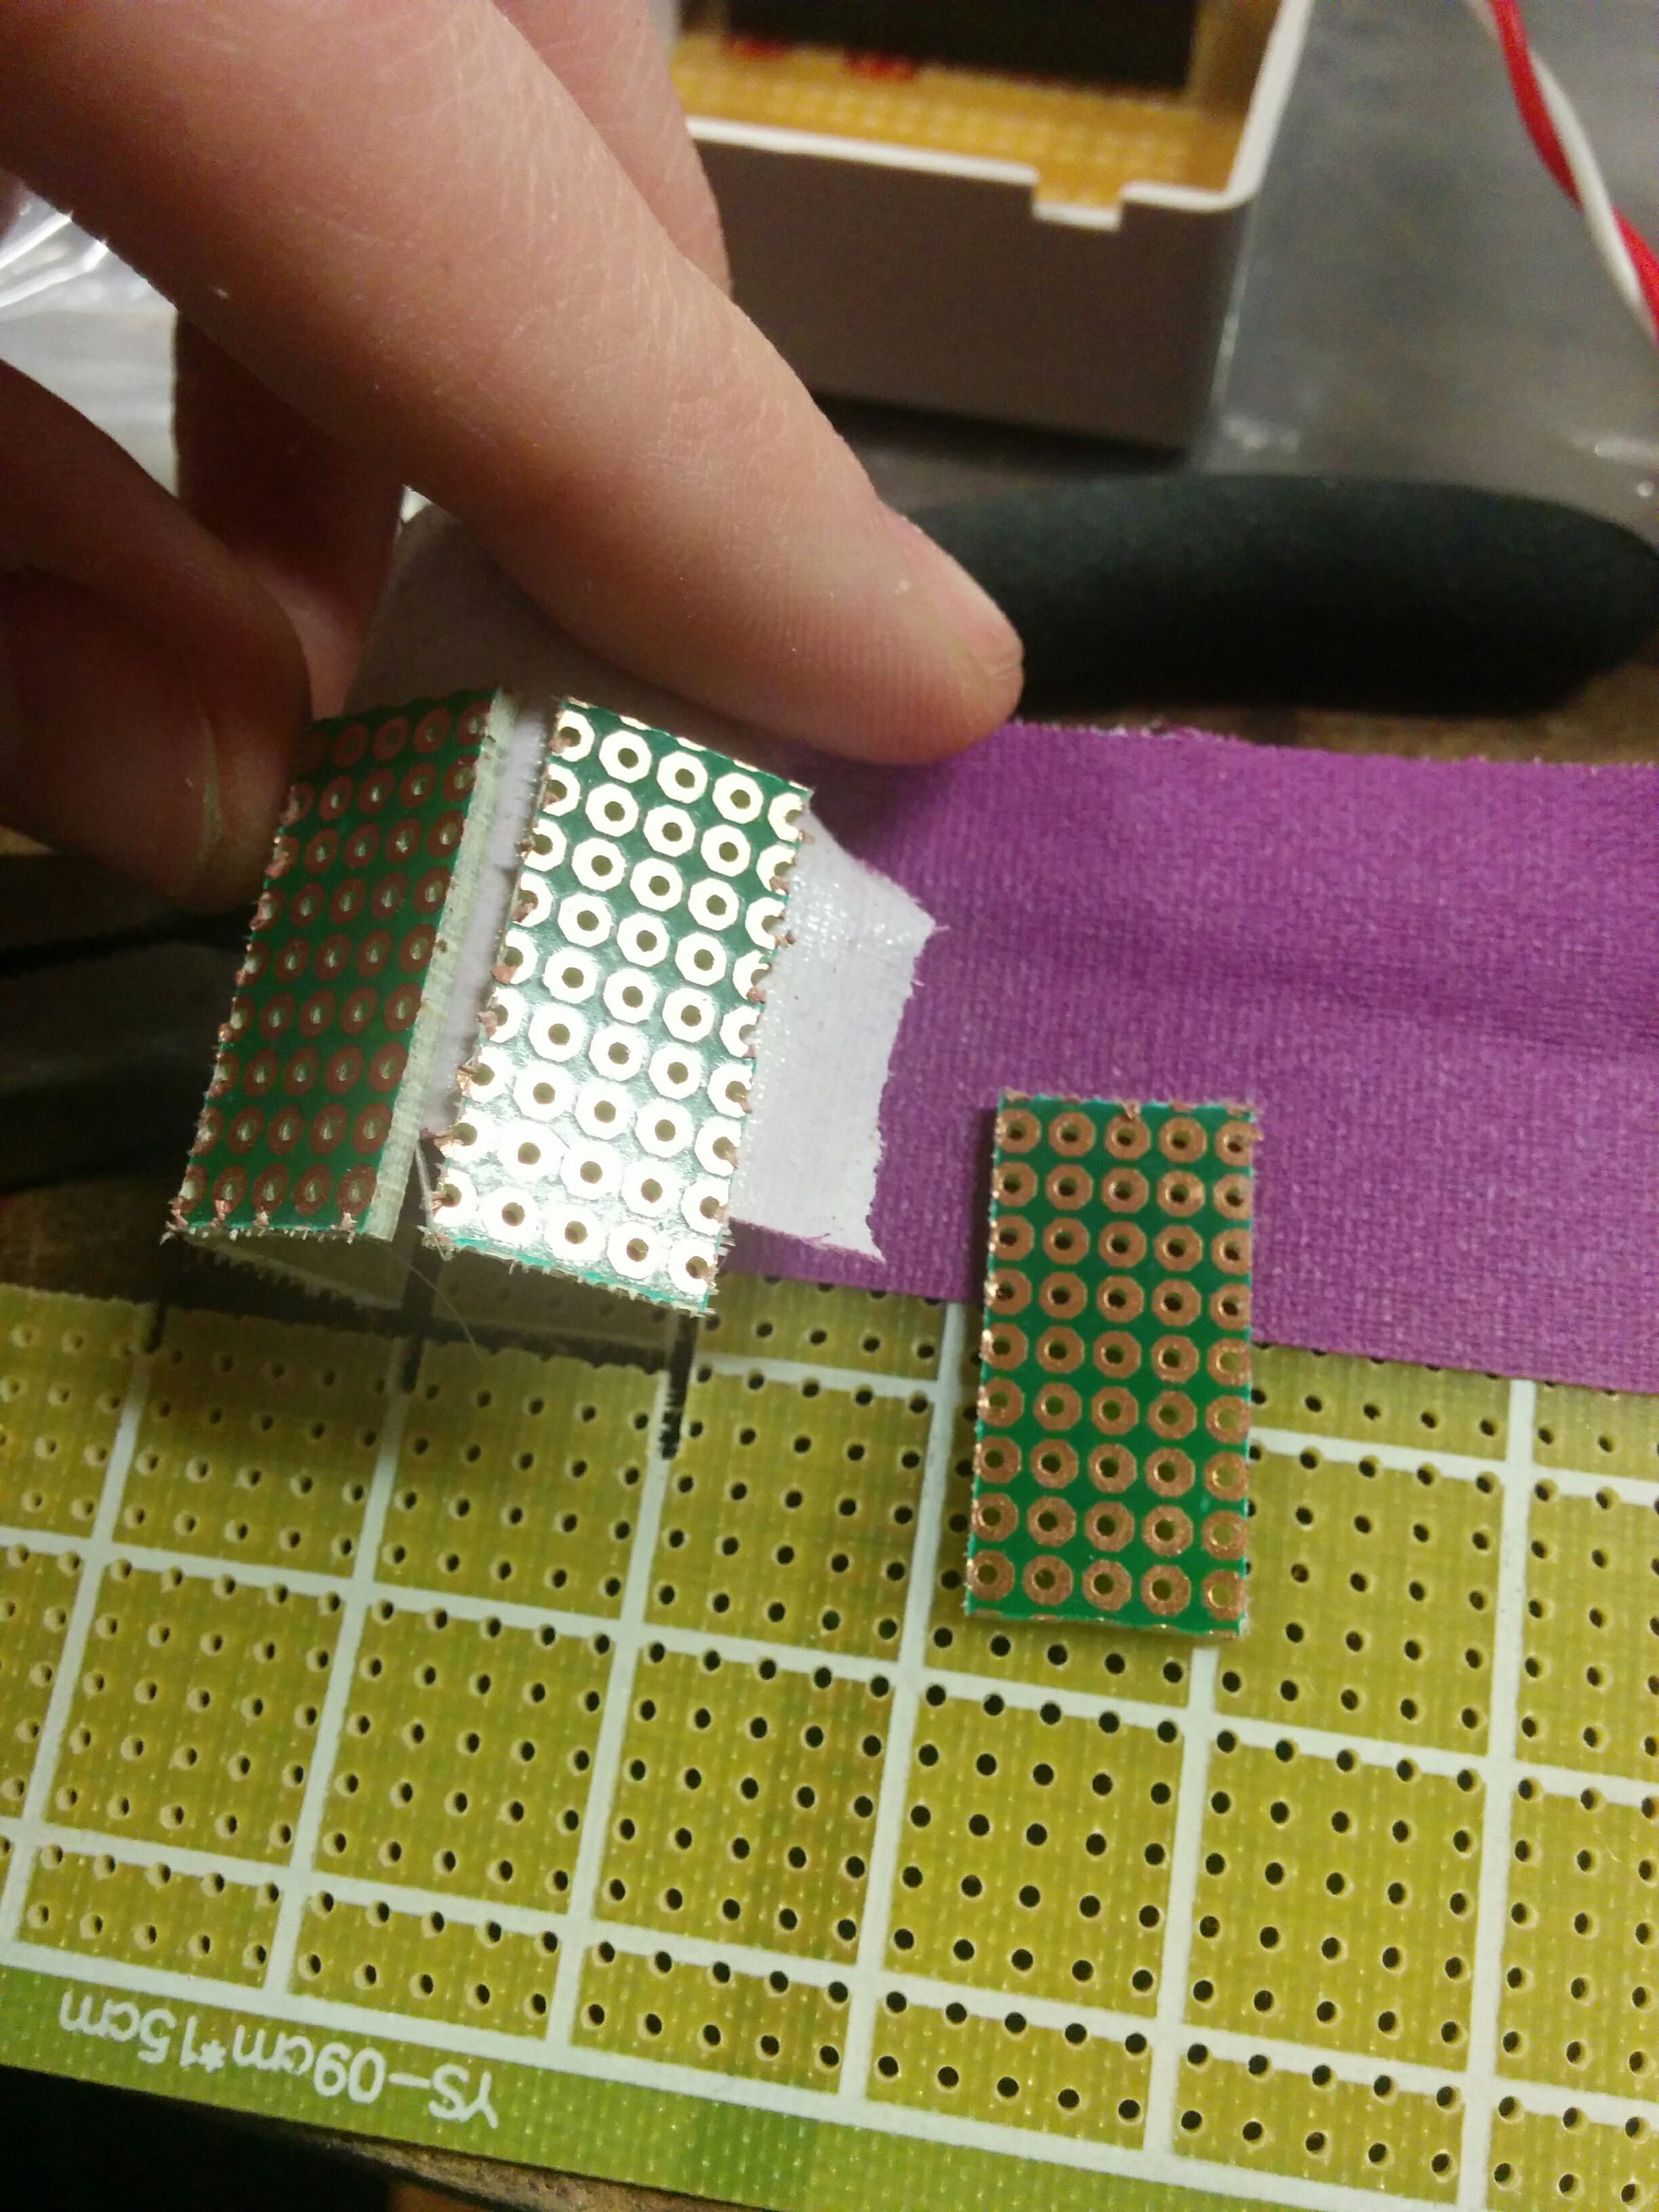
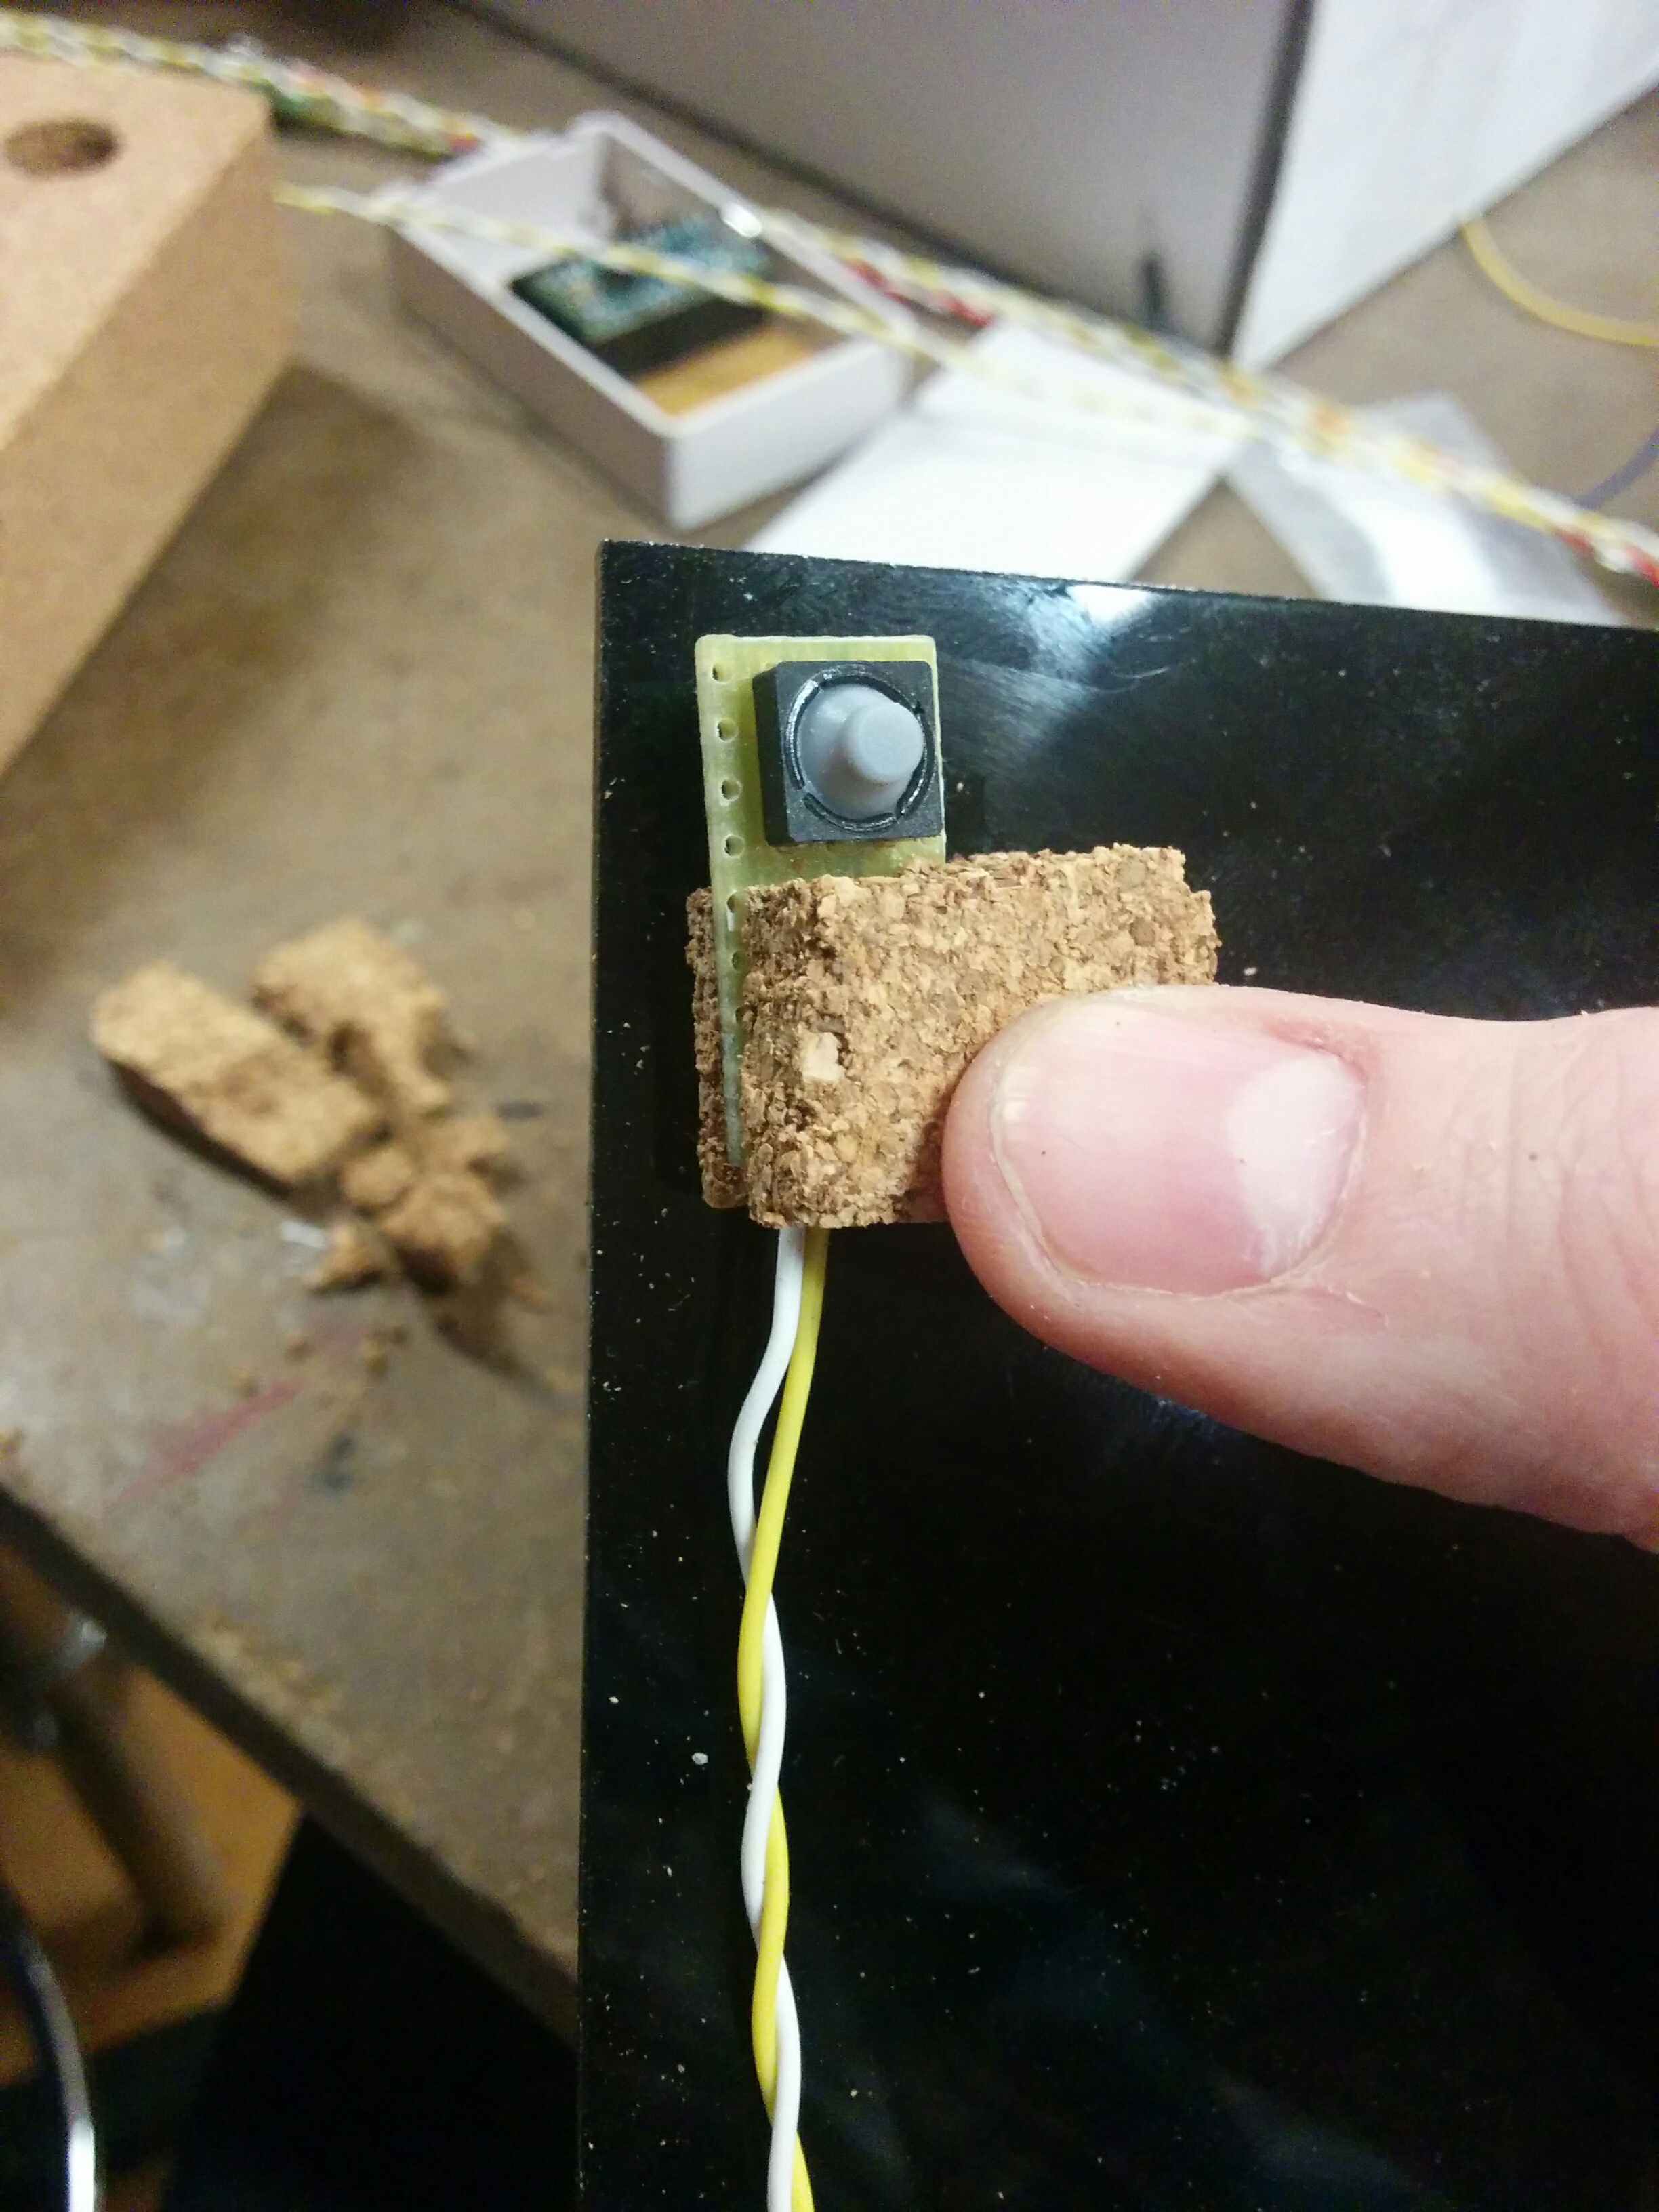
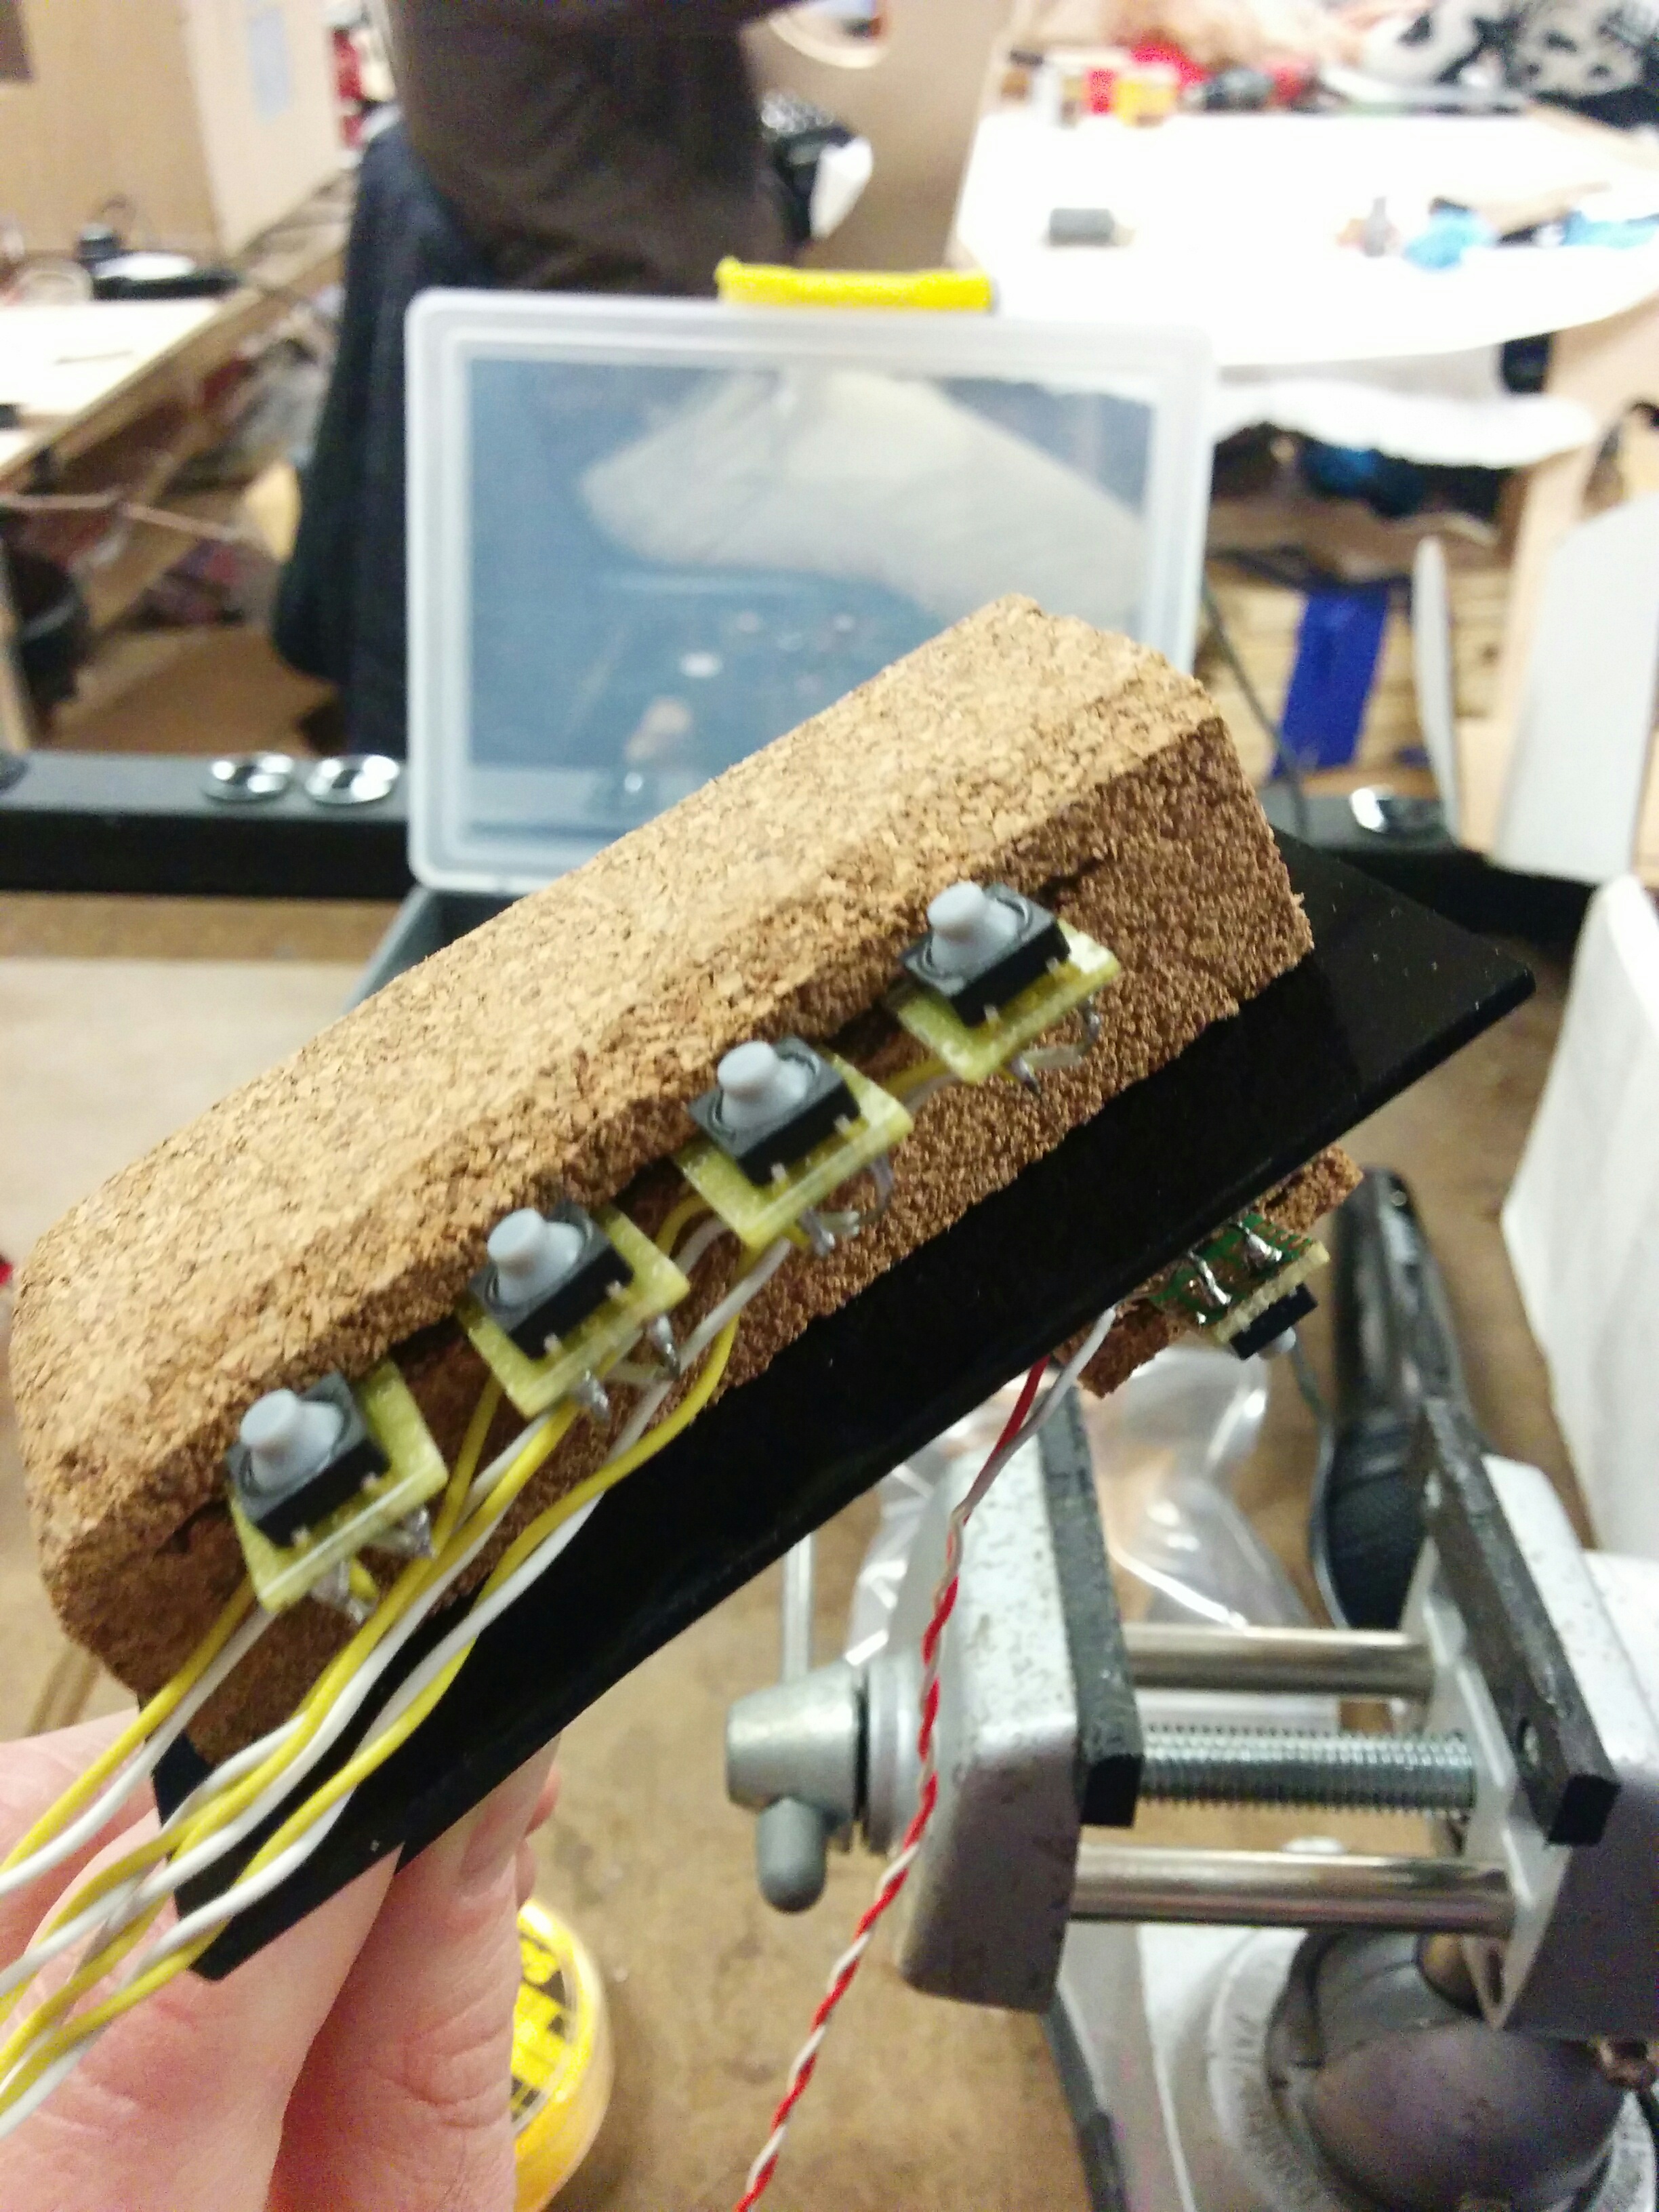
I want to use cork as a way to mount the buttons. The protoboard, while providing a space and security for soldering, can also serve as a kind of “slot” system for inserting the buttons. Cork provides a kind of tacticle/ergonomic “landing pad” for fingers and finger tips to grip the mic.
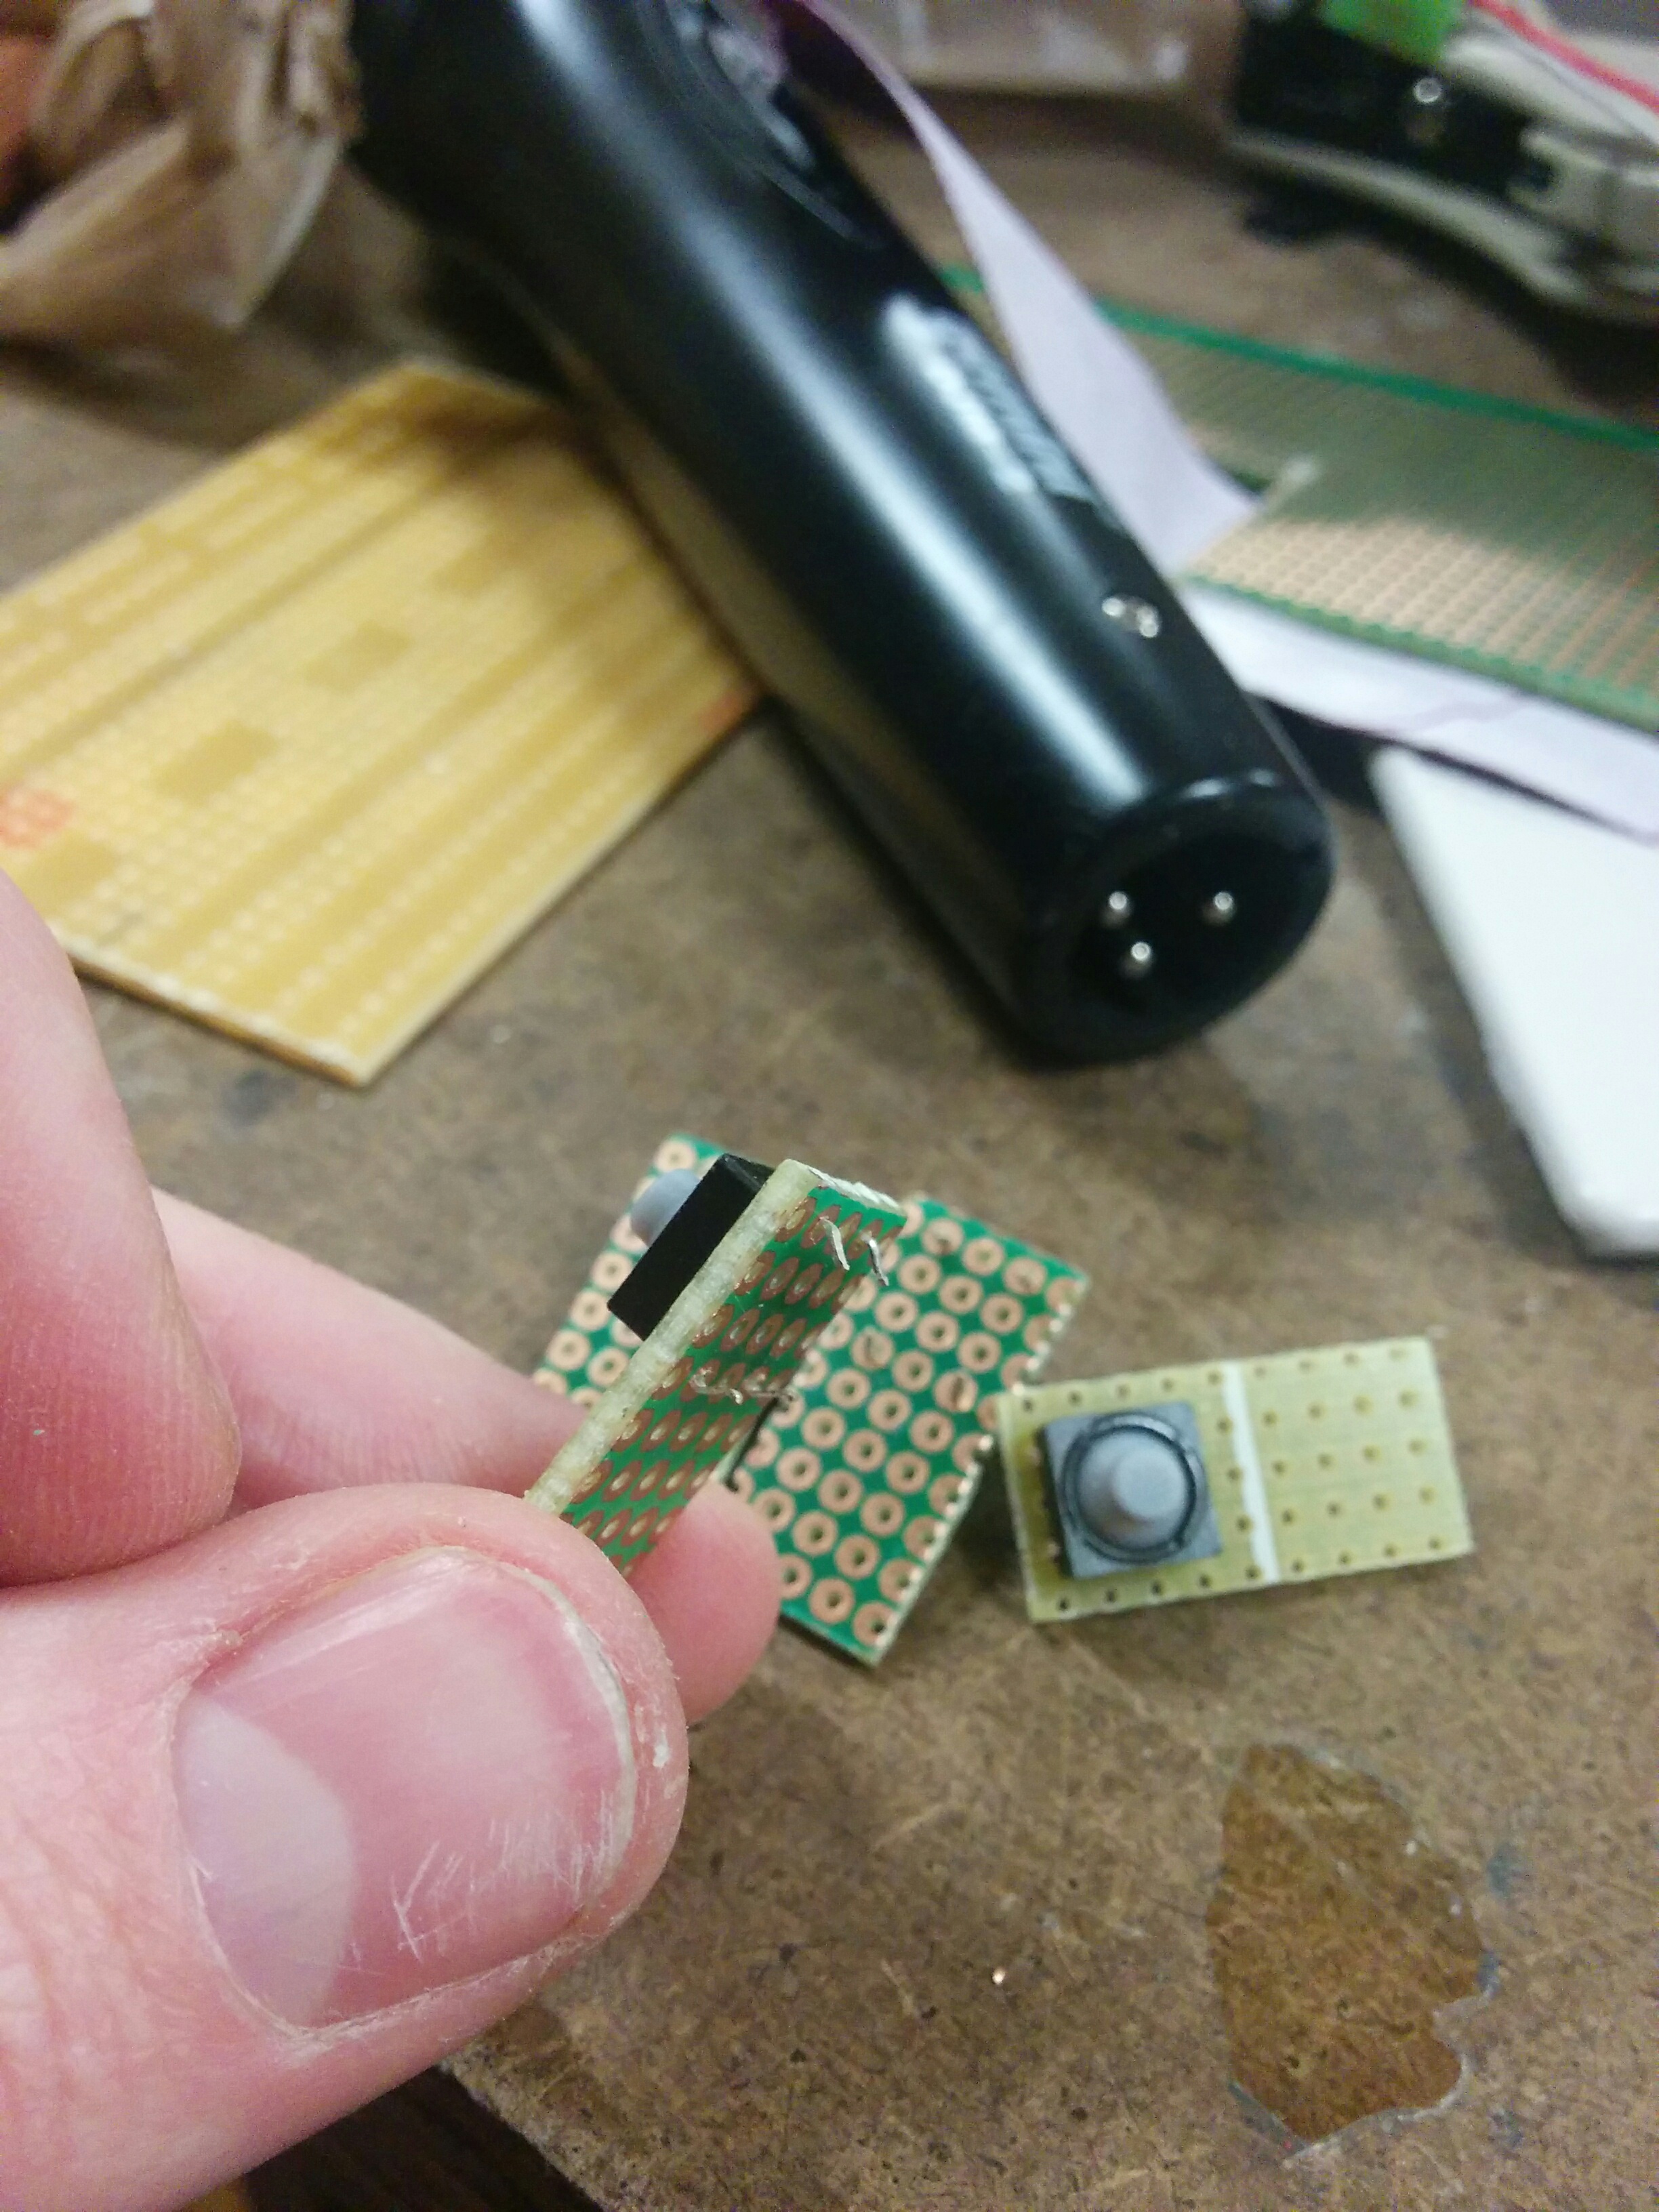
I played around with a few different approaches.
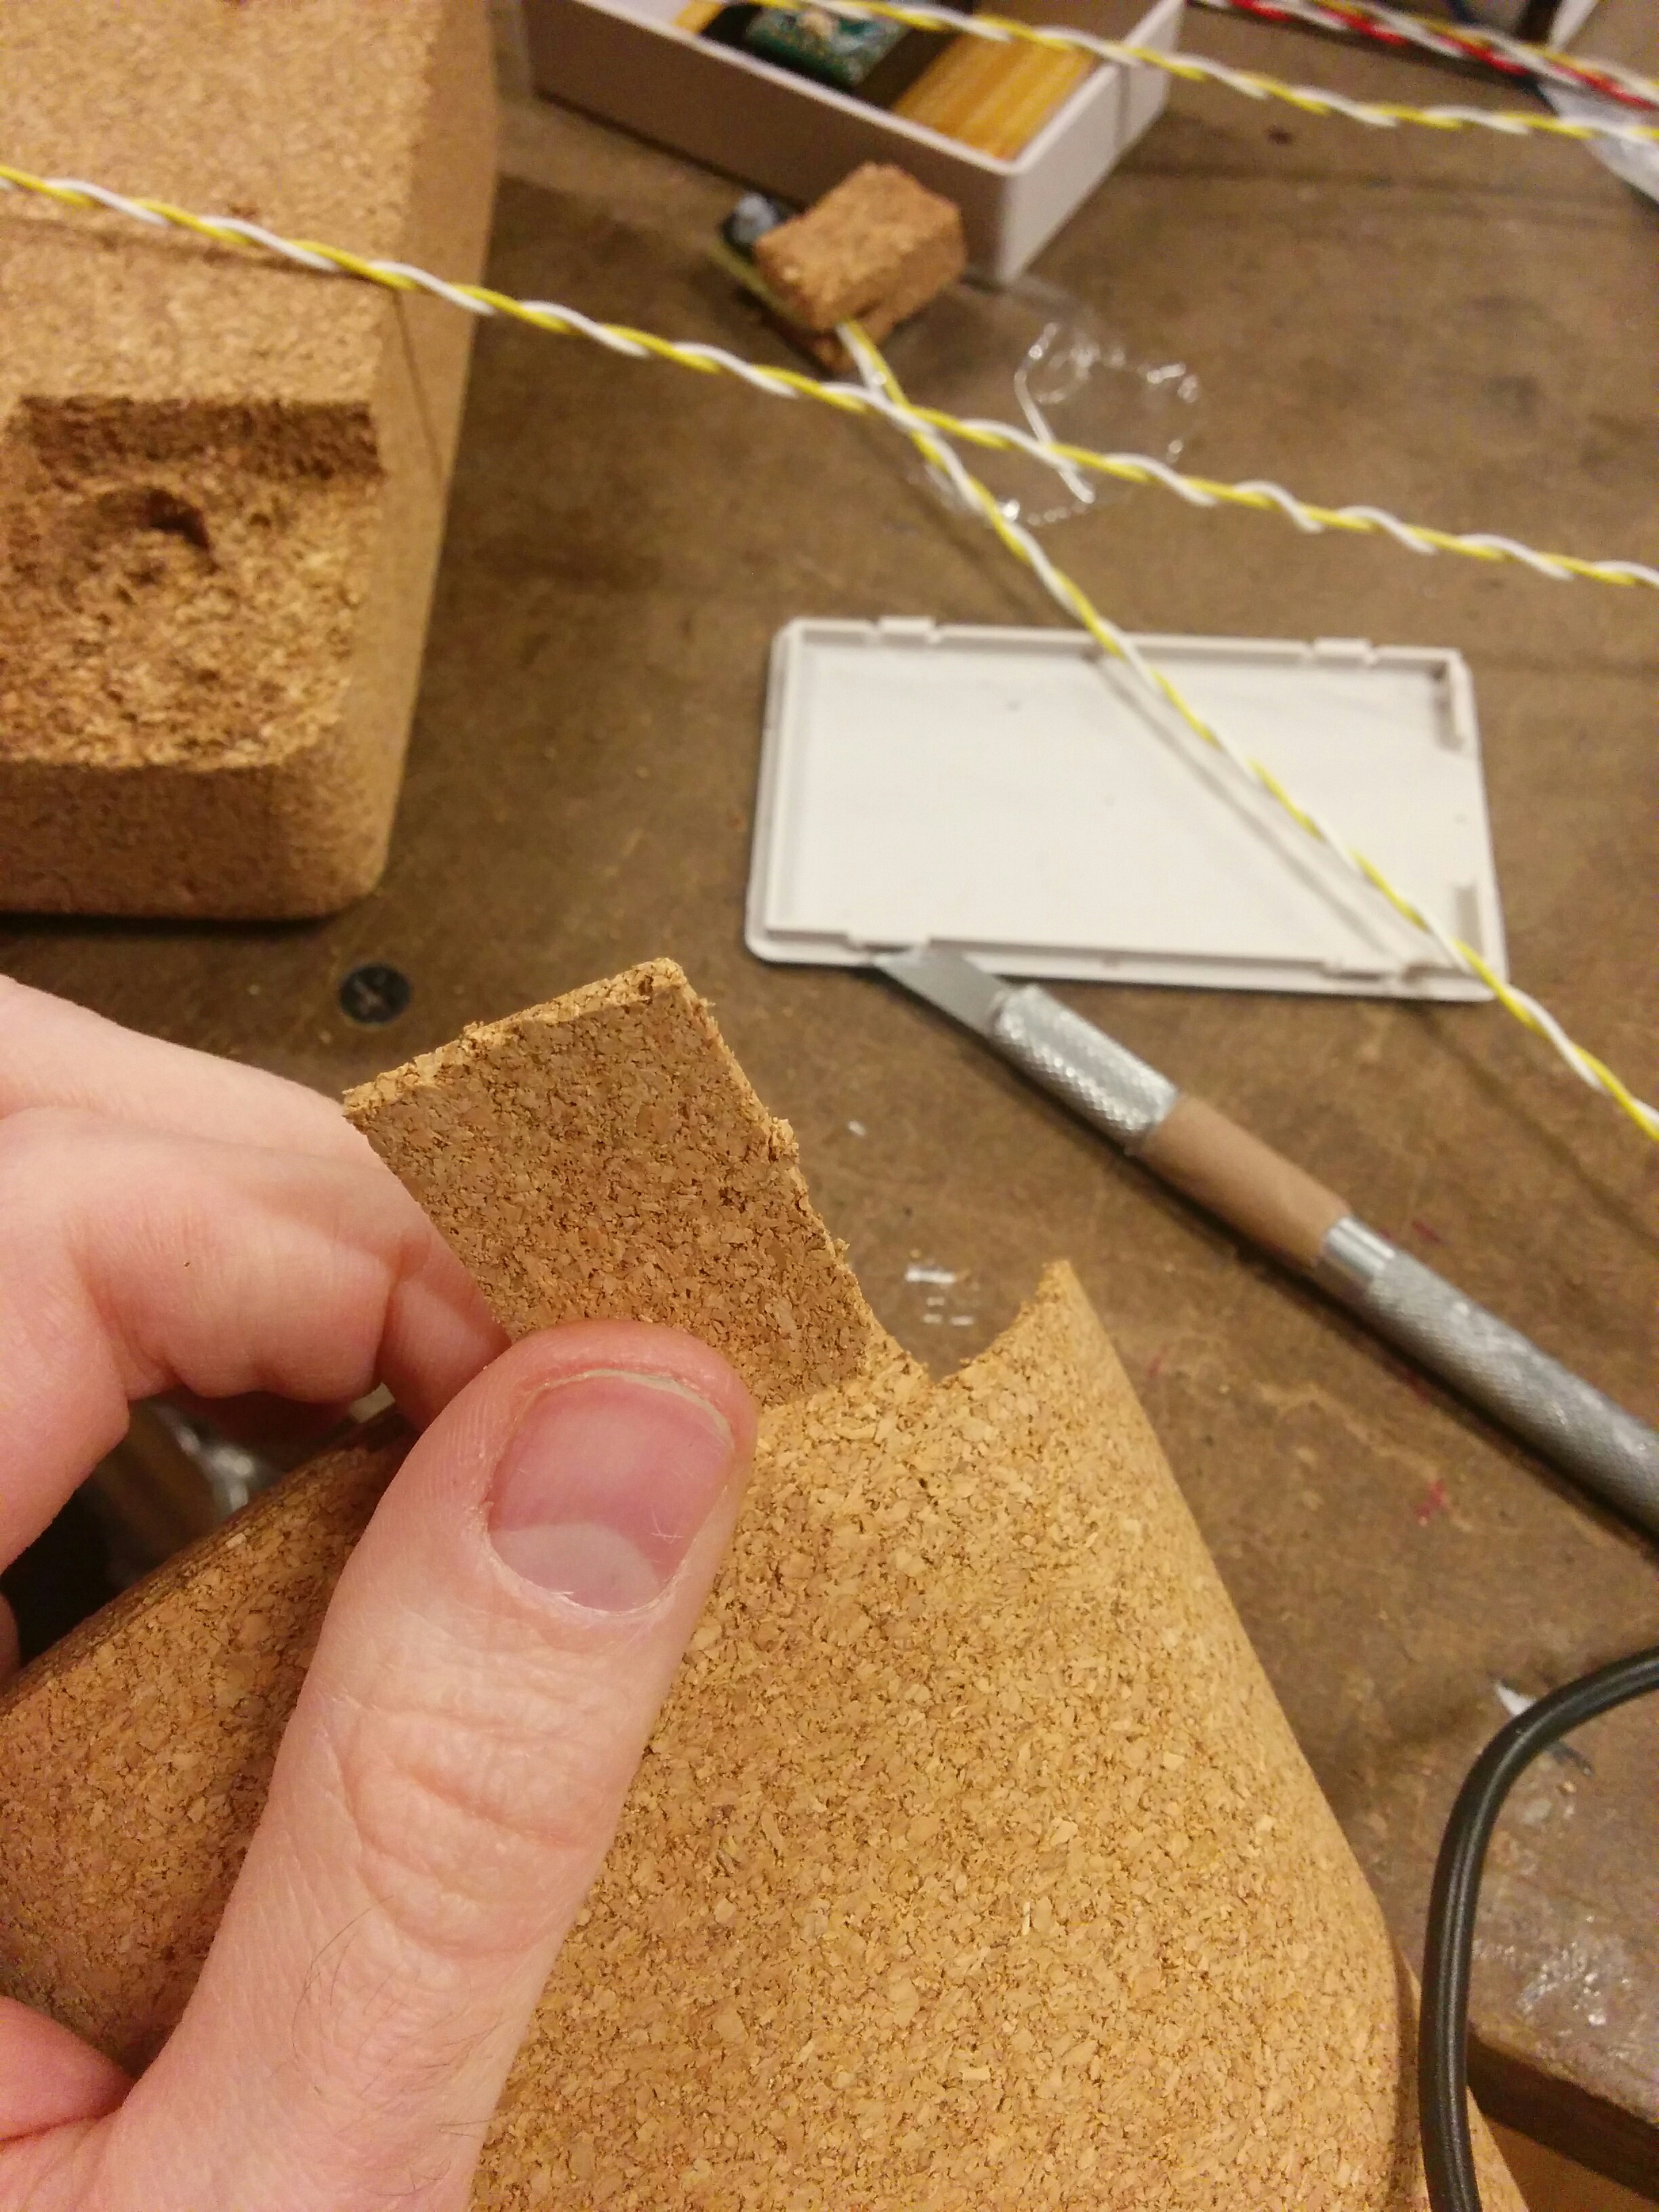
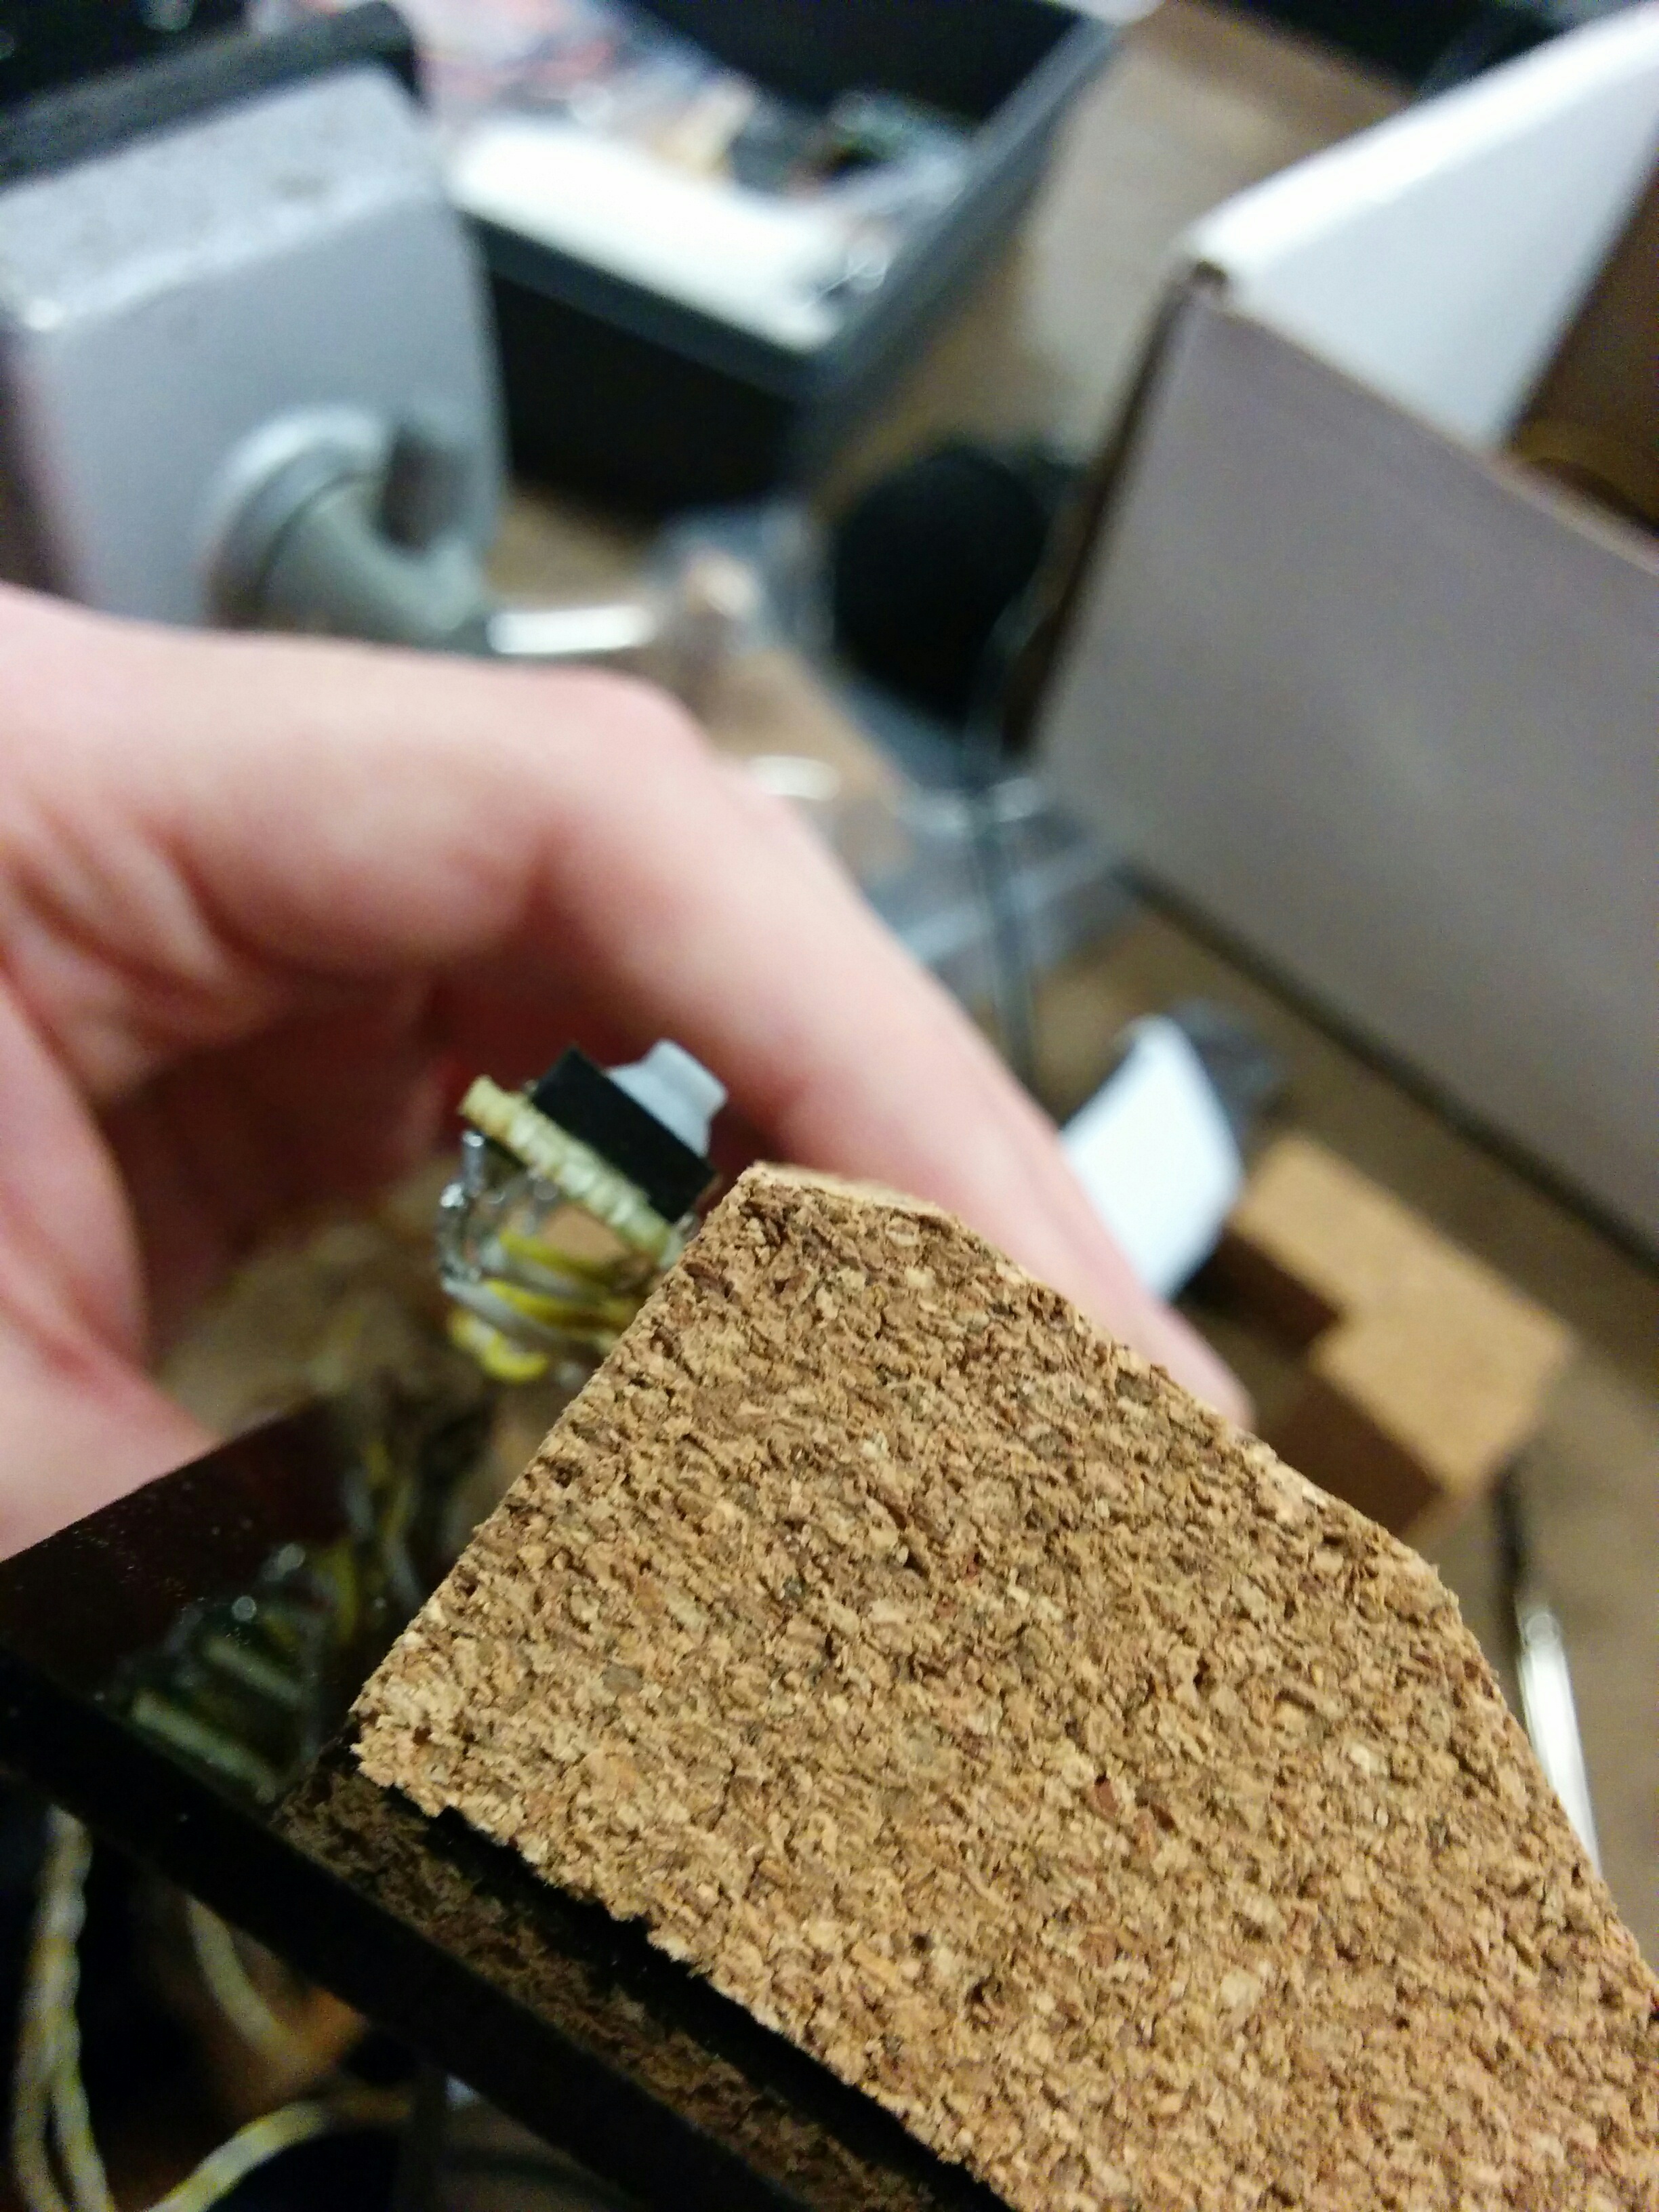
Cracking can potentially be an issue, but I found a solution that so far has felt fairly secure.
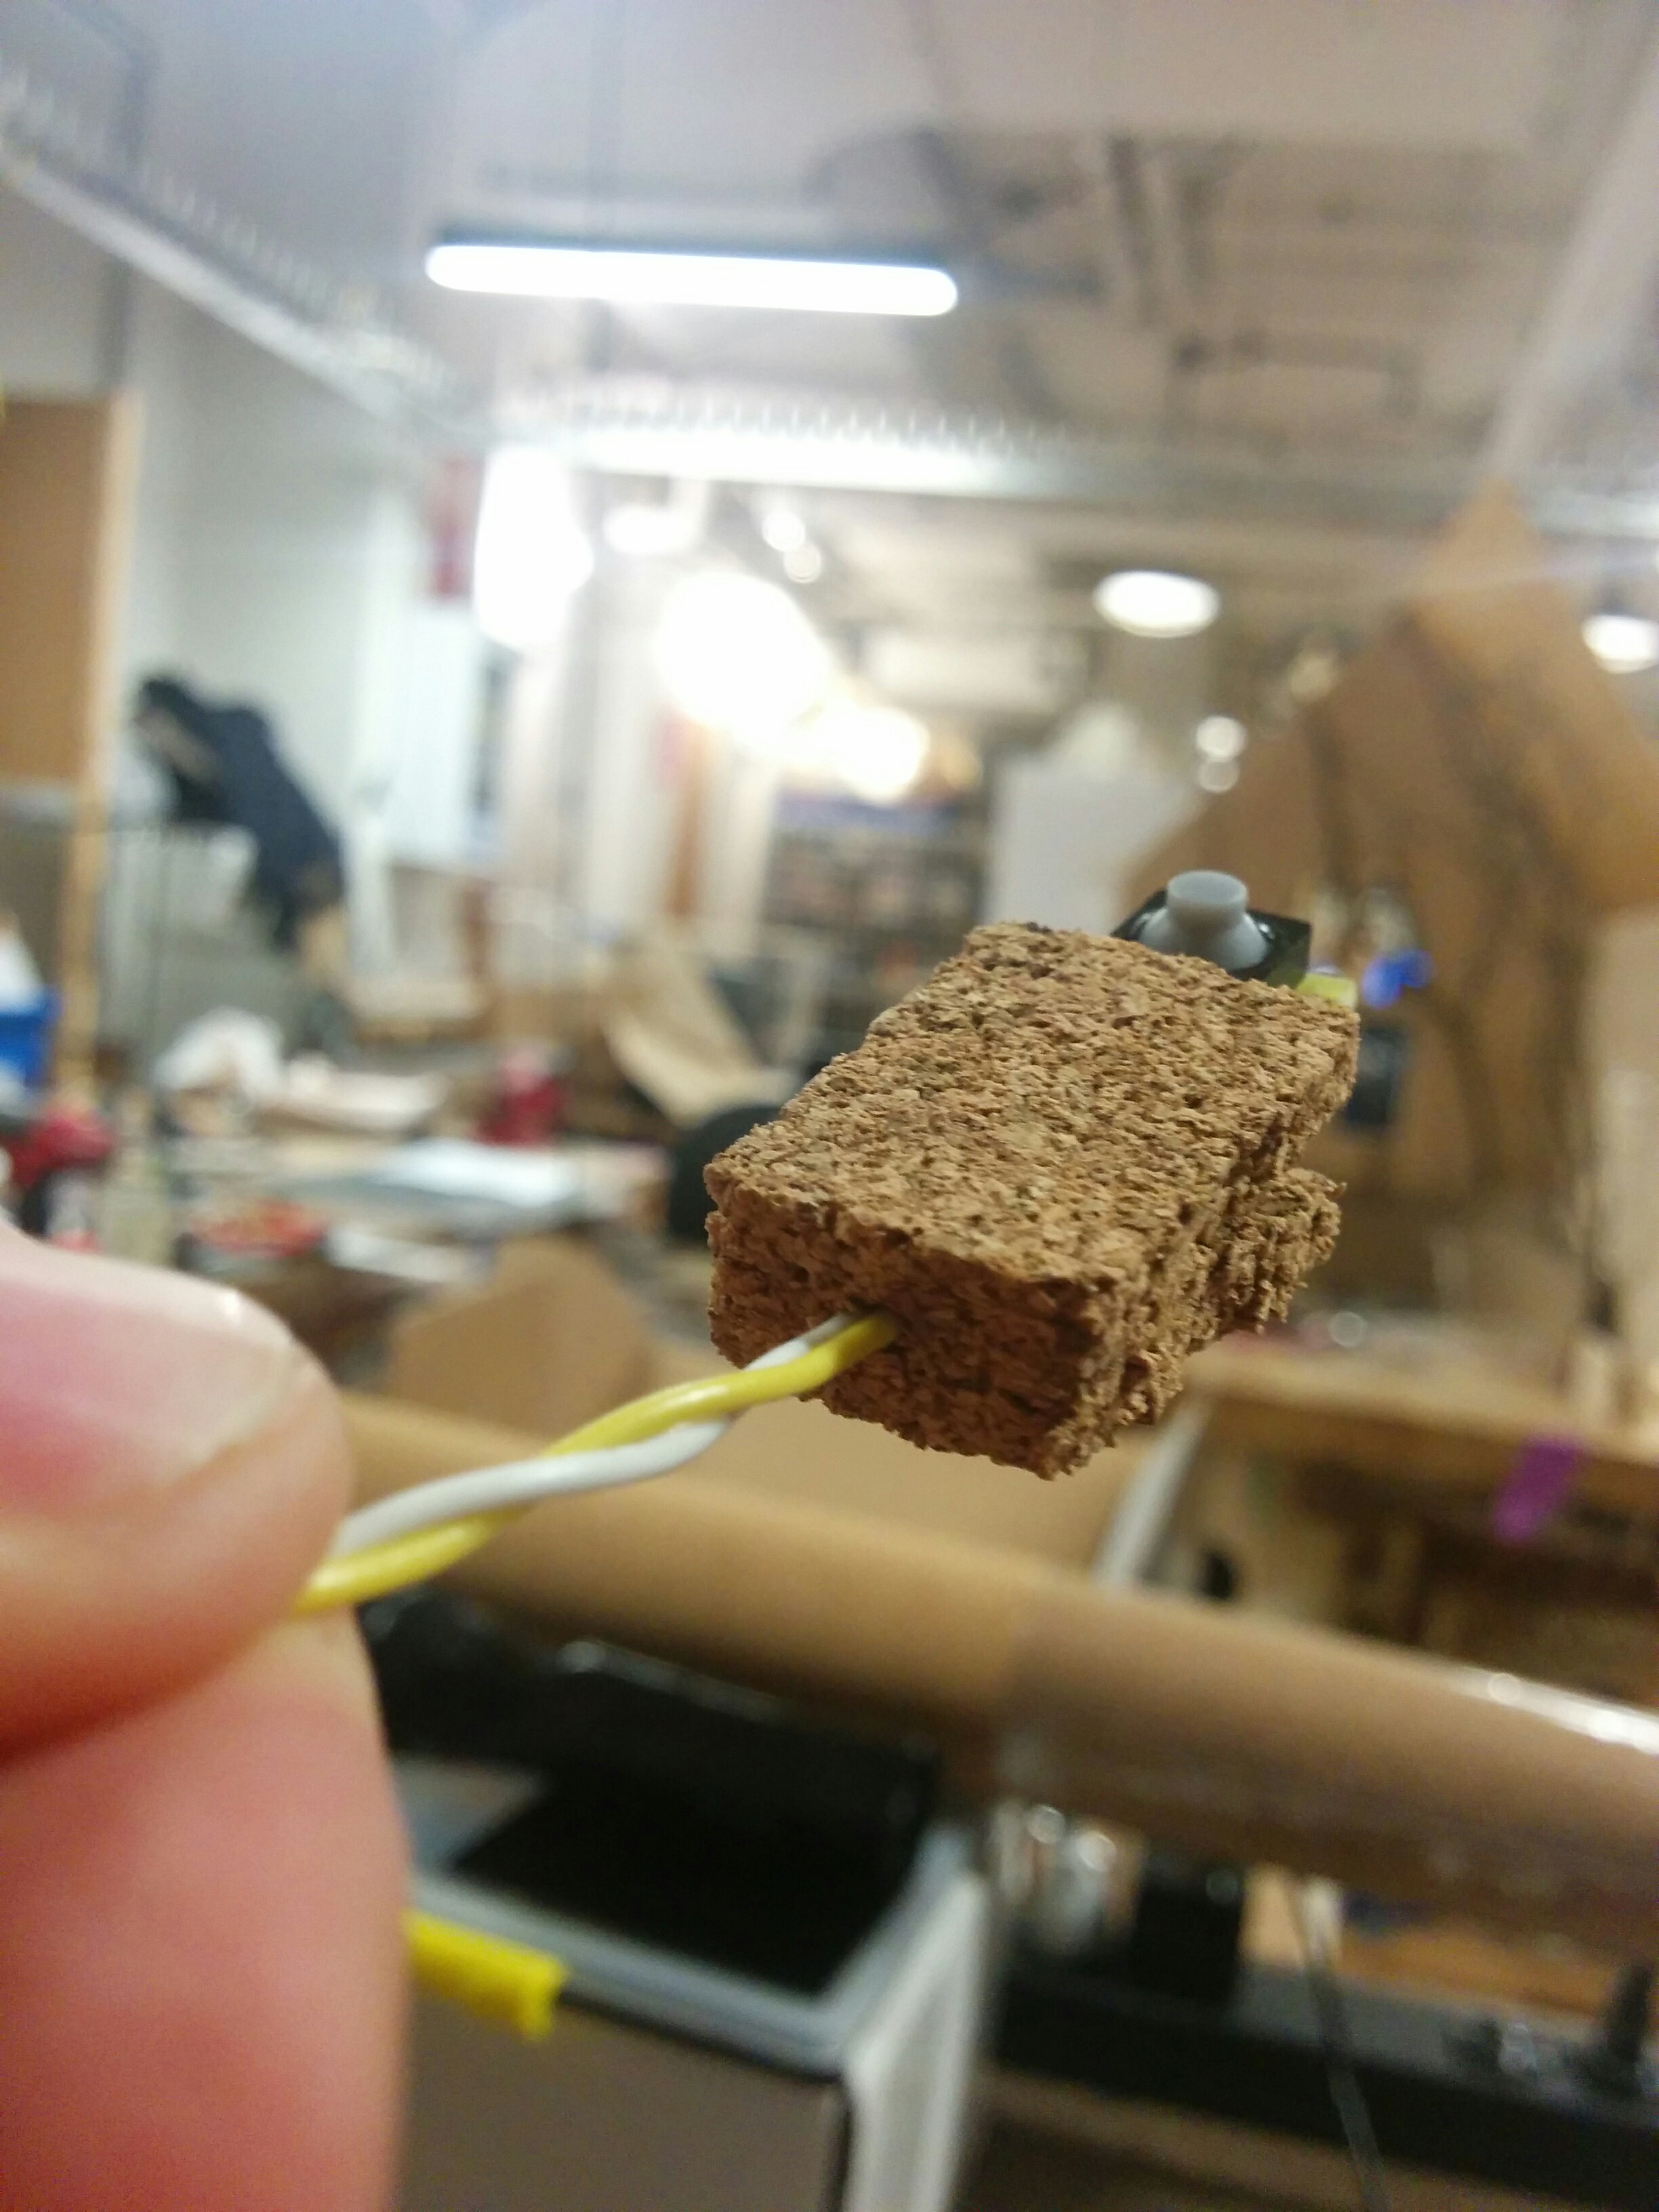
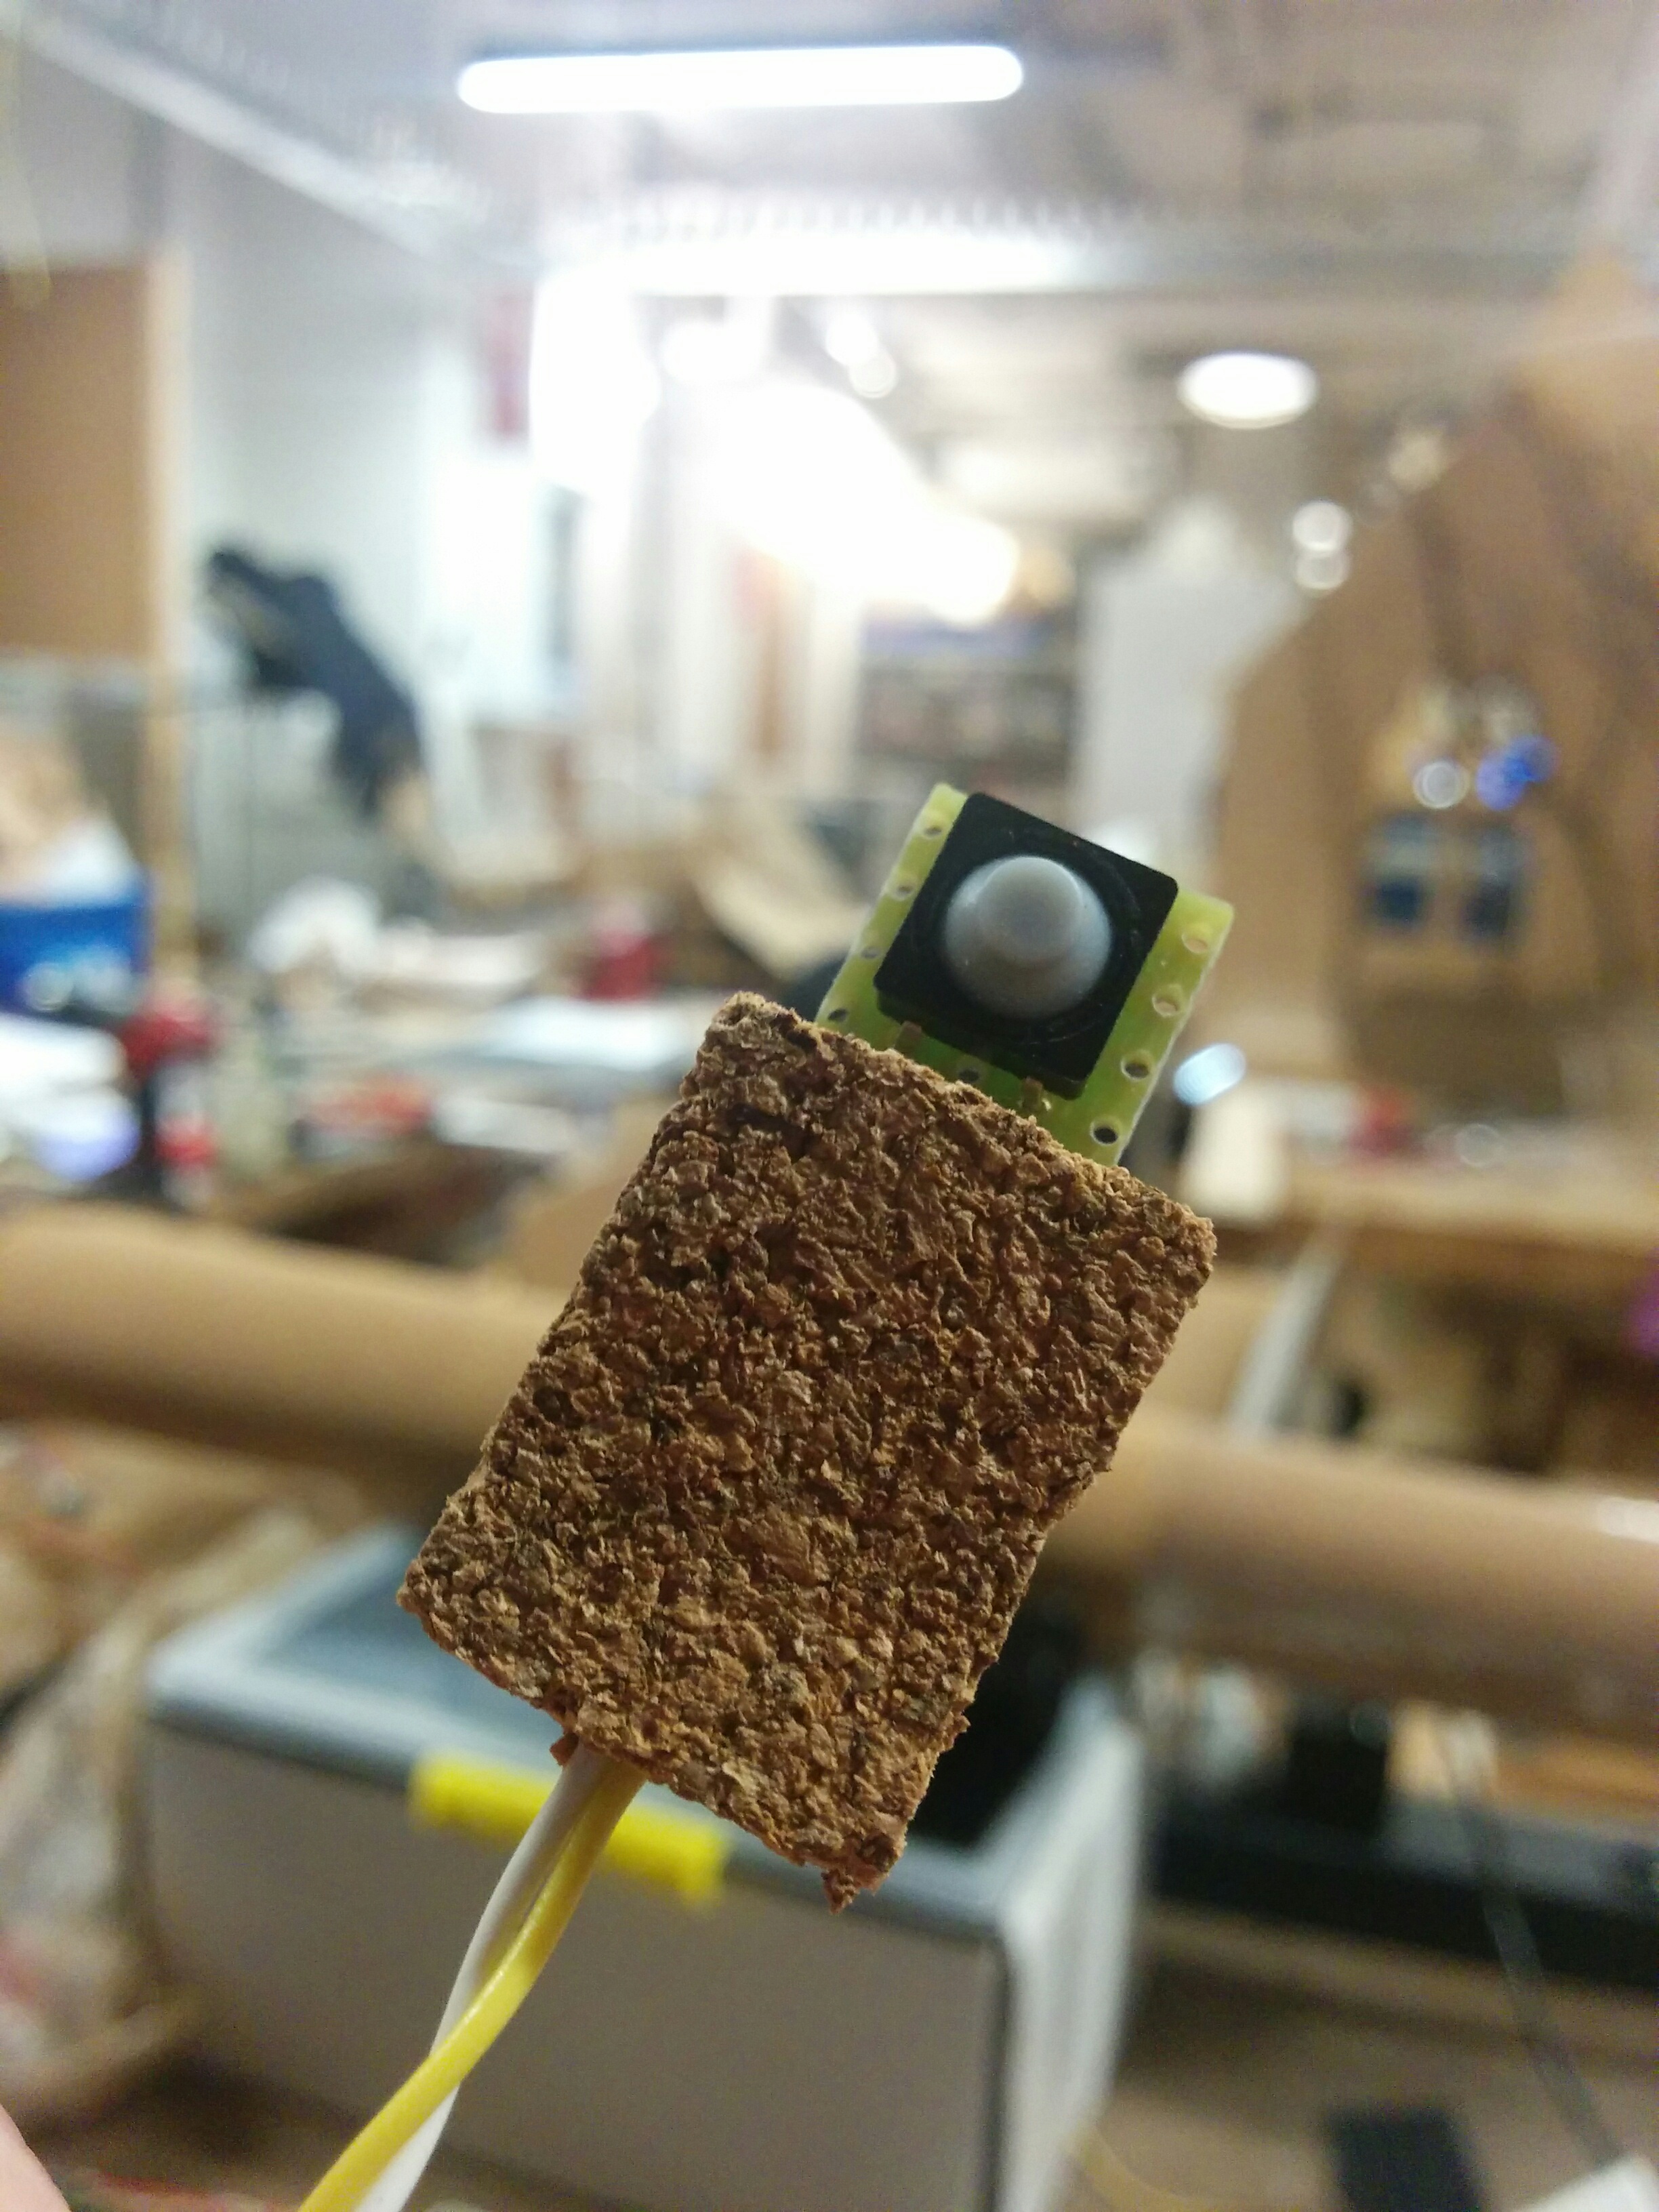
Then I further sculpted the cork to create more of a natural grip.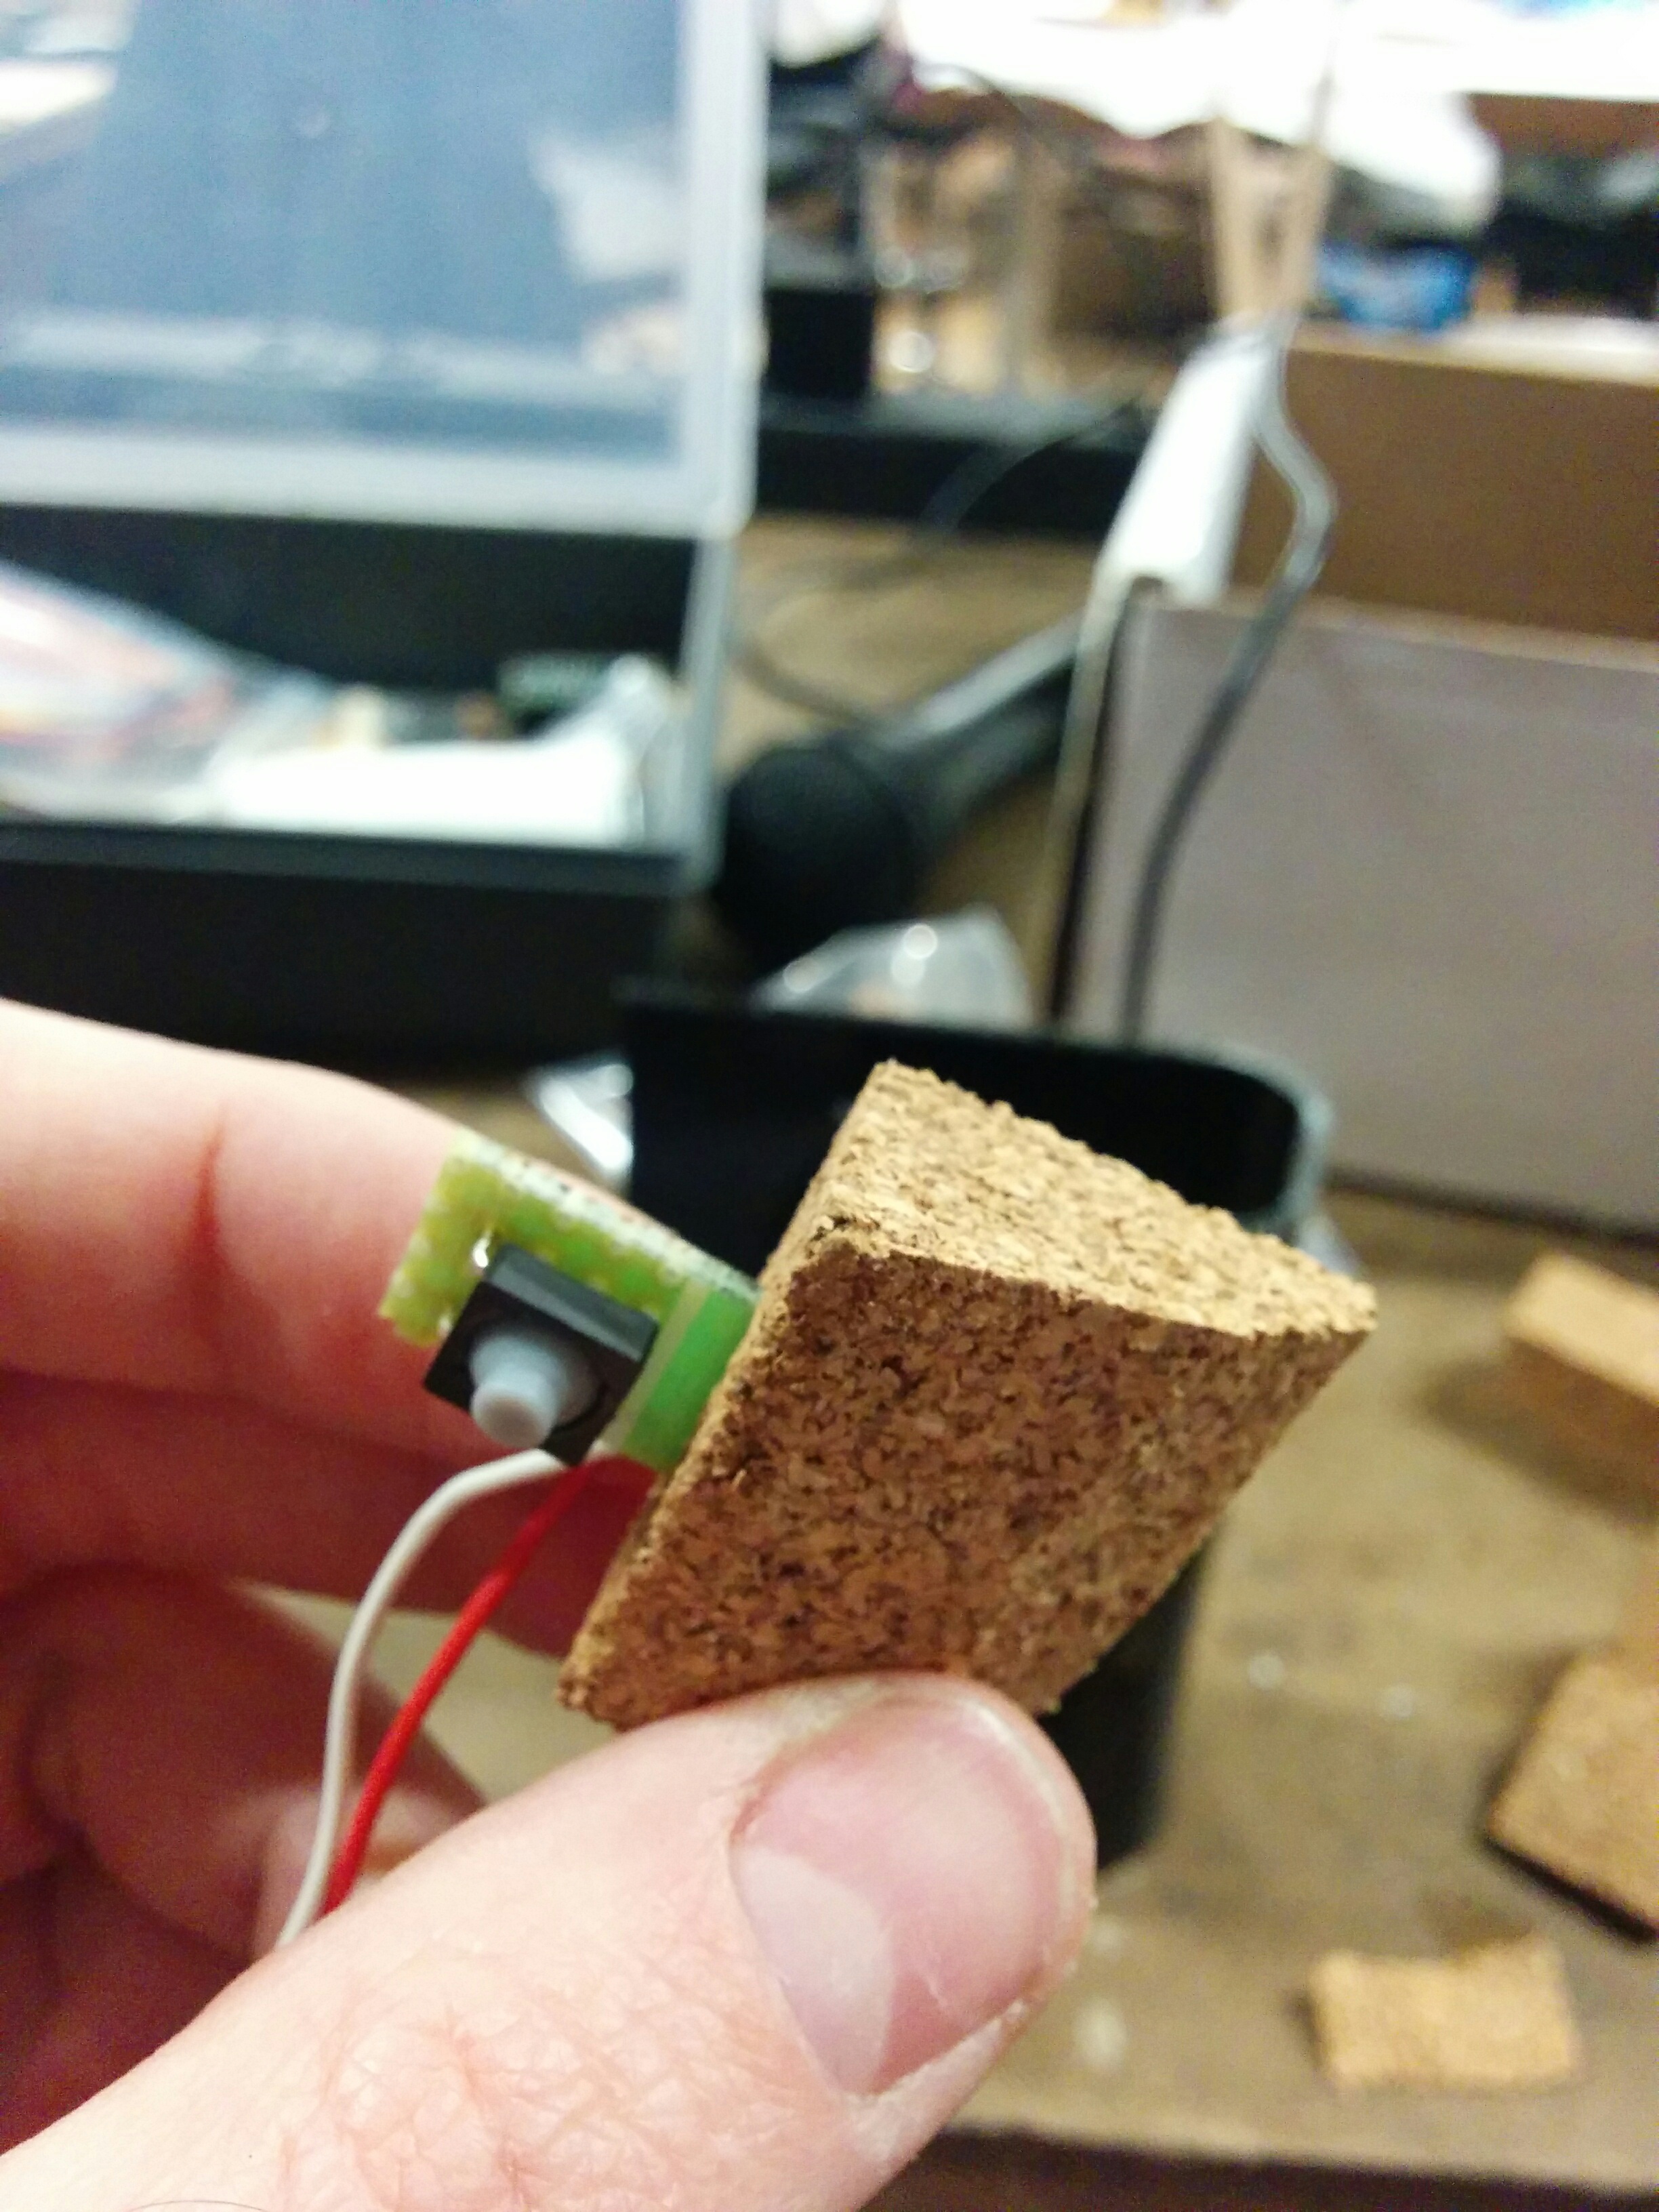
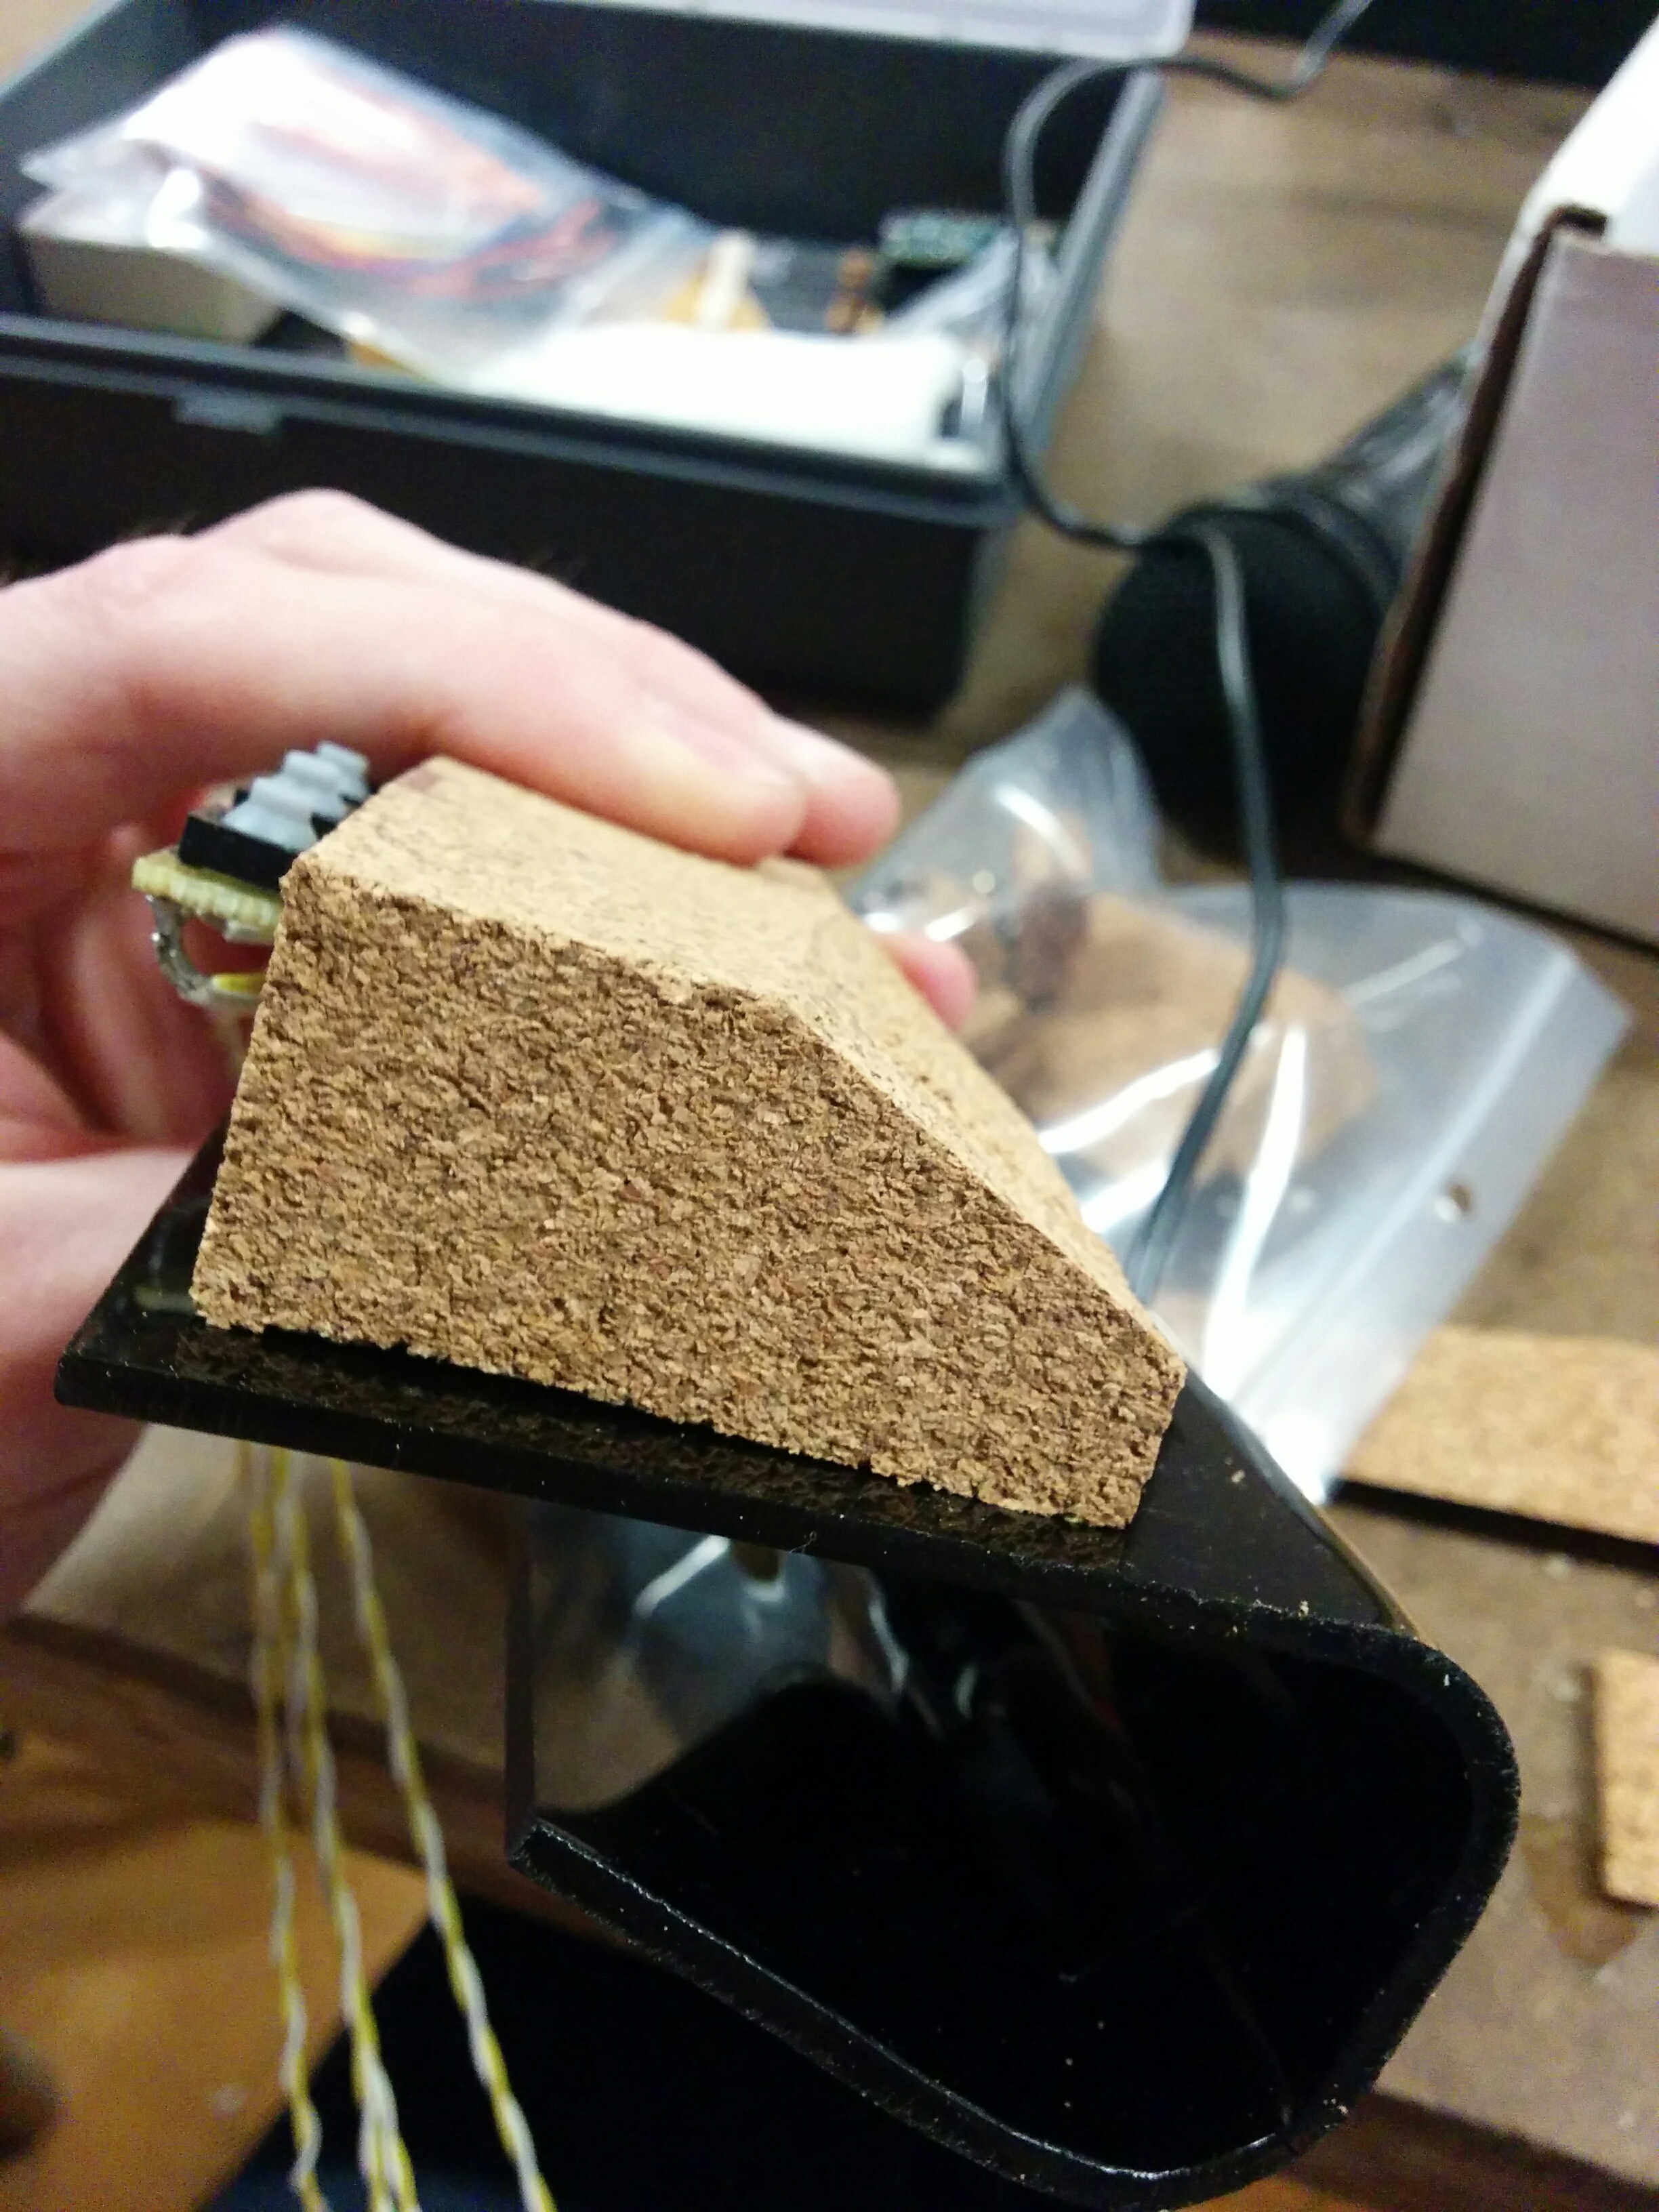
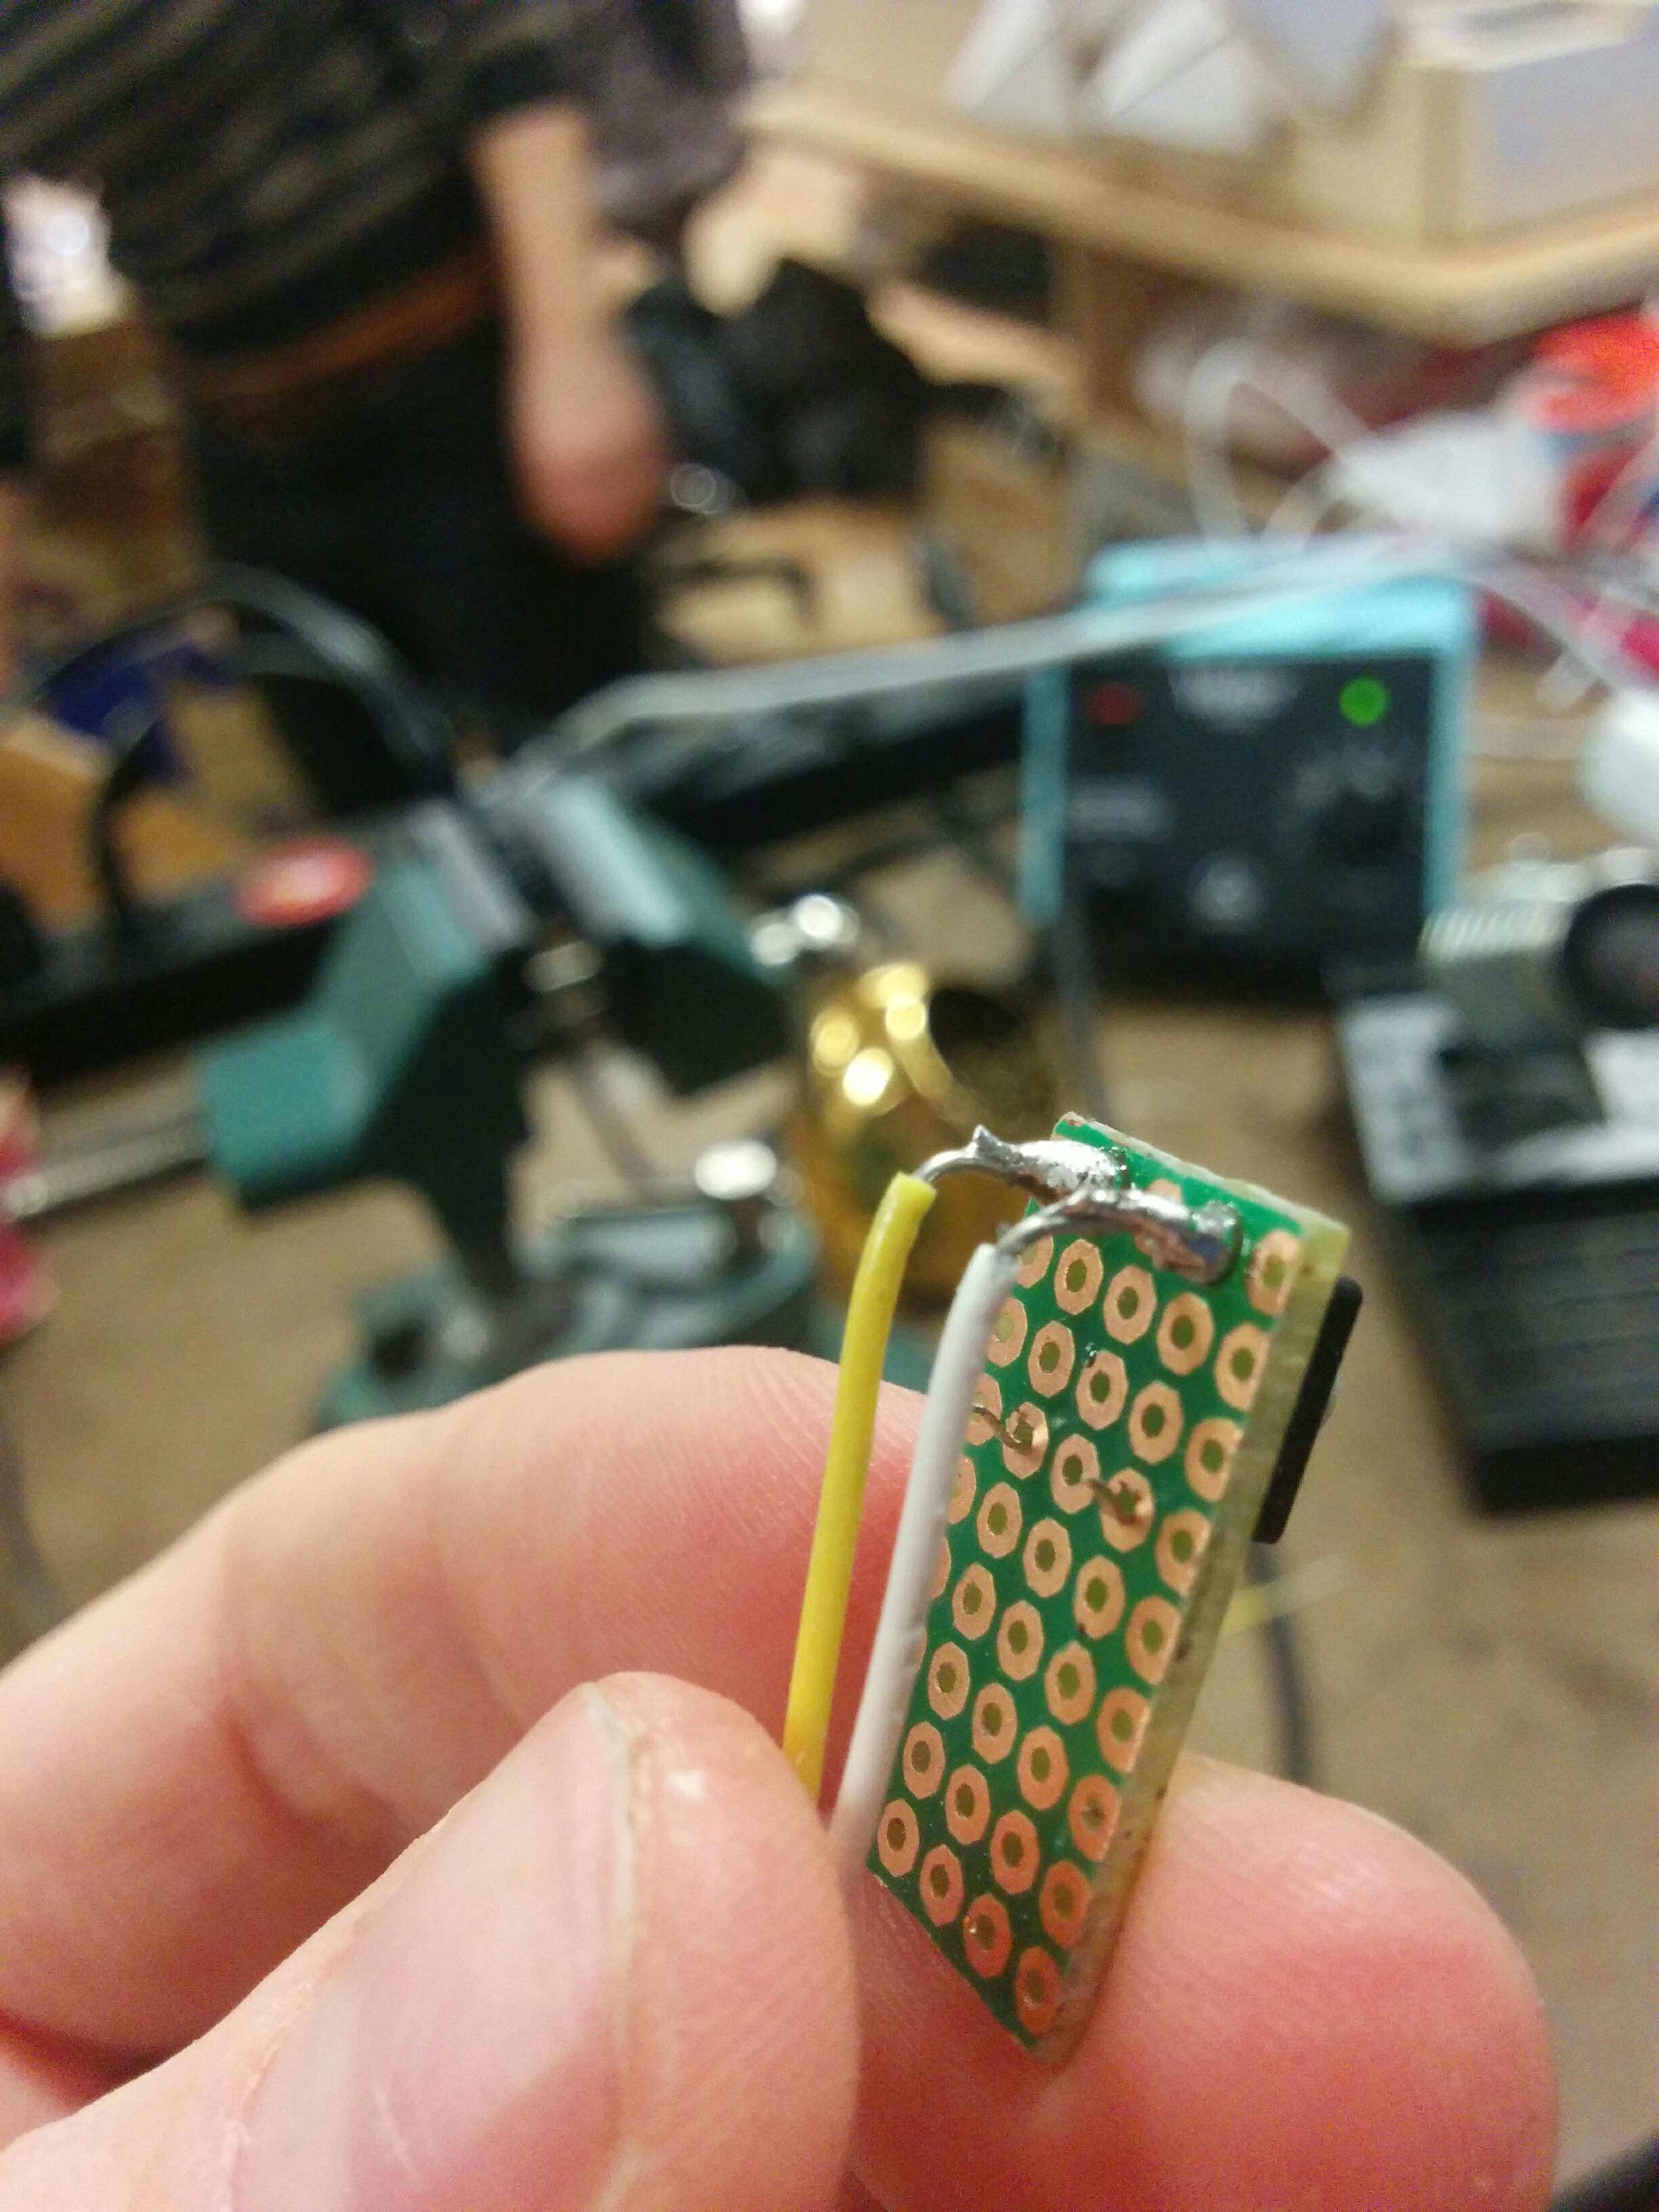
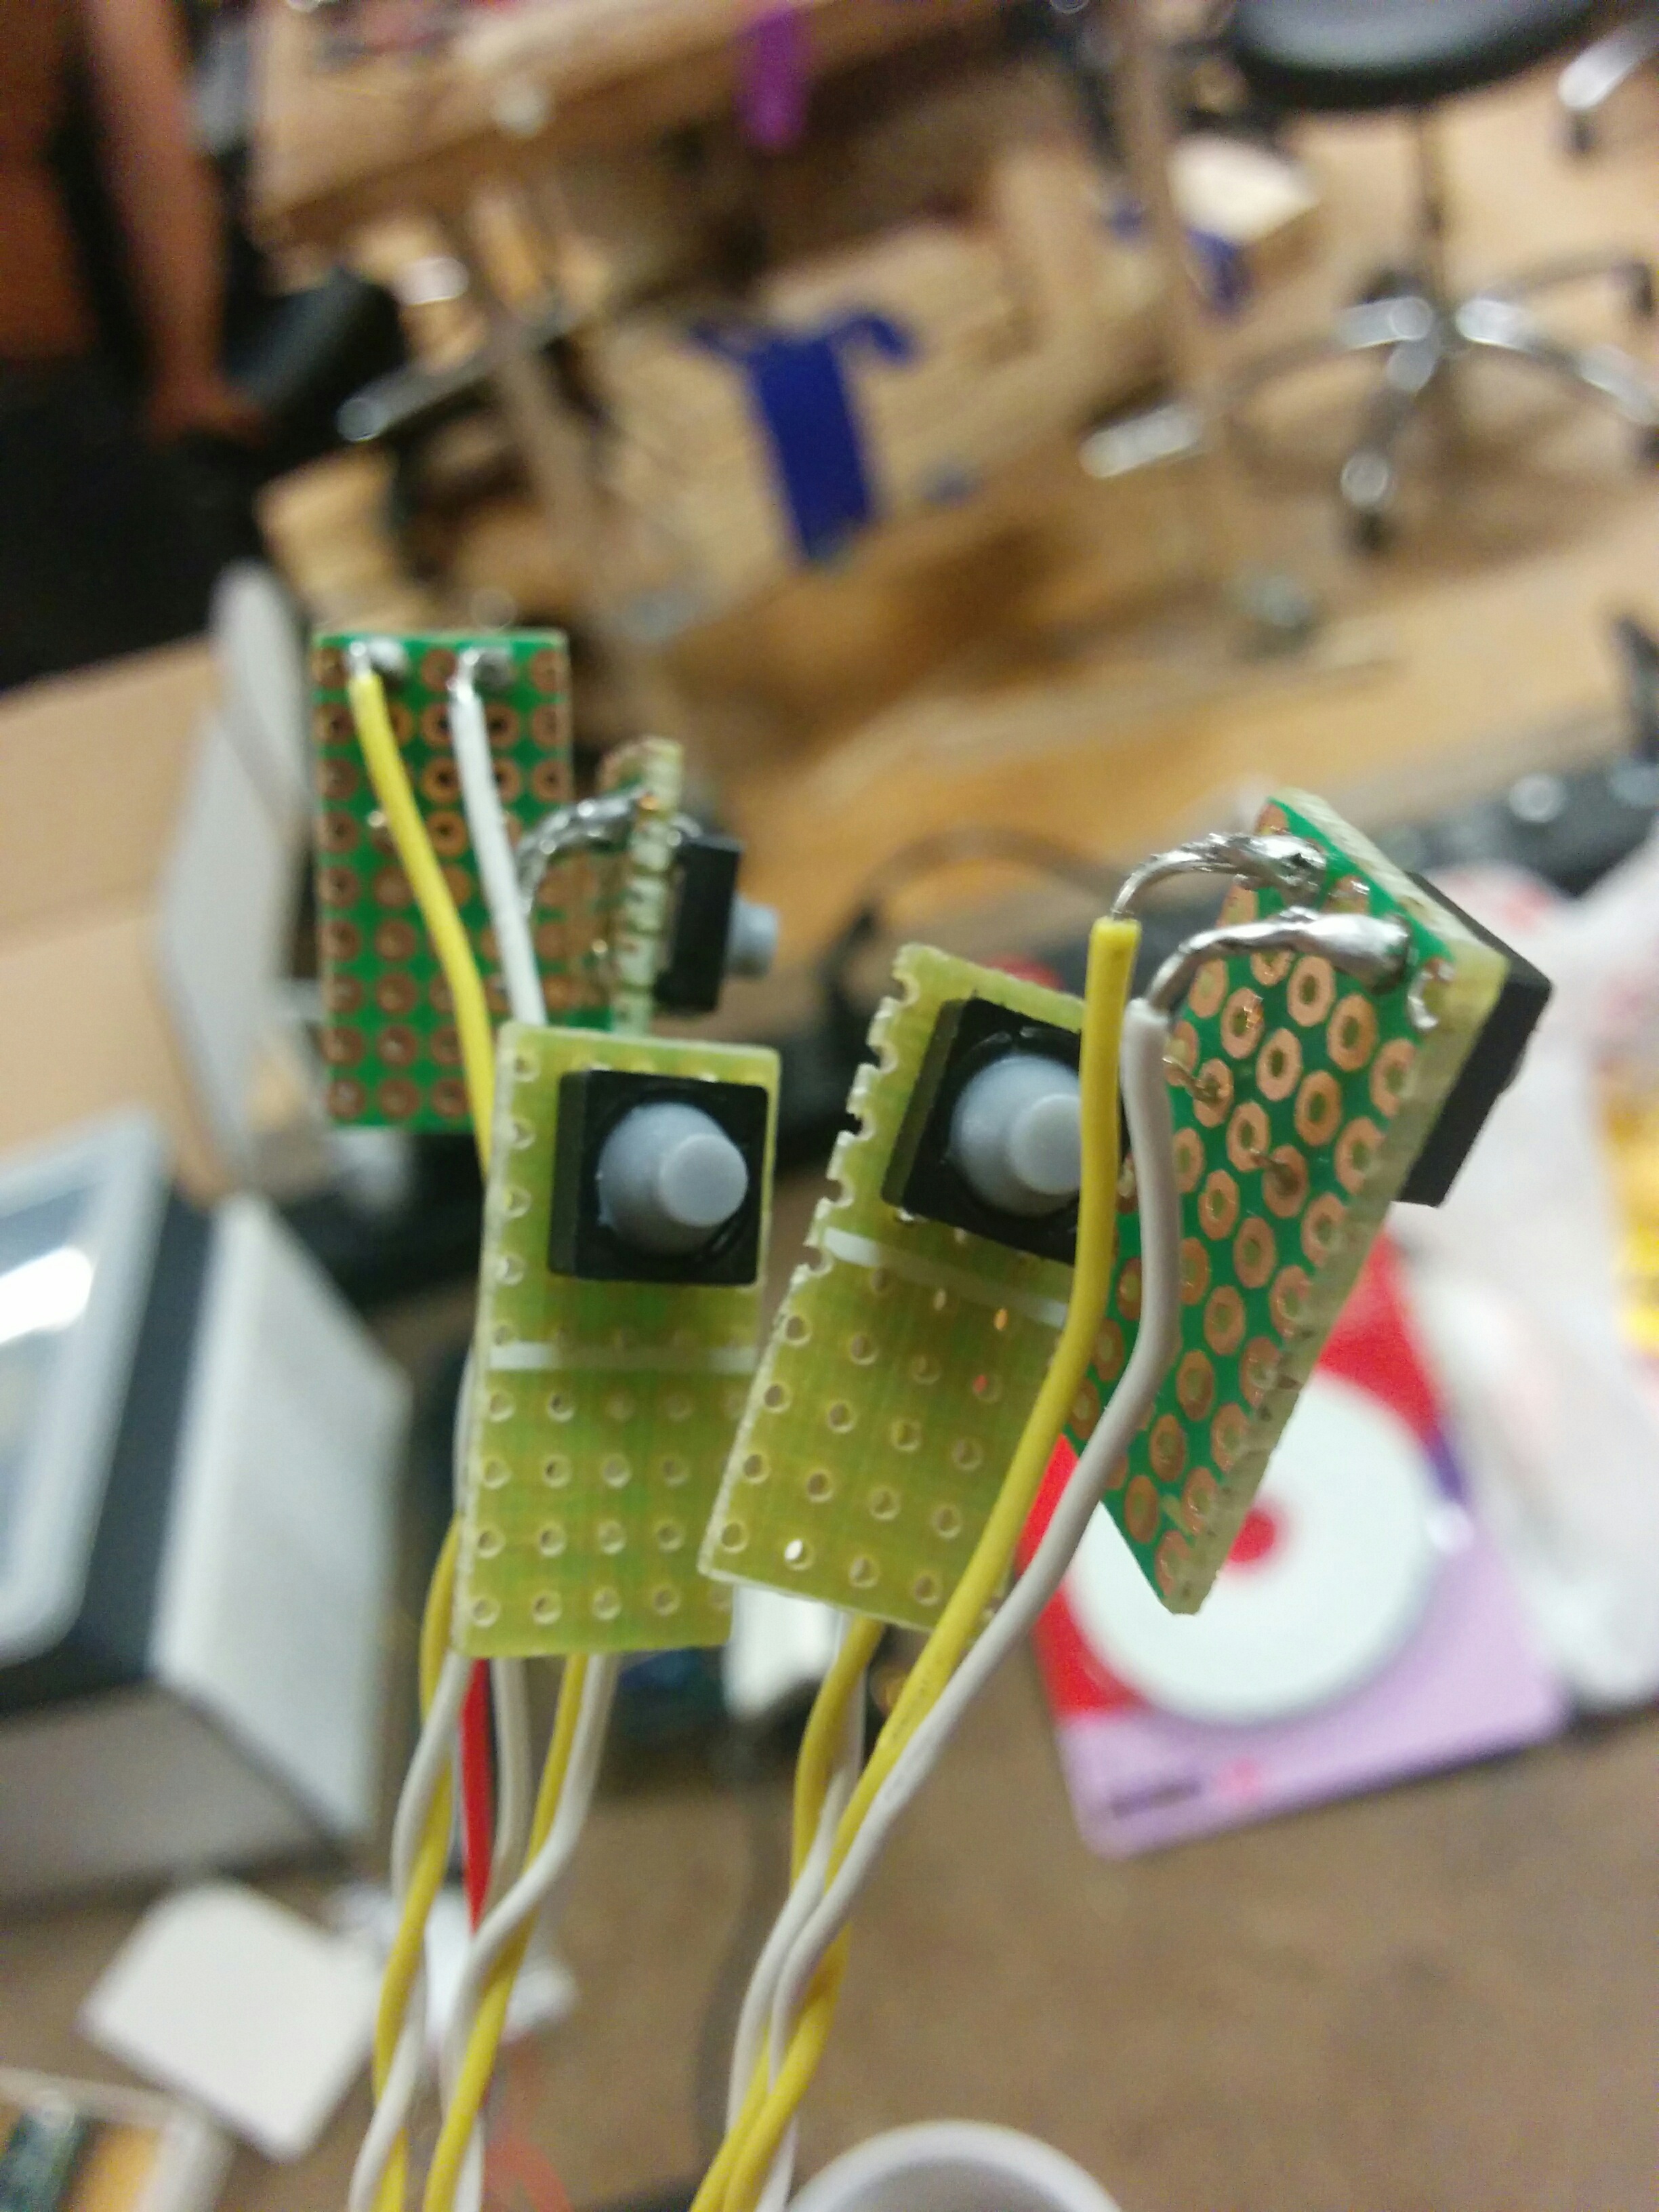
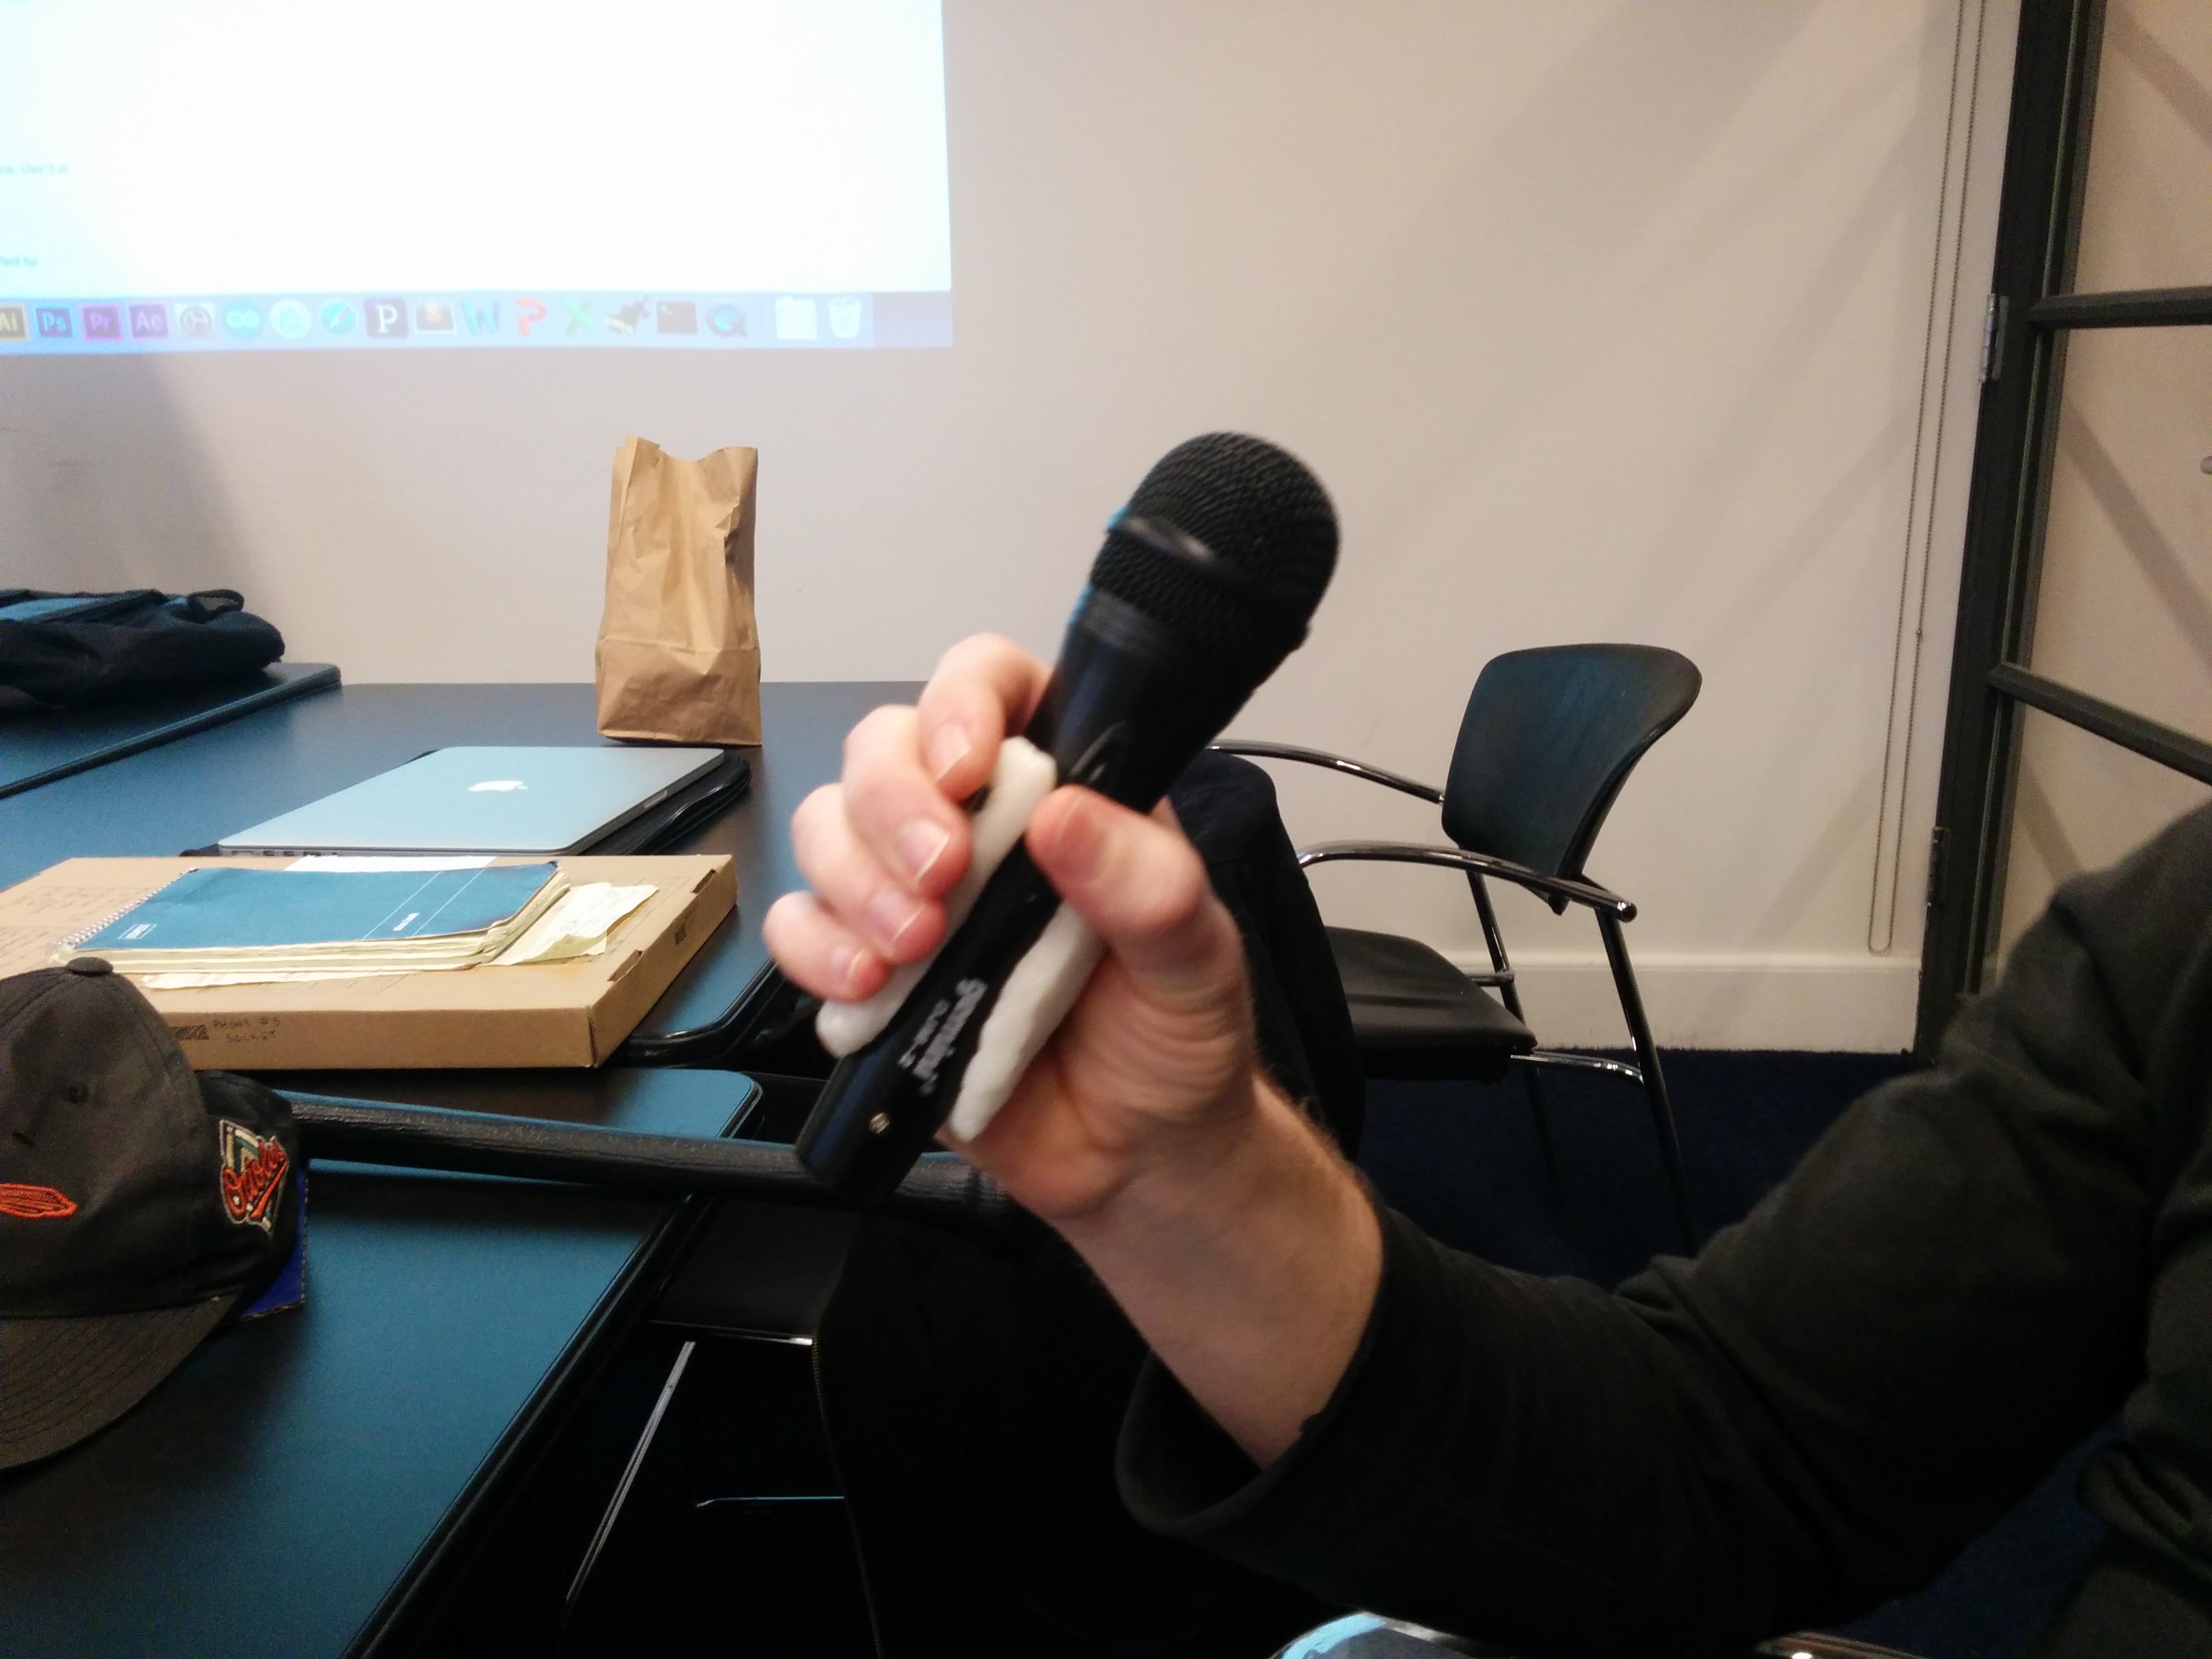
As of right now, I have mounted the pieces with double sided tape. Fairly secure but seems to be remove-able and not irrevocably permanent.
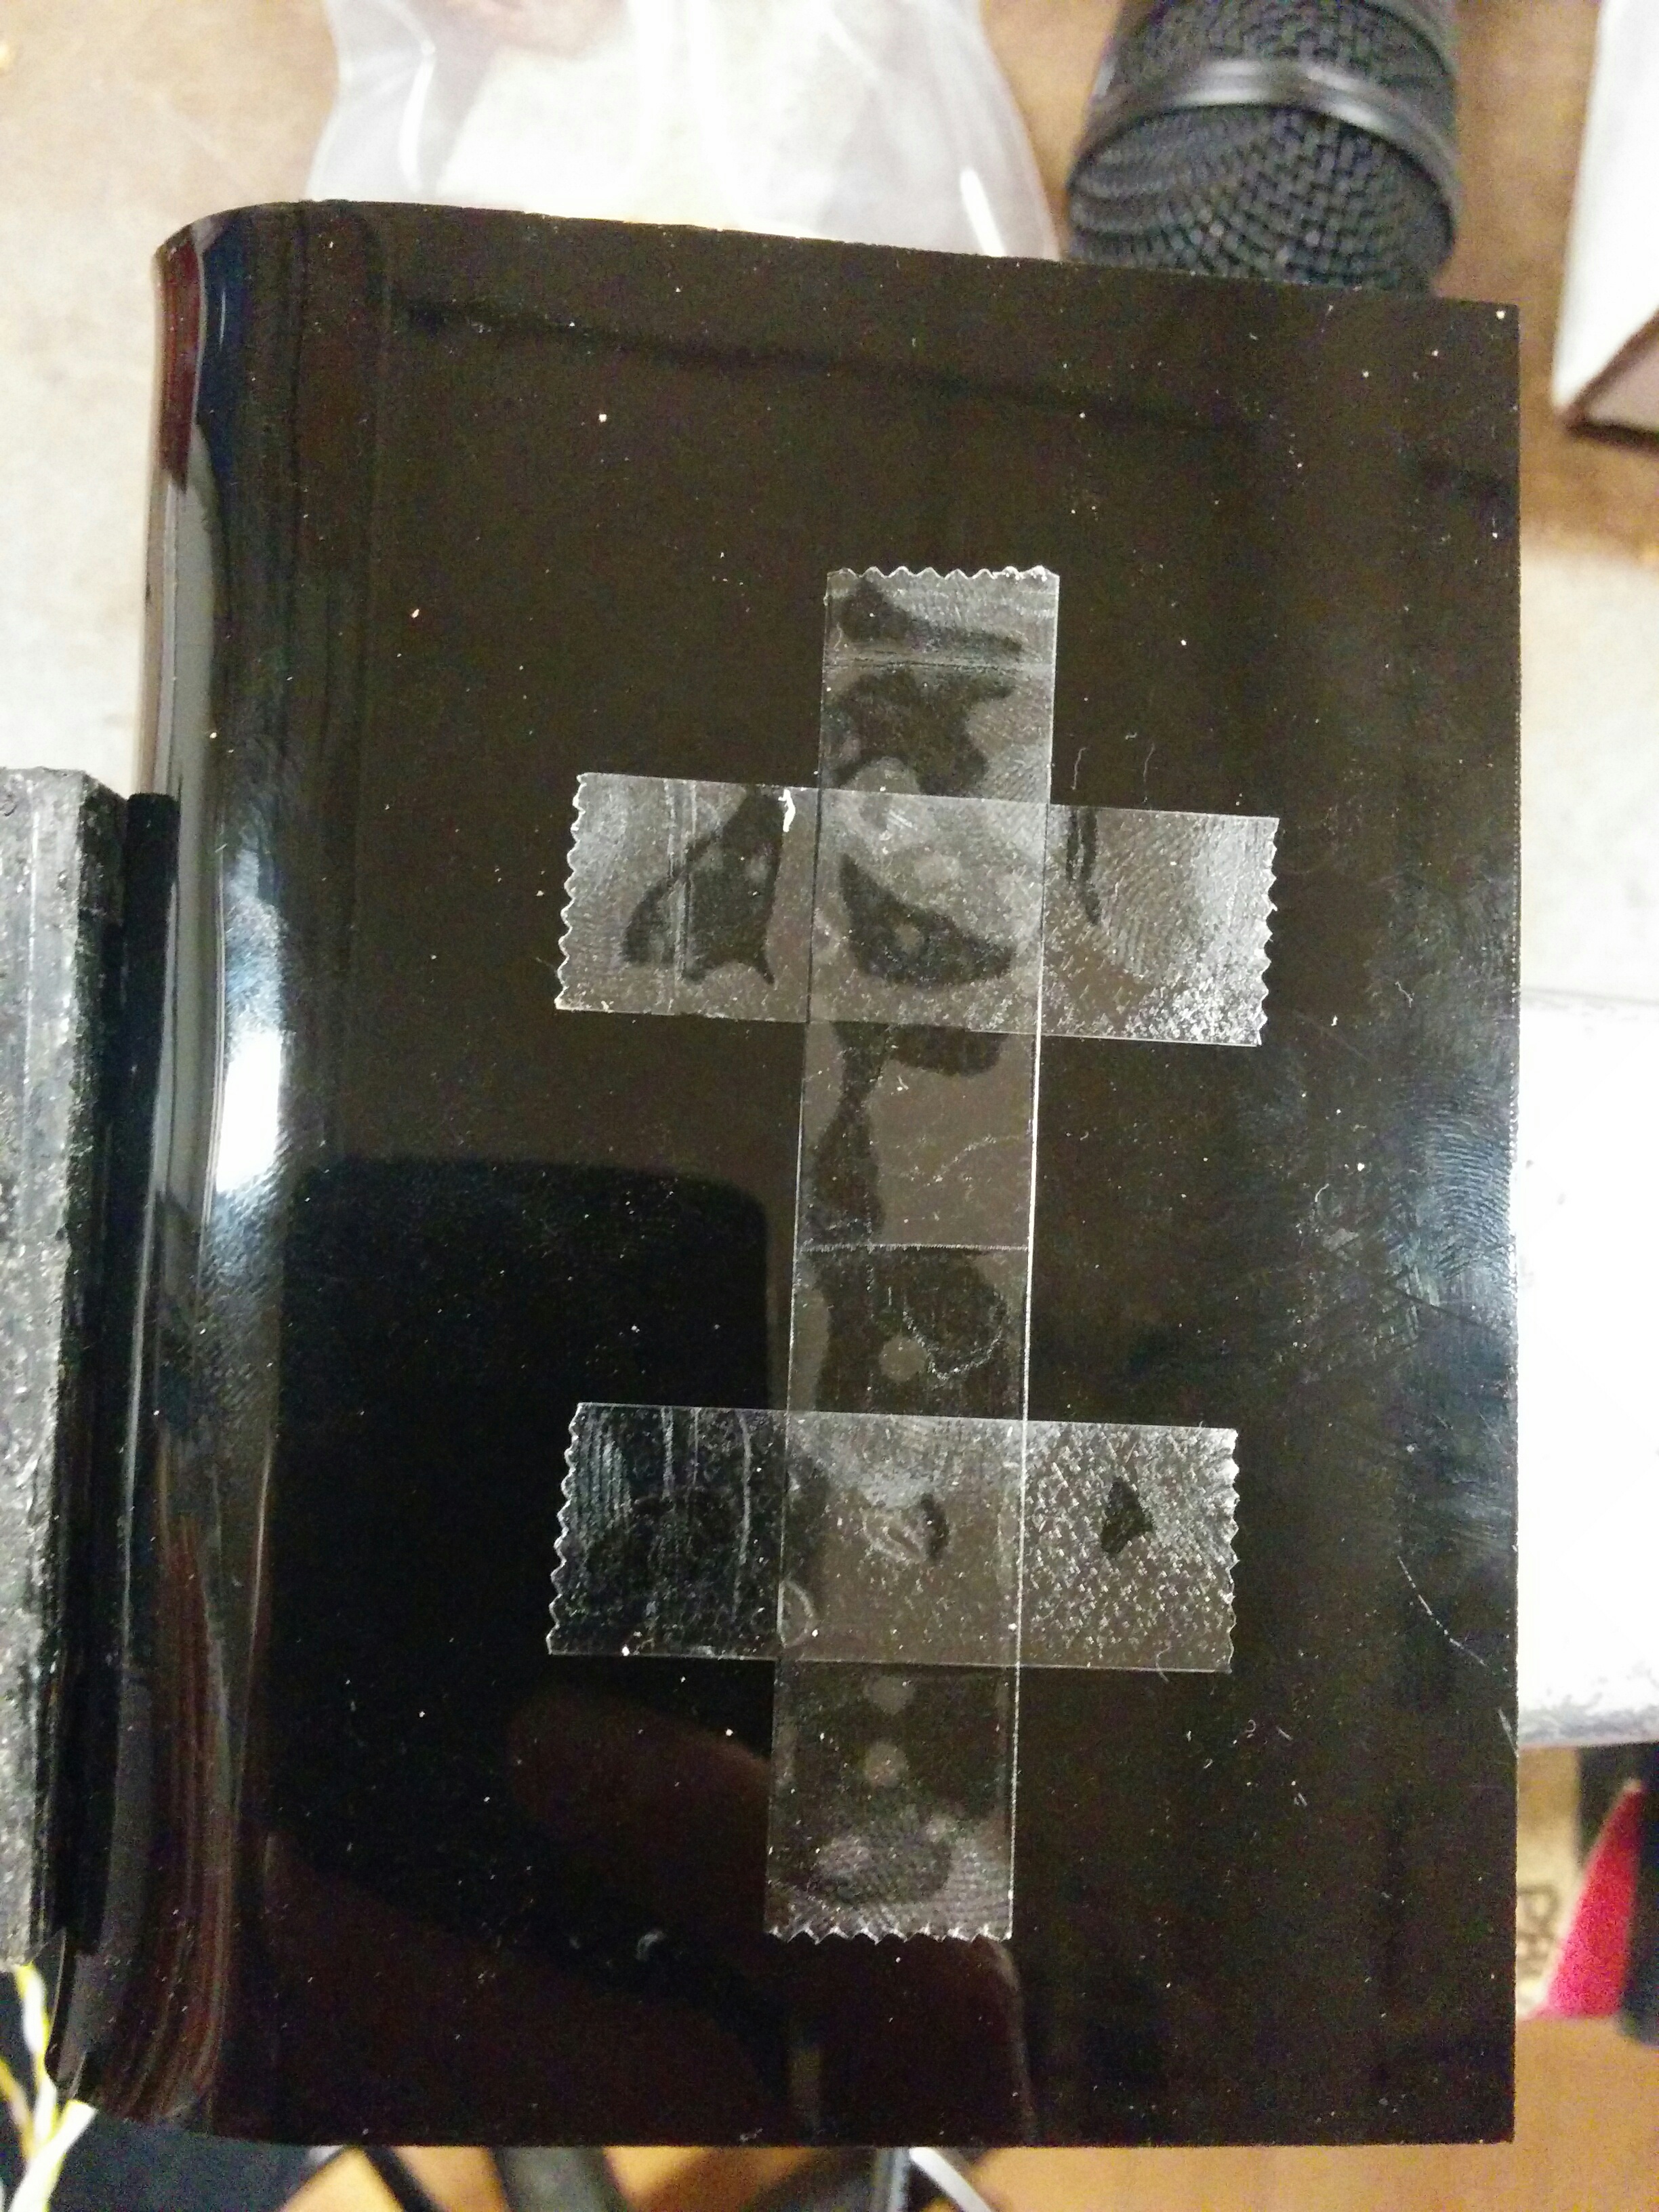
The grip feels good in the hand, and I am actually surprised this works as well as it does. I’ve ordered some terminal blocks off of Adafruit so I can attach the wires to the Teensy without having to permanently attach them (in case I need to trouble shoot) but keeping it sturdy and secure (so I hopefully don’t have to trouble shoot).
Feeling good about the physical progress. I’m going to continue refining the software while I wait for my order to come in.
PComp Final Phase 2: Testing and prototyping
I’m moving along with my Physical Computation final, trying to stay on track while still taking things step by step. Benedetta keeps reminding us to start with the basics to make sure everything works before getting started with something larger. Maybe it is because I’m also doing Intro to Fabrication, but I keep thinking about end stage type decisions. It is good to reorient myself and start at the beginning.
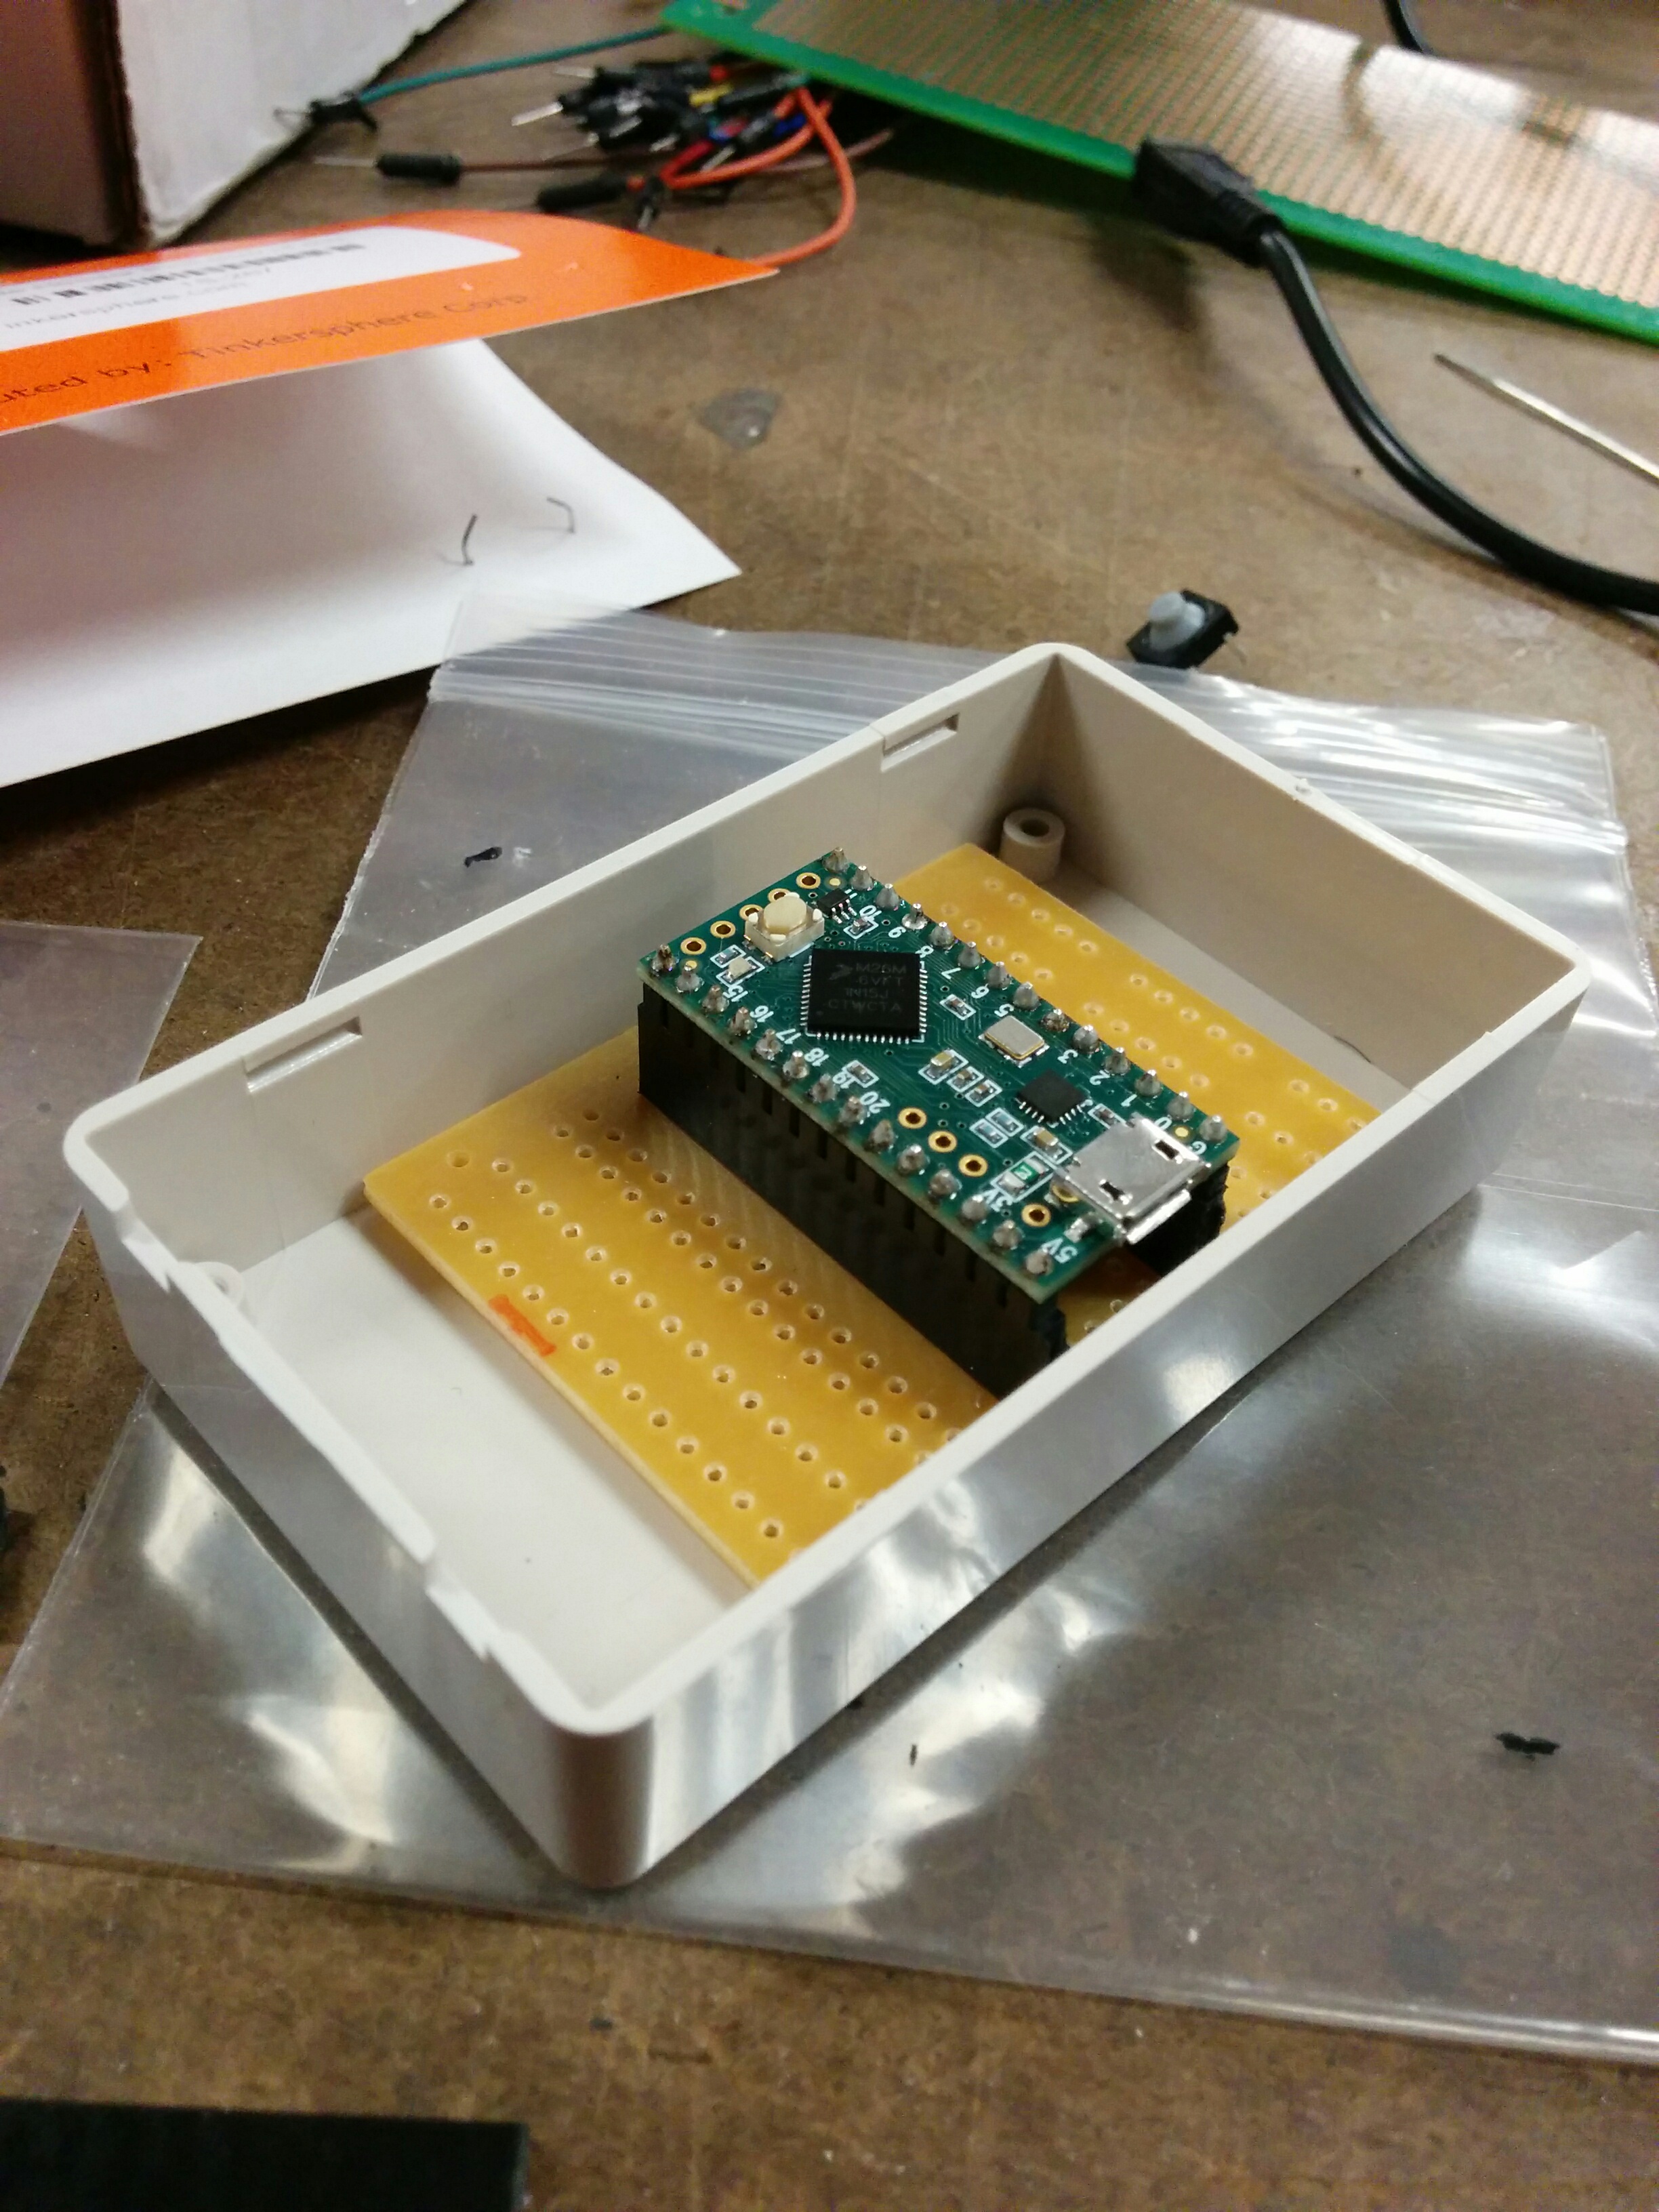
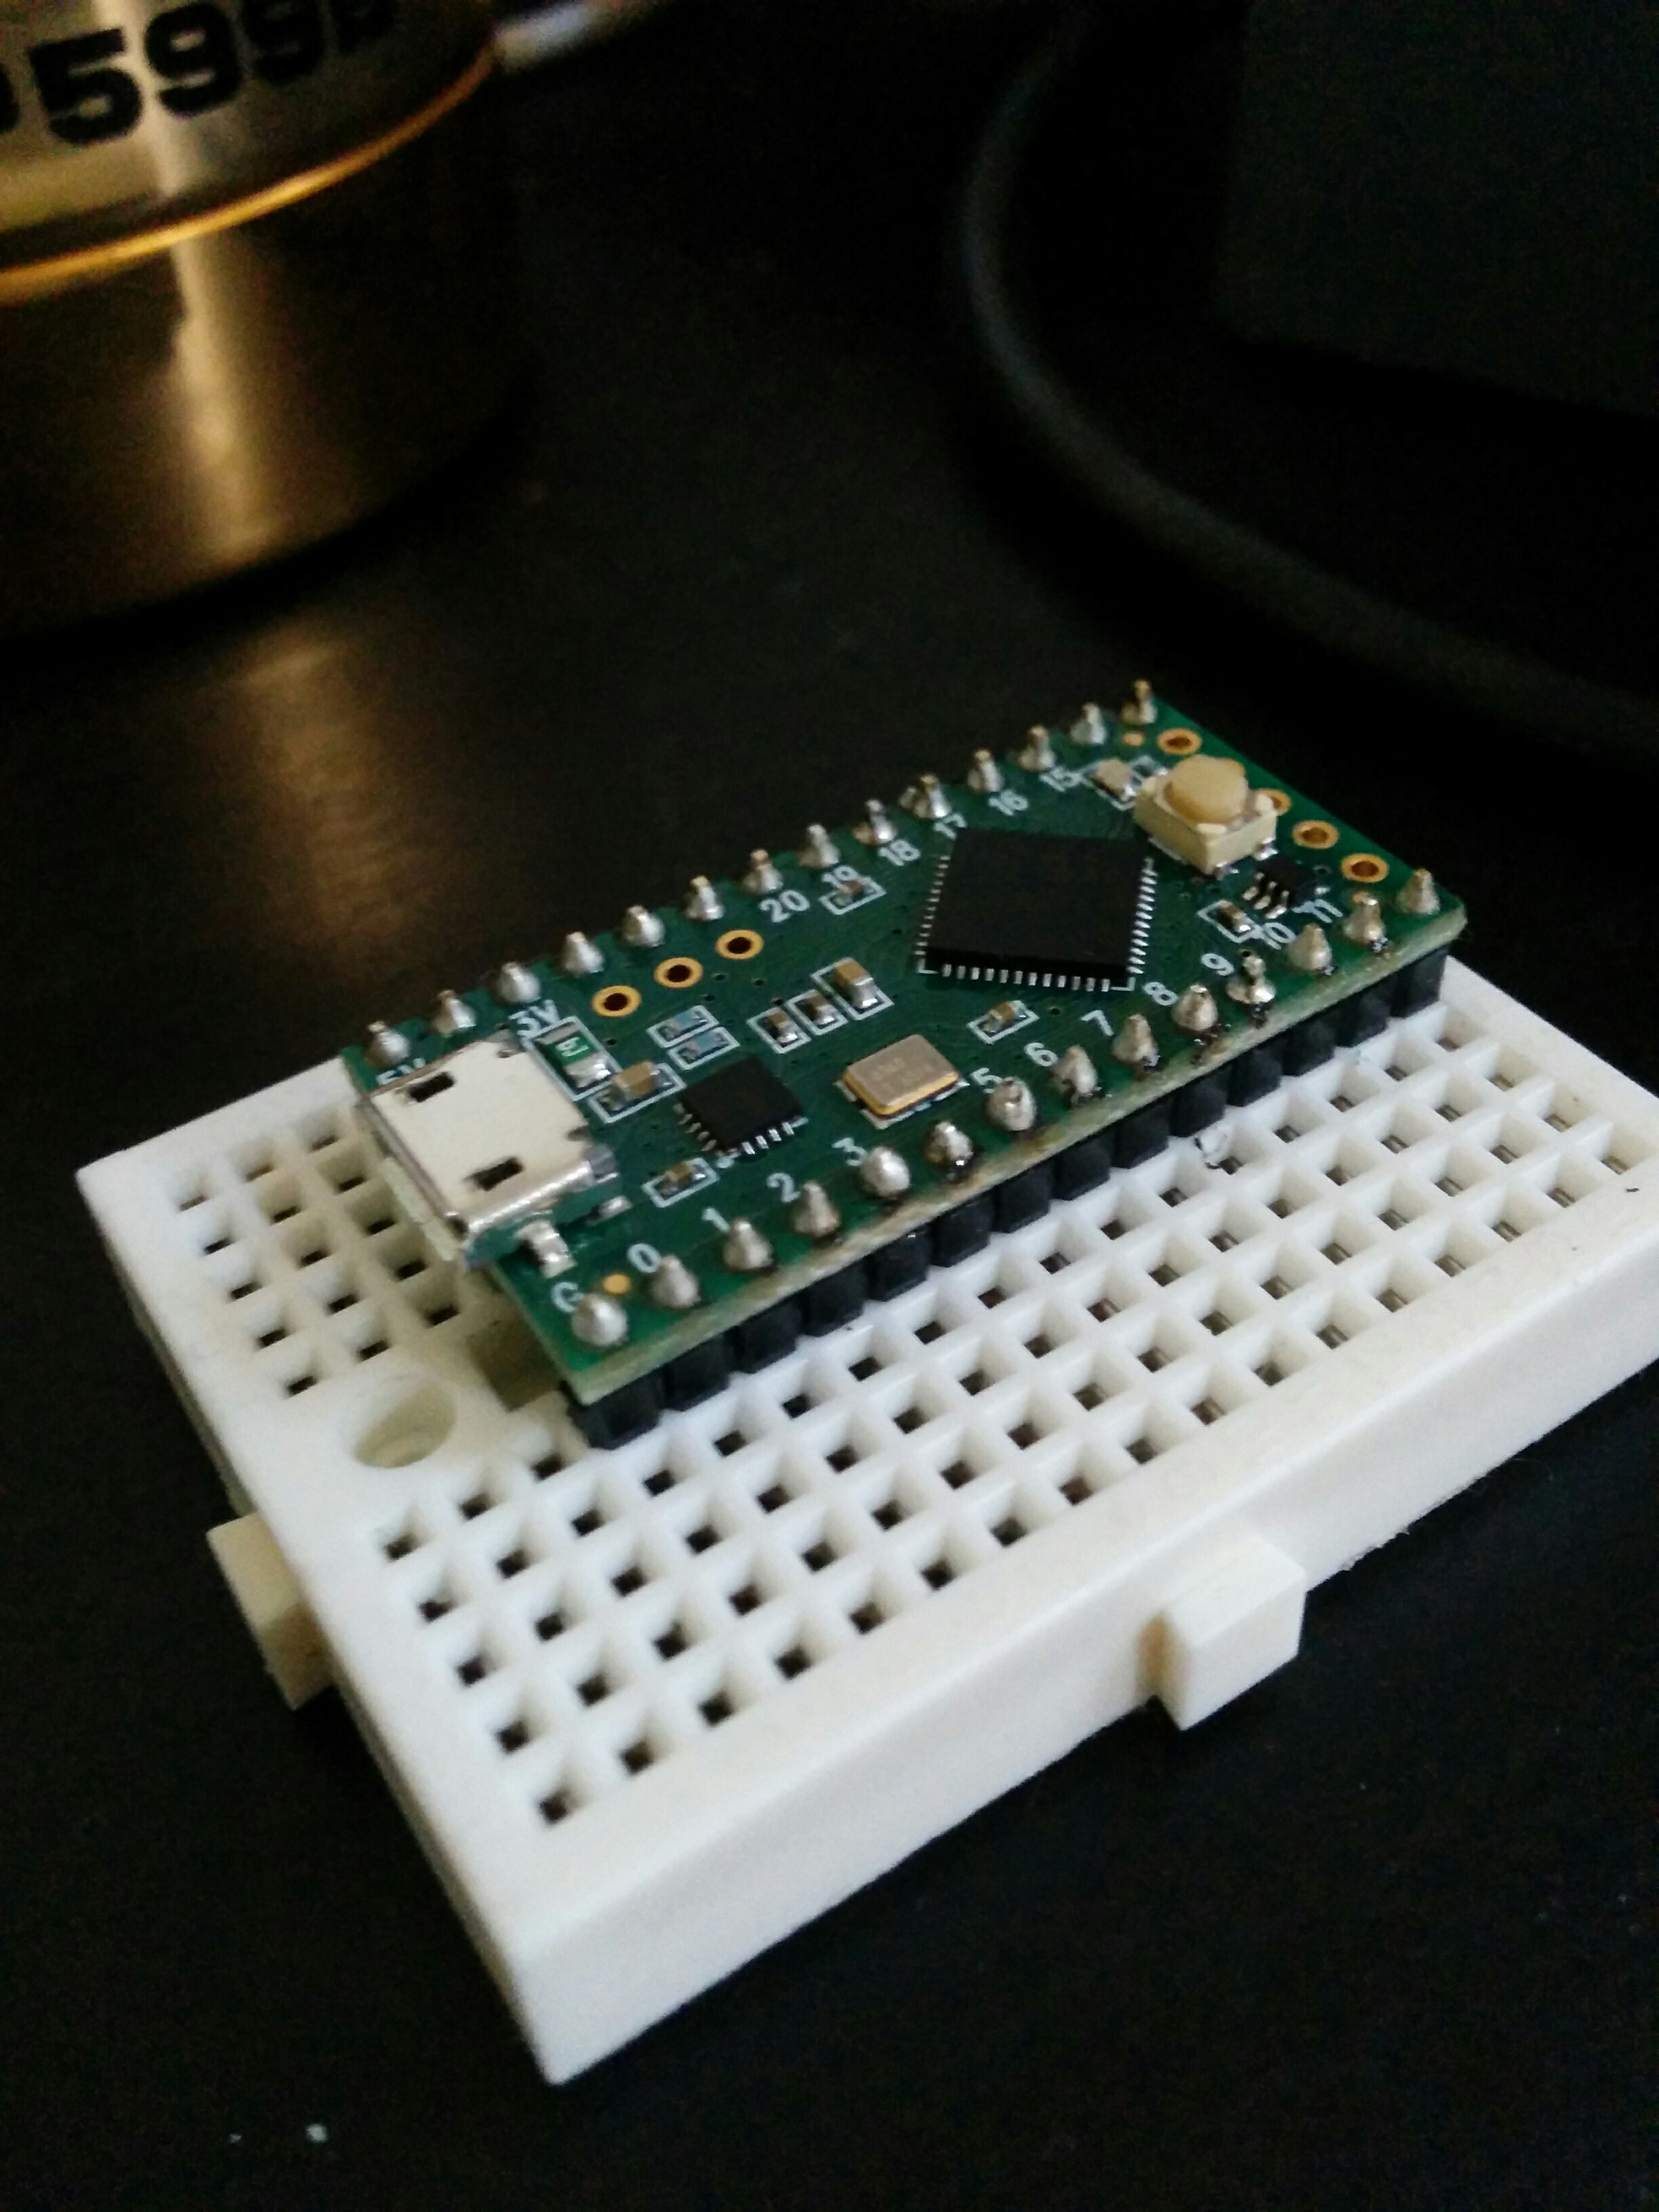
My Teensy LC came! And it is very… teensy. Also, it came without headers and I wasn’t sure which ones to get. Benedetta suggested the combination male and female ones, but we didn’t see any specific header pairings for the Teensy on the Adafruit site. I wound up getting the Arduino ones, and then also a set of male headers as well. And I’m glad I did:
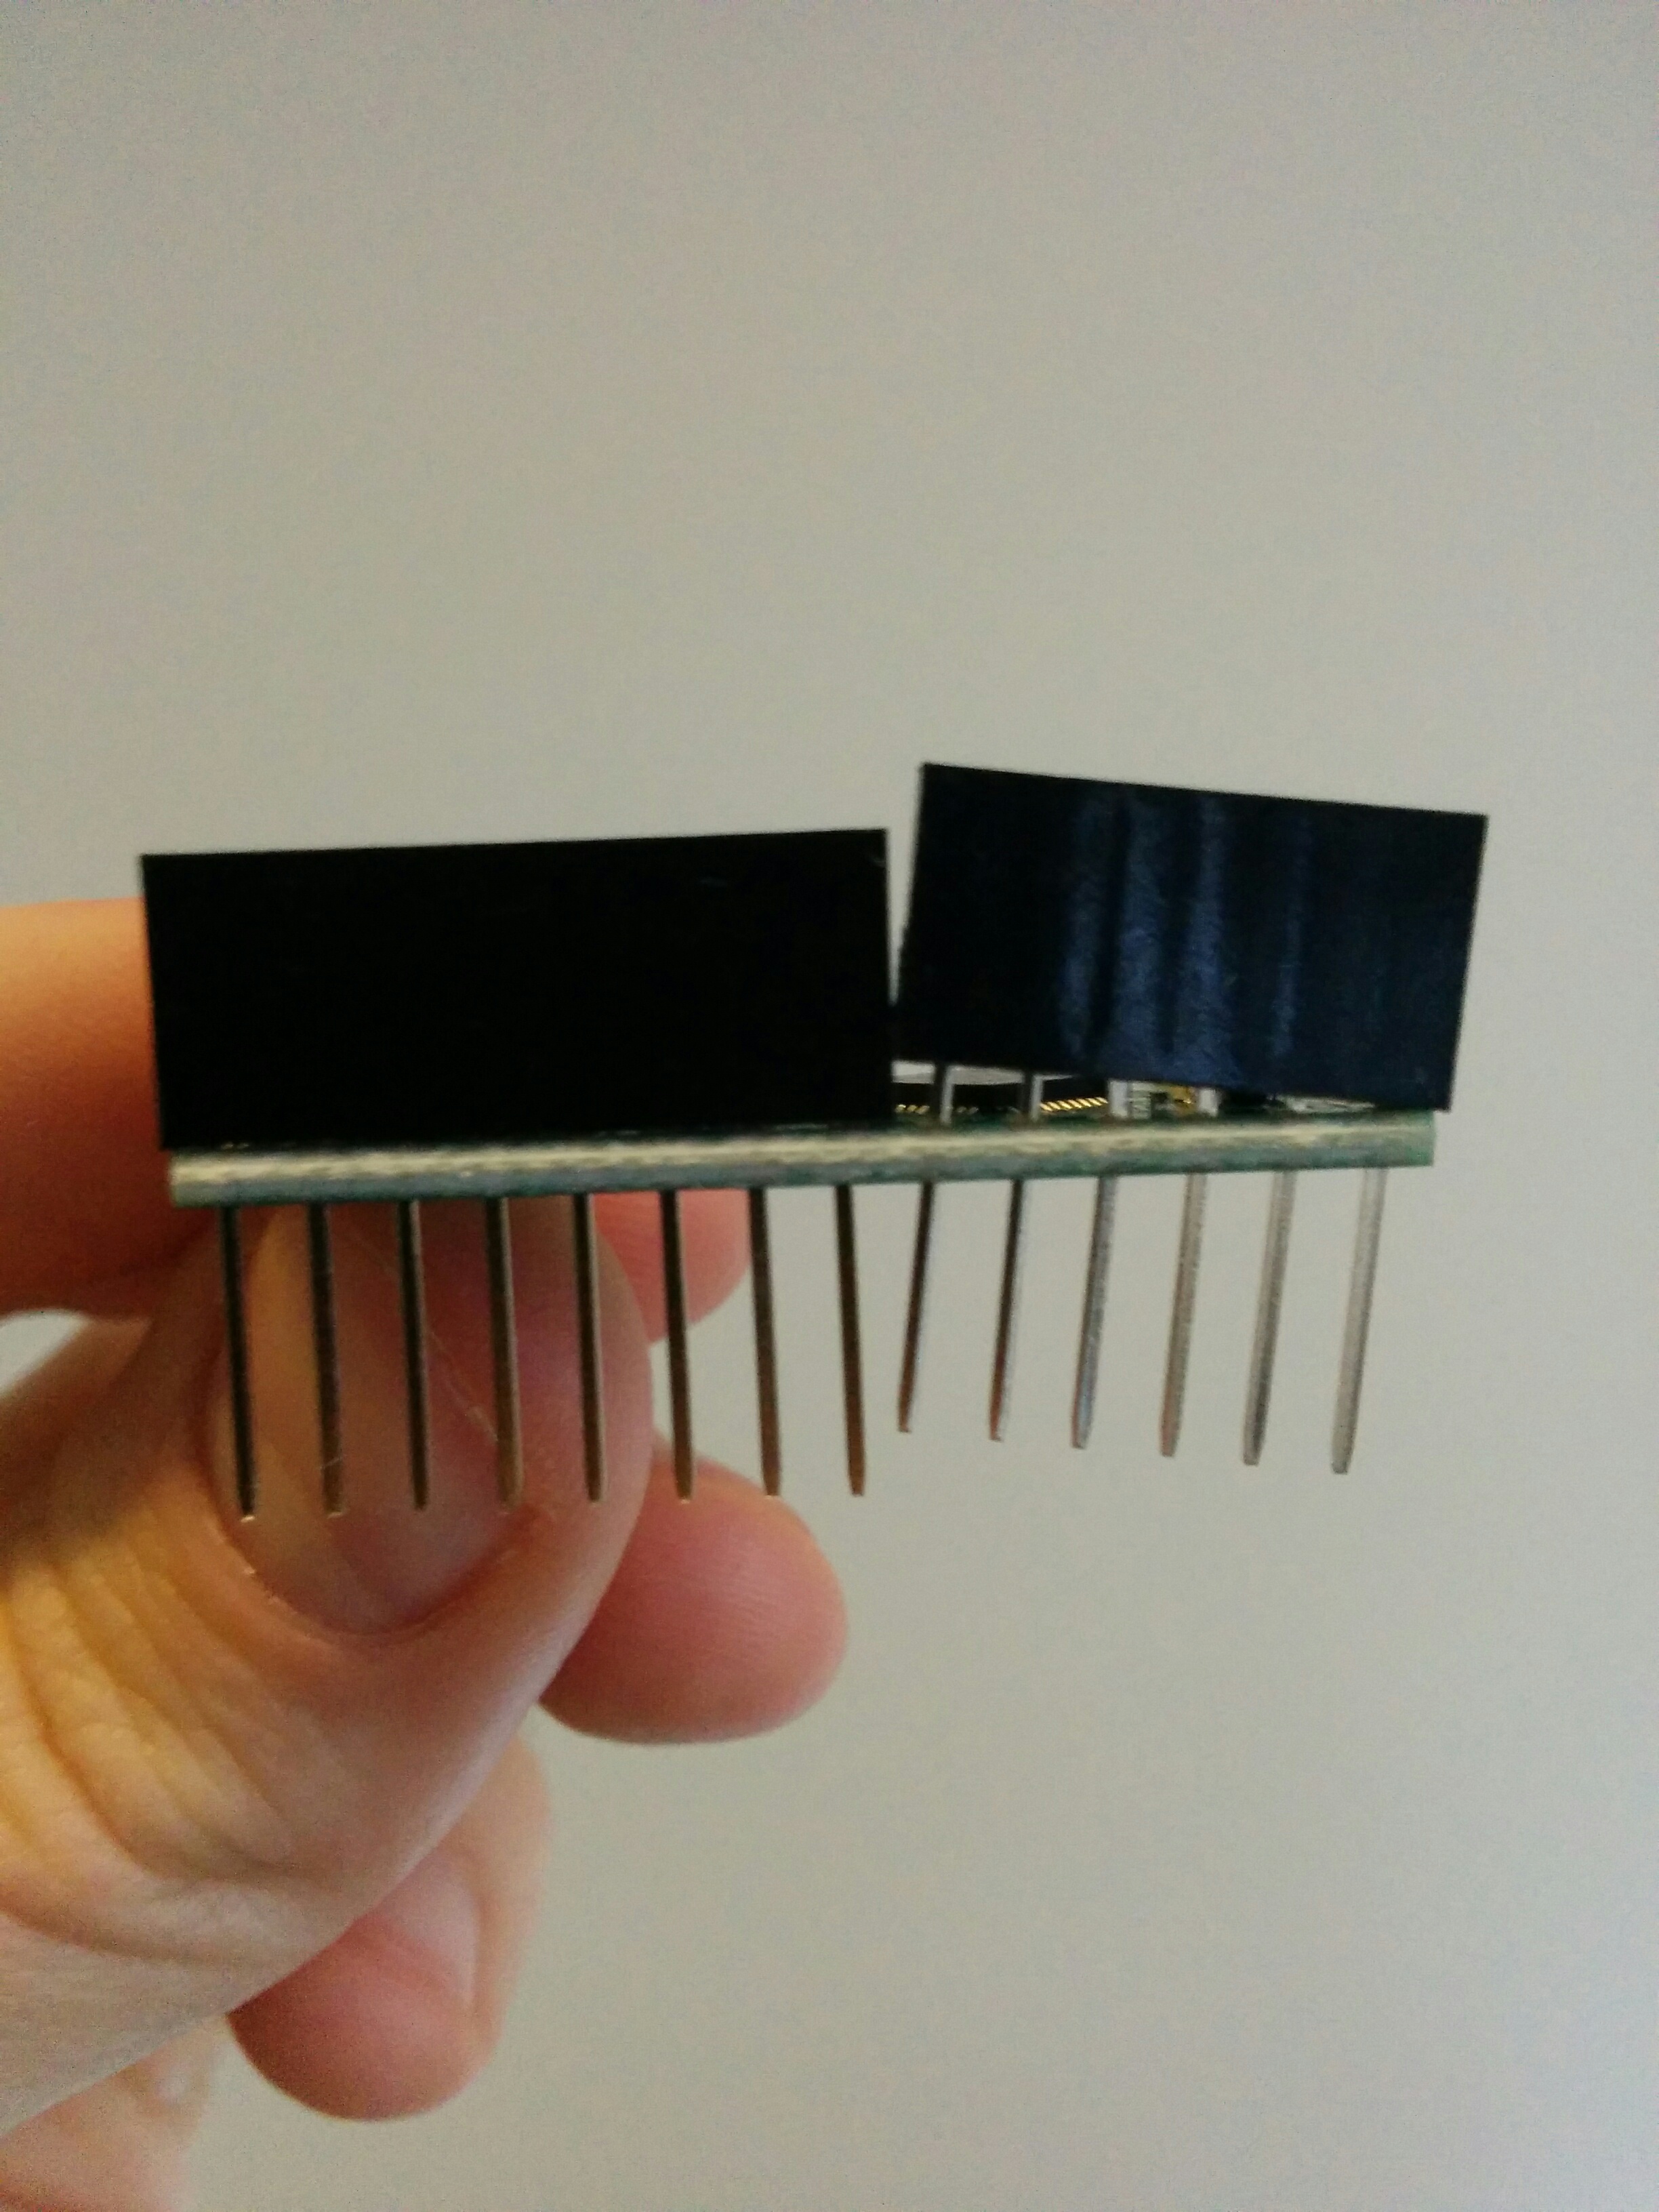
There weren’t male and female headers that spanned the entirety of the Teensy’s pins. I saw that the two separate pieces would add up to what I needed, but I didn’t expect them to not be able to sit side by side. After this, and looking at many, many Teensy how-tos and tutorials, I noticed that everyone seems to use it with a breadboard and male headers. I wound up using the strips of male headers instead (glad I ordered more than I needed!).
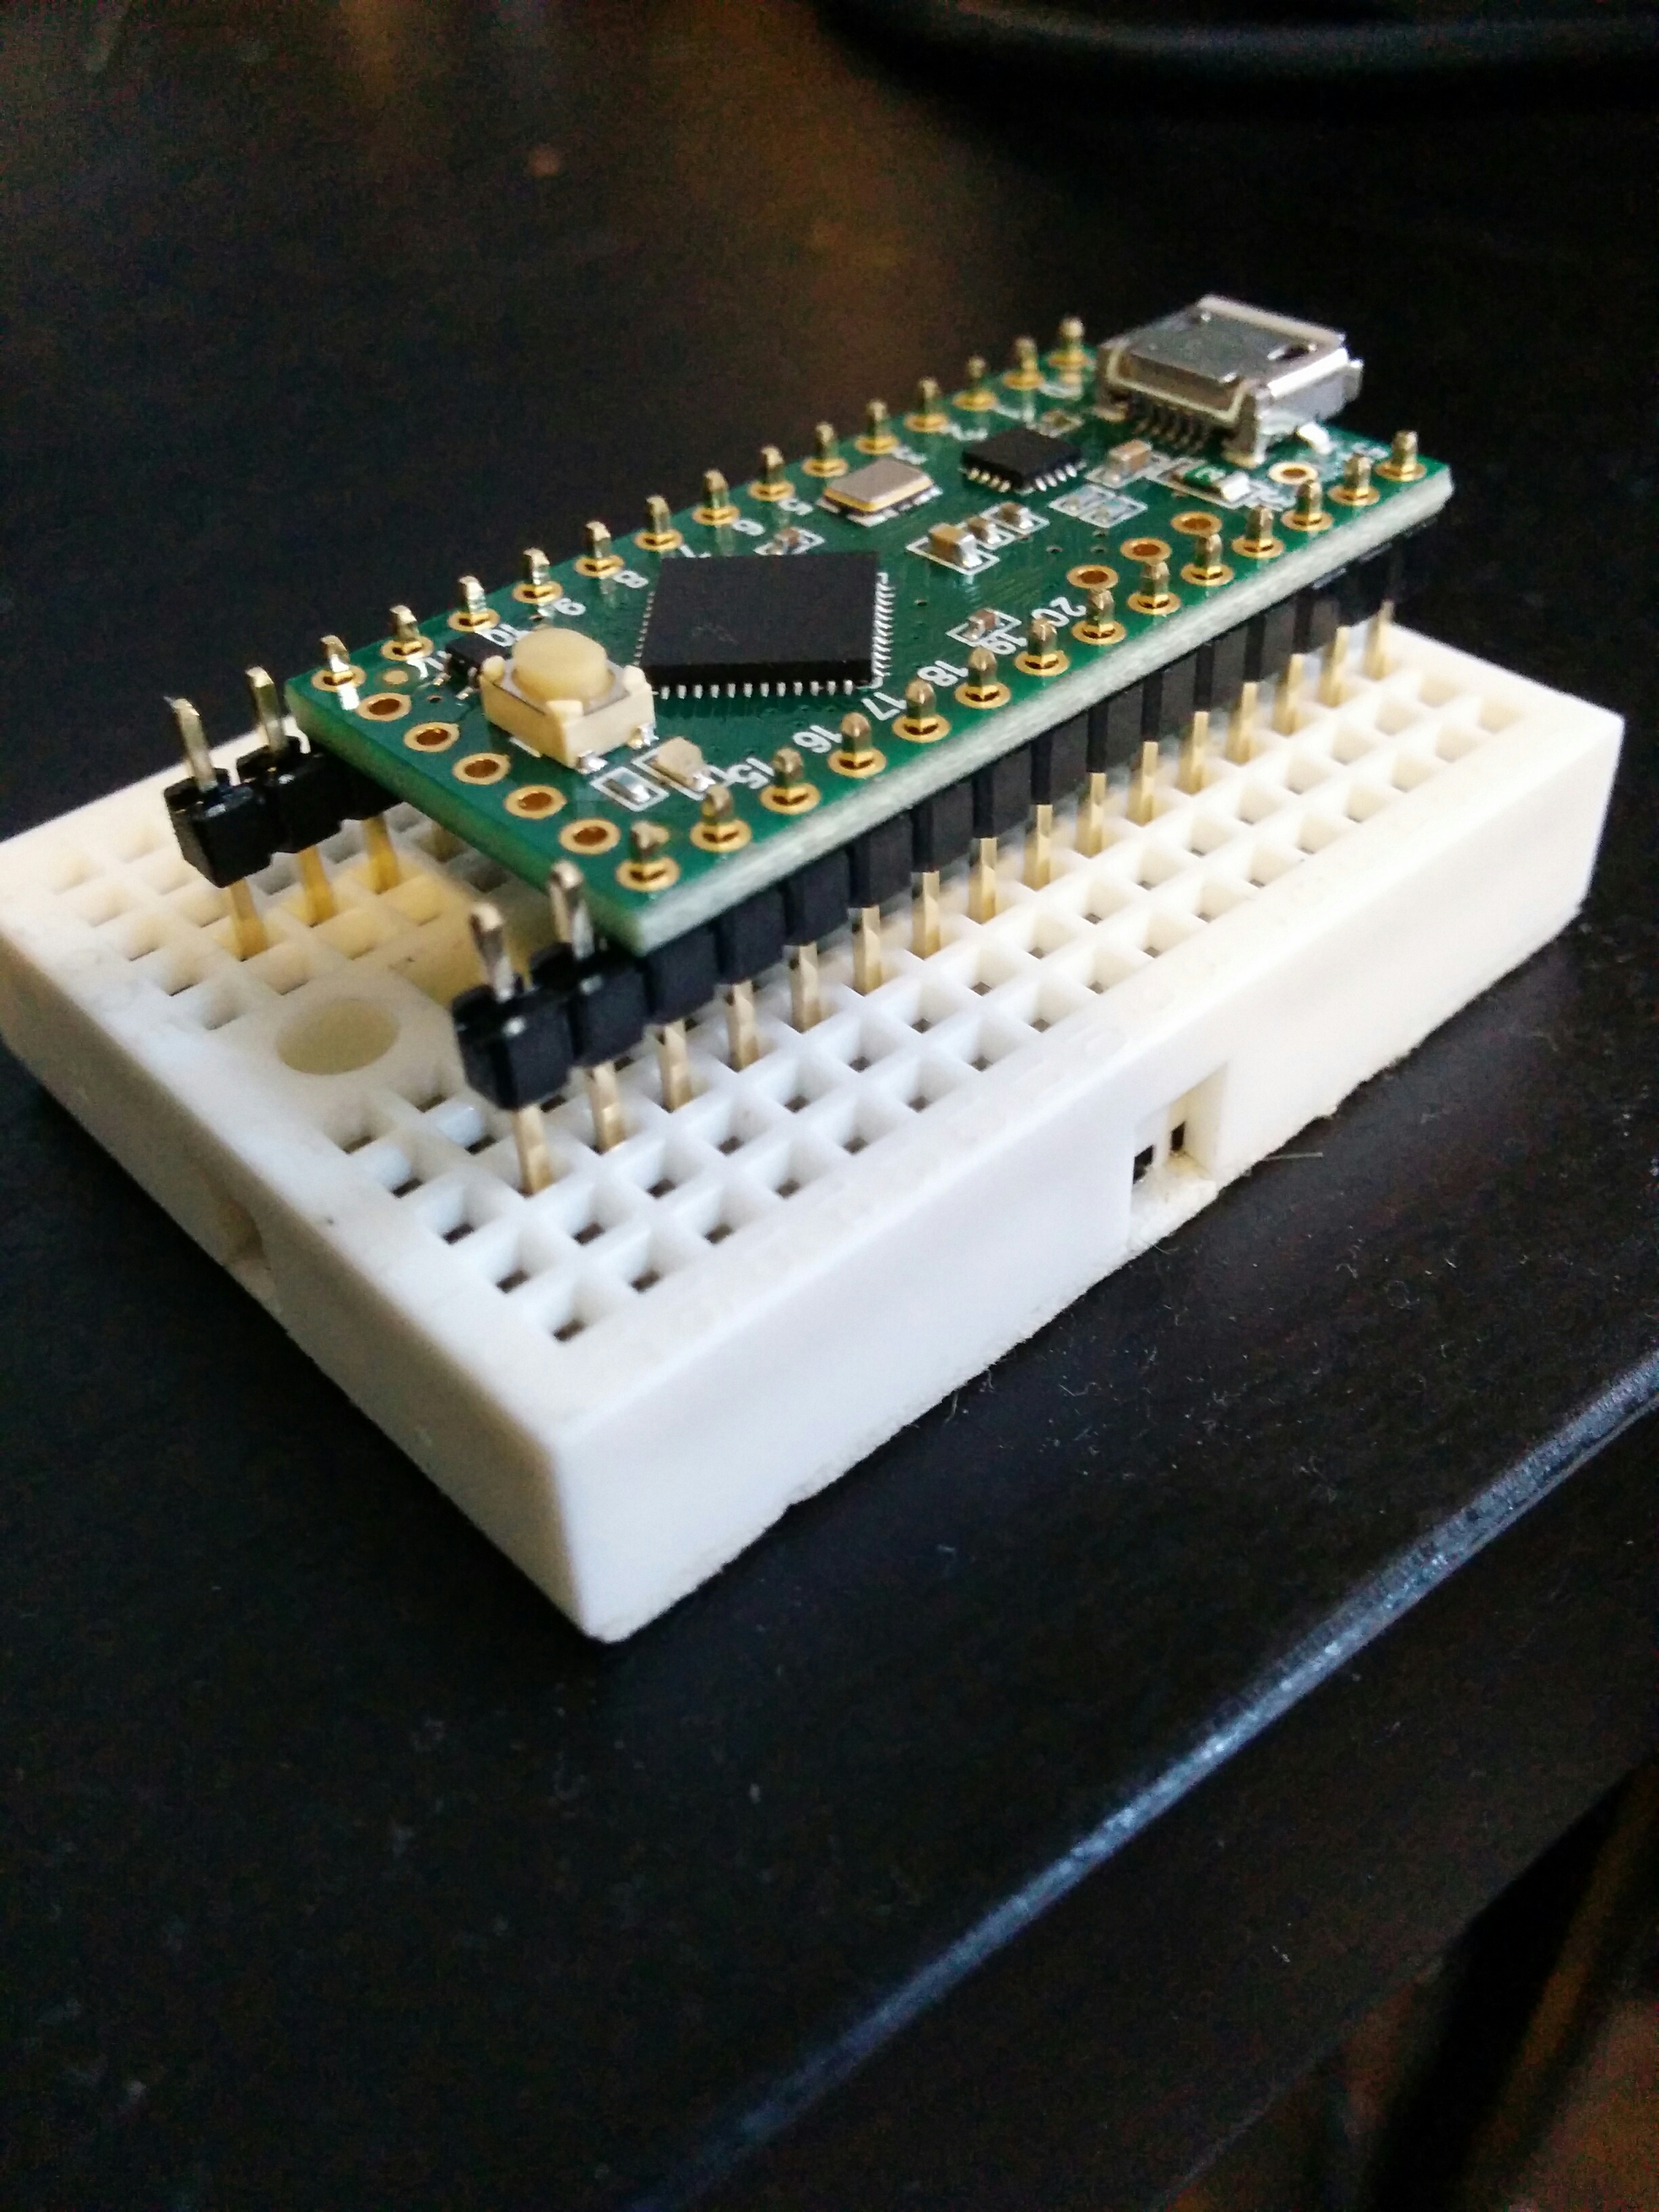
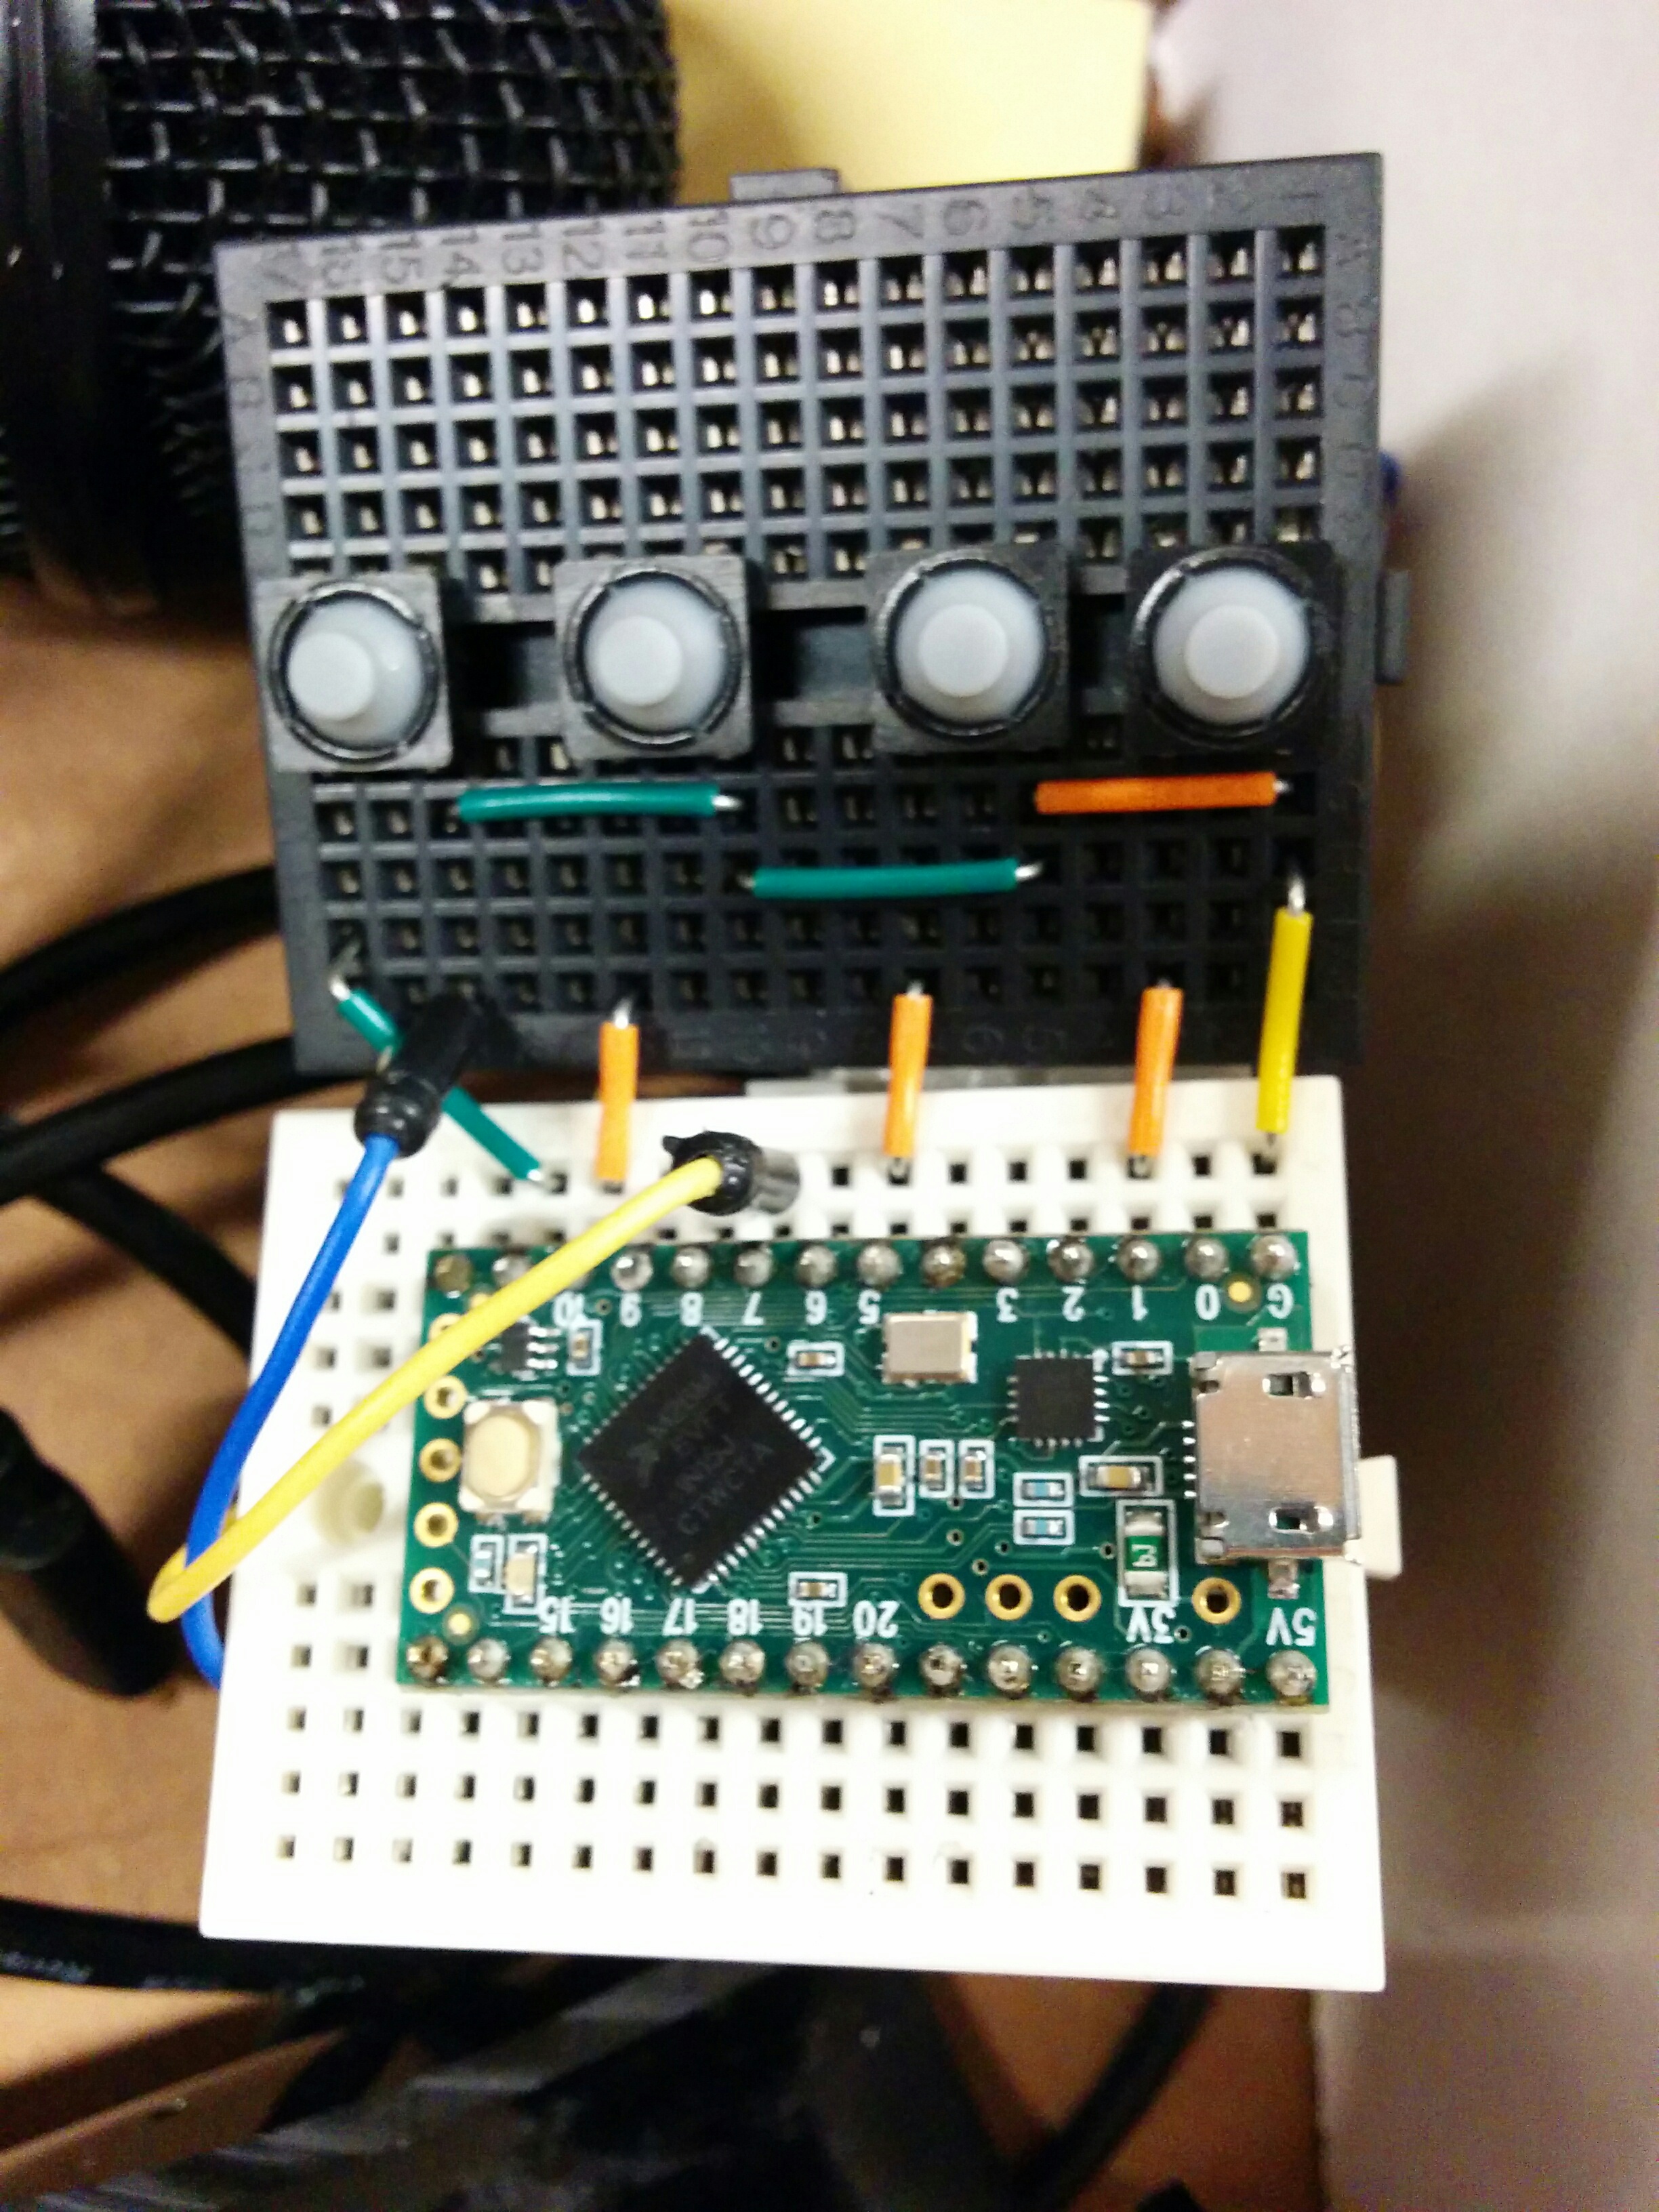
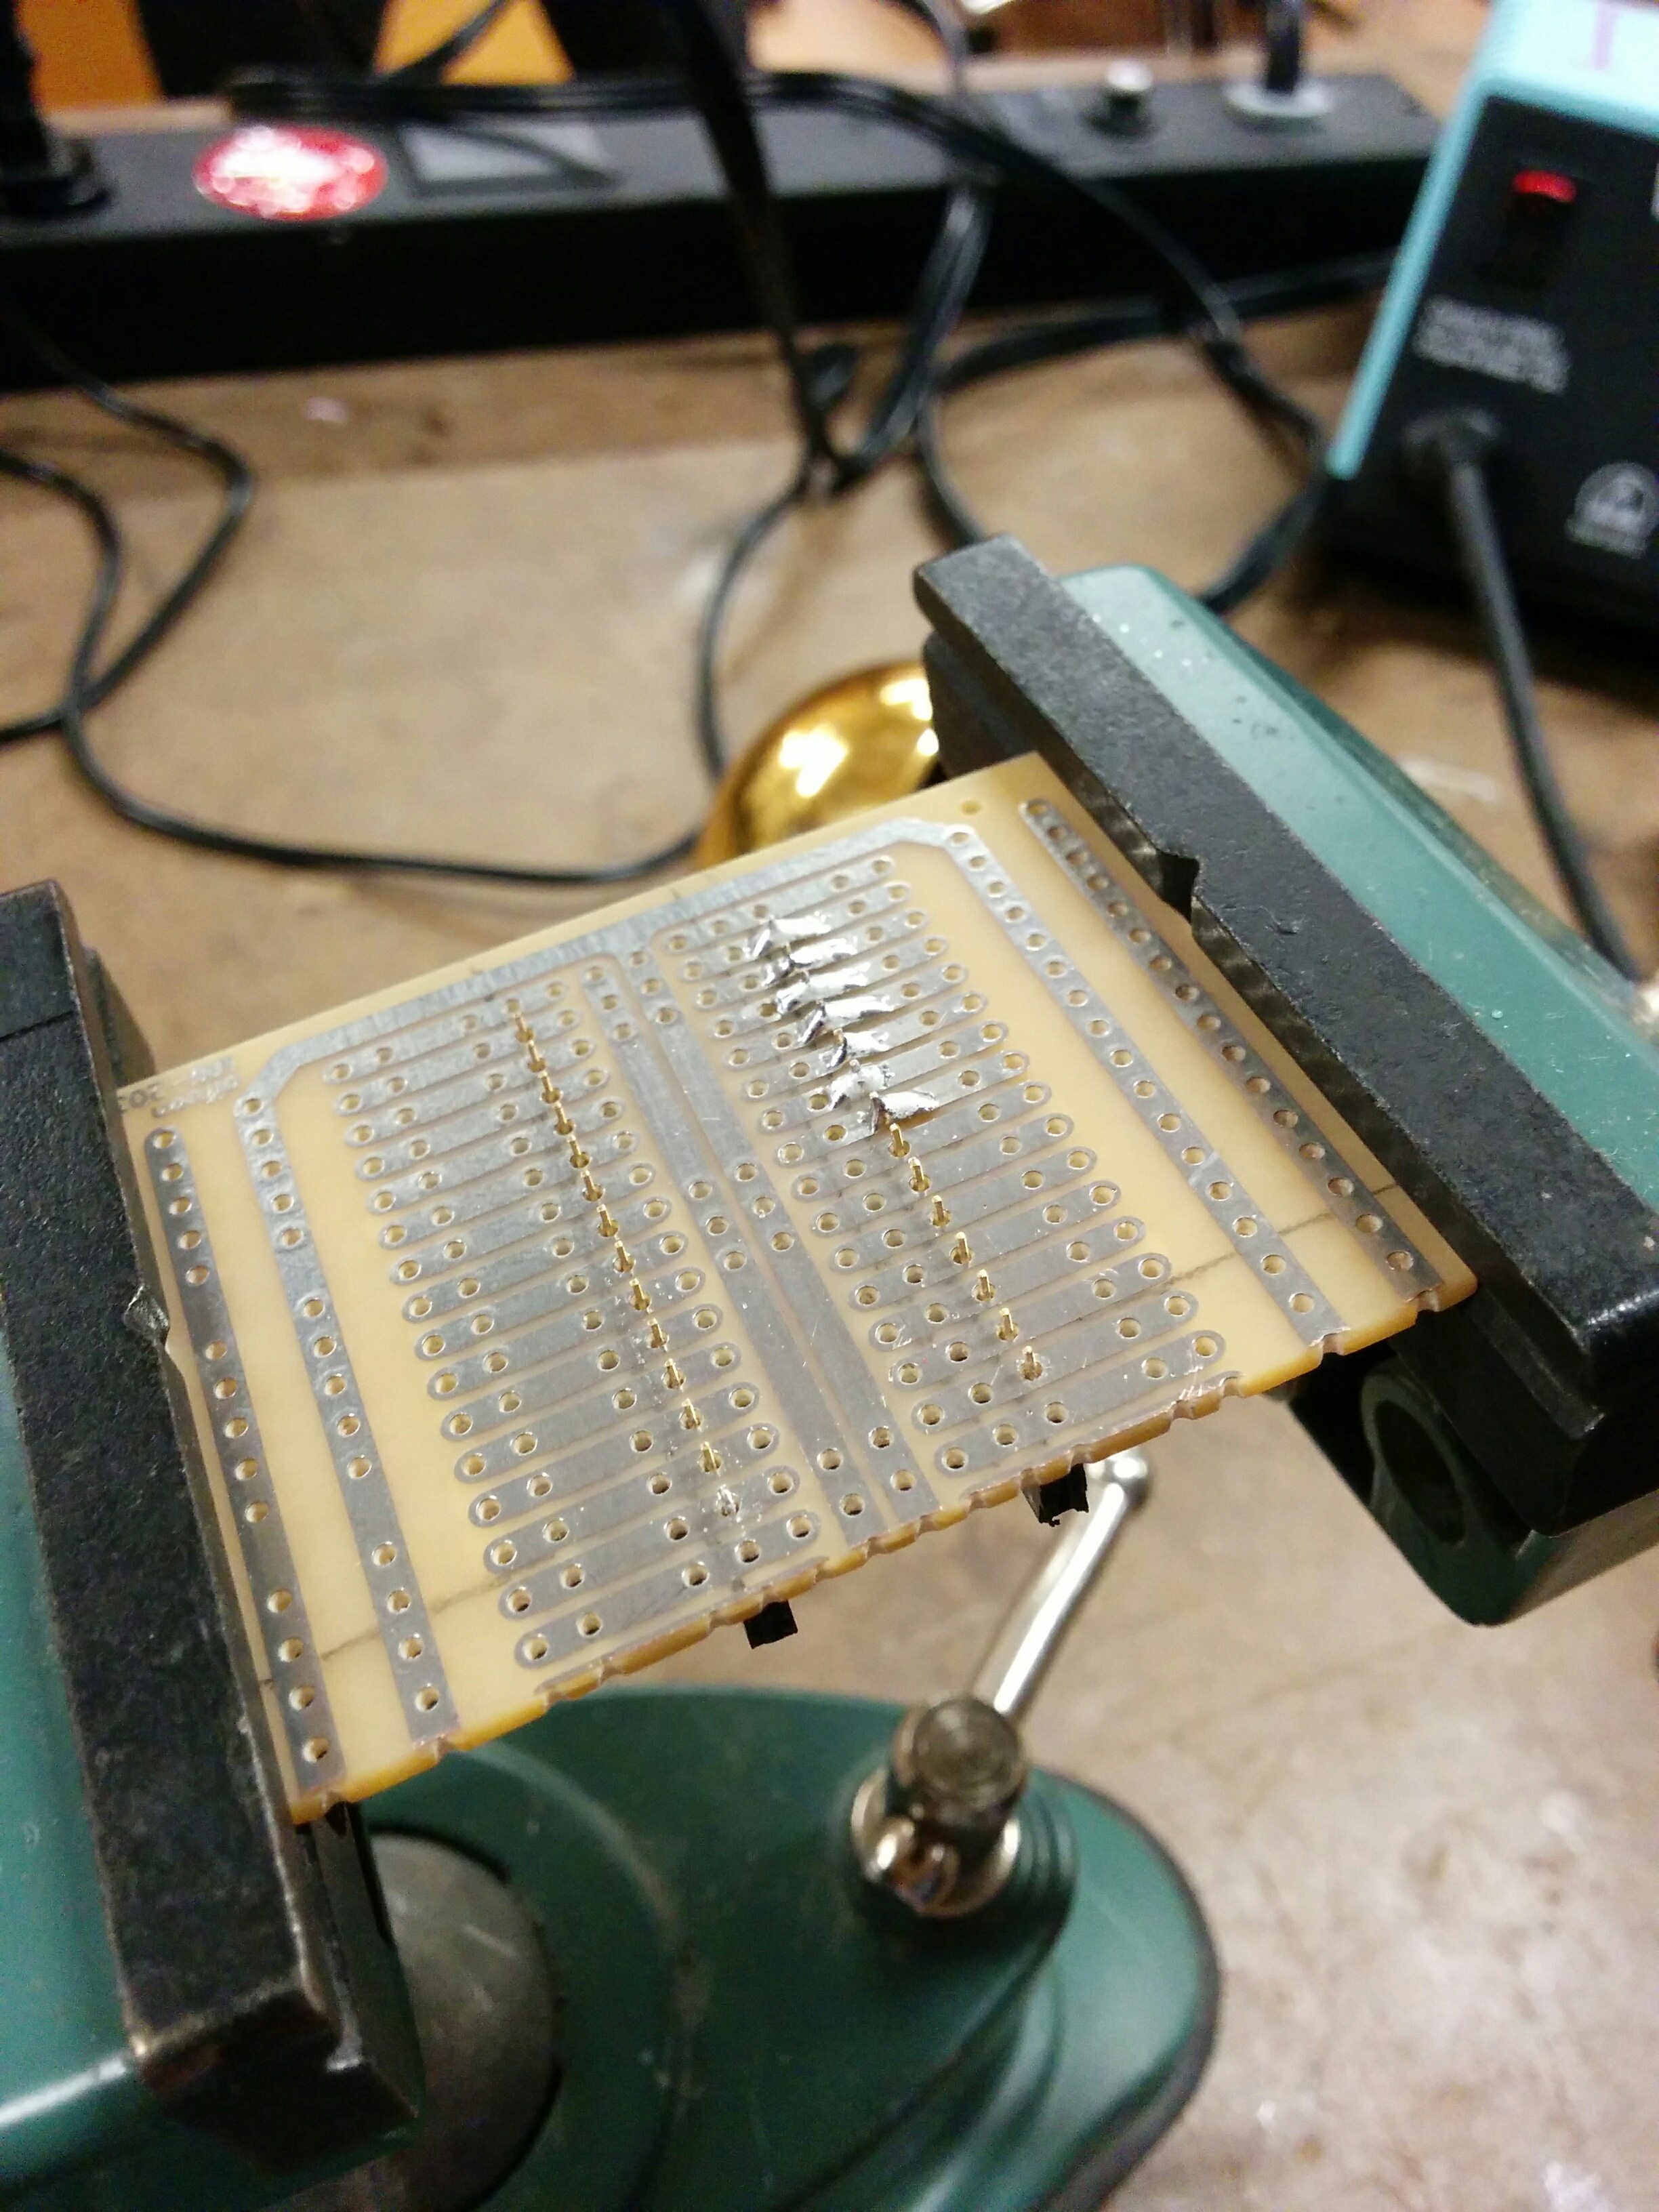
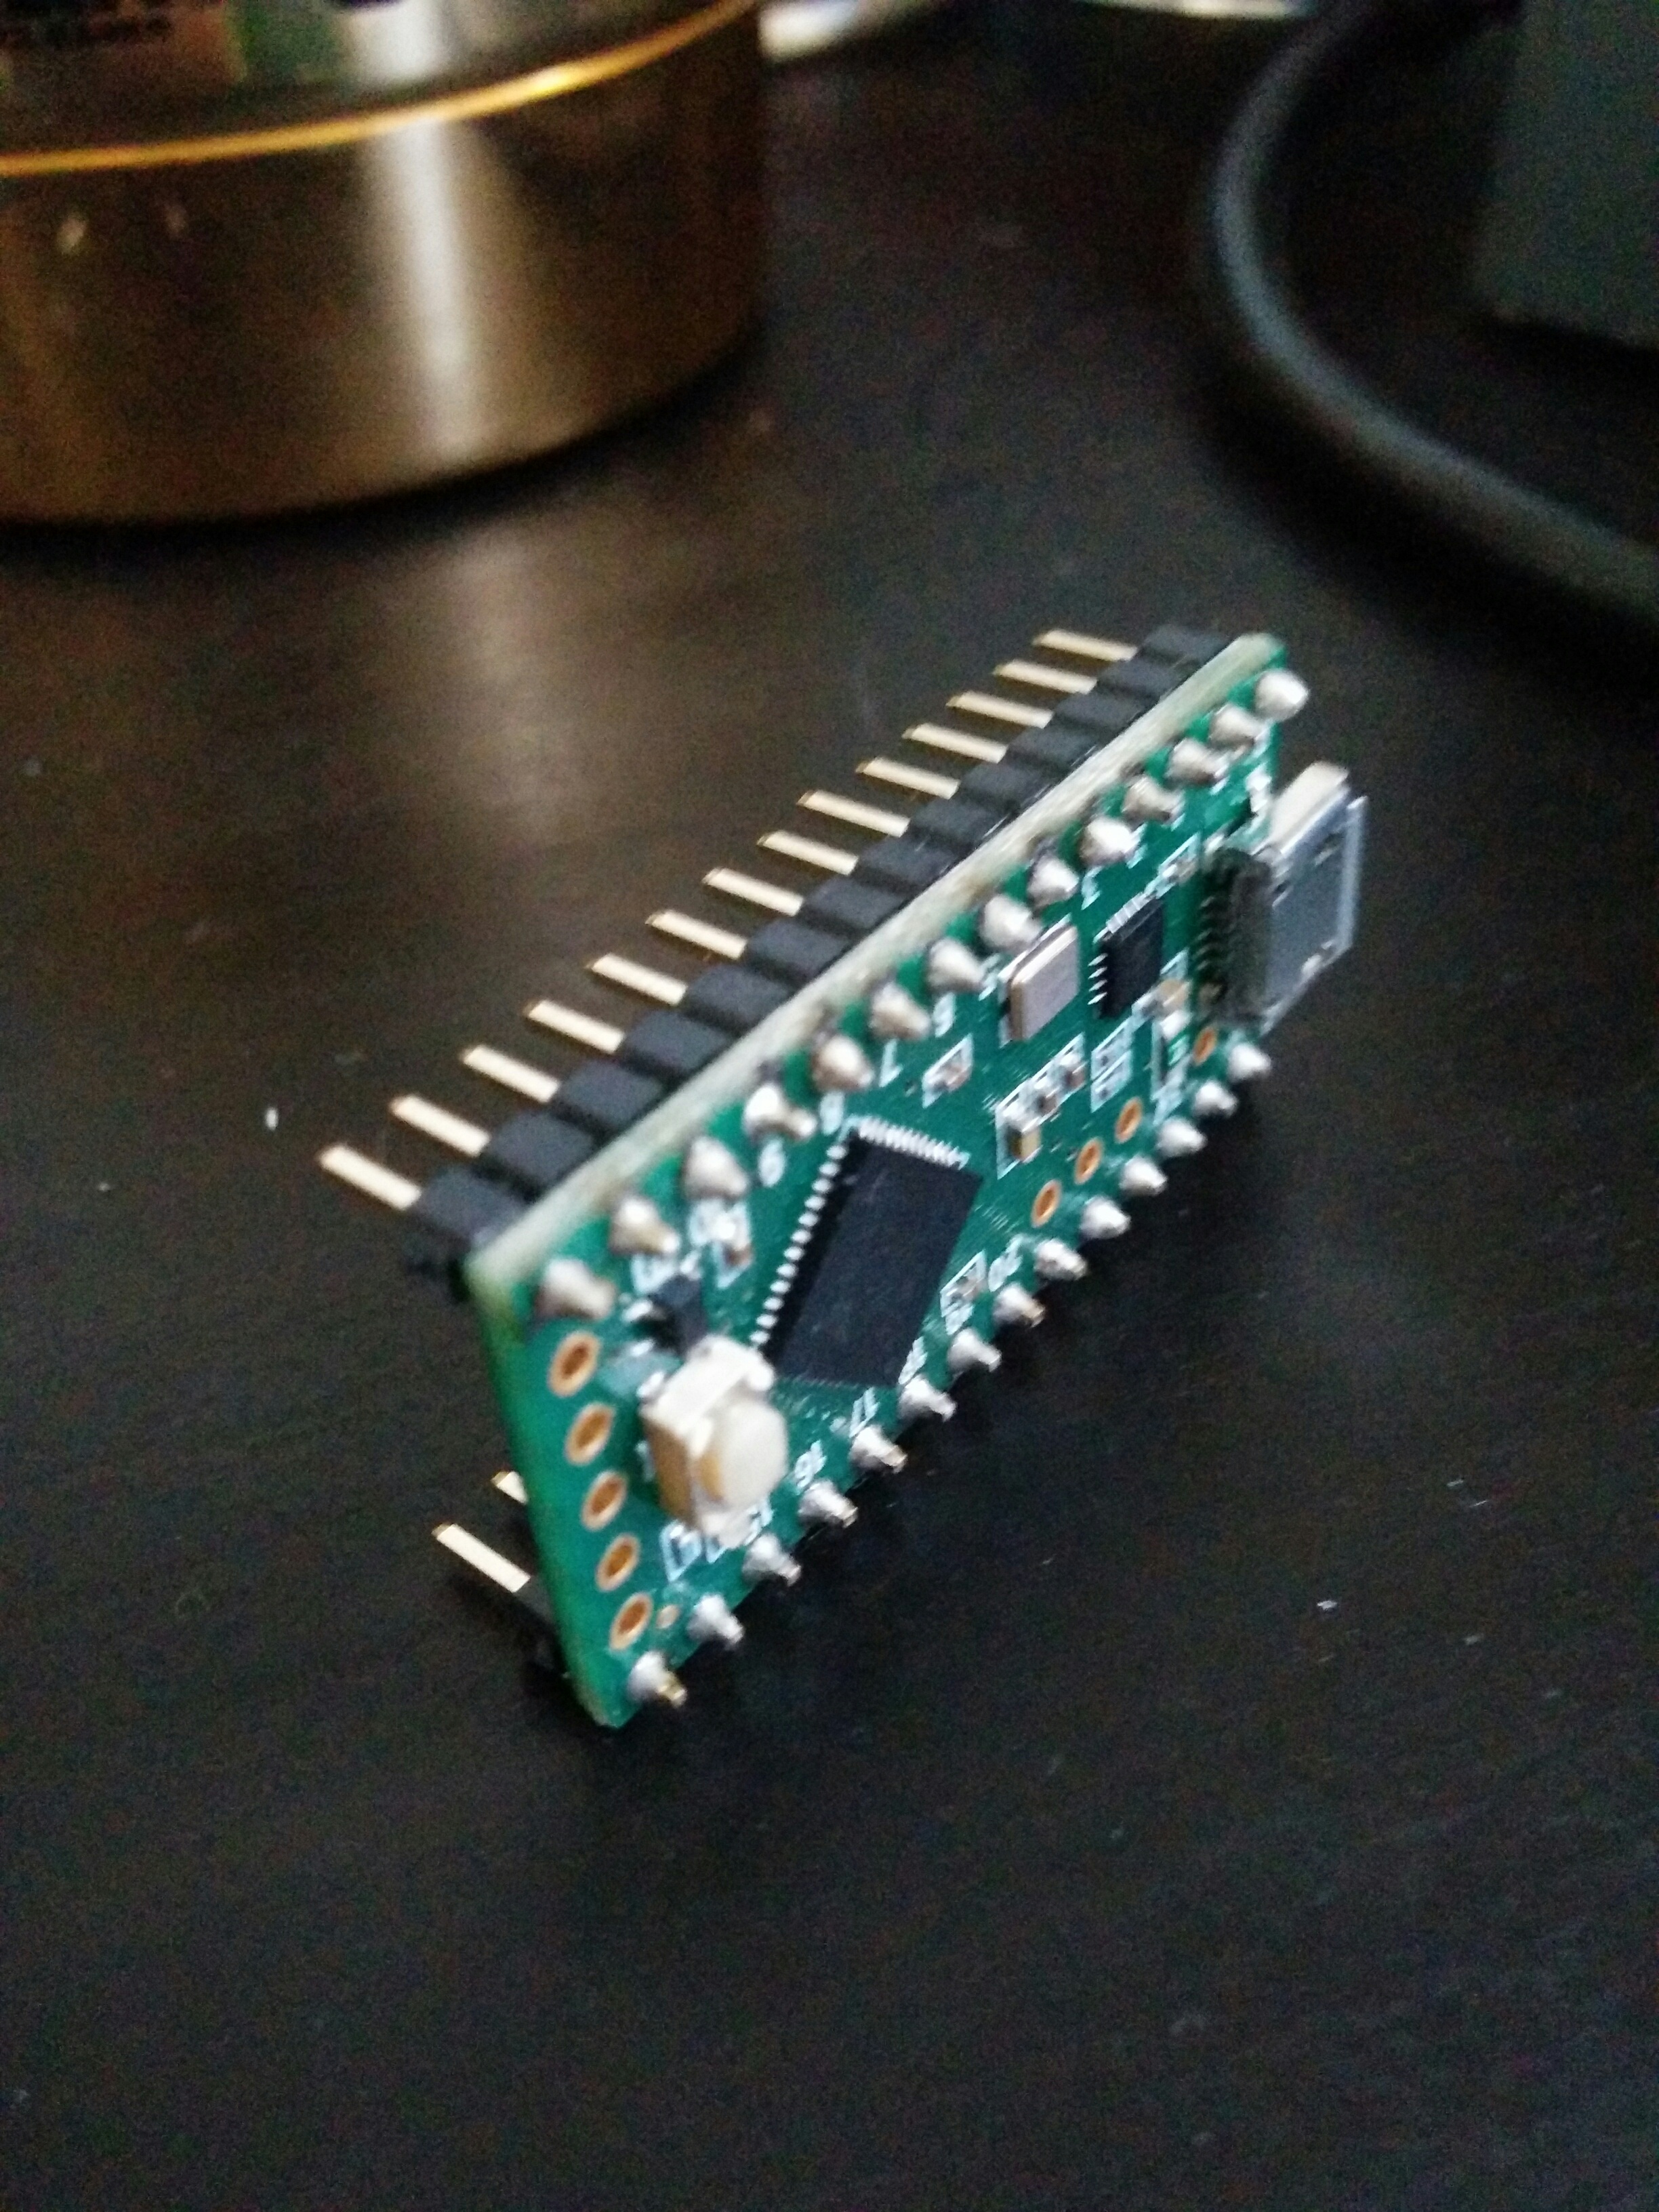
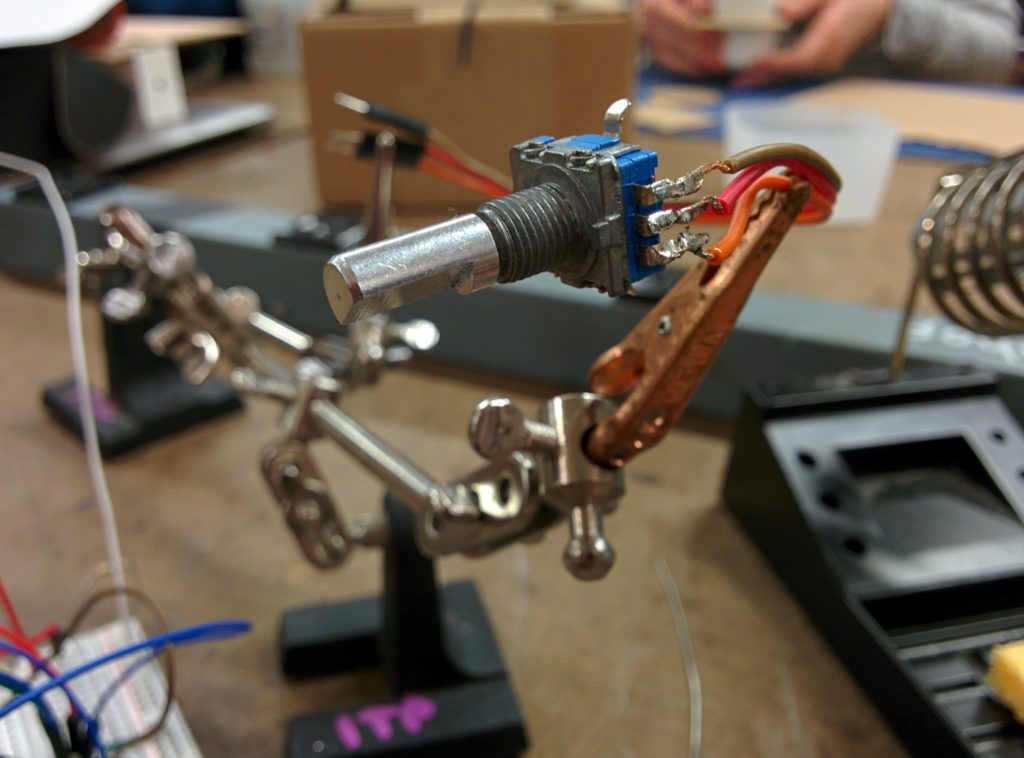
I snapped off the last two pins on each row and soldered everything together.
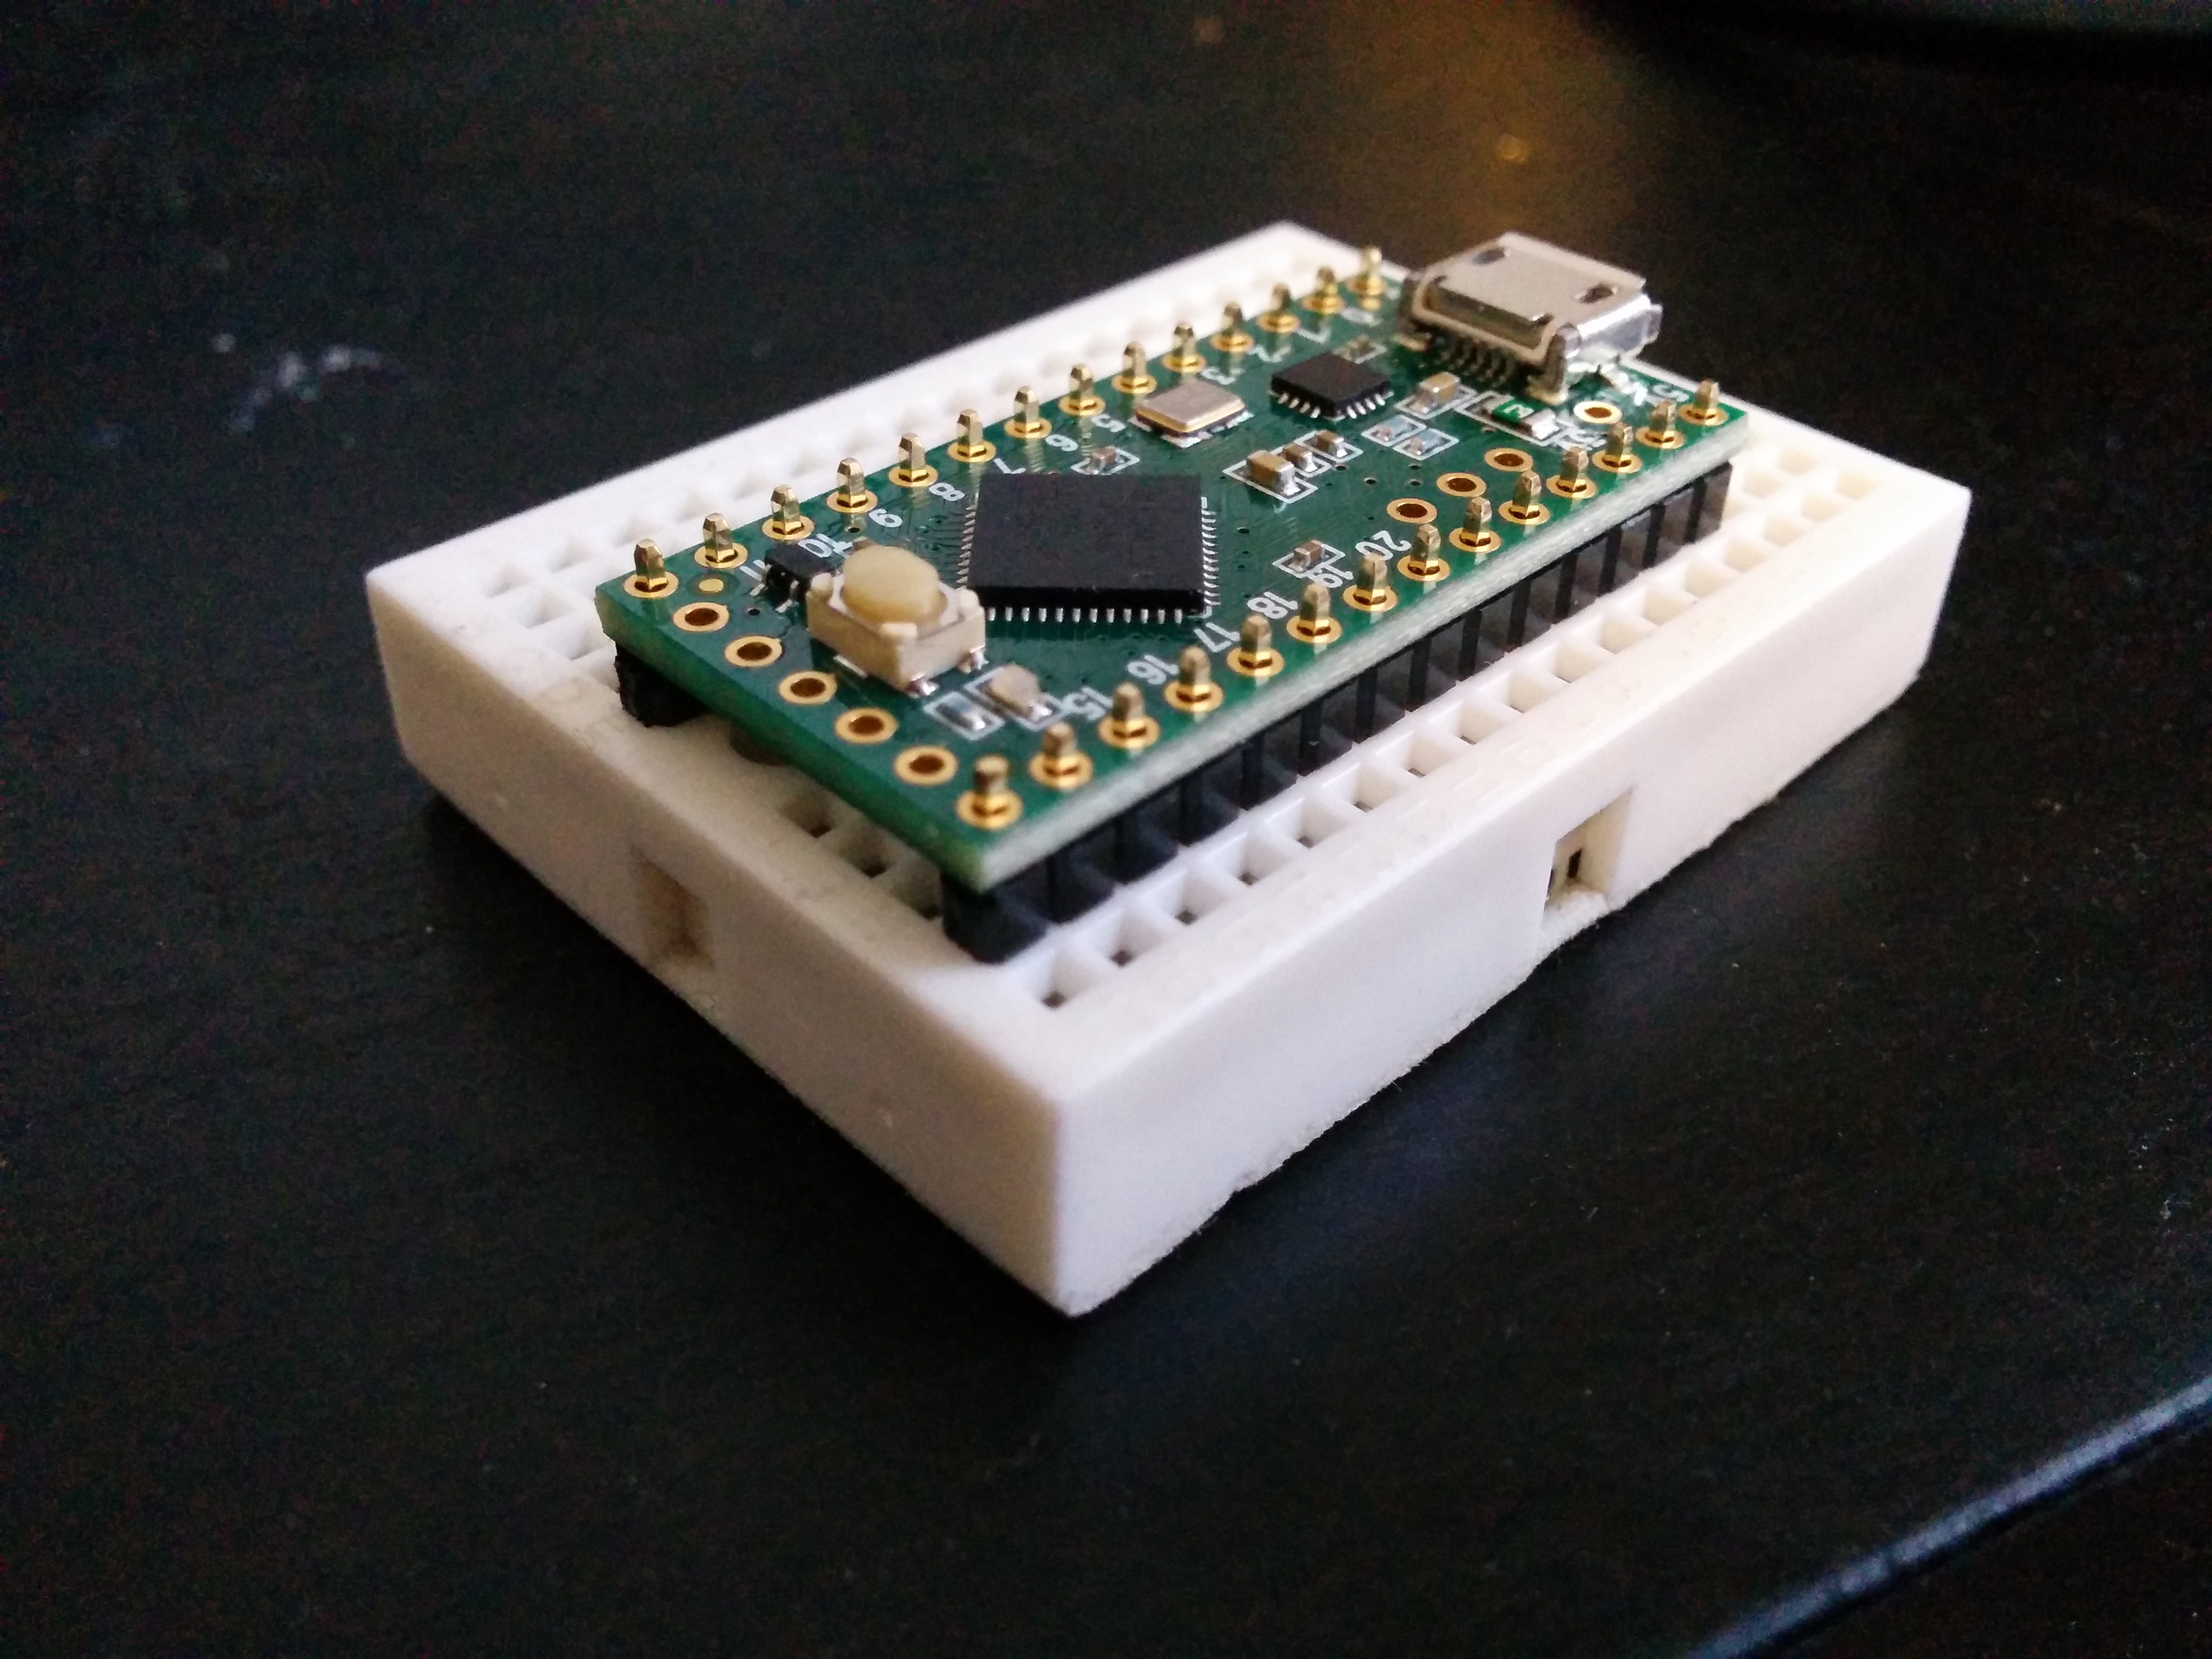

You’ll notice that there are pins on the end that don’t have headers in them. This was also done by example, seeing what other people were doing online with posted tutorials. I had access to the ground, source, and pins that I wanted, so I figured I would let it go for now. Plus, it lets me straddle the middle of the board.
Took me a bit to get into the groove, but I got everything together. Perhaps not the prettiest… there are some burn marks here and there. But it works! Here is the blink example from the teensy library (slow blinks normal, fast blinks when pressed).
I spent a fair bit of time getting all of the Teensy software on my computer and working correctly. Wouldn’t say it is hard, but perhaps a little “fussy” depending on your luck. The most recent Arduino IDE isn’t compatible with the Teensy libraries yet, so I had to roll back my Arduino IDE version. Once I figured out that, there were some issues with loading programs onto the board. The error messages are different with the Teensy, and there can be extra steps when programming it. It was giving me problems. Going step by step, piece by piece, I figured it out. I had used a micro USB cable I had lying around… and it seems that it only transmits power. NO DATA.
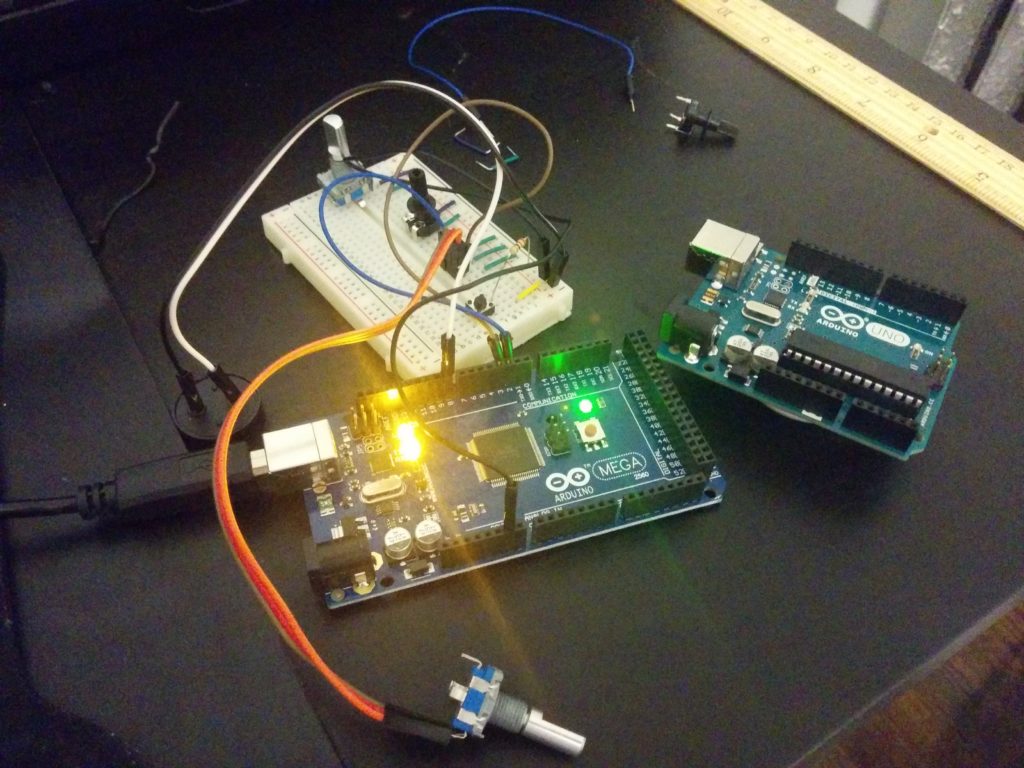
Once I swapped it for a functional one, I was able to upload to the board and got that blink sketch going. You’ll note that I’m not using any resistors on my breadboard. The Teensy button examples state that every digital i/o has a pullup resistor and that you can use an active low i/o implementation with the board. Feeling good about that, I continued with further experimentation and got the Teensy to output MIDI and send it to a testing Max MSP patch that I setup. I used an existing MIDI controller I had to make sure things were working, and then threw the Teensy into the mix:
After my headaches with data-less USB (and I mean…really? Just… why??), I received an all new appreciation for functioning hardware. There is a little fussiness with detecting the MIDI events in the software, but I’m confident that I can optimize that just fine when the time comes.
Next I will be getting more buttons going, streamline the wiring and working on a decent temporary mounting solution so I can get some initial functional playtesting going. I’ll be updating next with a more detailed timeline for the next couple weeks.
PComp Final: Phase 0-1
After presenting my initial concept to the class, my next step was to create a playtesting prototype. I felt fairly confident that I knew what it would feel like in my hand, but it really did help to have something in my hand. This was made from prototype plastic. After warming it up, I flattened it out like a pancake. Then I wrapped a microphone in saran wrap, then wrapped the prototype plastic around the microphone. I put it into the freezer to harden, and then used a dremel to generally trim the shape. Once satisfactory, I warmed up the piece again, just soft enough to be able to push some push buttons securely into it’s surface.
I used this as a conversation piece when conducting user interviews. I went to the Tisch performing studies floor to talk to different artists about the possibilities of using this device, and what features they might want or wish for it. While there were some wonderfully exploratory and experimental ideas, there were also some practical features that were desired for experimental performances. One artist brought up the issues of timing, synchronization, and the need for discrete control and messaging systems in regards to controlling a performance seamlessly. There was a visit to the Music Tech program where I talked some researchers who gave me some input but also some history and terminology around somewhat similar approaches. I also went to the Steinhardt, and talked with faculty in the Vocal Performance program. We had great conversations about vocal science and pedagogy. However, I learned that the Vocal Performance process eschews microphones almost entirely! This is why you do user interviews.
Then in class we did some play testing. I was very curious as to how people would naturally grip the prototype without any prompting. This was very useful to me to think about input placement and functionality. I could go on and on about this, but I think I will leave the elaboration for a different post. For now, let’s look at the grips:
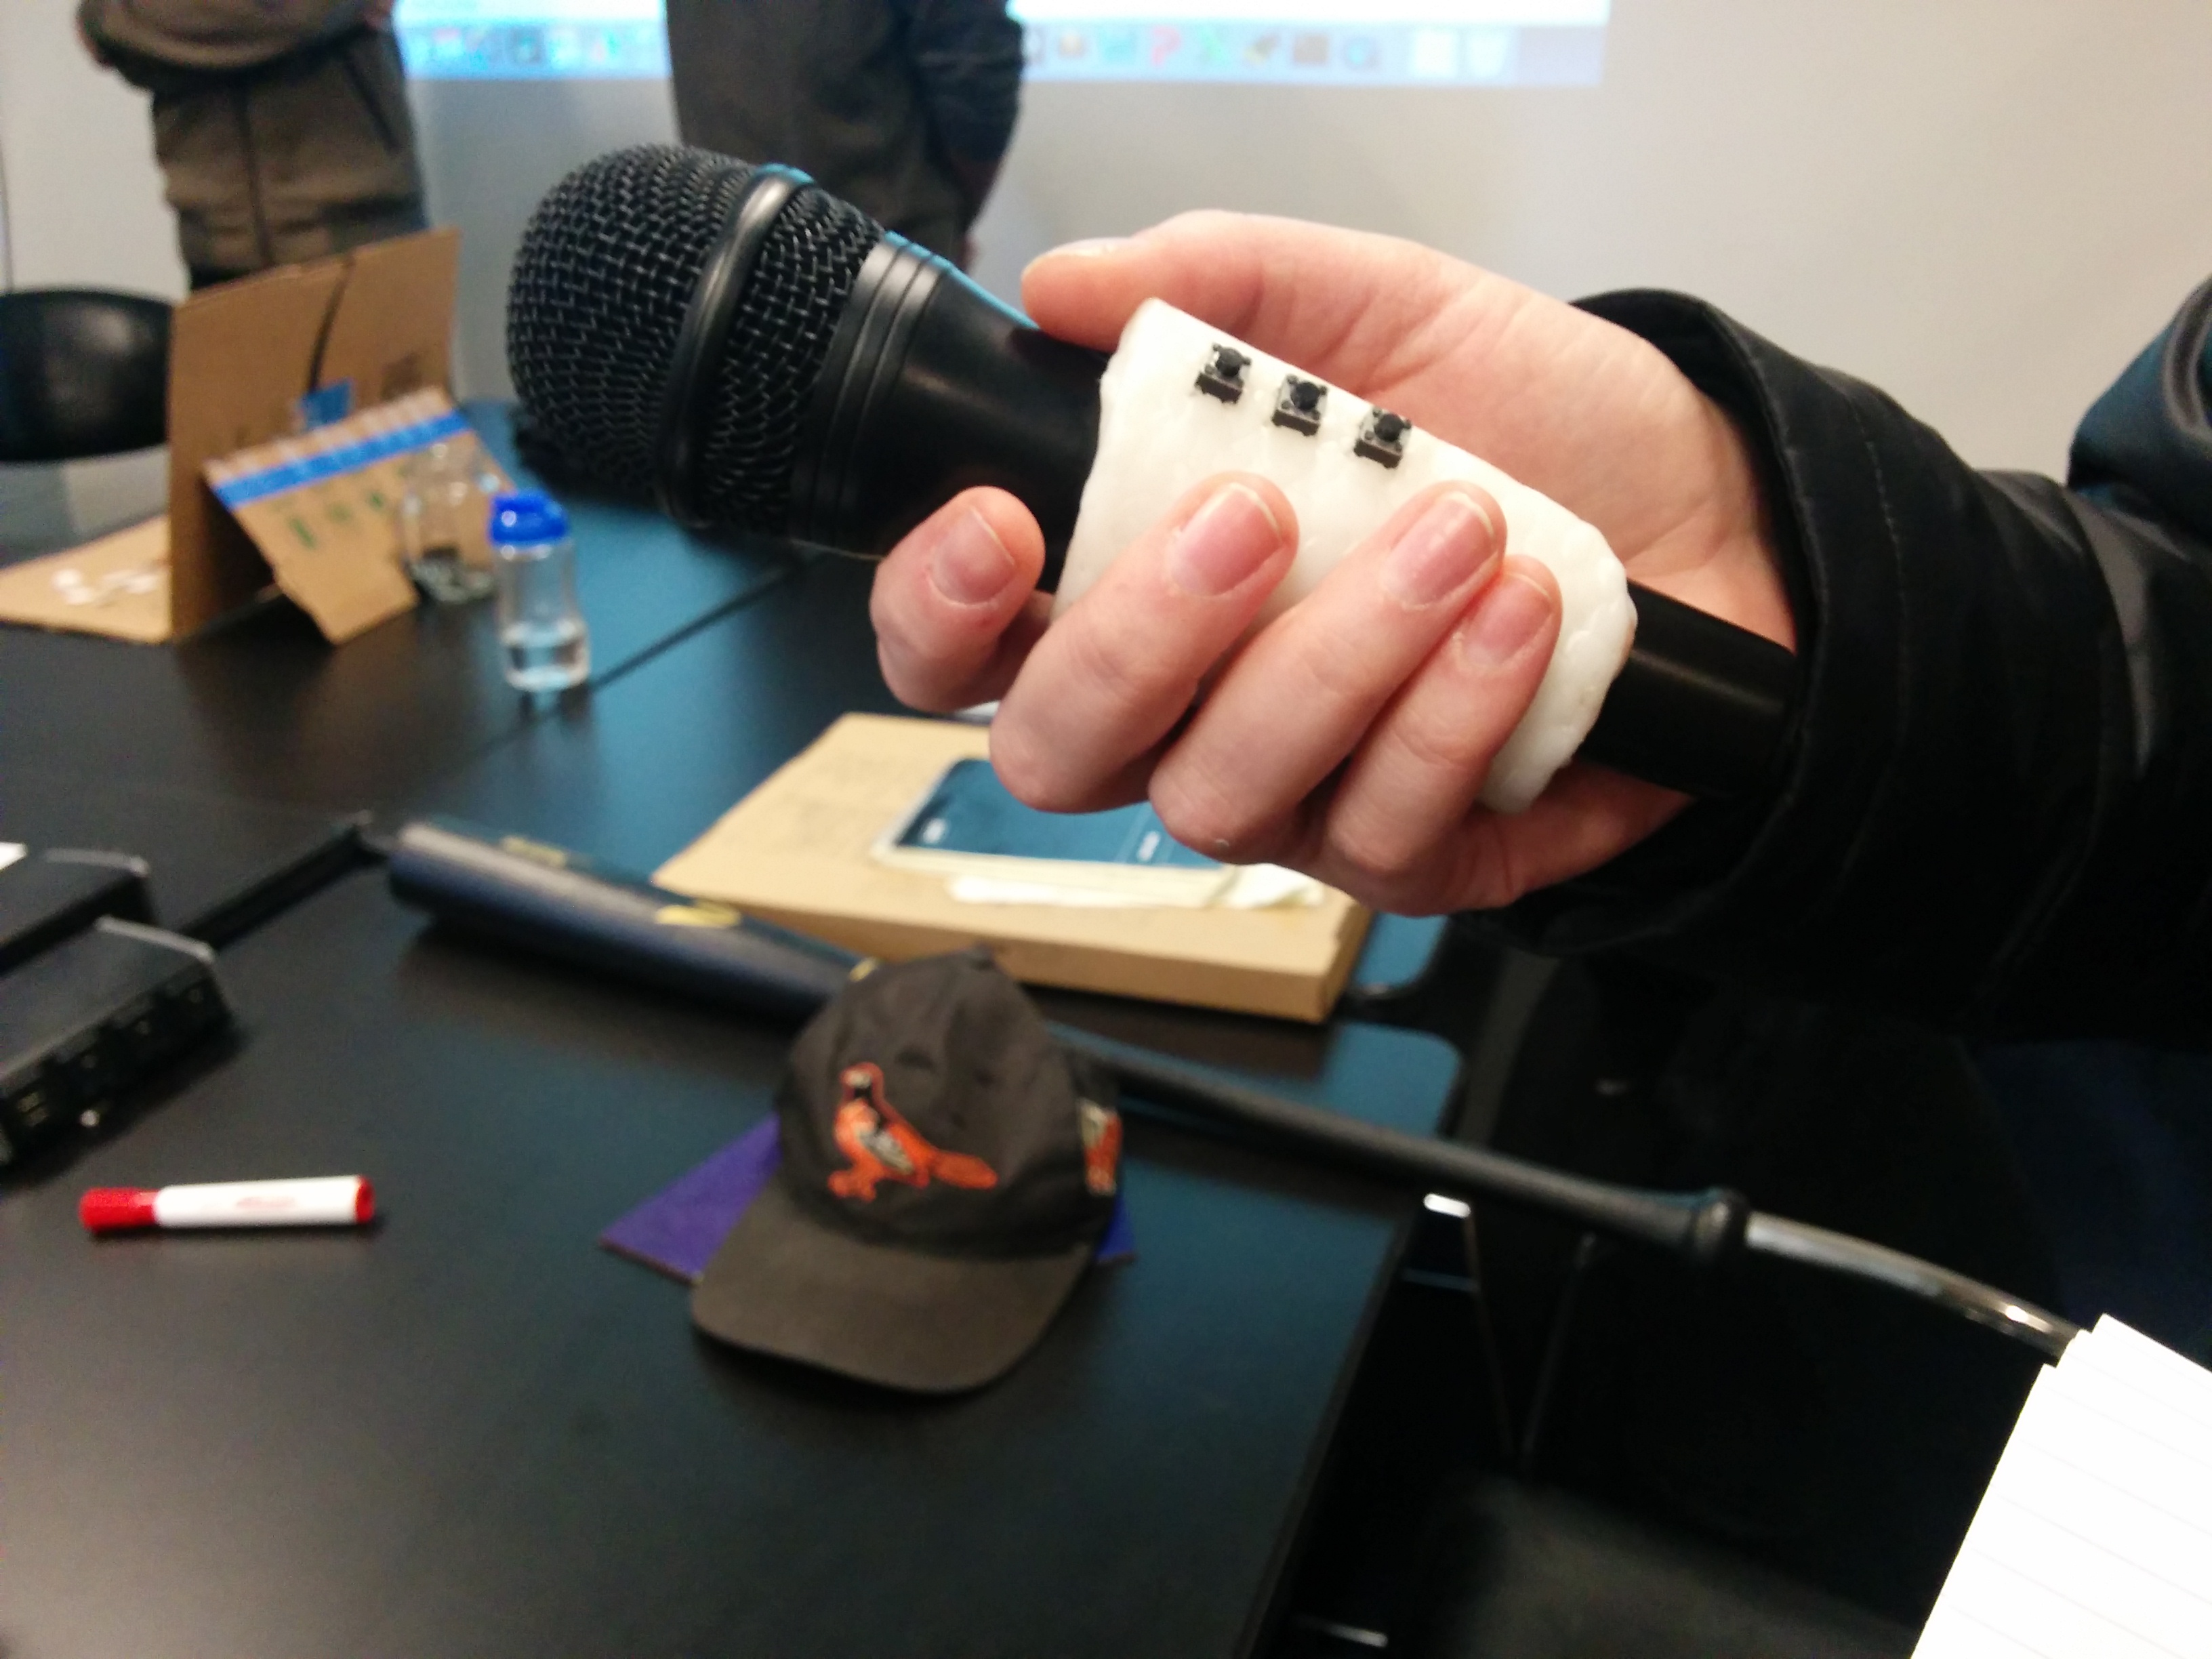

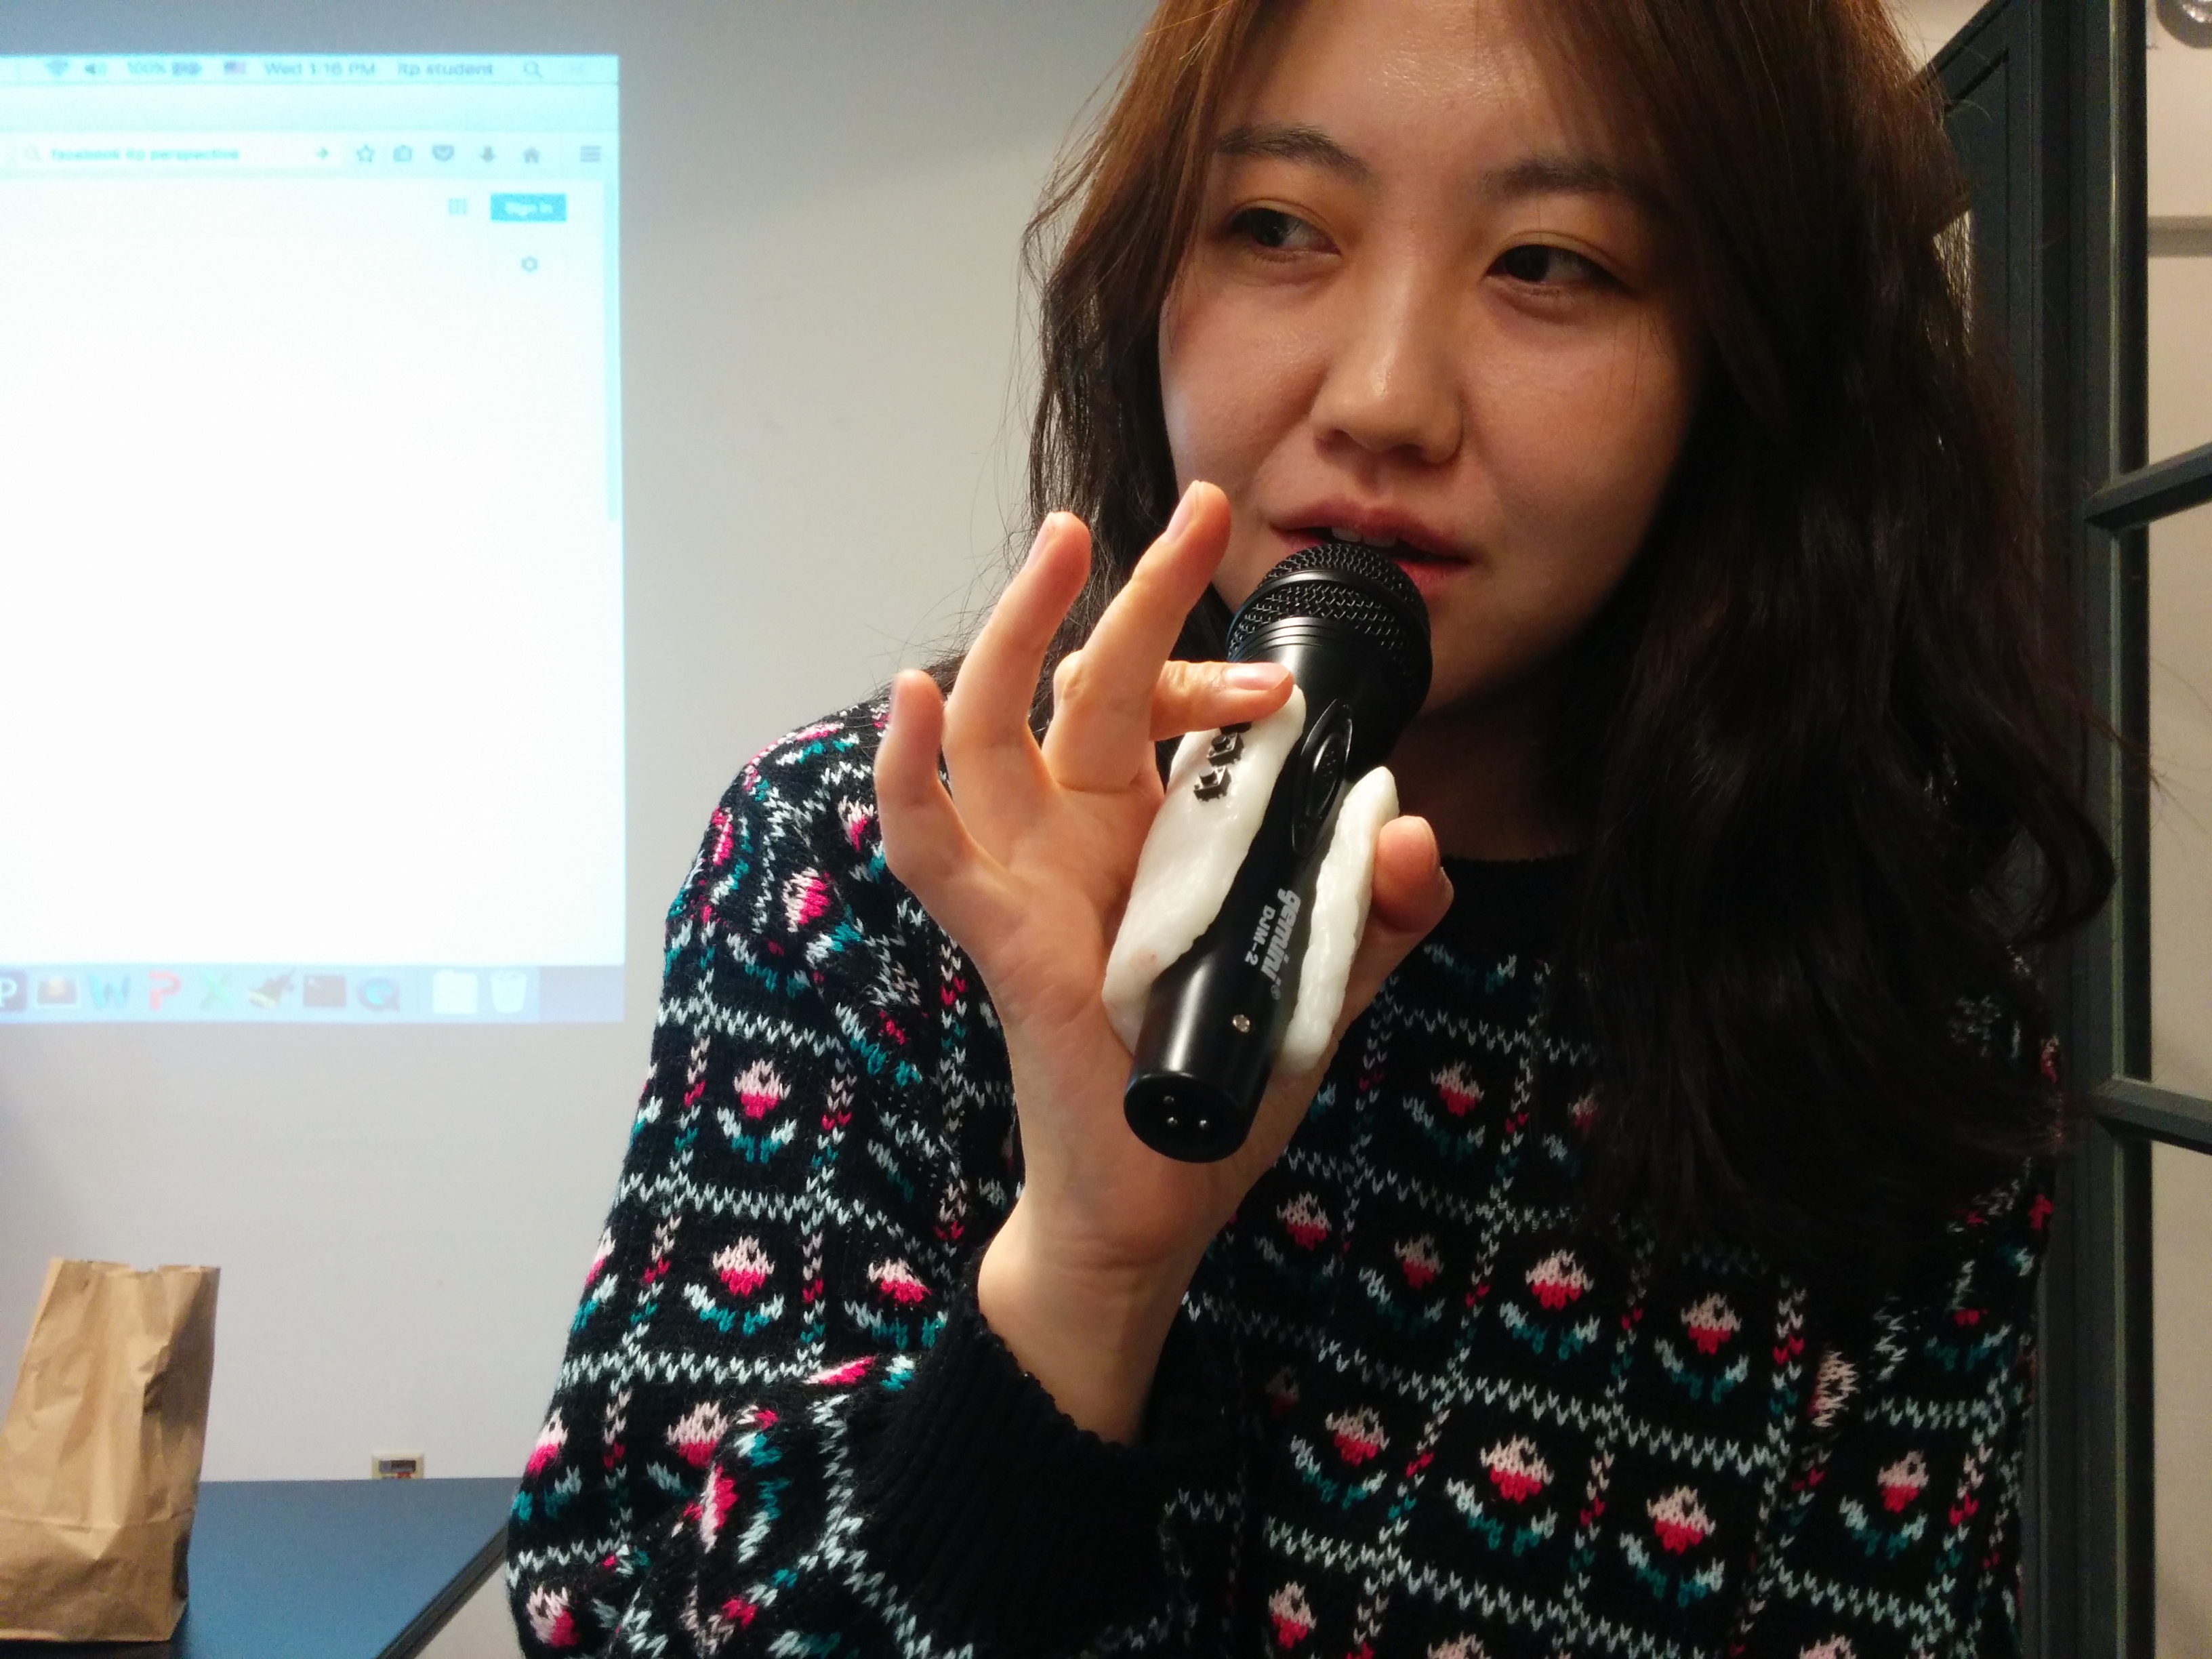
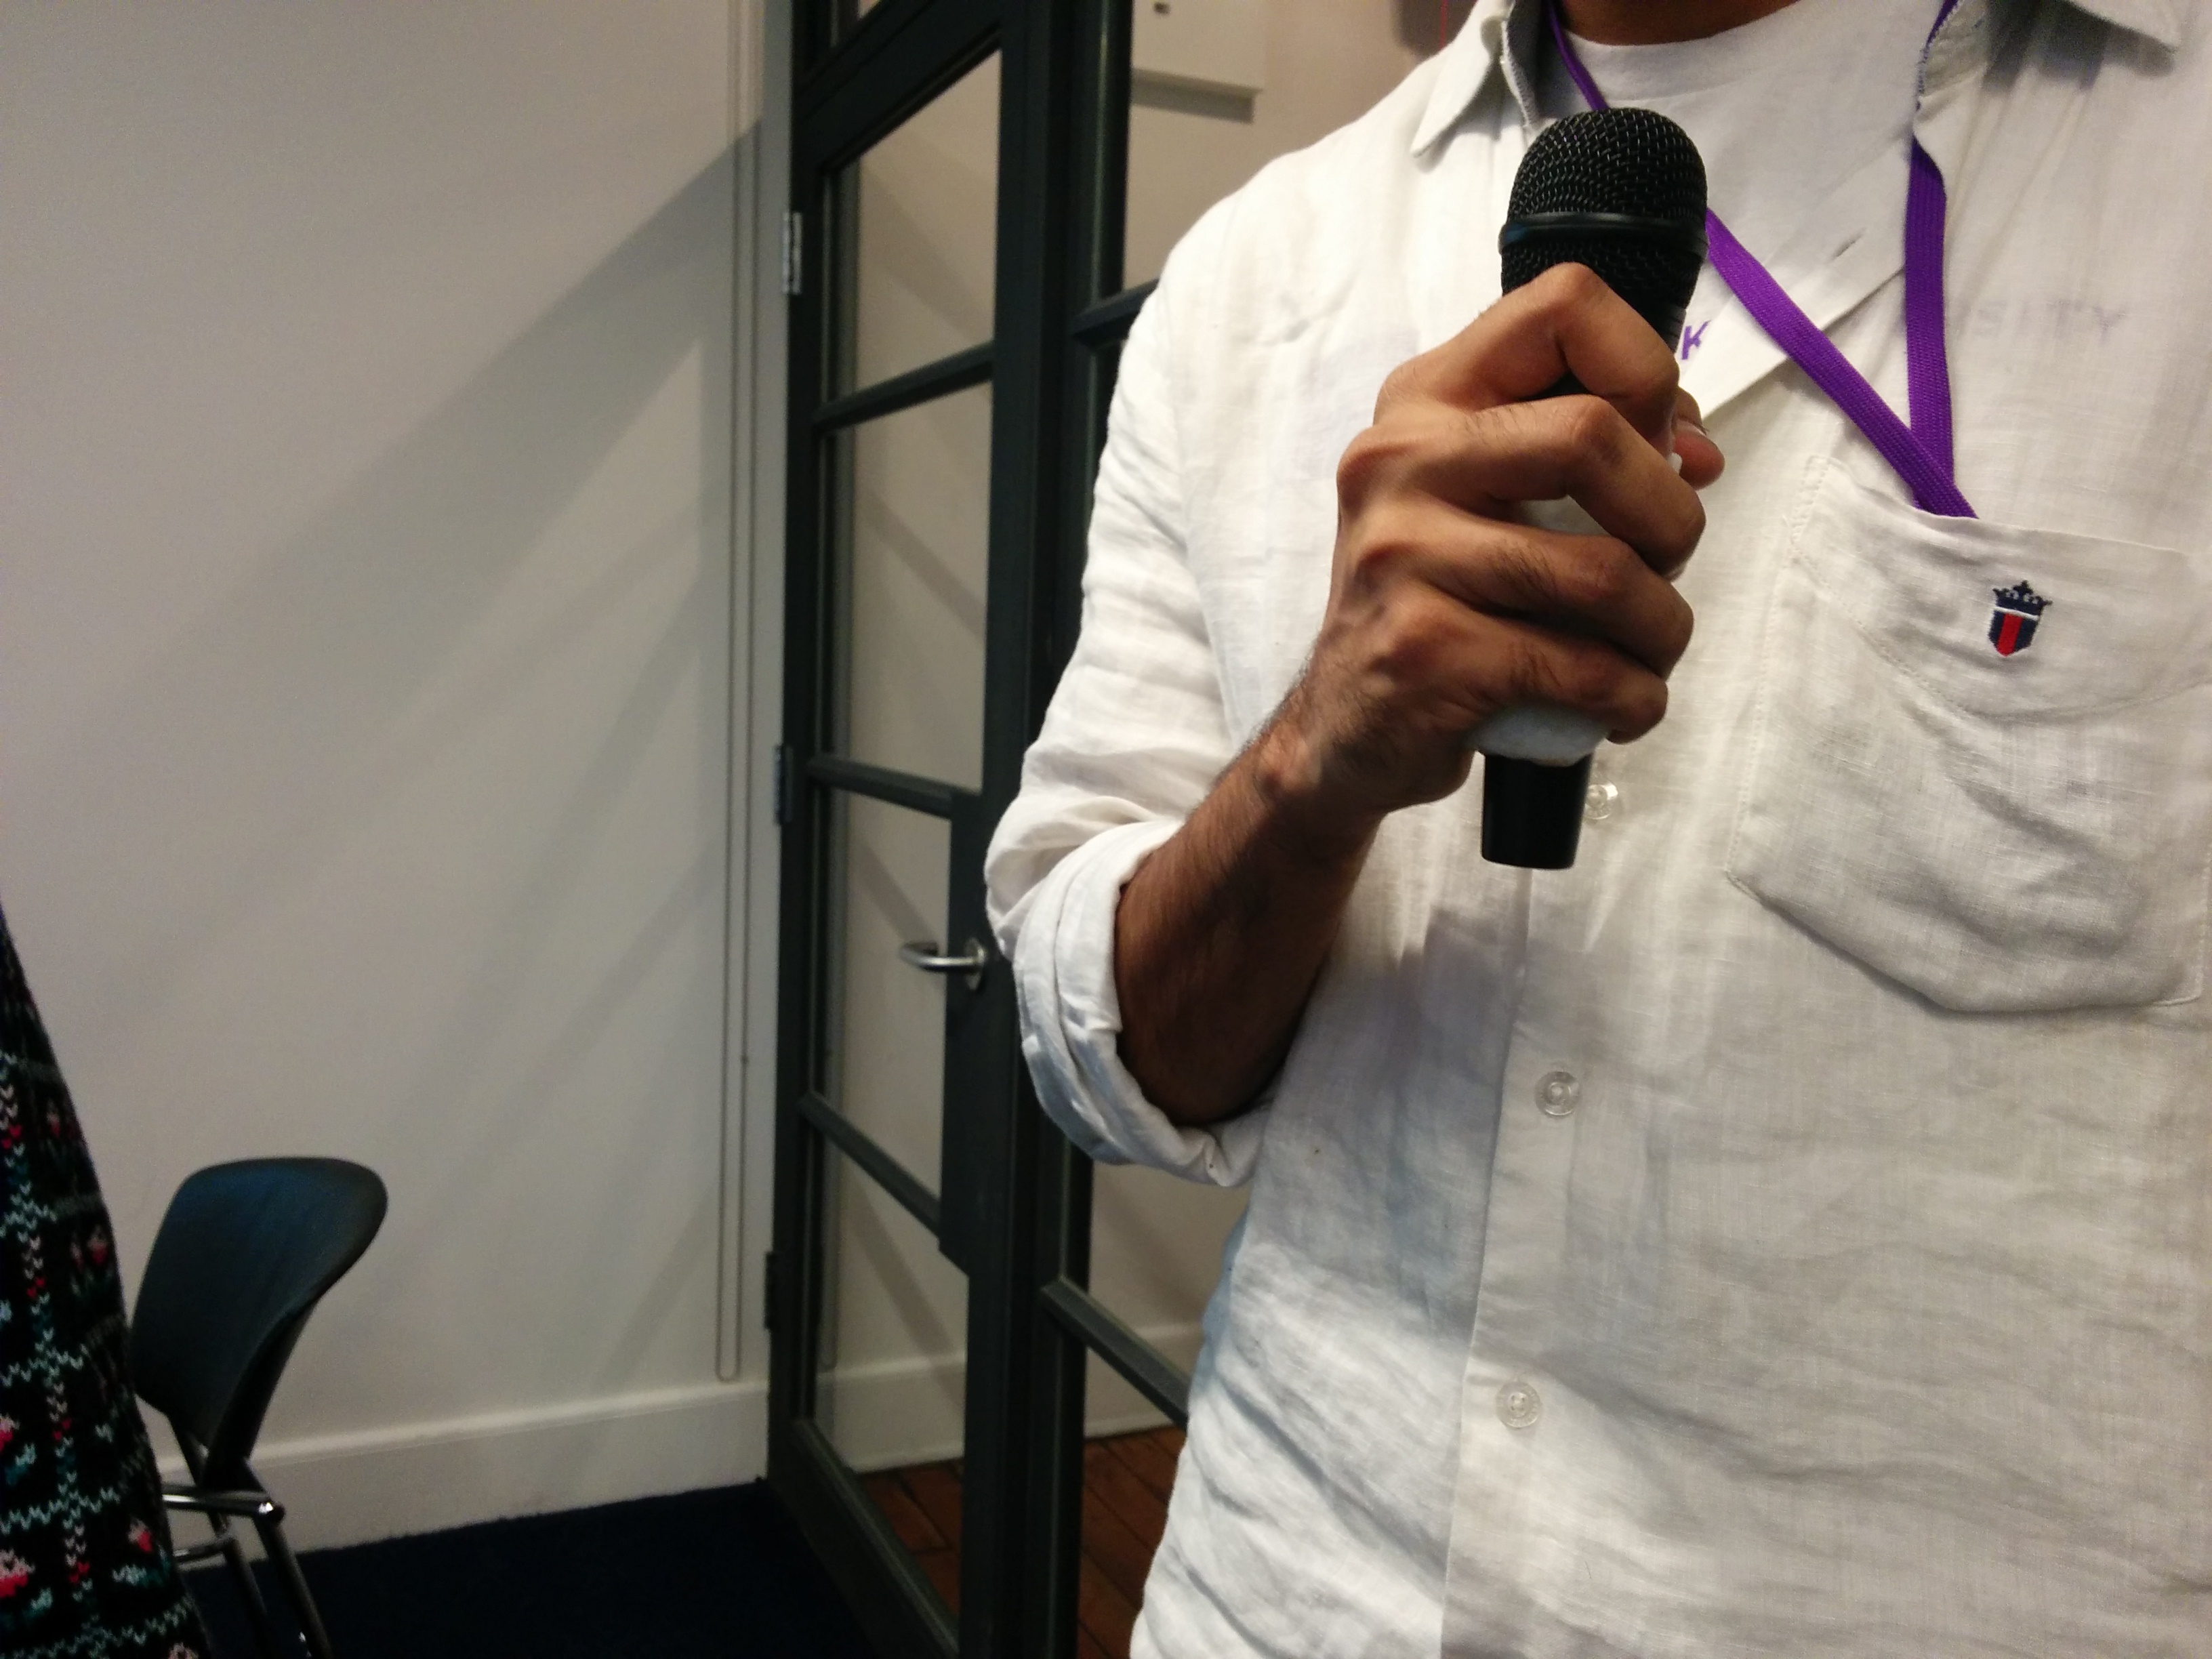
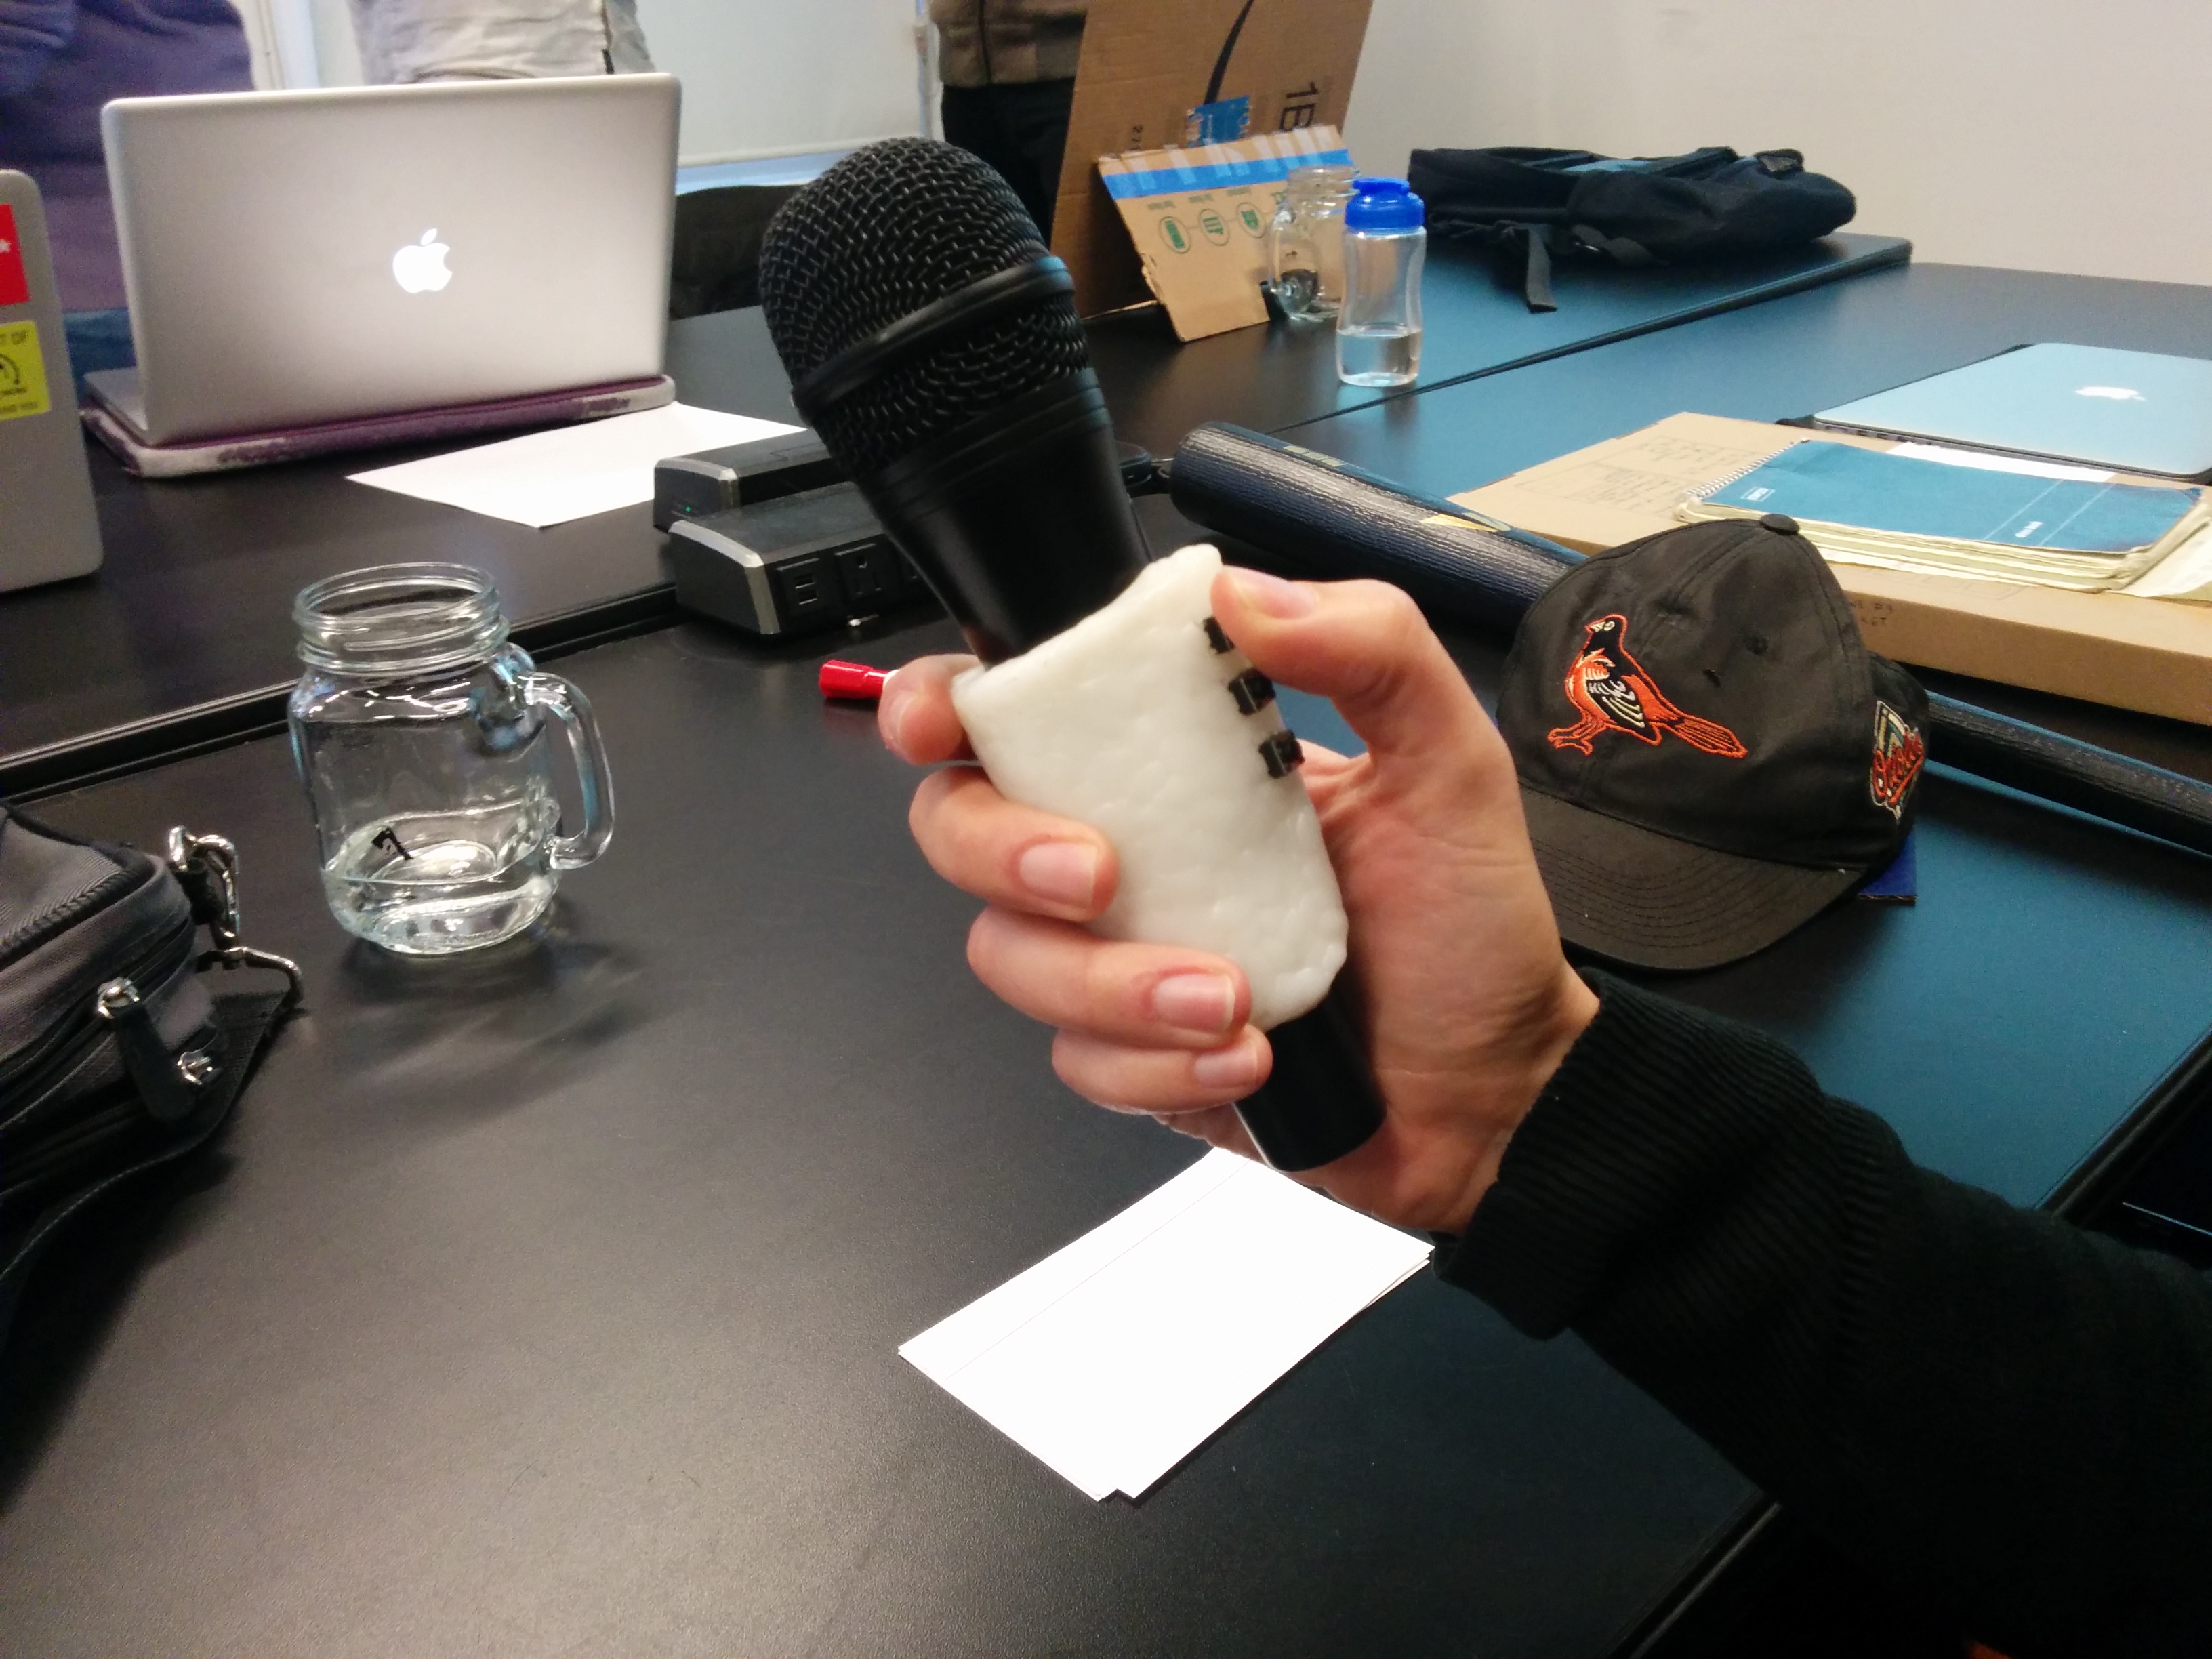
It was interesting not just to hear what people thought would work well, but to simply see how they held and interacted with the prototype without prompting. This was a great help in planning out button sizing and placement.
I had come to a crossroads, however. Seeing people interact with the piece further re-iterated that I should further focus on an activity and a user. I am confident that I will continue to work on this in the future, so I’m not too worried about making a “wrong” choice. With that in mind, it made sense to stick with my first instinct; a device specifically for musical interaction.
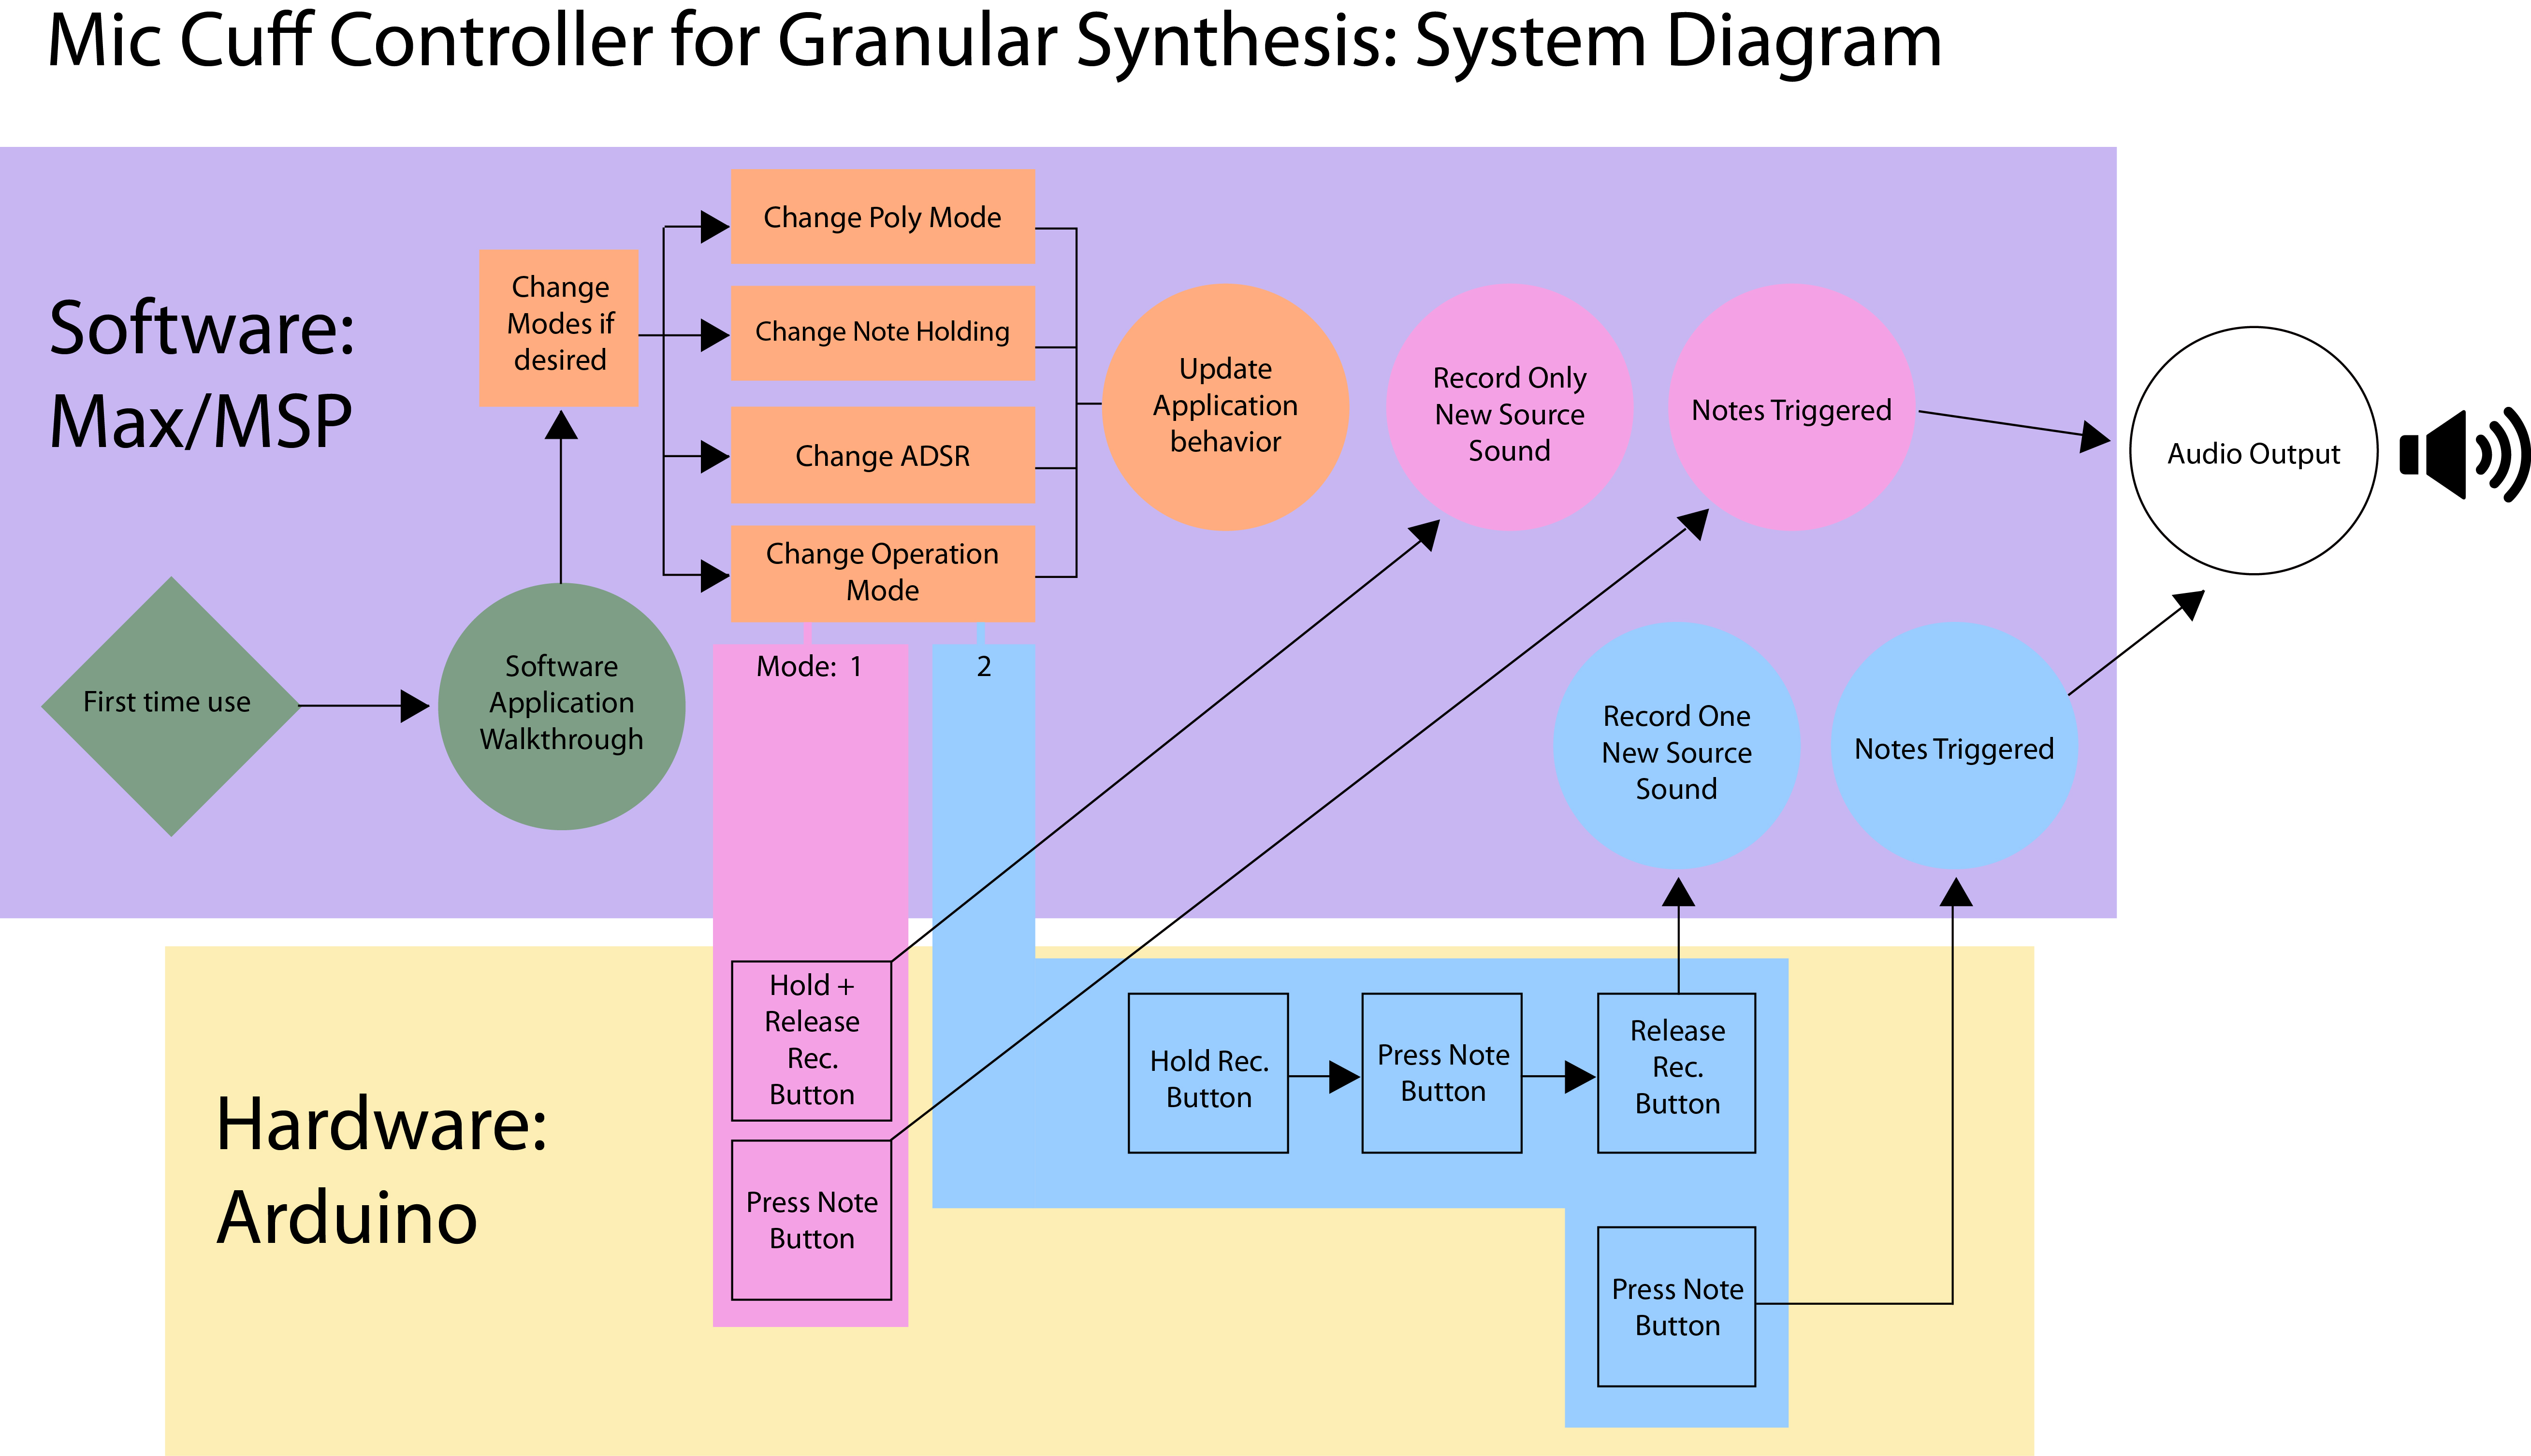
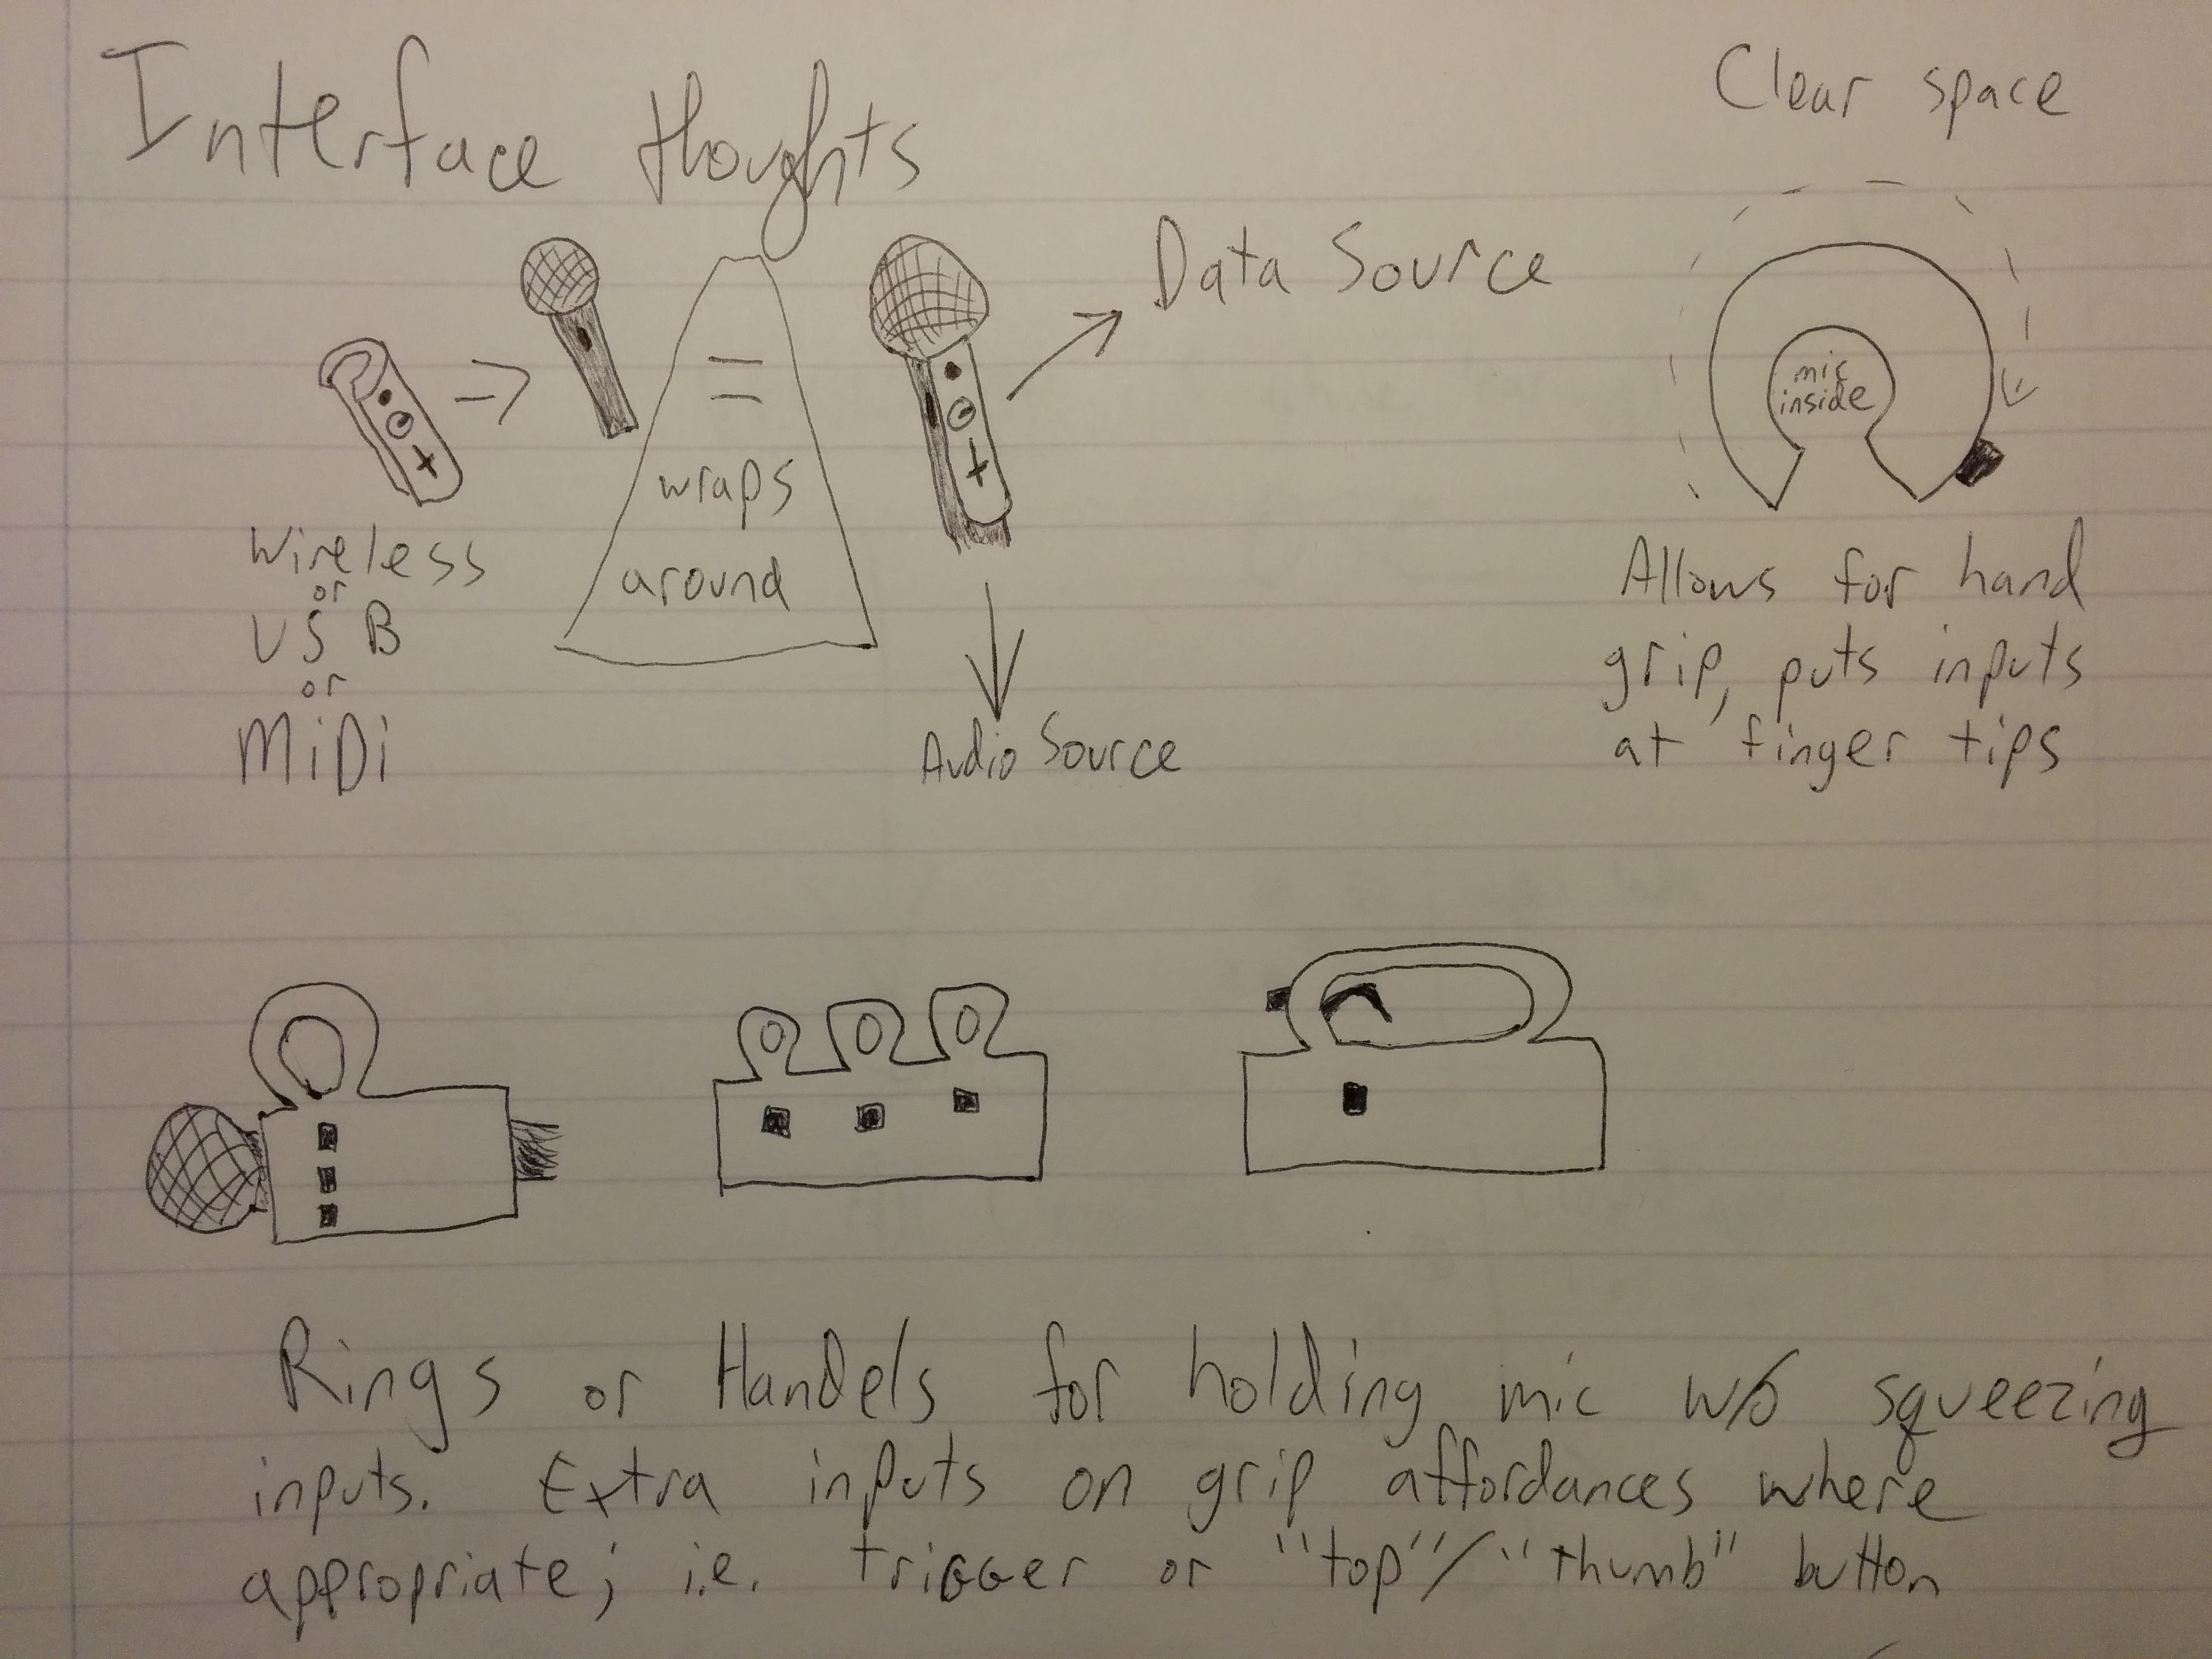
With that in mind, here is my first system diagram:
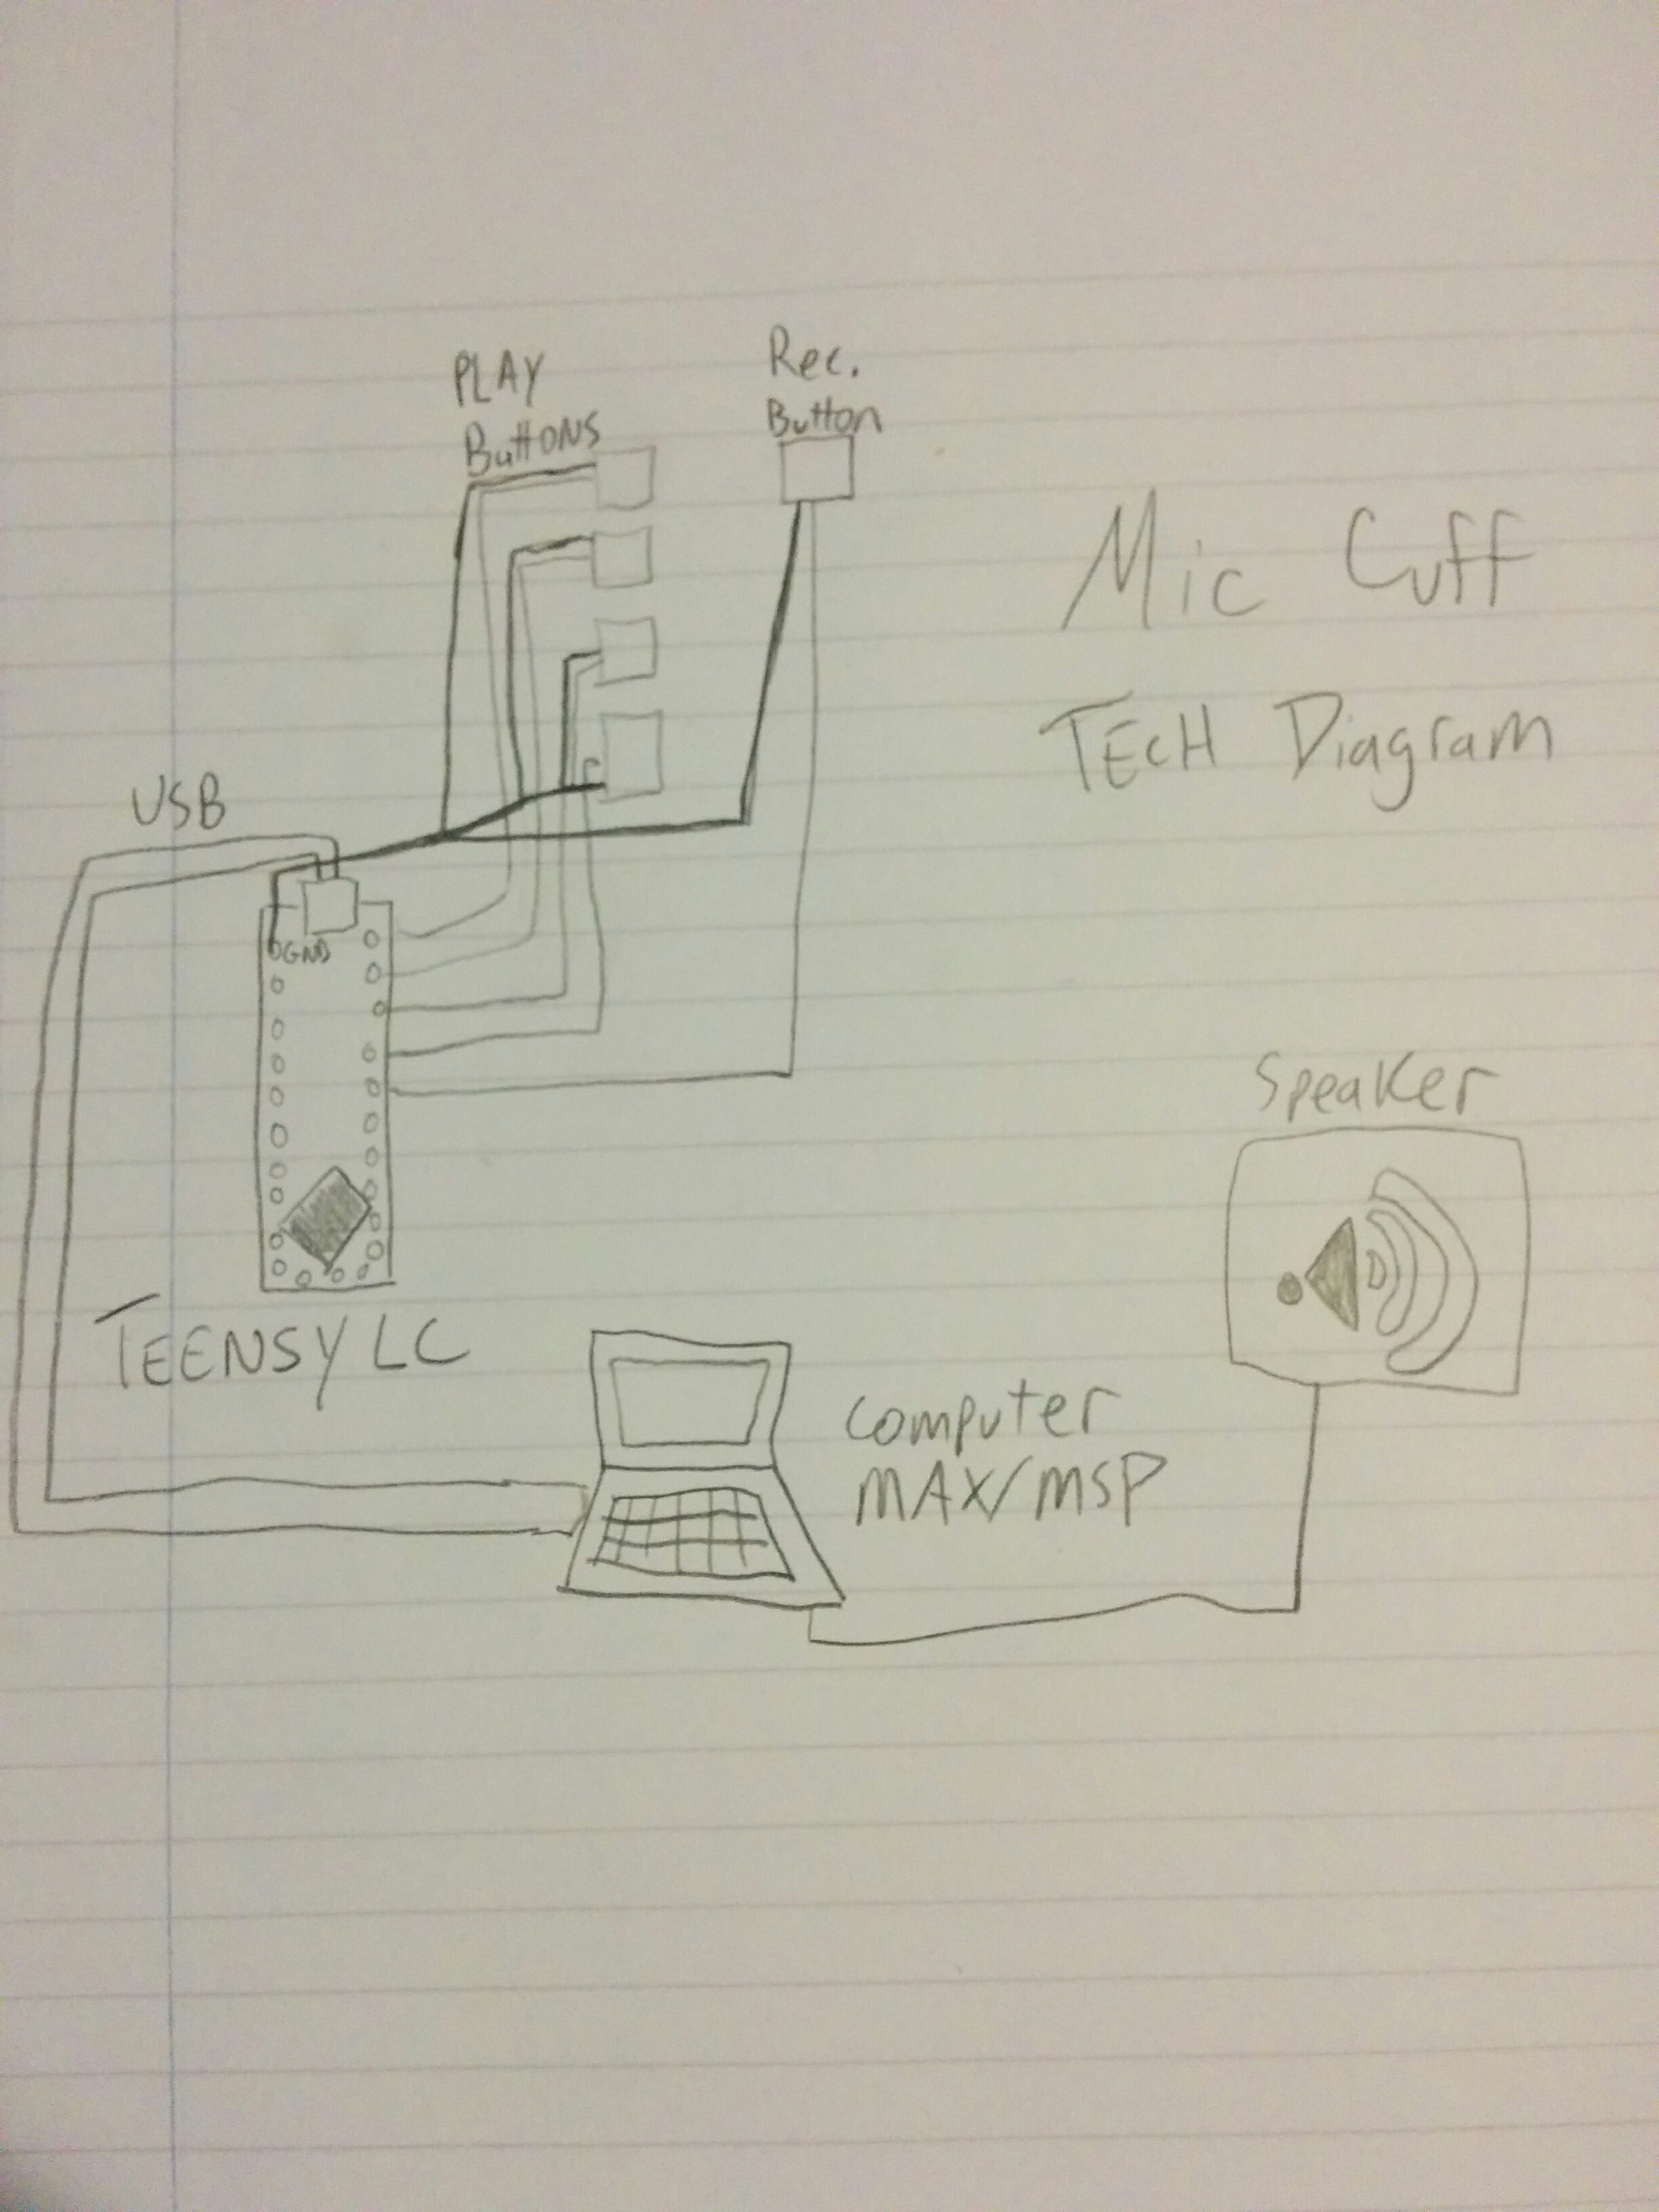
Technical diagram:
And bill of materials:
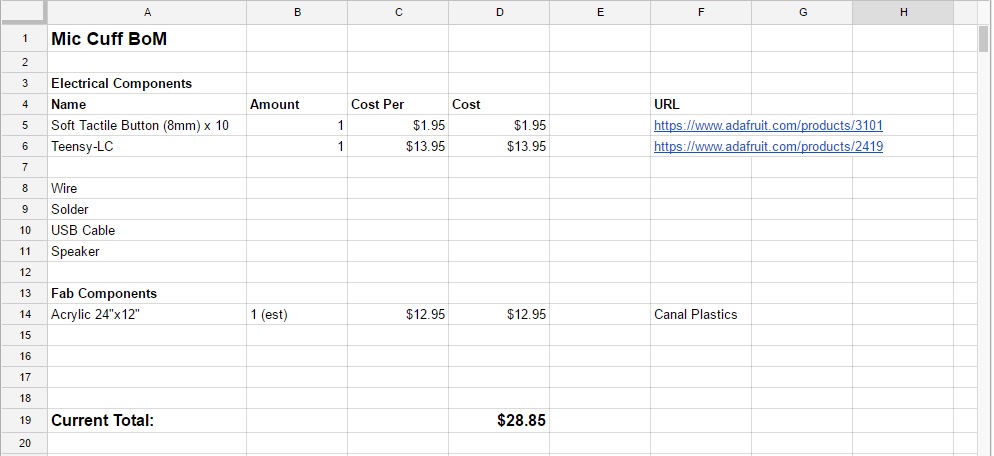
I’m going to be using a Teensy LC for it’s size, cost, and ready to rock MIDI implementation (that I’ve used before on the Teensy ++). For now, I am going to try to work some kind of enclosure of bent acrylic, but I am expecting to play around with a few different enclosure types before fully settling.
My parts are ordered and I will be doing some acrylic tests (and consulting) over the following week.
PComp Final: brainstorm and ideation
After completing our midterms, we came away with a lot of real good experience in terms of feeling what is and isn’t possible within a certain time frame. With these lessons in mind, we are now given more time to complete our final projects and more specifically plot out our goals, intentions and options. The first part is clear ideation of what we might want to build, so we can discuss feasibility and research solutions.
For a while now, I’ve had an idea for a device that I have wanted to create. Essentially, it is a “cuff” that would fit around a microphone that would have different inputs on it. This would allow for the person using the microphone to control actions of a computer in their performances. Seeing as there are all kinds of “digital accompaniment” ranging from Power Point slide shows to full on theatrical lighting rigs, I thought that giving the speaker or singer more direct control could help create more of a direct feedback loop. One that isn’t broken by visits to a laptop keyboard, mediated by a tech person behind a big board, or ones that don’t exist at all because a performer has to keep up with a pre-made track.
The basic approach is that of enhancing the basic mic clip. If there were inputs on it, a performer could use them. If it was built like a standard mic clip, it could fit all standard sized microphones. With proper matching software, it could adapt itself for all different kinds of applications.
Part of our first step is research, and seeing what already exists. I didn’t know if it, but I wasn’t surprised to see something like this:
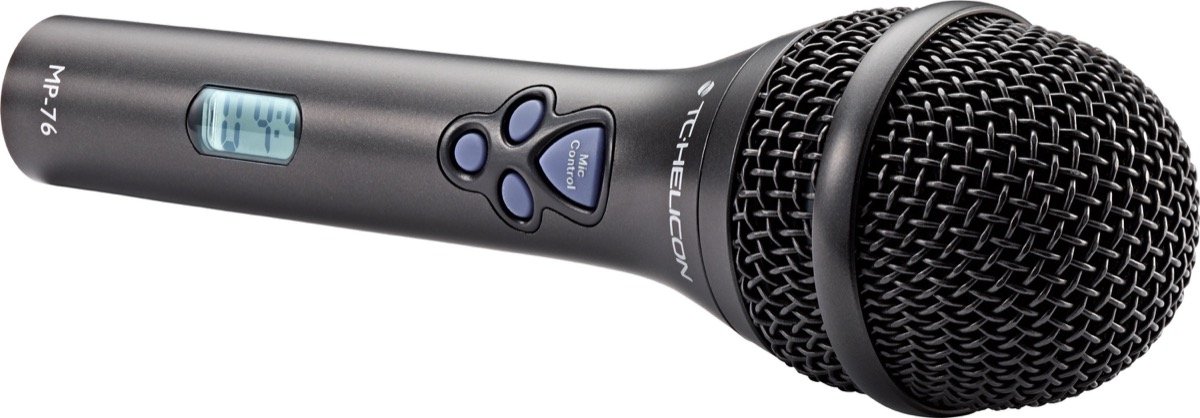
http://www.zzounds.com/item–TCEMP76?siid=173937&-lQDmA=
I’m intrigued by it, but it strikes me as too proprietary, task specific, and expensive. I think that the capability of this should be able to be achieved by what I’m proposing through paired software, but not *only* fixed to the realm of manipulating the audio of that microphone.
I kept looking, not finding much more than that, until I found this.
https://www.youtube.com/watch?v=9dYdWrbhUNI
There are always those moments where you say to yourself, “Damn… but I really *did* think of it on my own!” The overall approach here seems to be the direction I want to go in. A mic that sends data. However, as I kept watching, and researching, I became a little more optimistic. First, I don’t think these controls should be built into the mic itself. And second, this appears to have been issued as a prototype, but I haven’t seen it released anywhere (as of this writing).
So I think that perhaps the spirit is the same, but I have some important distinctions that I am opinionated about. I think having a proprietary mic that can do this is a mistake. Letting people choose their own preferred mic, and then temporarily enhancing its function is more flexible. Also, building the control only greatly reduces cost, which would make performers and presenters much more likely to try it. Additionally, with these aspects in mind, there could be a series of different kinds of layouts. If the costs were low enough, maybe there could be a variety of approaches: one with only buttons, the other with sliders, the other mimicking a piano key layout, etc. This might be able to cater to many use cases.
And this isn’t even bringing more complicated input and output, like bluetooth or accelerometers. But again, perhaps that approach can be more appropriate for some performers than for others. At the end of the day, my user is a vocal performer (yes, even the bland Power Point speech) that may need more interaction with their digital counterparts. I think even though there seems to be things that have kind of touched this realm, I haven’t yet come across something that is truly close to what I’m proposing when thinking about the microphone specifically.
Looking forward to bringing this idea to the class and seeing what people think.
PComp Homework Lab 6
Our lab this week was continuing to work with serial communication, exploring a “call and response” system for both sides of the Arduino/Computer relationship. Admittedly, I was getting used to simply spamming the serial ports on all sides. Cleaning up things and creating better habits around this will help for more the more intensive applications I may be creating in the future.
After figuring out the lab examples and tutorials, I had come up with an idea for serial communication. My concept for working with this relationship was to think of the Arduino as it’s own kind of artifact. What if an Arduino didn’t have any other kind of input or output besides serial messages? I did some research and it seems that programs written to the Arduino’s memory can’t have their source code retrieved off of the Arduino itself. What if the Arduino could hold certain secret information, and you could only access it by speaking the correct words through the serial port? If you deleted the original source files on your computer, perhaps this could be a kind of information security.
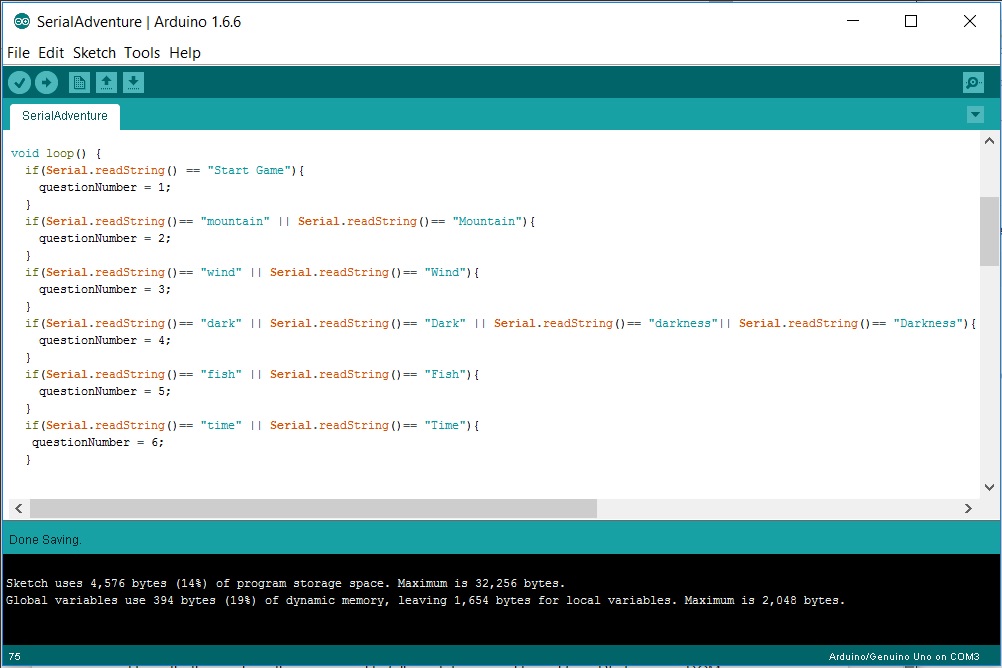
This sprang from my idea of expanding into different kinds of “call and response” messages. Instead of the suggested “hello” and “x” send and receives, you need to answer a riddle. I used The Hobbit’s famous Gollum/Bilbo exchange of riddles as my set.
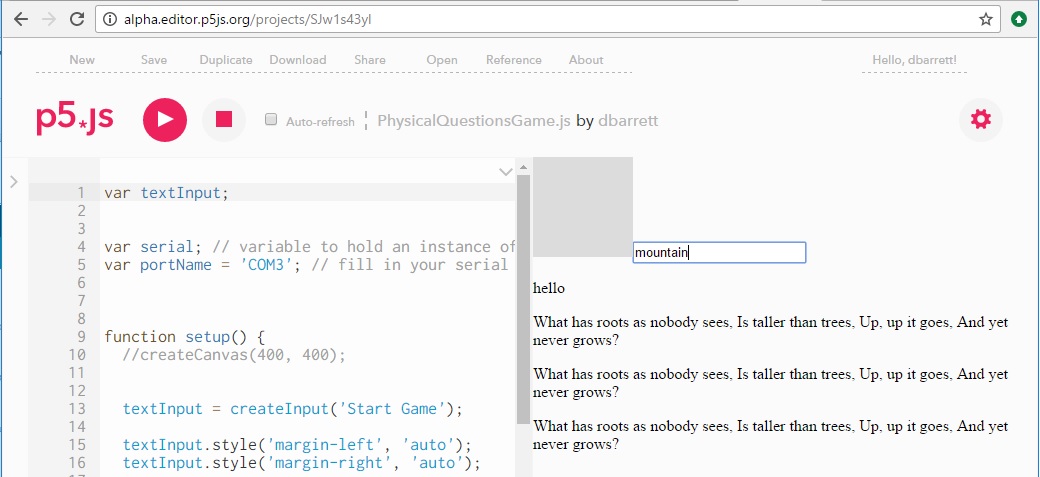
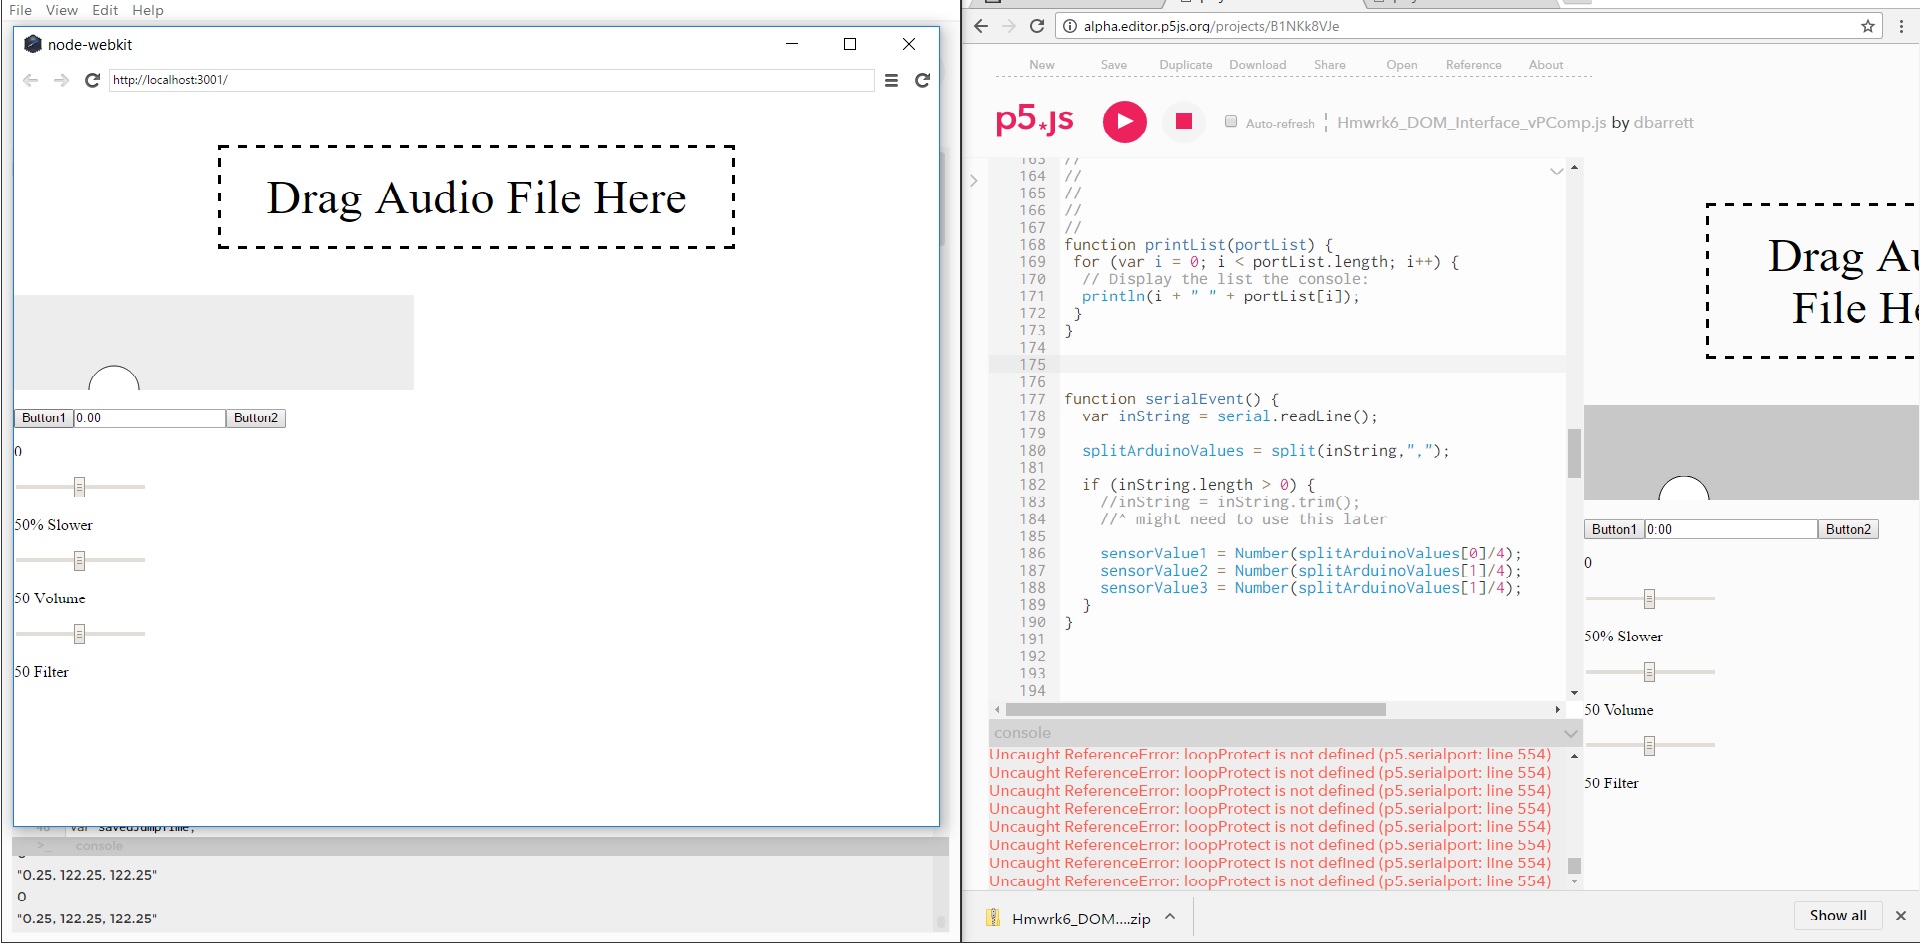
Honestly, this is where things seemed to fall apart. I can send to and from P5, I can use DOM elements to type serial messages to the arduino and create text on a webpage. An initializing “Start Game” gets things going and moves onto the next step. But after that inital volley of call and response it seems to get stuck on the first question. I tried re-structuring the conditional statements, playing with switch cases, but haven’t seemed to break through just yet. I’m going to keep working on the general idea though, because I think there could be some promise in it.
PComp Midterm: PPAP Machine
I was paired with Jinhee Ahn to work on our midterm for PComp. We had a brainstorming session about what fun ideas we could bring to life, and Jinhee had the idea to create tiny turntables to control music of some kind. But what songs? She thought of Pen Pineapple Apple Pen.
https://www.youtube.com/watch?v=d9TpRfDdyU0
At first we laughed, but thought that it might actually be fun to make a game out of it. Maybe this was more like a game, where you input pen, pineapple, and apple all in the correct sequence. Sort of like a game of Simon, or Rock Band. But you were allowed to control the pace, where you are guided to learn the sequence of inputs but can do so at your own pace.
We decided on rotary encoders for the turntables, since we wanted to be able to fully spin them forever like you would a real turntable. This became tricky, because working with encoders is different than a normal potentiometer knob, even if they look similar. The example code that I found (much credit to the bildr website) and many others like it seemed to guide me towards learning about “interrupt” pins on the Arduino.
Interrupts are great! Interrupts are useful! According to the bildr website, they should be considered “magic”! I’m in. But not so fast! It seems that an Arduino Uno only has 2 interrupt pins, and I need two for each rotary encoder. Time for an upgrade. The Arduino Mega has 6 interrupt lines, solving my input issues.
To split up the work load, I did most of the coding. My first task was to find a way to play PPAP on the Arduino. Fortunately for me the internet is deep and weird.
https://www.youtube.com/watch?v=3XXajtg0zKc
On YouTube someone was kind enough to load a chiptune cover of PPAP, played within an oldschool “tracker” audio program. This displays the notes being played. Then I could transcribe them into MIDI notation using an online audio program. If you feel like downloading my translation of an internet meme into a MIDI file, you can grab a copy/play/remix it here:
https://onlinesequencer.net/334305
And for the final step, I found a site online that takes MIDI files and then converts them into code that can be used by the Arduino tone() function.
https://extramaster.net/tools/midiToArduino/
*Phew!* Lots of translations in a row, but it worked.
The program itself knows all the notes, and plays them back when the appropriate instrument is activated. A light above each input indicates which one you should be using. This means I had to keep track of the notes, the position of each note in the song, and the “parts” for each song that would correlate with each instrument. So, “I have a pen” is four syllables, and hence four notes. You will need to hit the “pen pad” (a piezo sensor) four times to step through that part of the song. Then the next part is “I have an apple”. In this case, at the start of this phrase the current position is on the fifth note, which has been manually assigned to the second “part” of the song. When in this part, a different LED is activated, and the “apple” record is the only instrument that can move the music forward.
It is amazing how much you can take for granted when coming up for an idea for a program. “Oh, its the notes and then you’ll just say what parts of the song…” Then you have to actually code it, breaking down all the discrete little conditions you gloss over when thinking of how something should work.
Additionally, this was a good learning exercise for coding Arduinos specifically. Working a lot in p5, I was easy to take for granted something like the array.length() property. Arduino does not work that way, so the number of notes was manually counted out and hard coded as it’s own integer.
Link to my currently messy code can be found here.
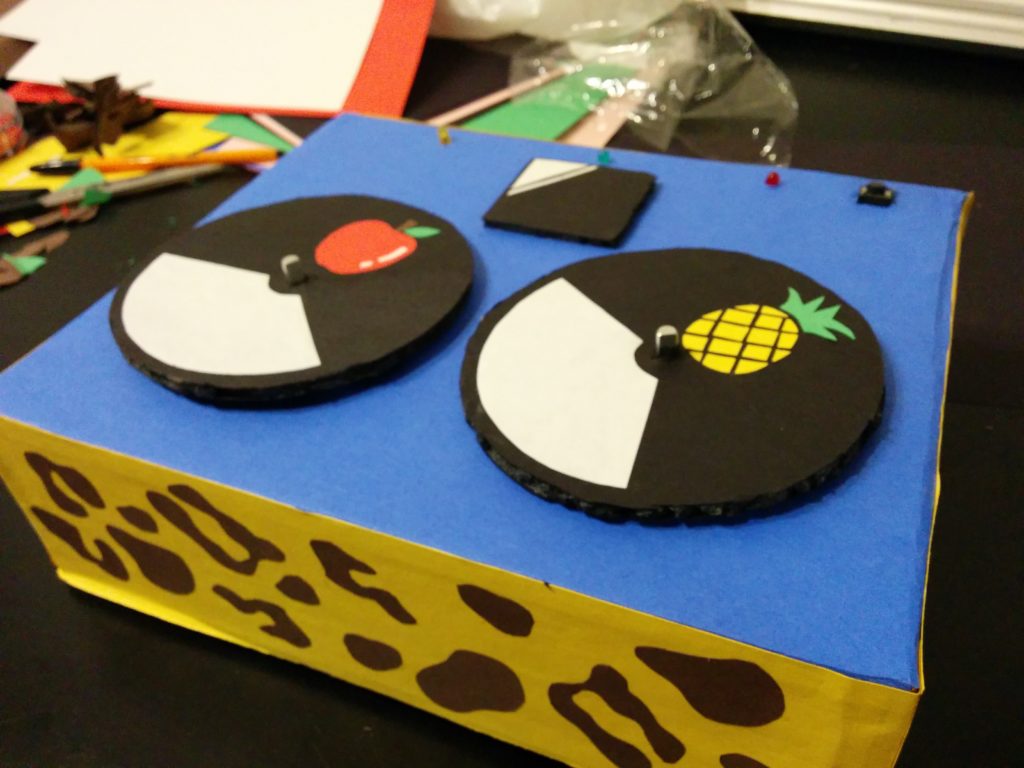
Jinhee’s graphic design experience really made a big difference once we were all done. Even as a prototype, going the extra mile to give something the right look can be worth it. Our device is now clearly a fun, whimsical toy.
There are some interesting UX revelations here, and certainly some general knowledge that will be kept when considering future projects with Arduino. But I think for a prototype, this is a good proof of concept to try out the ideas we were going for.
PComp Lab 6: Return of the Synthesis
This week we were asked to continue the work that started in synthesis, and use serial communication in order to control a program we have made for Intro to Computational Media. I got a little excited about what I’ve been trying to make for my current homework, so I decided I was going to try and co-develop them.
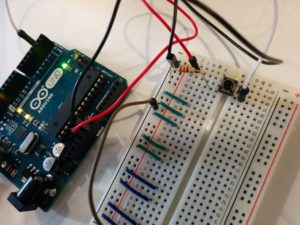
I’m having a lot of fun playing around with the p5.sound library, so I decided to try and make a physical interface for my program. Two sliders and a button. One slider controls volume, one controls the rate of playback, and the button triggers a sound to play.
Really, I wound up re-using most of my code from synthesis, on both the arduino side and the p5 side. Just toss that in there and…
…not so fast!
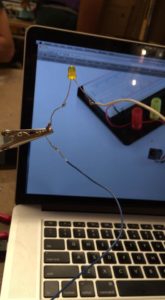
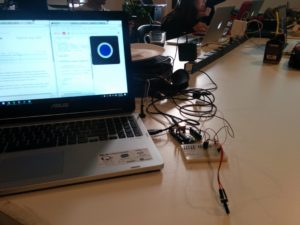
I have no idea why this was happening, but I was crashing the online p5 editor with my arduino-controlled program. Our original synthesis program was running just fine. But this new one I made seemed to create strange errors and make the browser hang. Though, for whatever reason, this did NOT affect the p5 application. As you can see, that one is running and receiving data just fine.
Spent a little too much time trying to trouble shoot that before just sticking with the app as opposed to the web. I will definitely want to show this to some p5 people to see if they know what might have happened. But I had a working program, even if it was on a different platform.
Holding down the button re-triggers the playback as fast as p5 can handle, which is usually a glitch for certain kinds of button based inputs. But in this case, made for more of a tonal interaction as opposed to percussive. In the sense of performative capabilities, I thought this was the better choice for now.
PComp Lab Re-Work & Synthesis
This past week we had our “Synthesis” session: the combining of the things we have learned in Physical Computing and Computational Media. In short: getting our P5 sketches to talk to our Arduino. Fun stuff!
I was partnered with Chris Hall, who had an awesomely trippy sketch that we thought would be fun to control physically. Her original program triggered animation on clicking, and we managed to translate that to an Arduino button press.
We were pretty happy with ourselves, pressing away and showing off our work:
We are blowing minds on the floor!
Tom Igoe saw our work, complimented us… and promptly told us to add more. His advice to use p5’s split() function was key information, and saved us a lot of time in figuring out how to implement two inputs. Though even then there were some issues in formatting the serial communication coming out of the Arduino. At first I had done some string concatenation on the Arduino side in order to send out comma separated values, but it was getting turned into jibberish. Using individual Serial.print() commands, then ending everything with a Serial.println() seemed to do the trick. We were now able to press the button to start the animation, and then use a potentiometer to change the hue of the colors in the sketch.
We were also encouraged in PComp to work on some older labs to fix issues or try to make them better. I decided I wanted to take another crack at my automated music box. First things first, I played around with the paper score, specifically cutting and taping it so that it would turn into a loop. Then, I went to buy some new gear.
http://tinkersphere.com/motors-wheels/241-high-torque-continuous-rotation-servo-4kg.html
A new motor! A servo, actually. I went to Tinkersphere and found a full rotation, high torque servo motor. I won’t fill up with blog with documentation all of my failures, which included much cutting of cardboard, haphazard usage of a box cutter, and way, way too much Scotch tape. But just trust I was still having issues making this little moving machine translate it’s energy to the music box. That is when I had an epiphany…
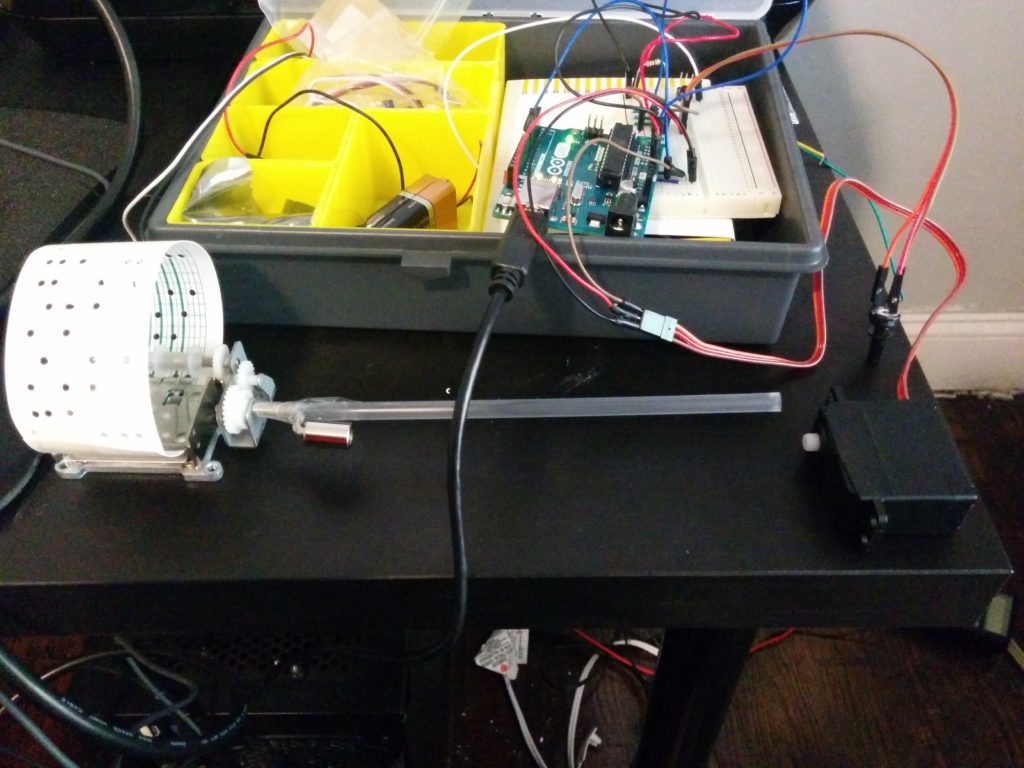
The blank nub of the servo was the perfect fit for a plastic straw (almost). With even more questionable box cutter usage and now only modest amounts of Scotch tape usage, I crafted something effective:
Almost. Not all the way there, but much closer to where I have been. It seems like the motor gear would eventually strip the inside of the straw, lose it’s grip and prevent the moving action. But in general, the more direct, straight line seemed to perform better than my previous plastic blob. I’m going to be starting Introduction to Fabrication in the second half of the semester, and think I’ll keep this project on the back burner until I can craft some proper machinery to make it truly groove along. But it was nice to see the fundamental proof of concept on display (if only briefly).
PComp Lab 4: Analog Writing
This week’s class discussion and accompanying lab revolved around analog output from the Arduino. My only experience with this to before was with fading LEDs, so I was excited to start moving motors and making noise!
I decided I wanted to build off of my last lab (…didn’t have the heart to pull out all those LEDs just yet…), and add new features to what I already had. When looking for inspiration around the web for using motors with and Arduino, I noticed that some breadboard diagrams used a diode for protection but our material did not. It seems like the transistor in our kit has a diode built in. Might be a question for class: is this the exception or the rule when buying transistors? In any case, having one built in saved me some space on my already cramped circuit board.
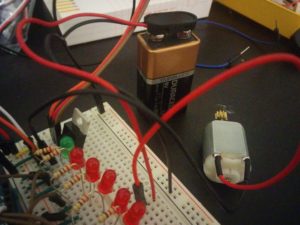
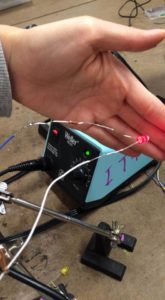
The knob pot interacts with the light in the same way as the previous lab. When there is no light, we are all the way down and when the green LED is lit we are at full value. Let’s take this motor for a spin!
I know it is a simple thing to do, but it really is a cool feeling making things move. As you can kind of see from the light (placed my hand there on purpose as to not blind the camera), and hear from the motor, the motor is moving.
An idea was forming, so I quickly moved onto adding some noise. Using the tone() function examples along with the pitches.h header file was very straightforward.
What is that white blob in the video? It is a substance called prototype plastic that I picked up a few years back at a local Makerfaire. Initially it comes as little plastic beads, and if you let it soak in extremely hot water for a few minutes it becomes malleable. You can mold it into whatever you want, and when it cools, it hardens again. It is useful stuff! Pretty strong, but also reusable. I had an idea I wanted to try:
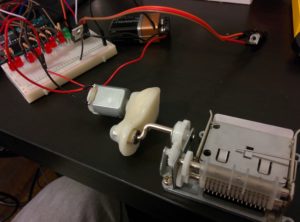
I have a little hand cranked music box that uses music sheets that you can author yourself by using a special punch hole tool. What I wanted to do was link the mechanical action of the DC motor to the crank of the music box. So I molded this “adapter” that held both shafts tightly together. Long story short, I couldn’t get it to work. I could make the motor spin with the plastic on it, but at the end of the day I just don’t think the motor was strong enough to make the music box crank spin.
Certainly opened my eyes to the potential complexities of mechanical action. Turning the music box with your hand is a smooth and reliable interaction, and I just assumed this little motor was up to the task. Apparently not so. Definitely would like to talk in class about the process of picking motors, and building or choosing more… professional “middleware” to put between a motor and an object (as opposed to my freaky plastic blob).
So with that little experiment aside, I decided to implement the other half of my concept. Make the digital noise increase in speed with the potentiometer. I love making crazy noises, so I had a bit of fun with extremely speeding up the example sequence:
I have some ideas on how to make this a performative musical device as I grow my physical computing skills. Stay tuned. In the meantime, I’ll be trying to get “shave and a haircut” out of my head after listening to it over and over again. Thanks, Arduino example code.