For my final project in Intro to Computational Media, I decided to focus on the p5 Sound library’s convolution reverb functionality. Reference for that object can be found here. Technically, I have been interested in p5’s ability to handle sound in the browser. Conceptually, I have been interested in convolution reverb as a medium for artistic messaging. In terms of my broader practice, I was excited to not only produce work in a collaborative manner but also create a tool for artists to use.
The result is a two part final. One, is a piece titled “The Impulse and the Response”. Two, is a browser based tool to be given to artists in order to create more pieces of a similar nature as this one.
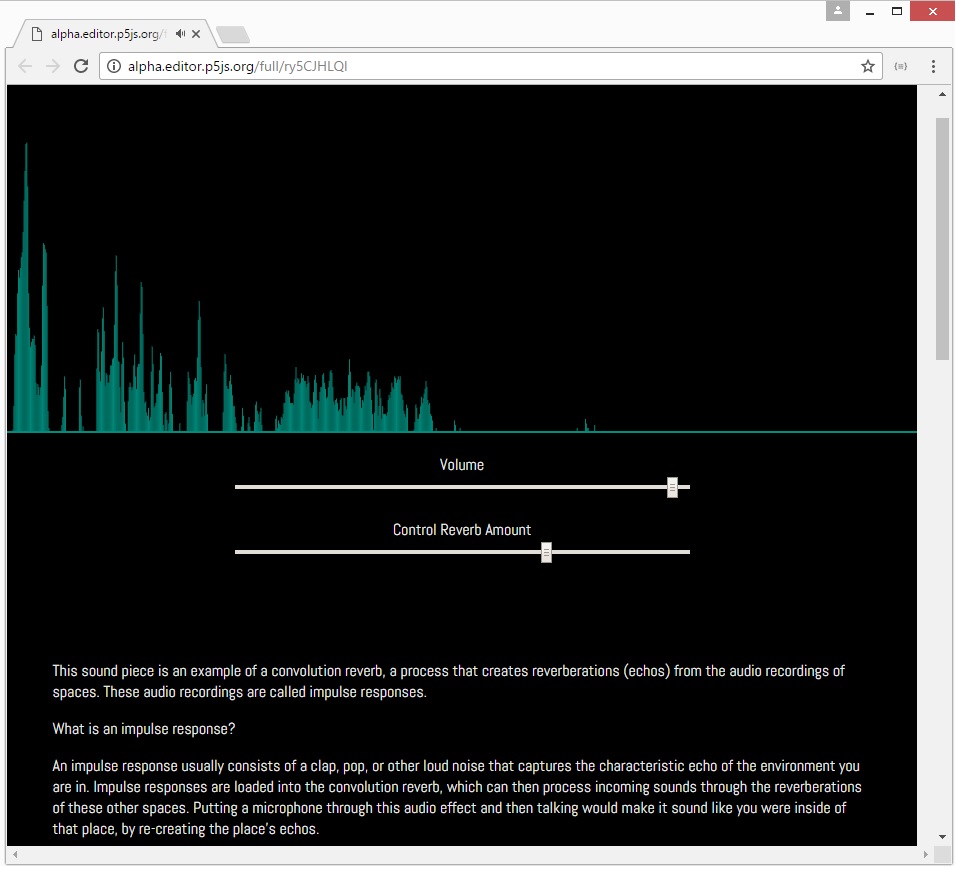
“The Impulse and the Response”
This piece consists of two interactive sound pieces to be played in the browser alongside explanatory text. Two artists, Édgar J. Ulloa and Daniela Benitez, provided audio performances. A slider is available to change the amount of reverb that affects the audio that is playing. The reverb is a re-creation of the sonic qualities of the inside of the Statue of Liberty. In collaboration, my prompt to the artists was, “If you could do a sound performance inside of the Statue of Liberty, what would it be?”
Traditionally, convolution reverb is used to easily recreate reverbs of sonically pleasing spaces. Even experimentally, non-traditional use of convolution reverb focuses on innovative sound design results. I was interested in the potential for political or social commentary. Both of my collaborators describe themselves as affected by the United State’s immigration policy, social attitudes towards immigration policy, and the general climate of xenophobia. They wished to make pieces addressing these issues.
Giving them the opportunity to virtually inhabit this symbolic space not only gives potential to critique the space and it’s multi-dimensional symbolism, but uses the act of recreation of the space and it’s virtualization to match the physical, psychological, and political state of flux that many immigrants can face.
Challenges
The artistic metaphor completely relies on the technical understanding of how a convolution reverb works. However, most official definitions of convolution reverb err on the technical side and as a result are not always helpful descriptions to the average person. With this in mind, I decided that a brief but thorough artist’s statement that explains convolution reverb was essential. With that in mind, I will link to the piece here so that you can read about convolution reverb and it’s relevance to the piece in detail.
First approaches
My initial idea was about the general potential of convolution reverb as an artistic message. I had less thought about the possibilities of recreating spaces, but more of putting audio “through” another sound. Since convolution reverb works by loading other sounds, called impulse responses, to create reverberations, you can put any sound into it for unexpected results. The sound of the arctic shelf cracking and falling into the ocean could be used as an impulse response in a sound piece about global warming, for example.
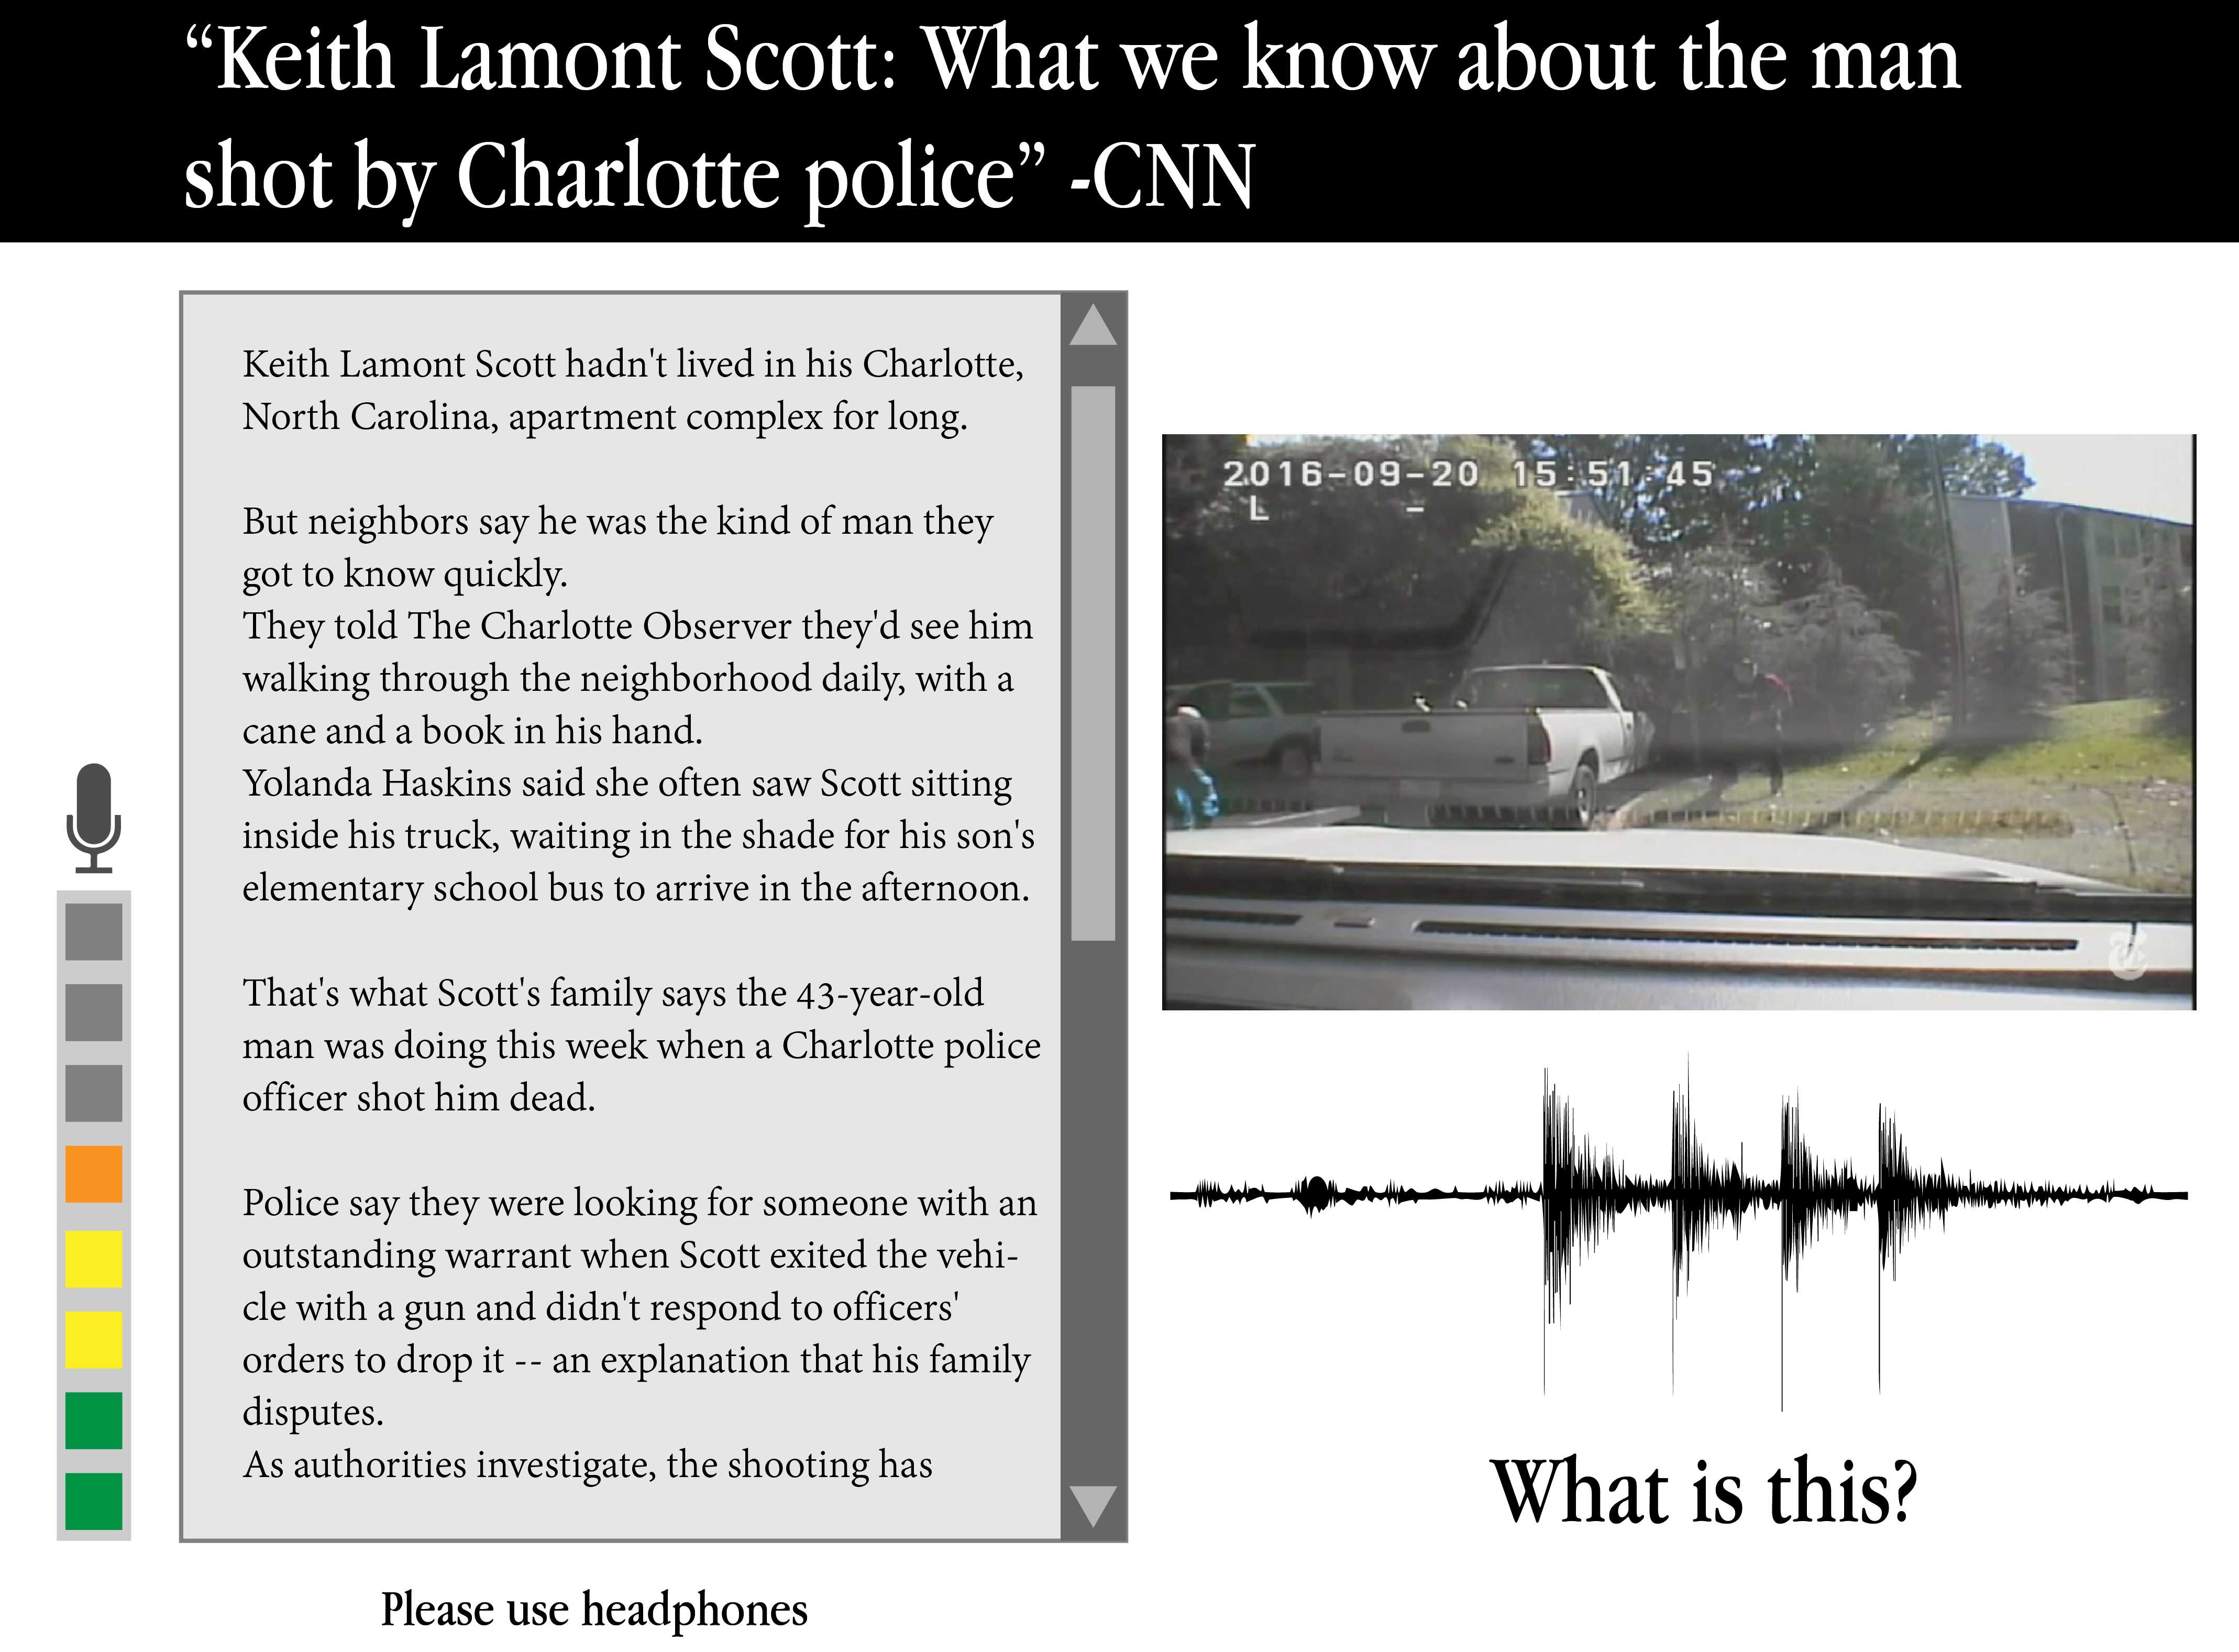
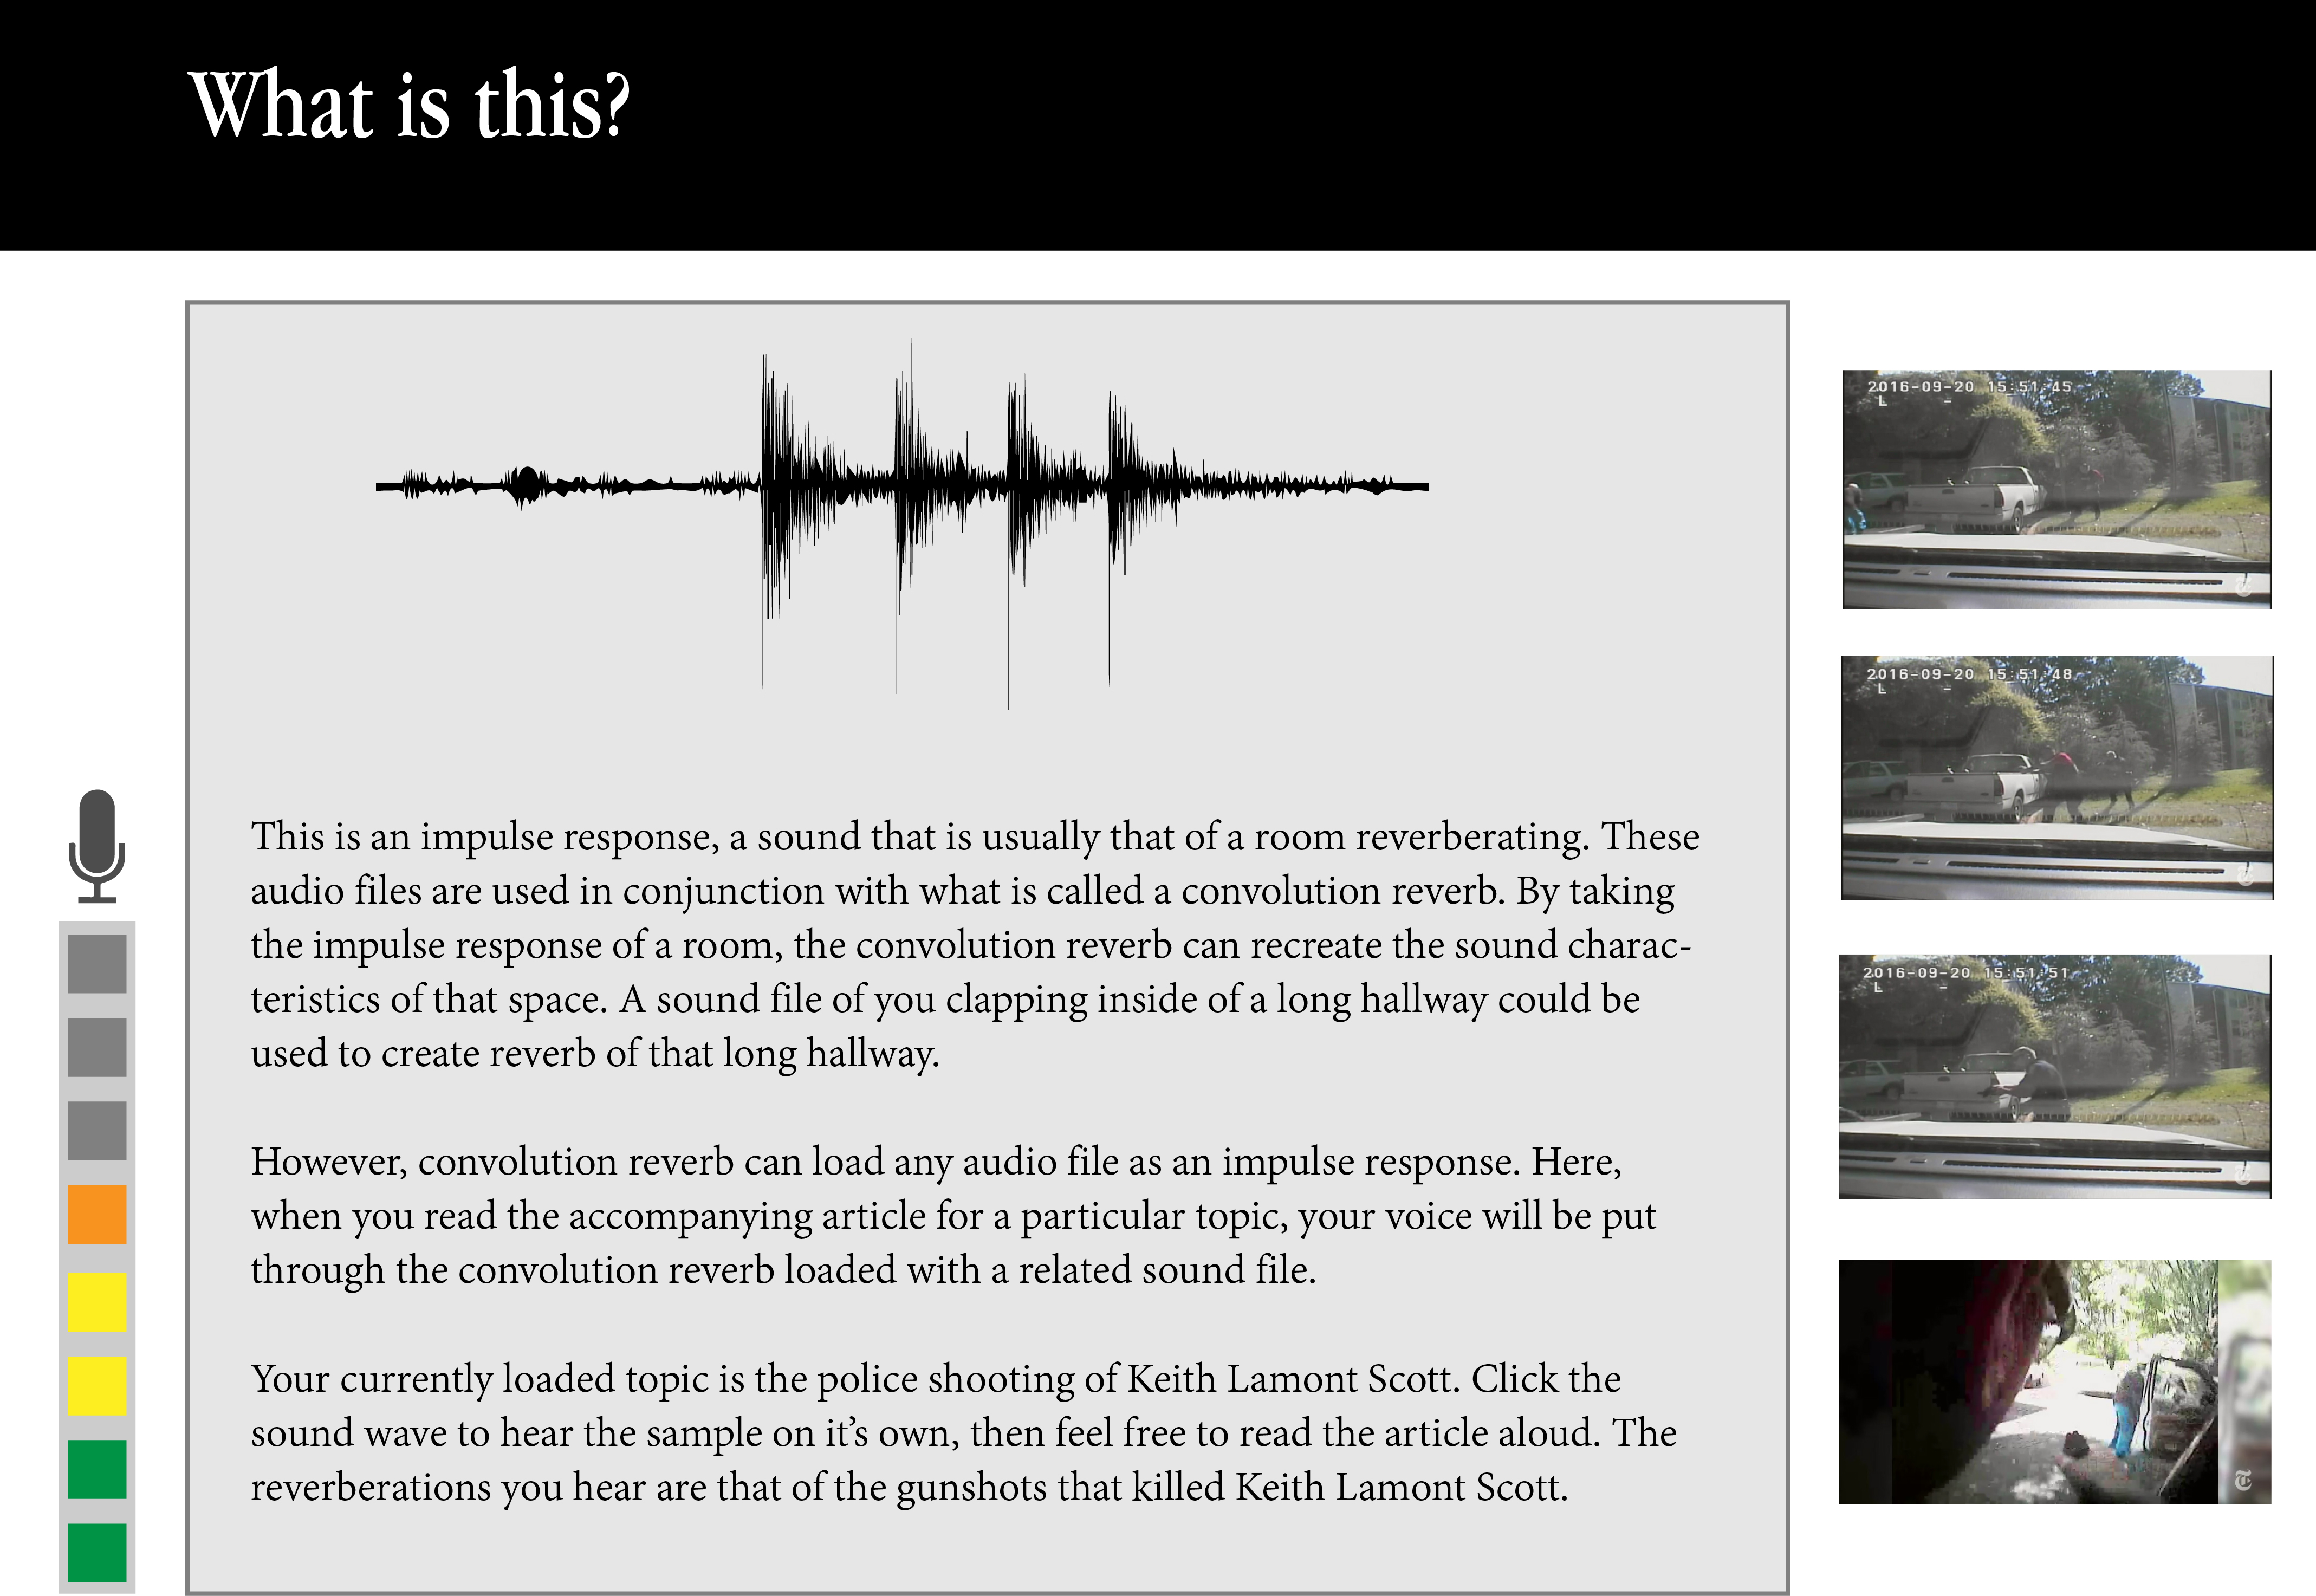
My first presentation on the idea revolved around police shootings. Loud pops and bangs are used to create traditional impulse responses, and on the professional level may be done with starter pistols. I had mocked up an interface for a piece that would use audio from the shooting of Keith Lamont Scott as the impulse response for a convolution reverb. The user would be prompted to read news articles about the shooting.

The general approach was to use convolution reverb to achieve a kind of empathy that may not be available in other forms of media. Having your voice brought into this “space” created by the reverb may more easily prompt you to think about yourself in that space. After discussion the general concept with Allison Parrish, it was apparent that there was the potential for very problematic usage of this approach. Not only in the procuring of media as appropriation, but the general feeling of a serious and fatal issue boiled down into a “sound toy” that you play with.
Allison’s advice to hold the technology and the message in separate spaces while meditating on potential concepts was invaluable, and lead me to the current incarnation of the project. I feel that what I have is a much more positive approach while still having a strong social message, and is empowering to artists. This revolves around the second part of my project.
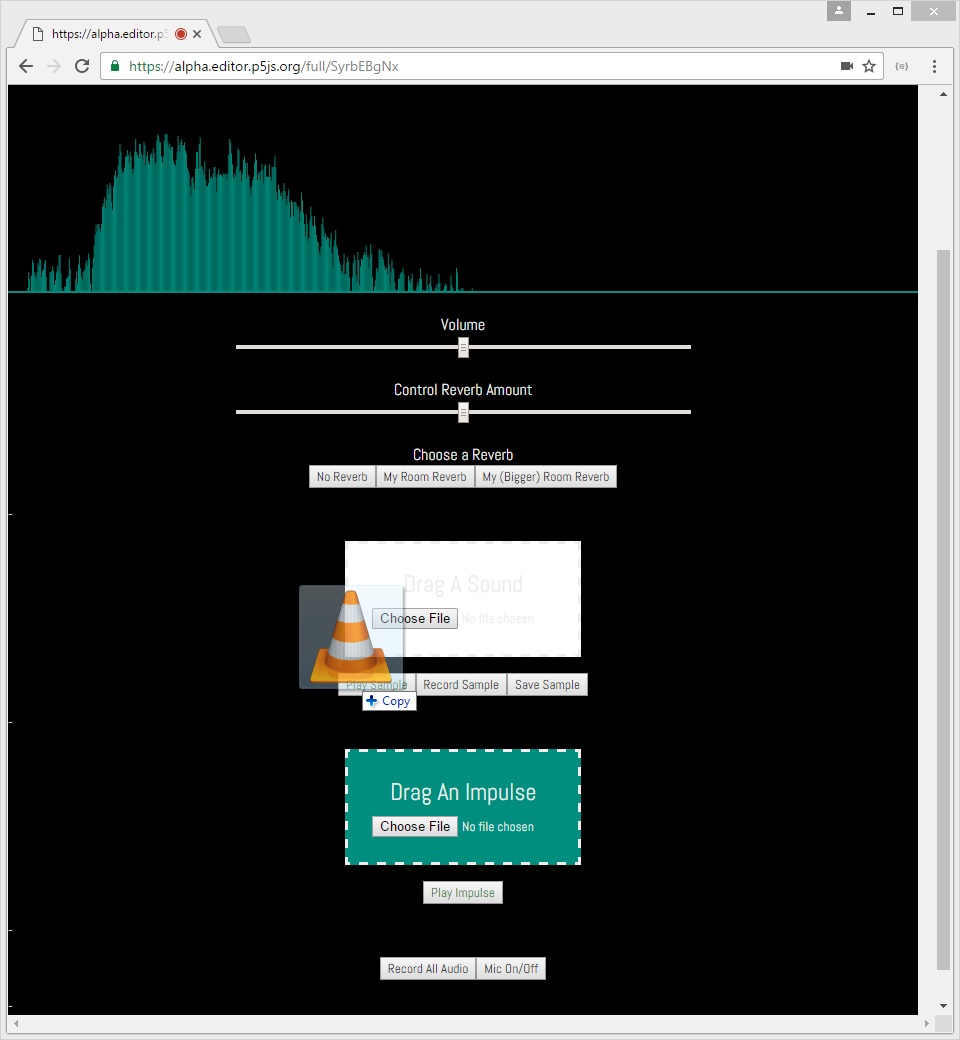
Convolution Reverb Online
At the bottom of the piece is a link where you can create similar pieces of your own. The broader vision for this is that I can provide this link to Édgar, Daniela, and other potential collaborators so that they can create their own versions of this kind of piece without having to rely on sound engineers or programmers.
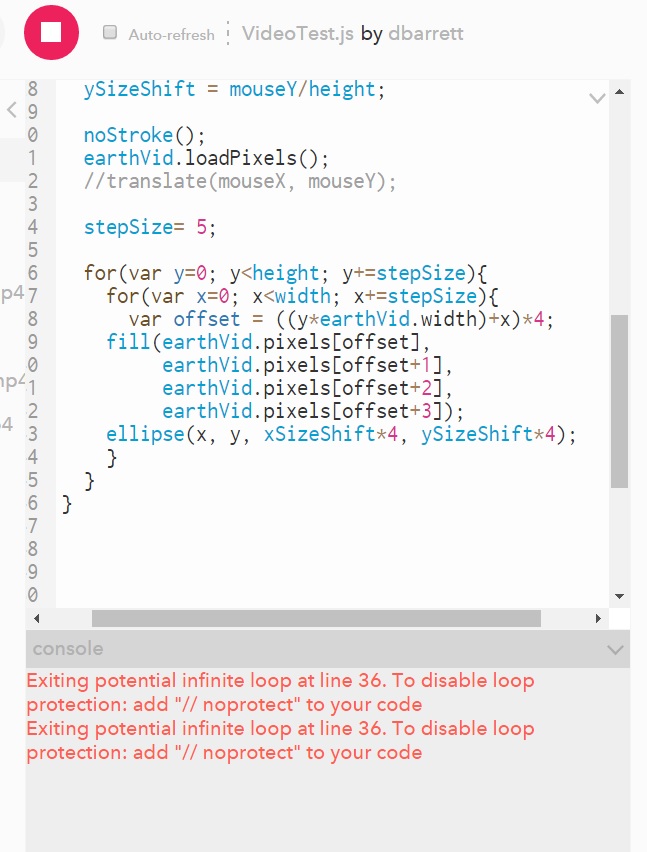
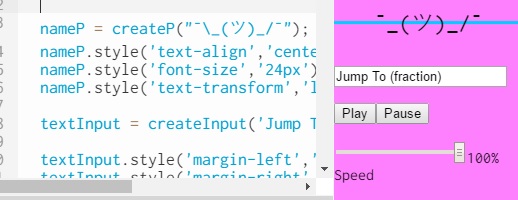
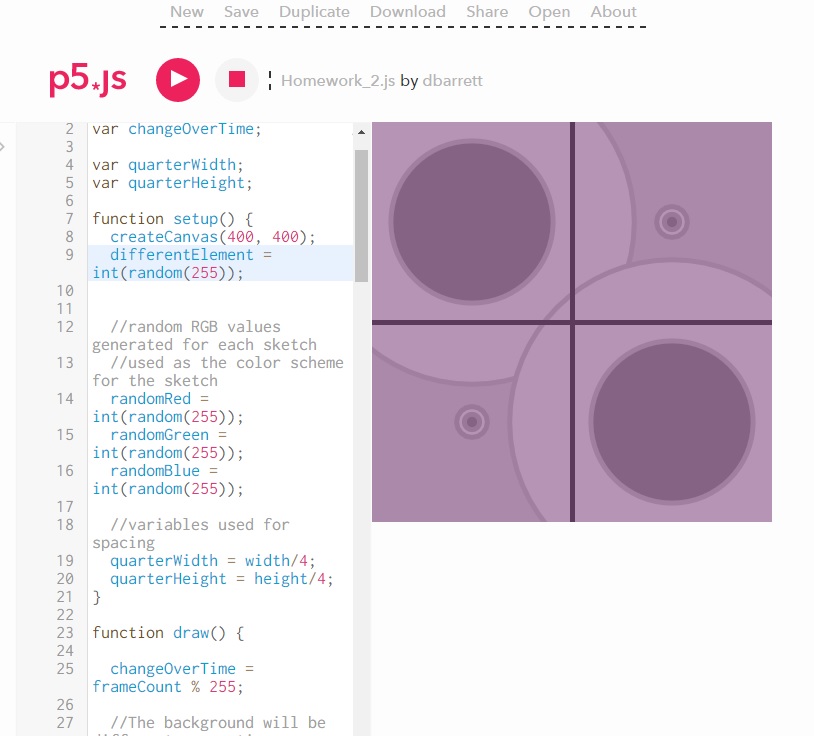
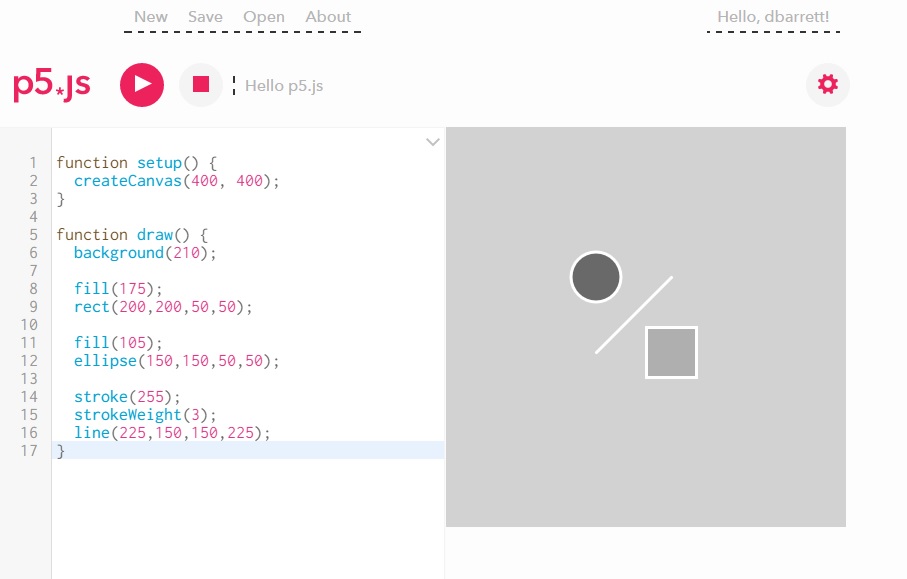
Here is a screenshot of an initial prototype:

In trying to achieve a user friendly user experience, I learned much about Javascript , p5, and browser capabilities in general. This has been very enlightening, and I am very glad I could work on practical Javascript usage in this project. Some decisions while not practical, offered good practice; like trying to program as much of the UI as I could inside of Javascript instead of pre-made HTML. Other learning points were great research; iOS does not allow Javascript access to the microphone. Not just Safari, but iOS as a system. And I wound up writing some code I imagine myself coming back to over and over, like file uploads that can use system menus as well as drag and drop functionality.
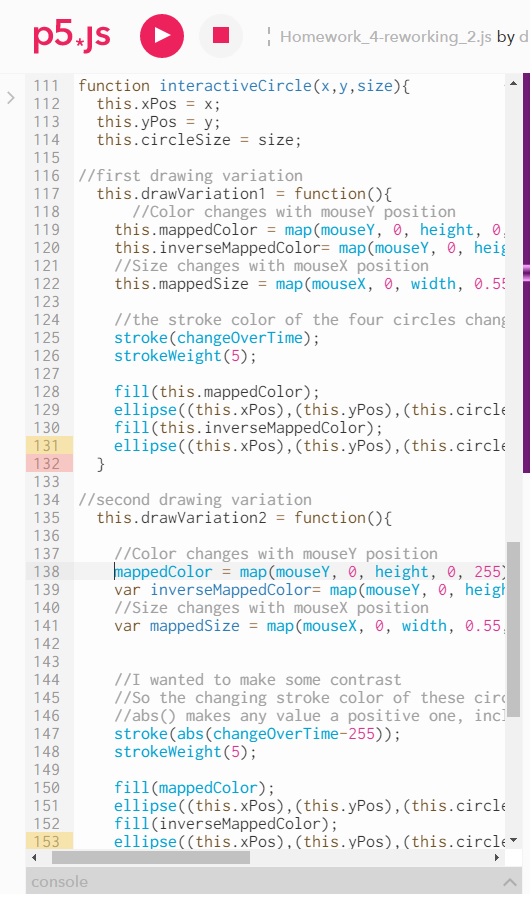
Source Code for Convolution Reverb Online
The Experience
While there are things to revisit on this project in terms of design, layout, and code cleanliness, I am really happy with the results. It has been a while since I tried to use solely Javascript for interactive work, and being able to immerse myself in p5 has been a great re-introduction to what the browser is capable of. And more so, the ethos of p5 was fully felt. I was able to program something novel and expressive without the syntax and technical aspects getting in the way. My classmates’ wonderful feedback, and Allison Parrish’s guidance was so important and appreciated. I’m proud of the end result, and am motivated to continue exploring programming as an artistic skill. It also seems that this project will have a life after this class, which I am very excited about further developing.