Interface Hardware Prototyping
Mic Cuff Controller Prototype
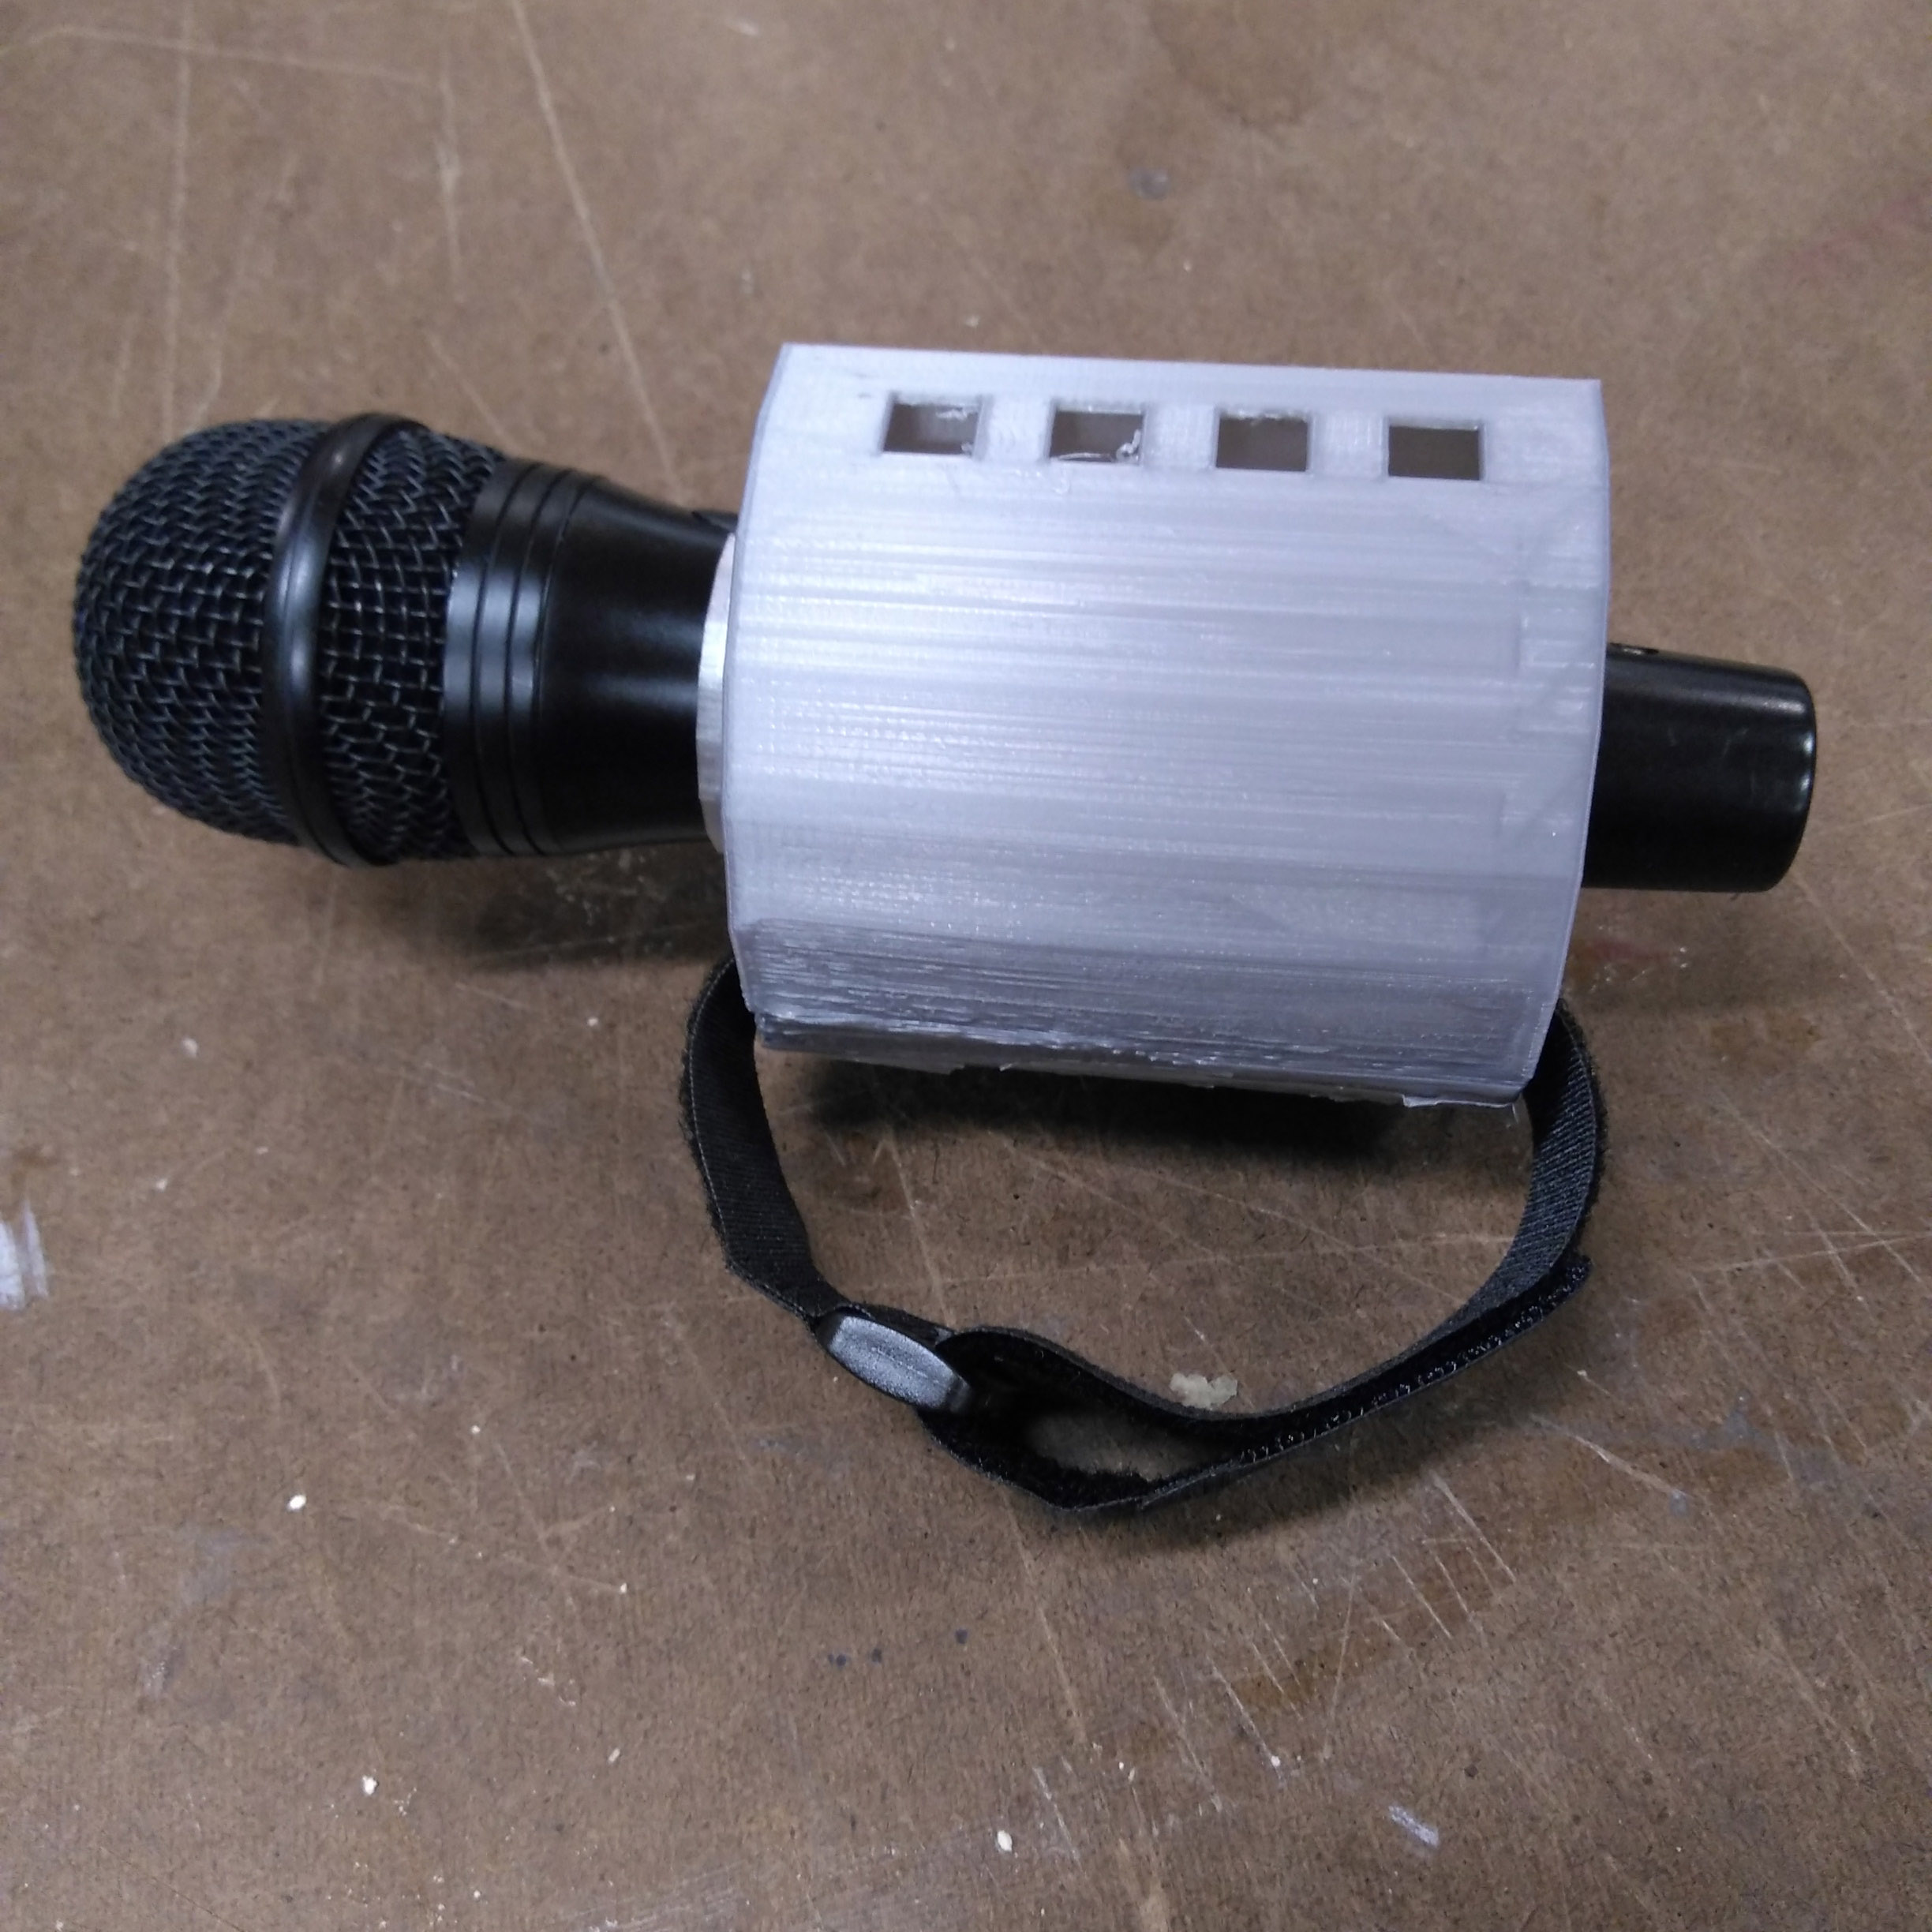
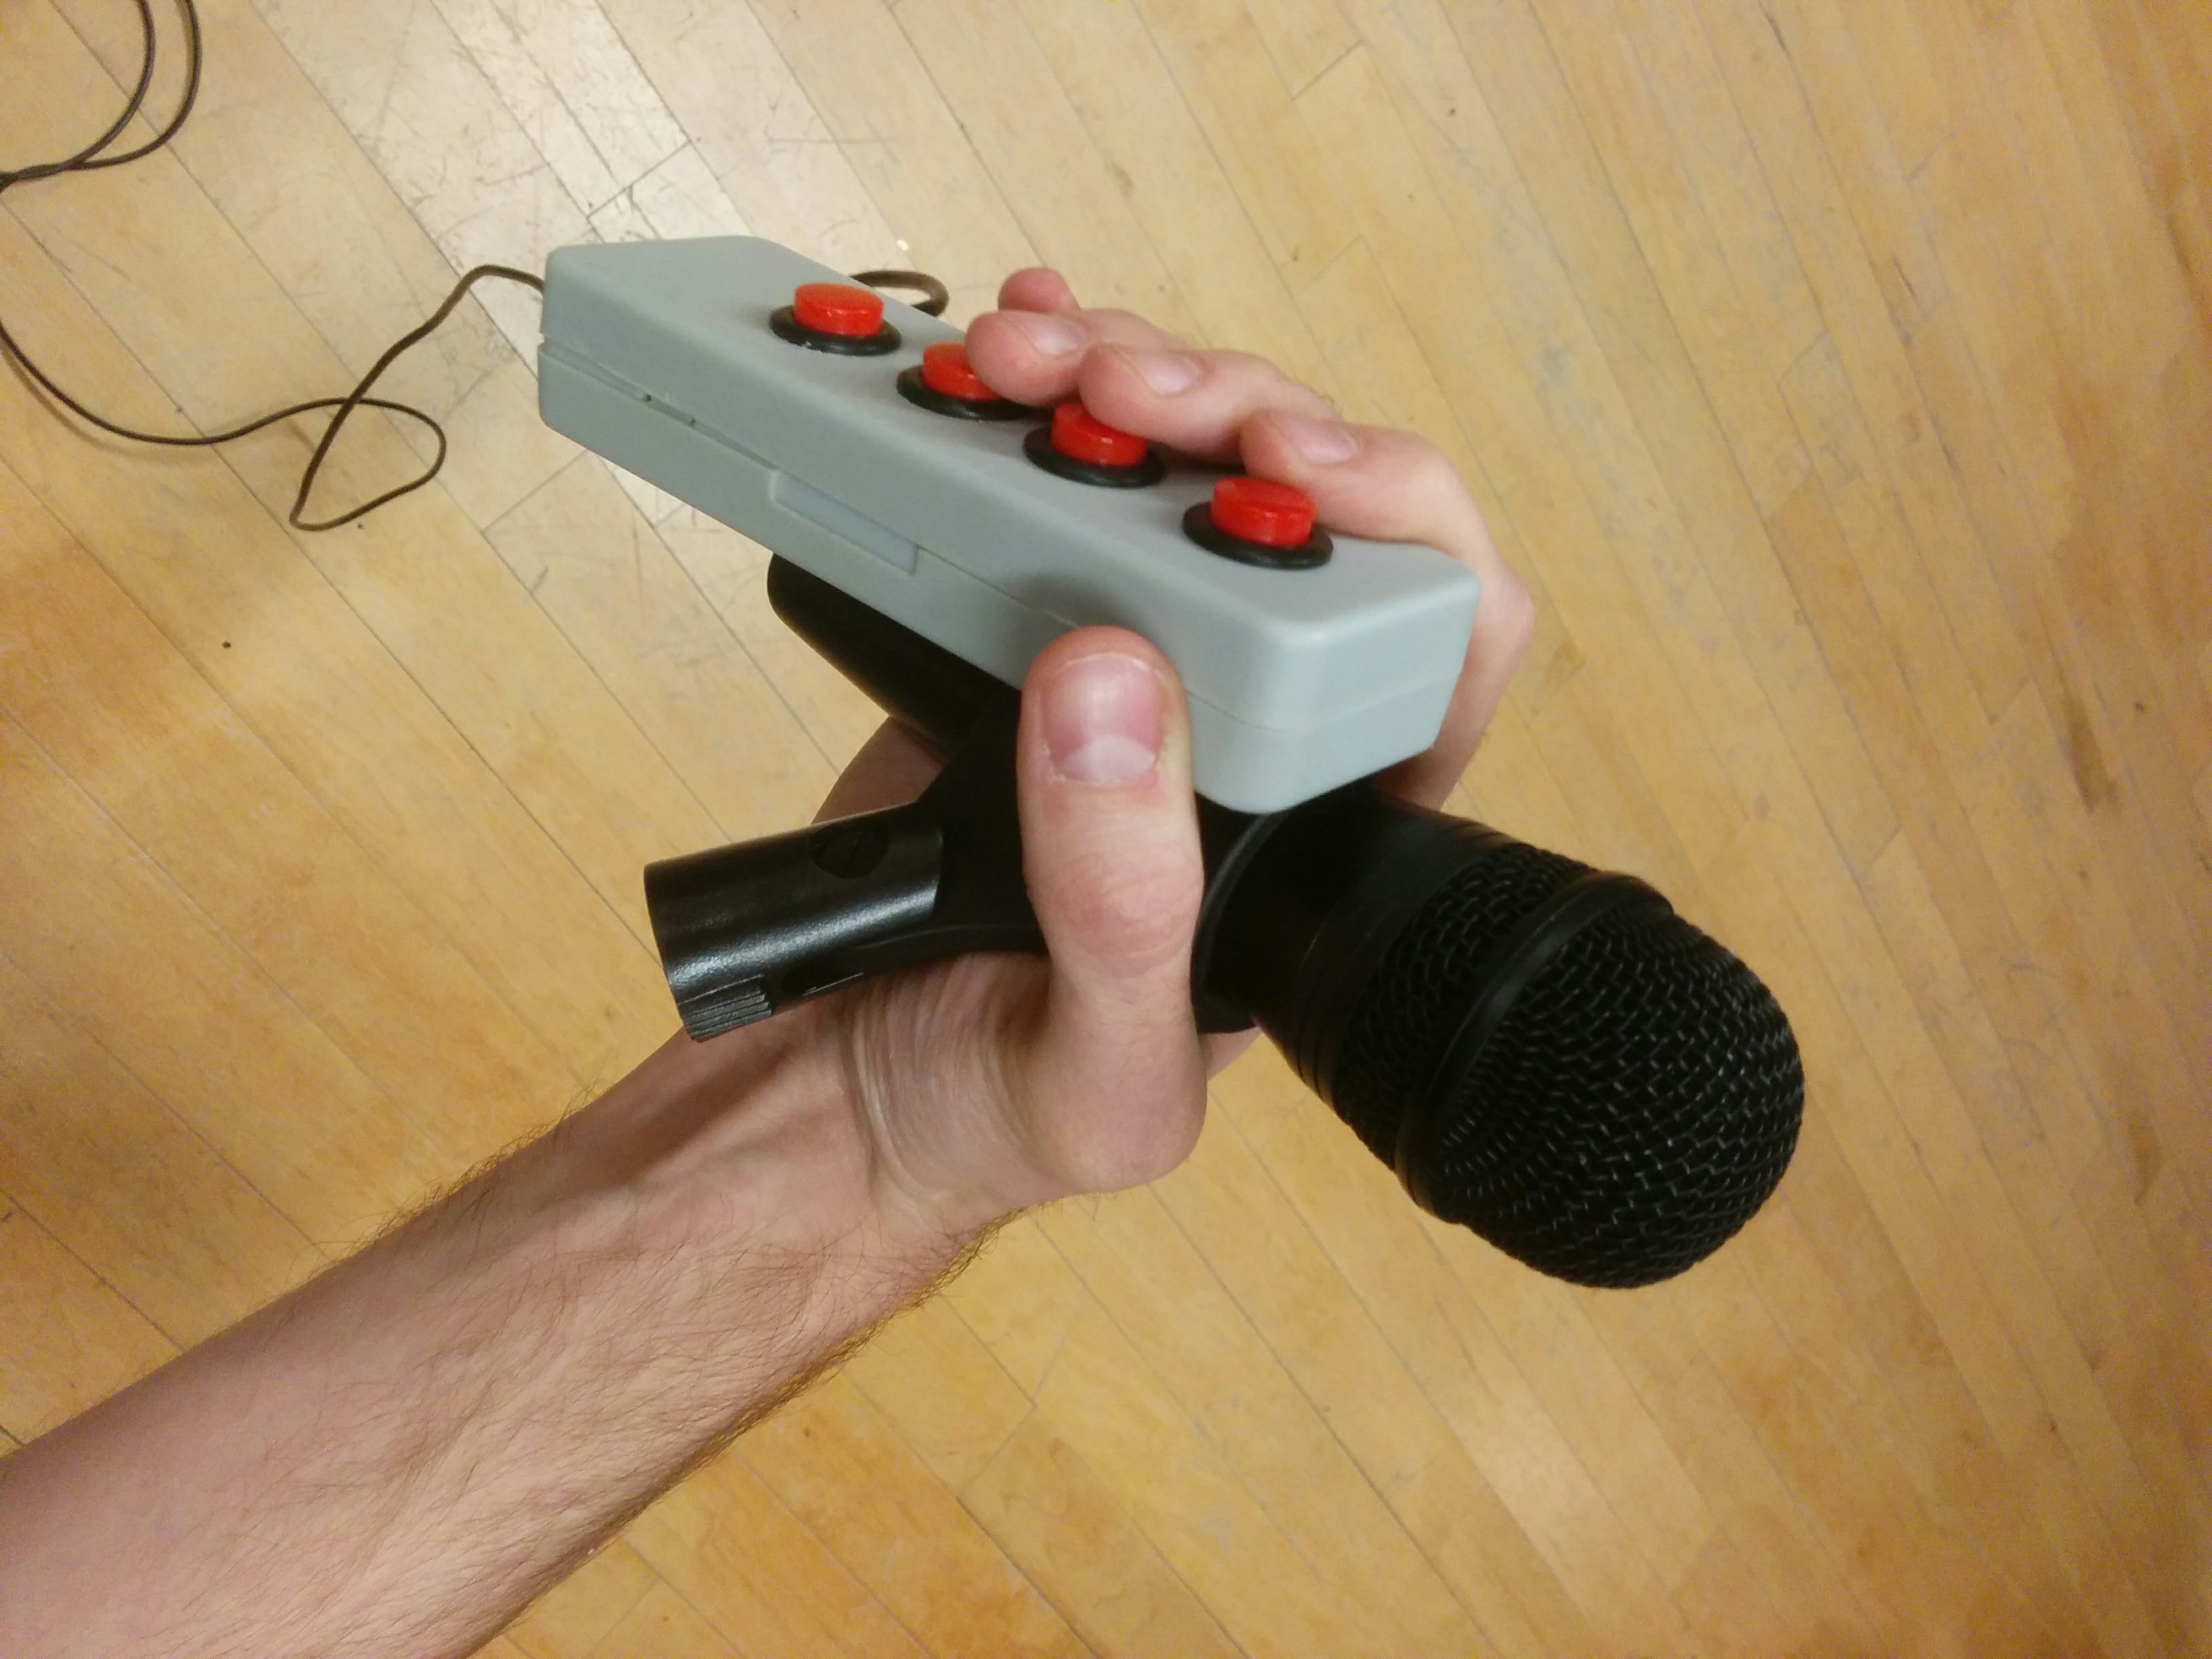
The Mic Cuff Controller prototype is an ongoing project that started in my Intro to Physical Computing class at the Interactive Telecommunications Program, NYU. It is a MIDI controller that mimics the shape of a microphone stand's cuff. This allows you to insert microphones into the controller, and then when holding the cuff a performer has access to inputs (currently buttons) as well as the microphone itself.
Demo Video
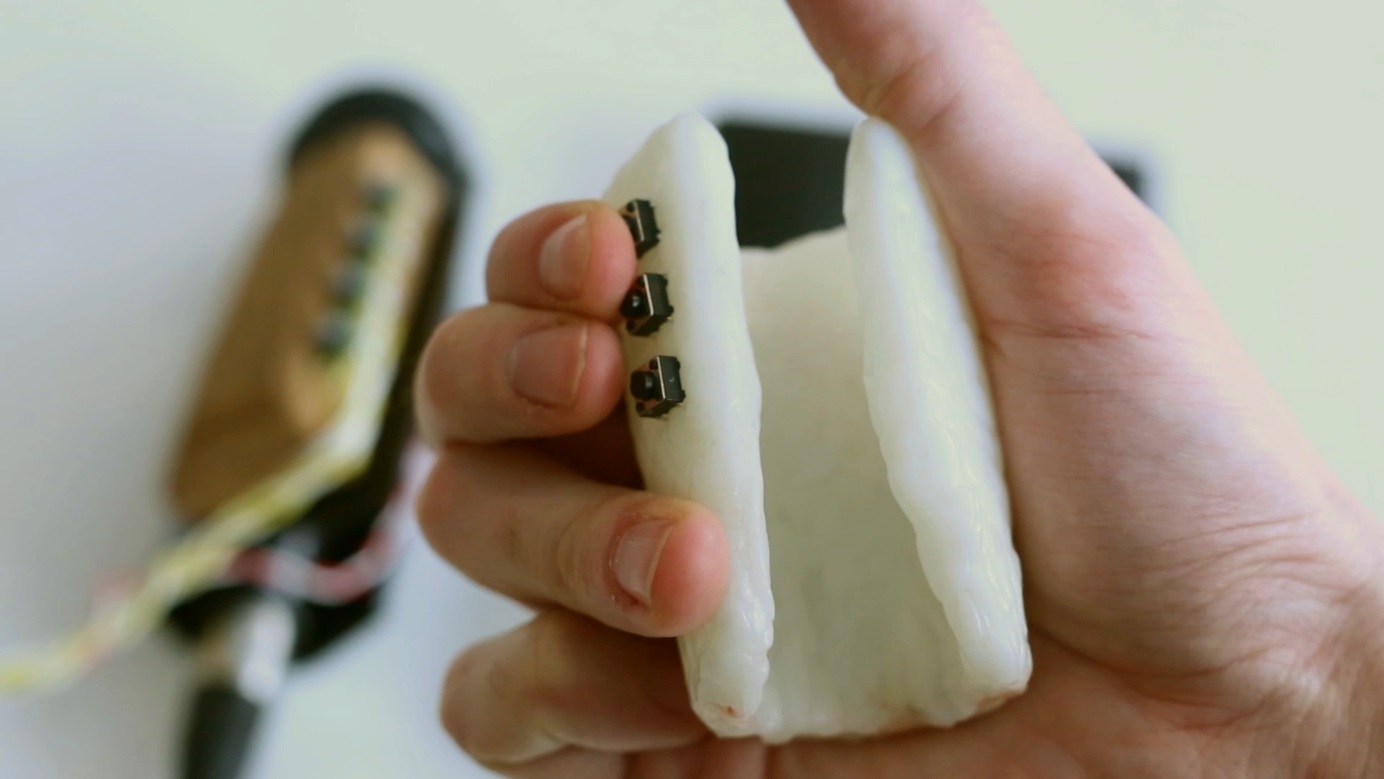
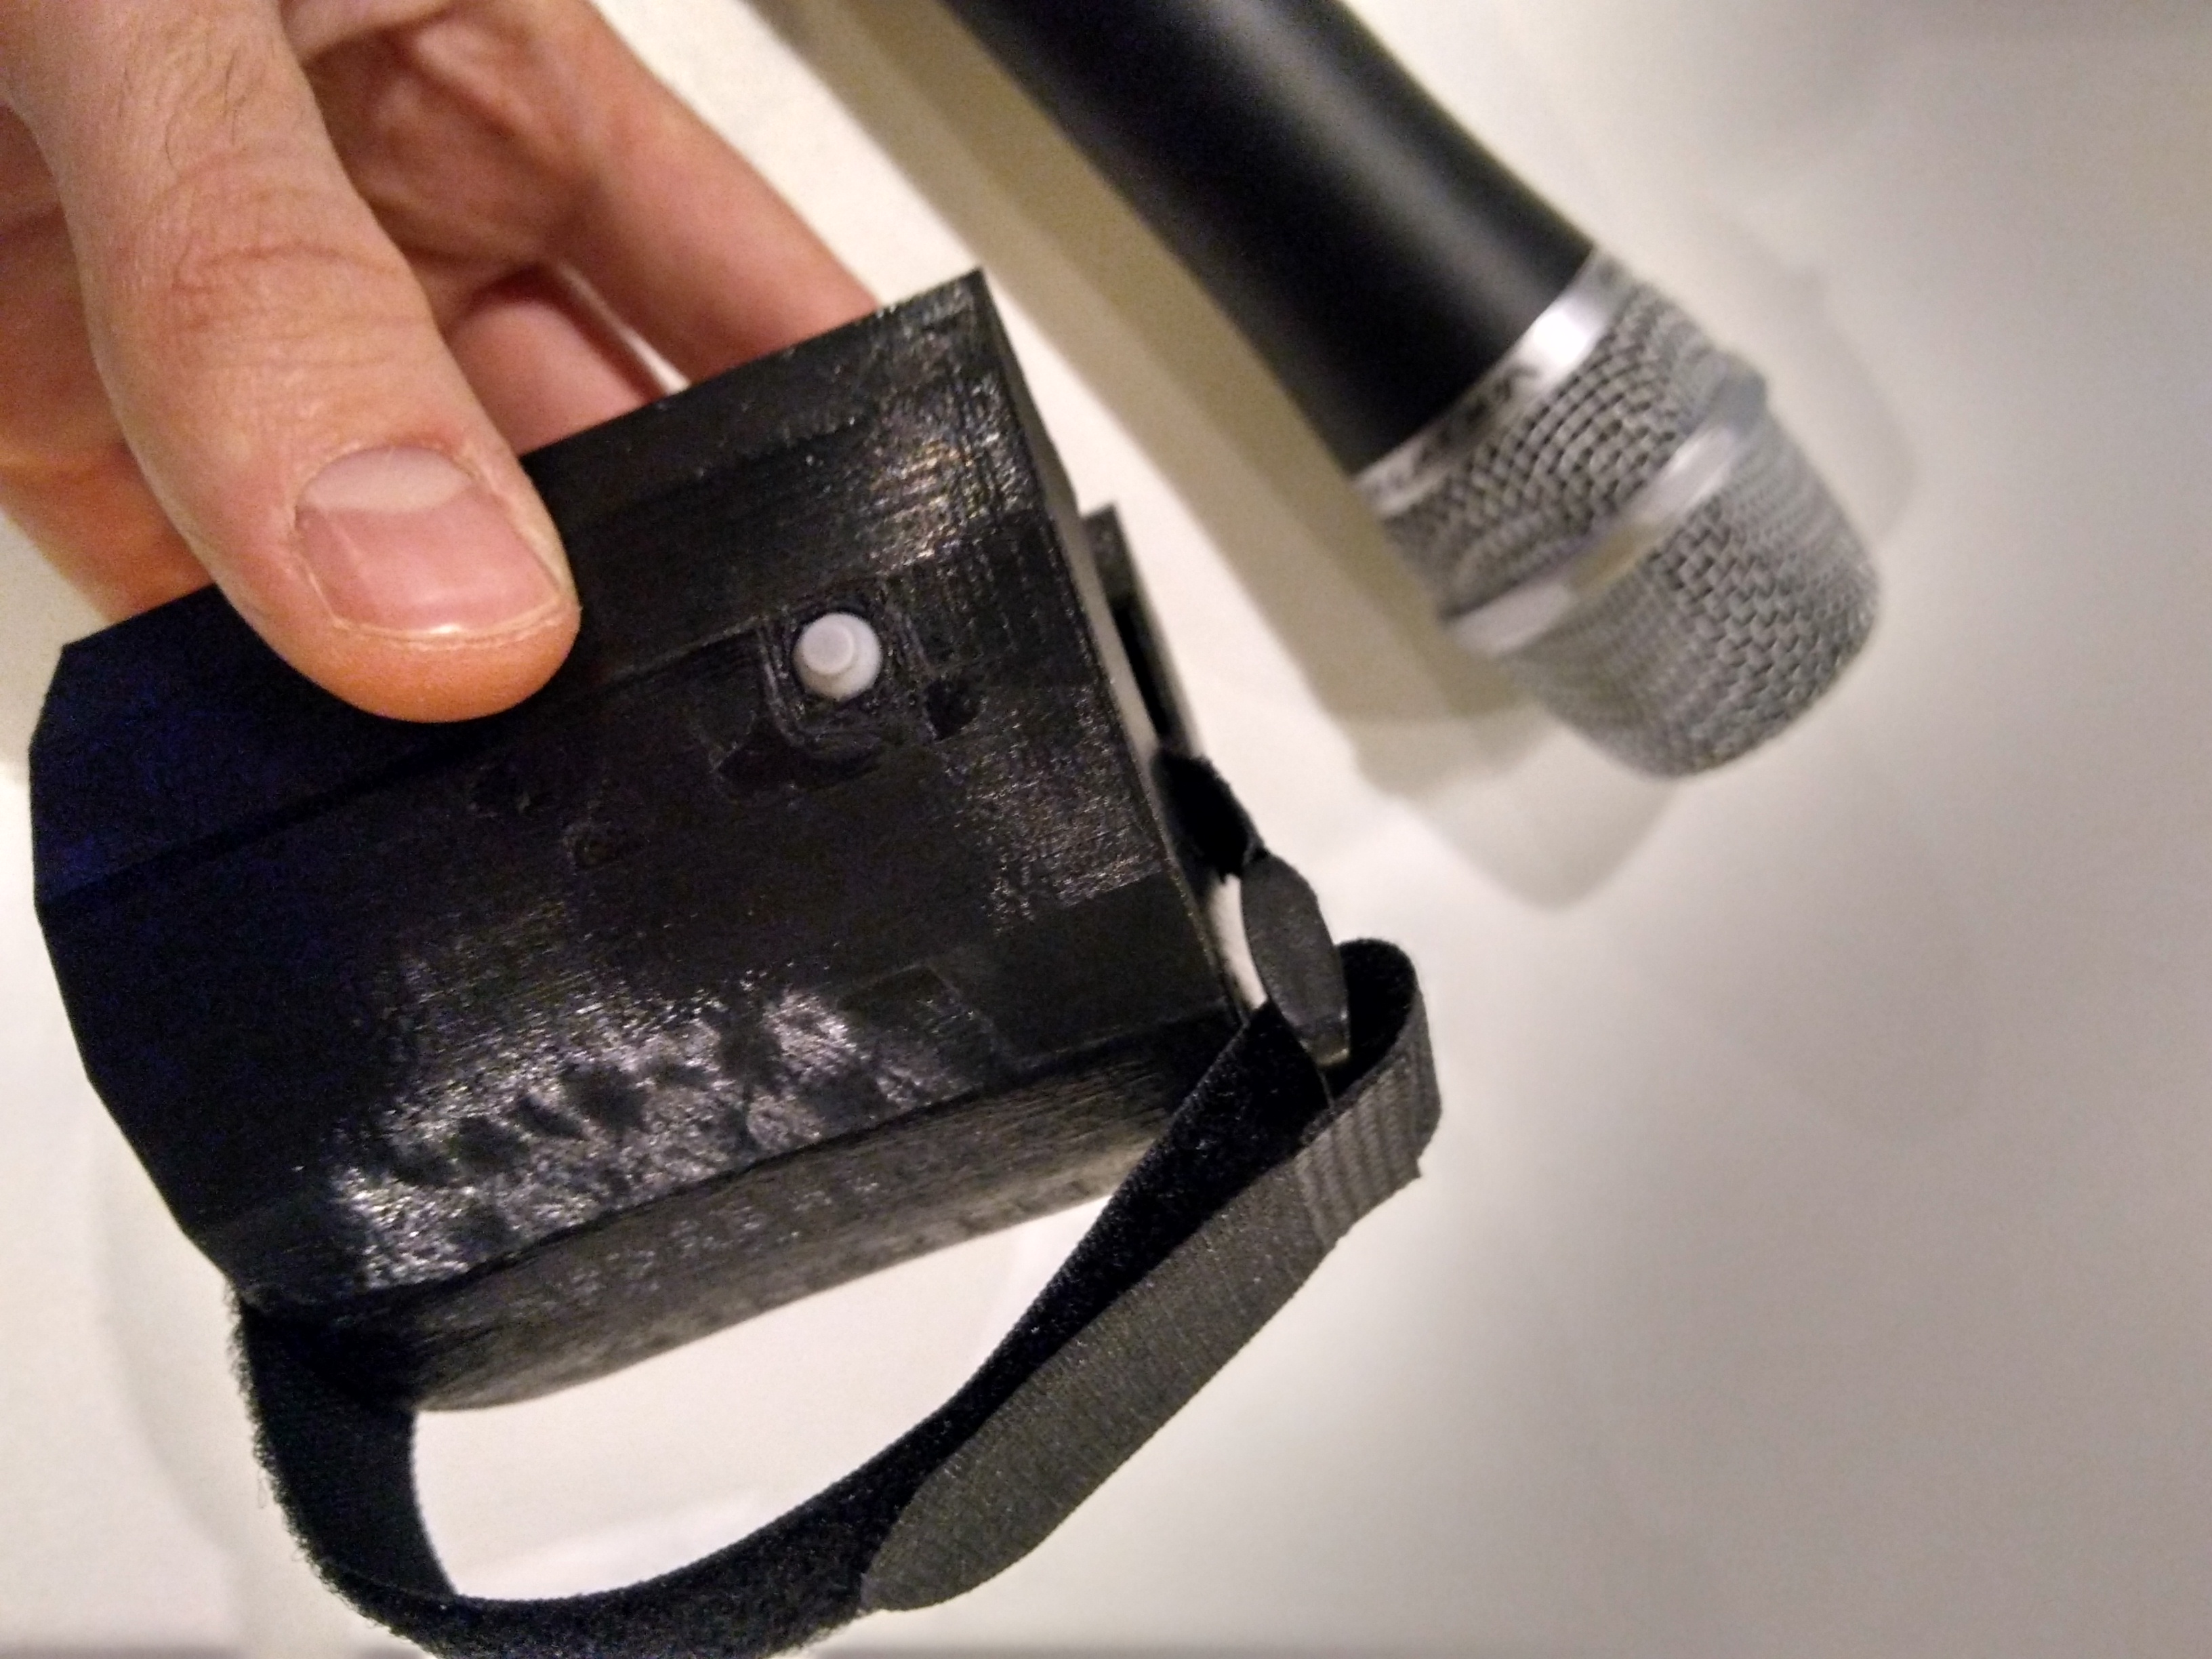
The goal was to create a tool that adds performative options for people using a microphone. It was important to me that this device was simple to use, flexible in terms of capability, and potentially affordable if created at scale later on. The rubbery buttons are simple on and off. A performer will know tactilely when it is being triggered or not, but it also does not produce a clicking noise when pressed (that would be bad when they are right next to the microphone!). And since this is, in its current state, a fairly straightforward MIDI controller, it is relatively cheap and its function is customizable by the end user.
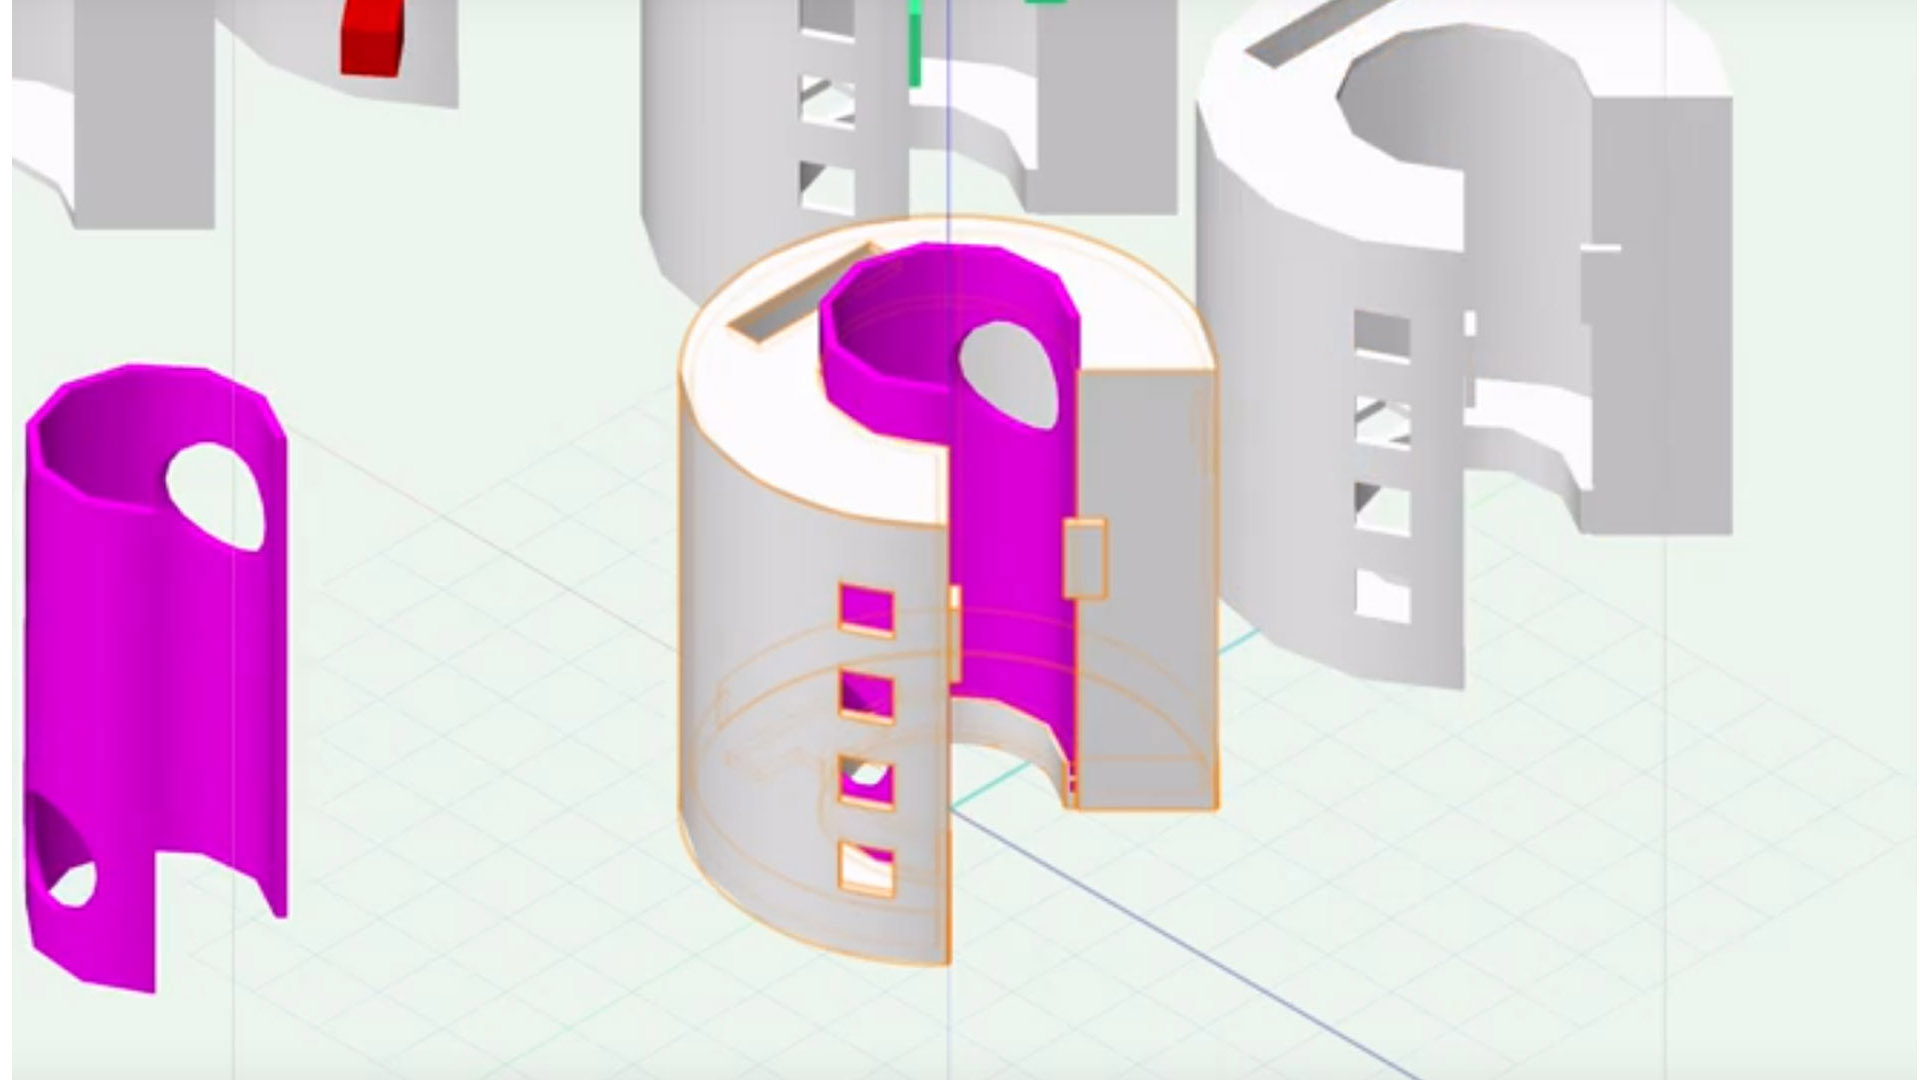
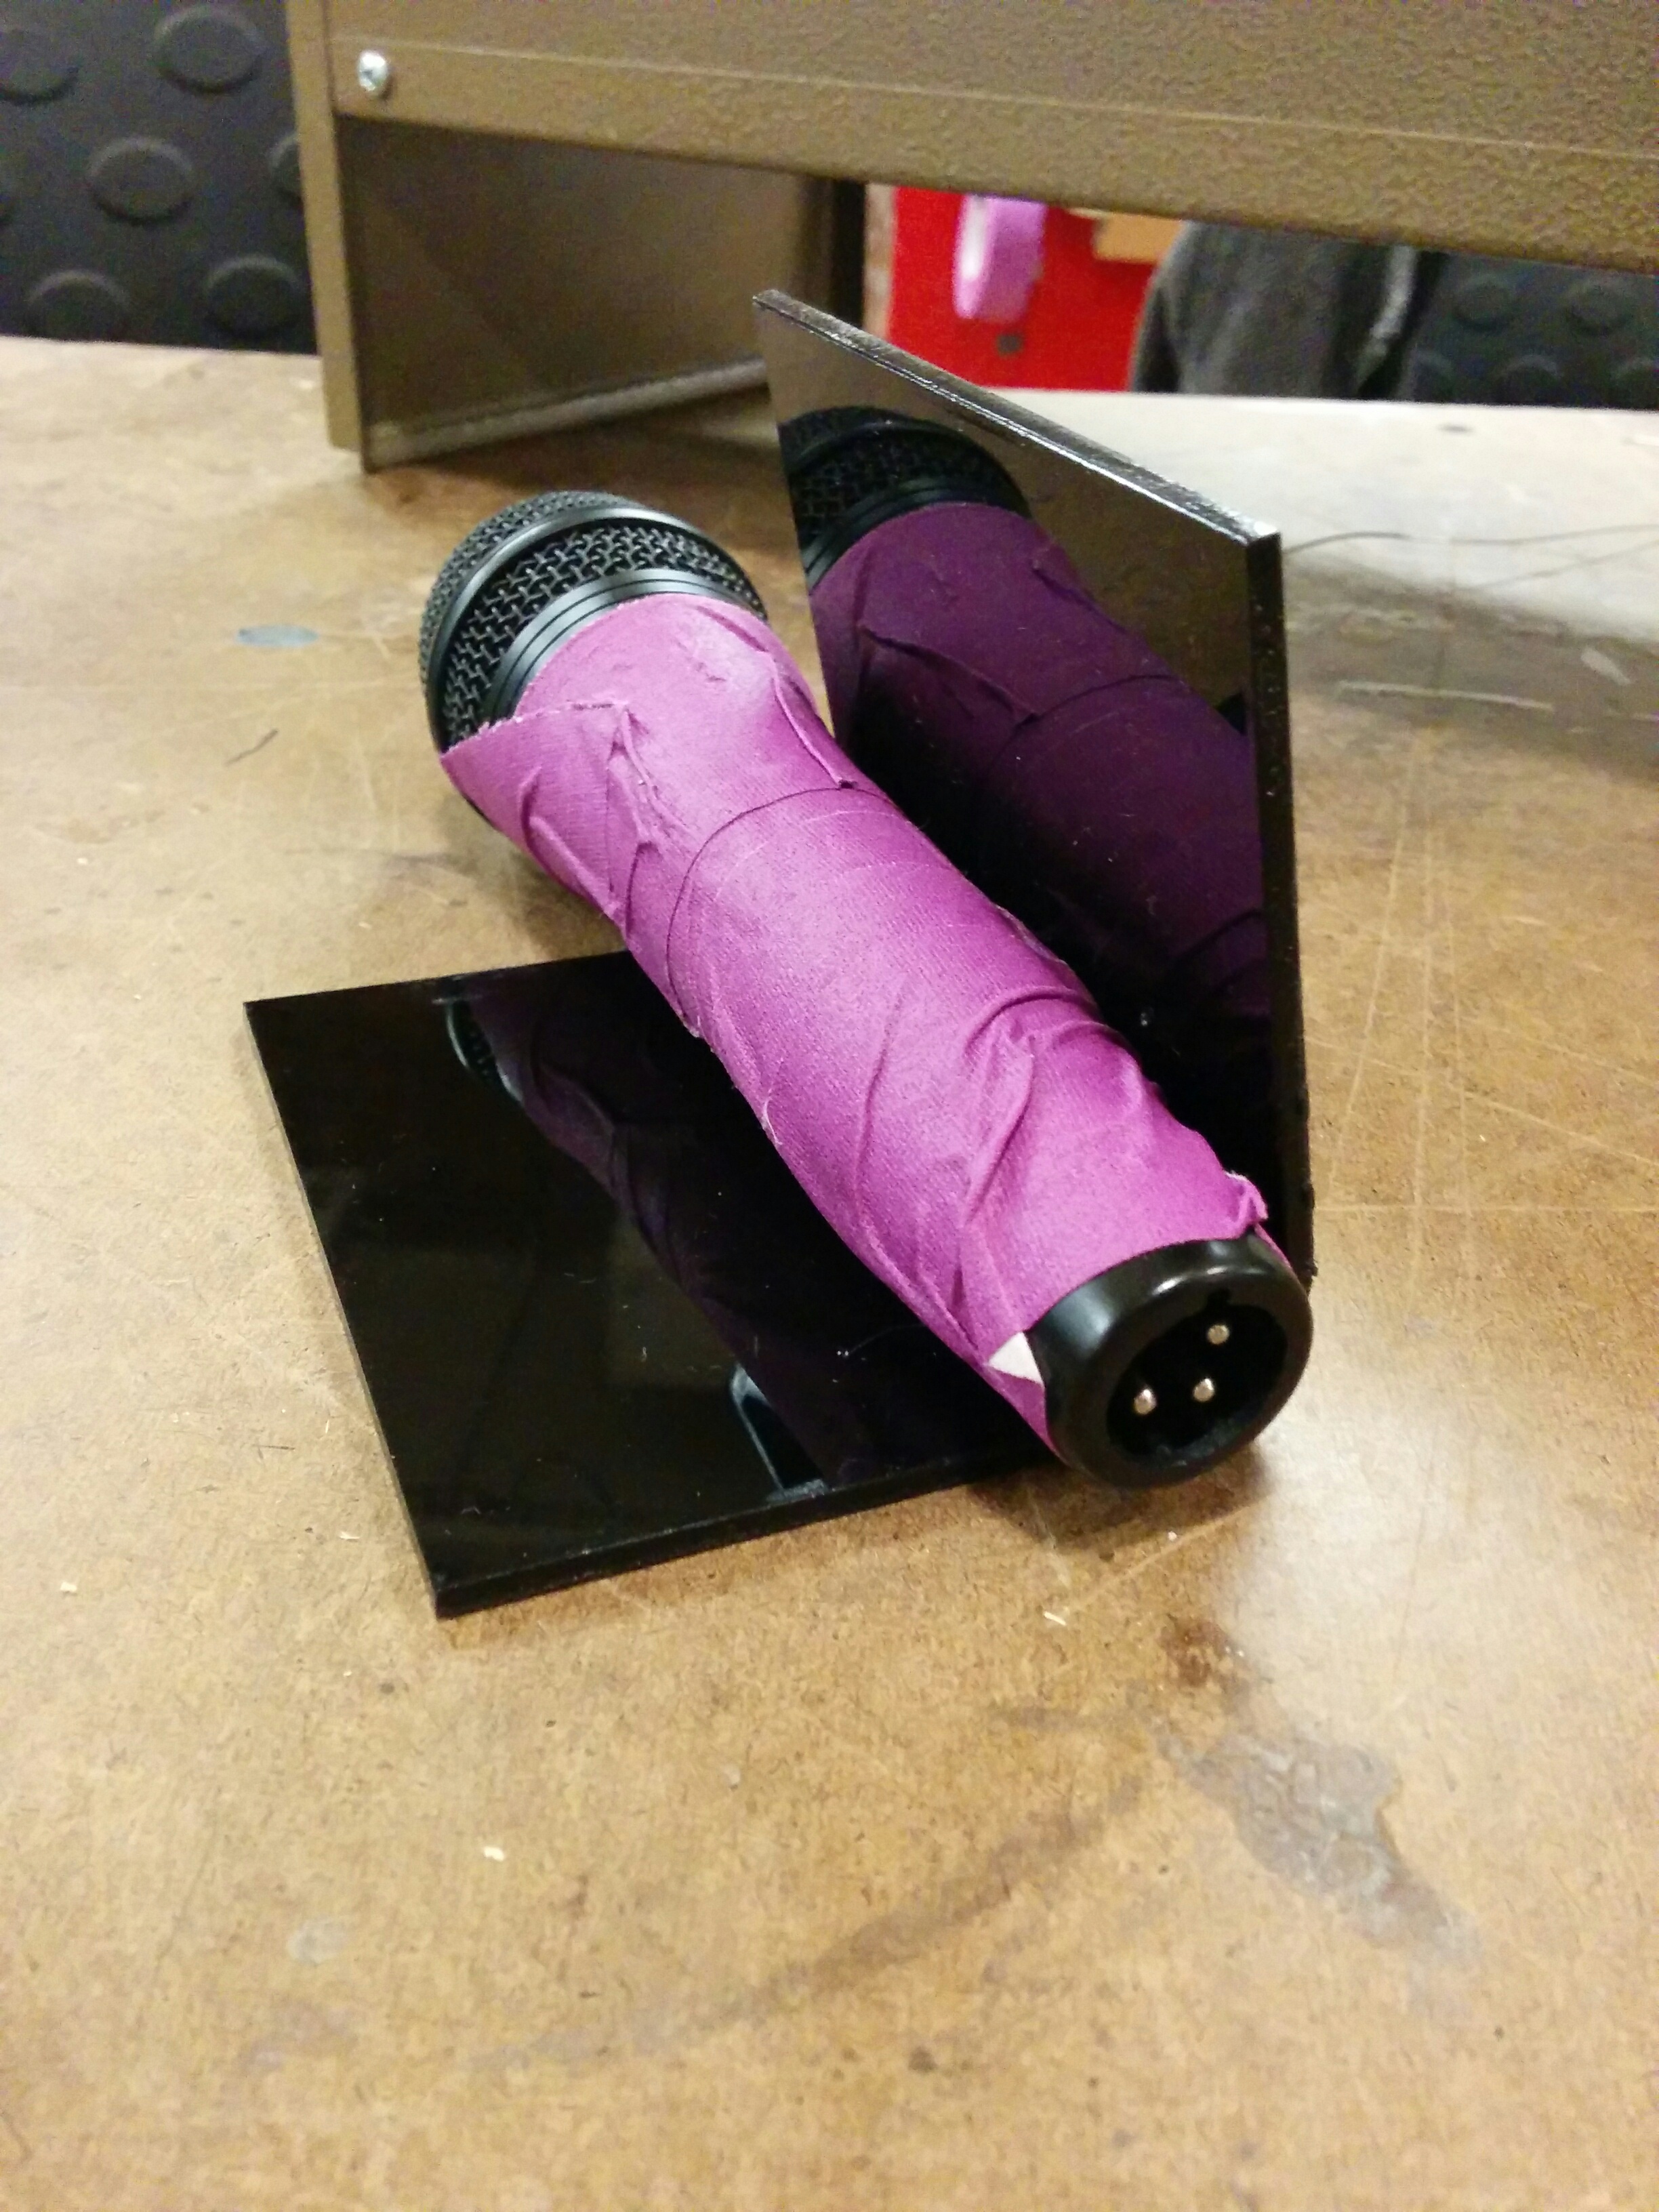
The form and ergonomics were important considerations for me. And not just the ergonomics for the users hand, but also for the microphone being slotted into the device. Typical fabrication approaches like screws that would go through a mounting panel and onward to the other side weren't an option: the inside of the cuff needed to be smooth so that it wouldn't scratch the microphone inside of it.
Ultimately this points towards more sophisticated methods in the future: 3D printing and/or vacuum molding. But I wanted to get more functional testing before going down that road. I made a few functional and non-functional prototypes:
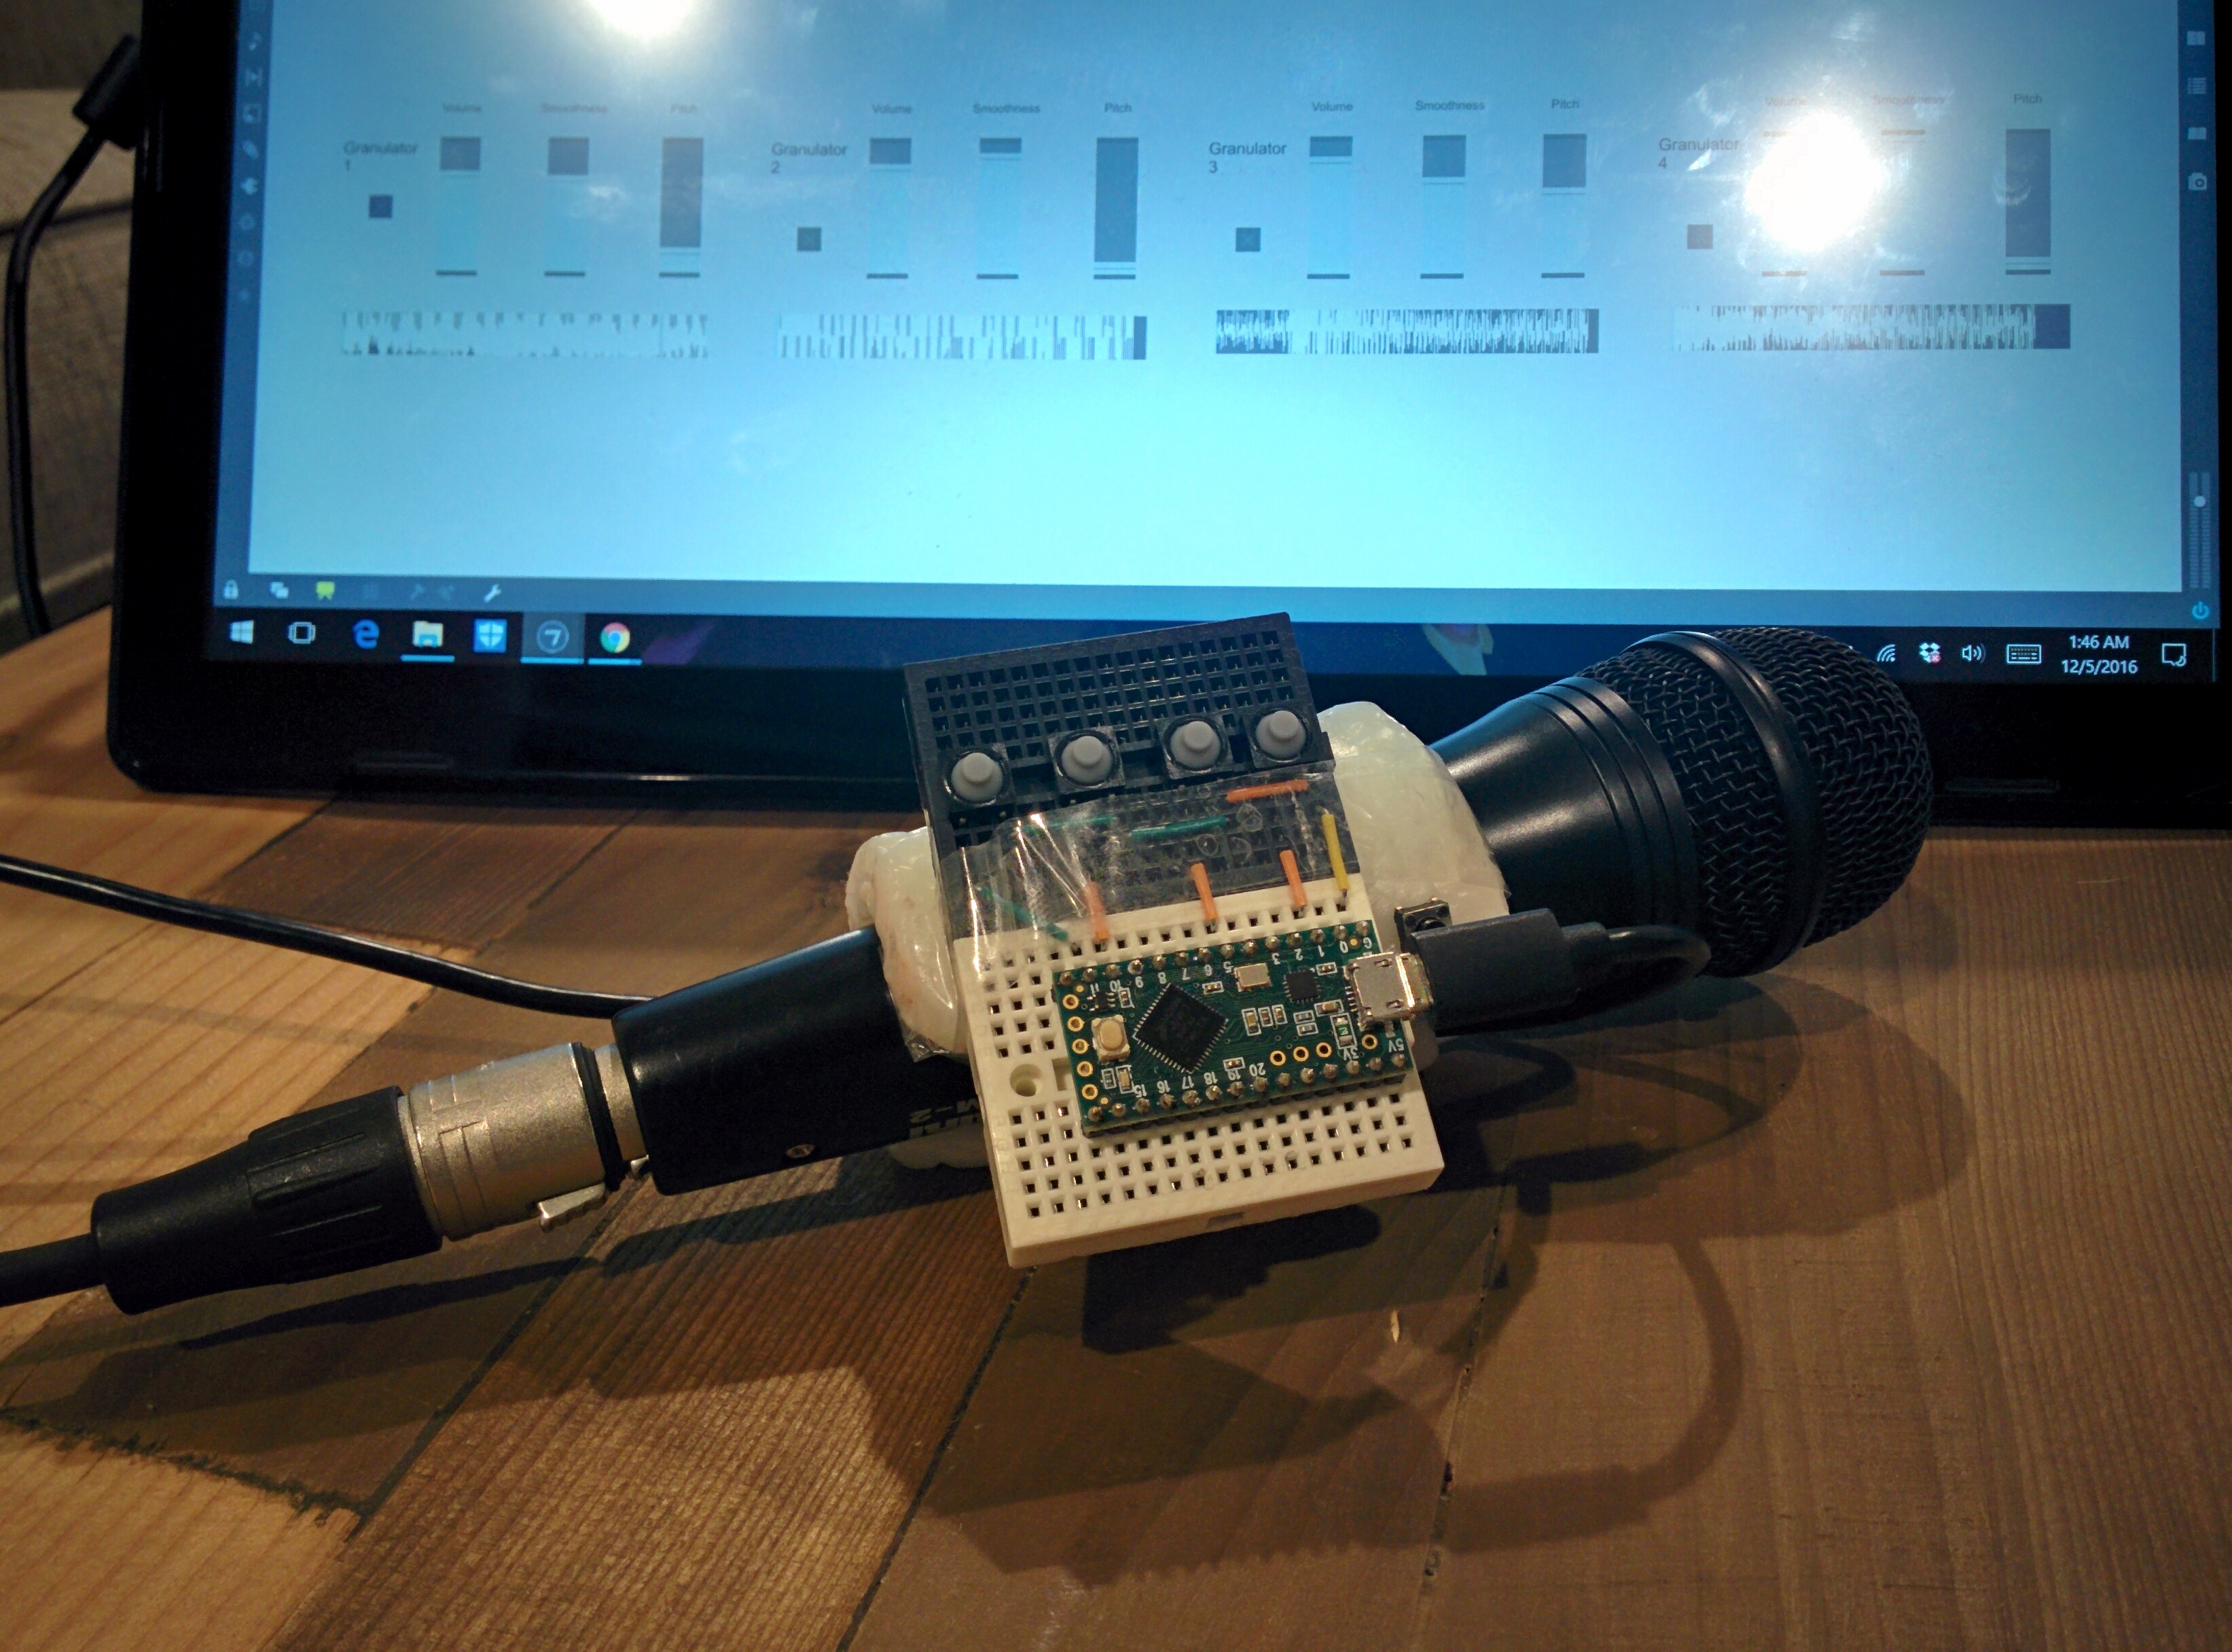
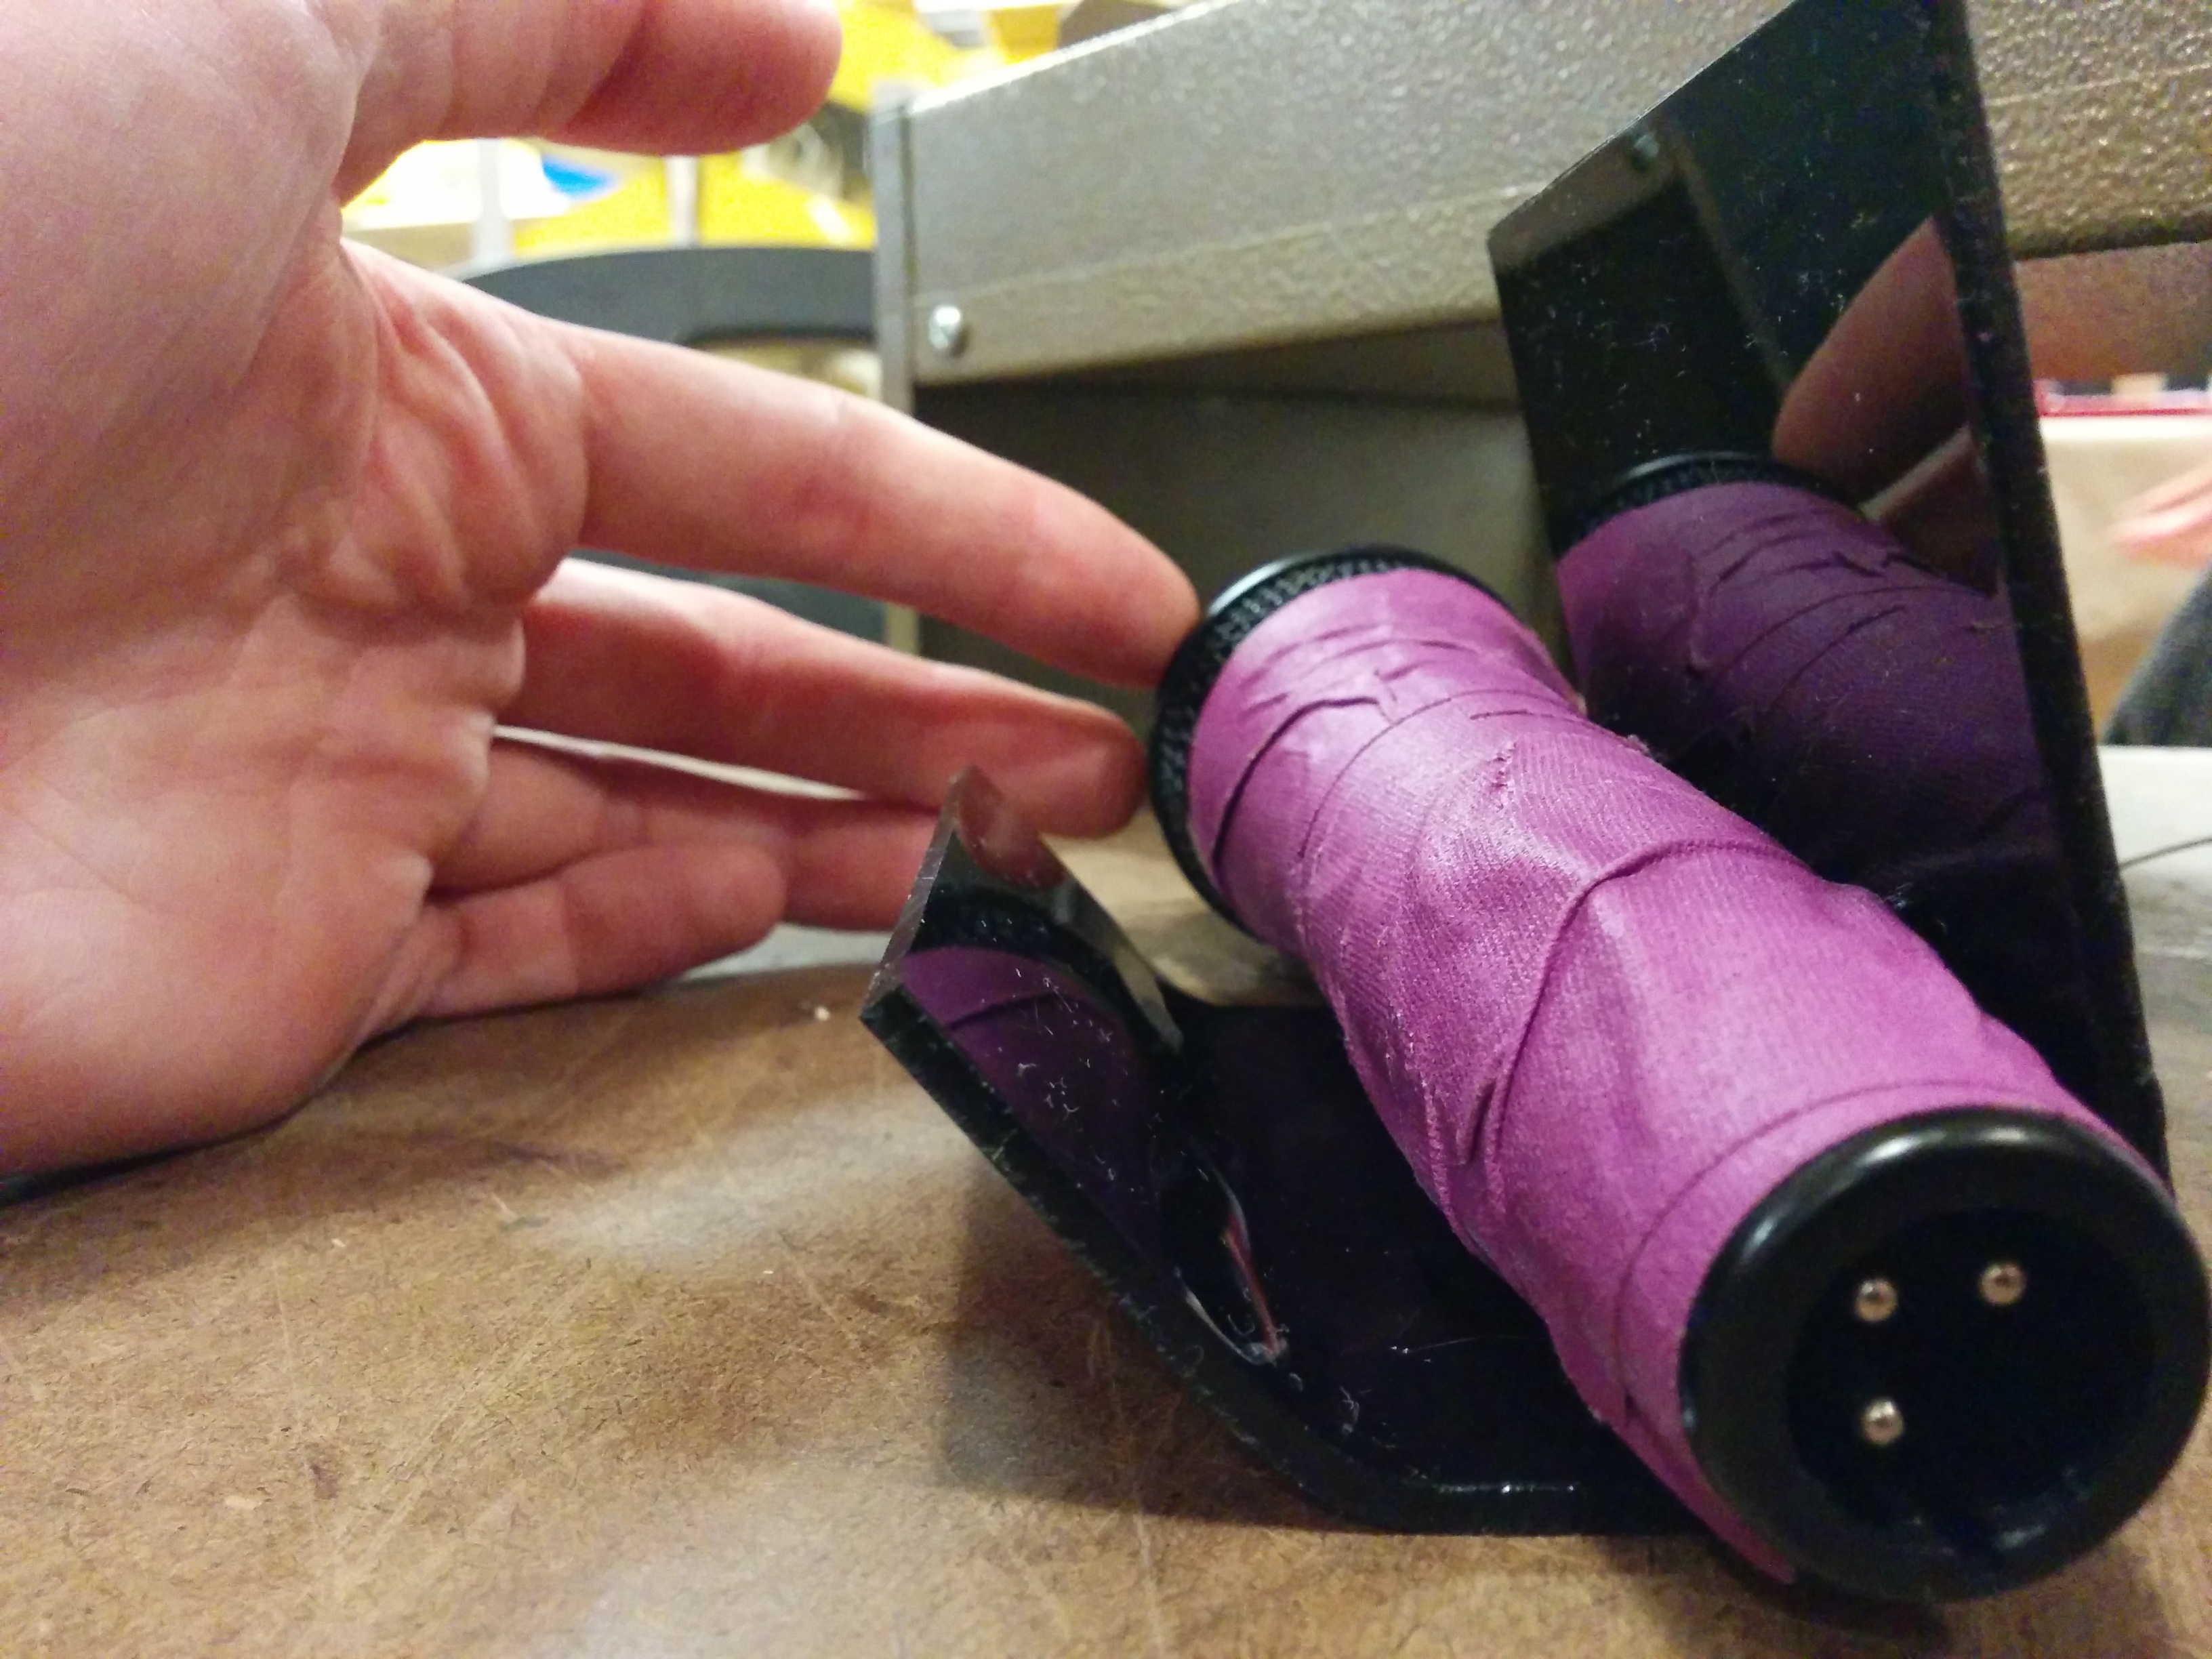
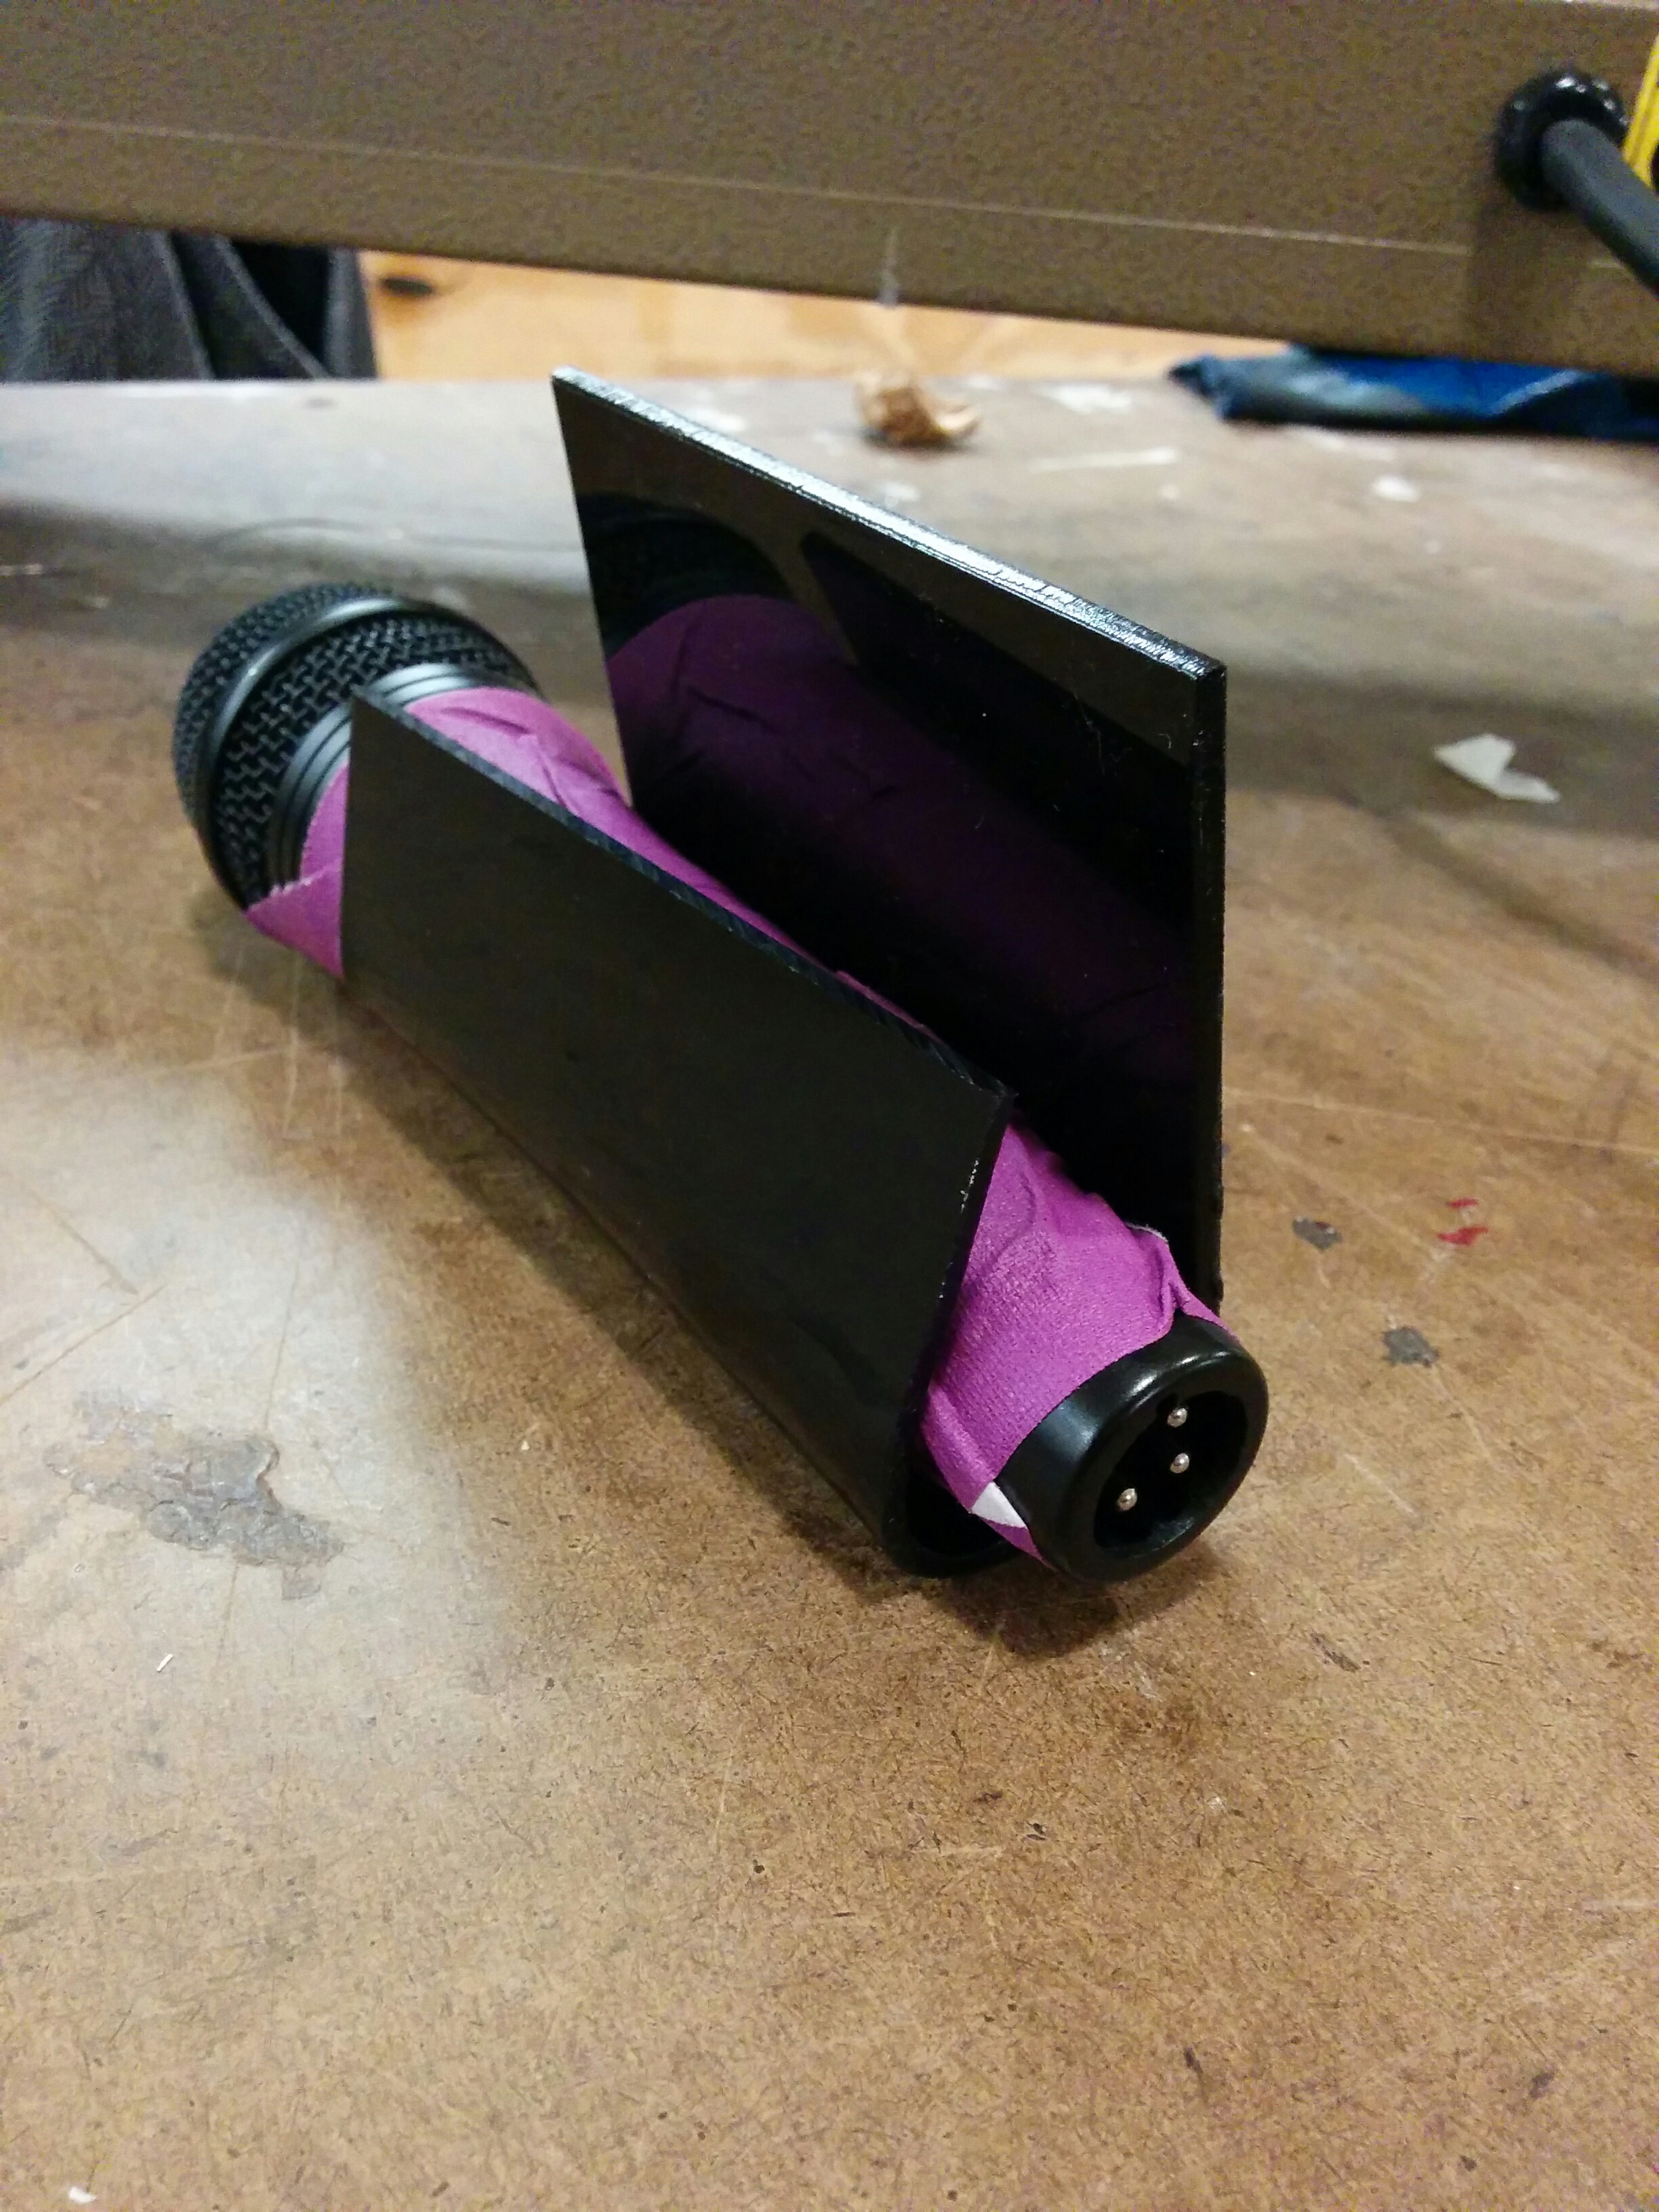
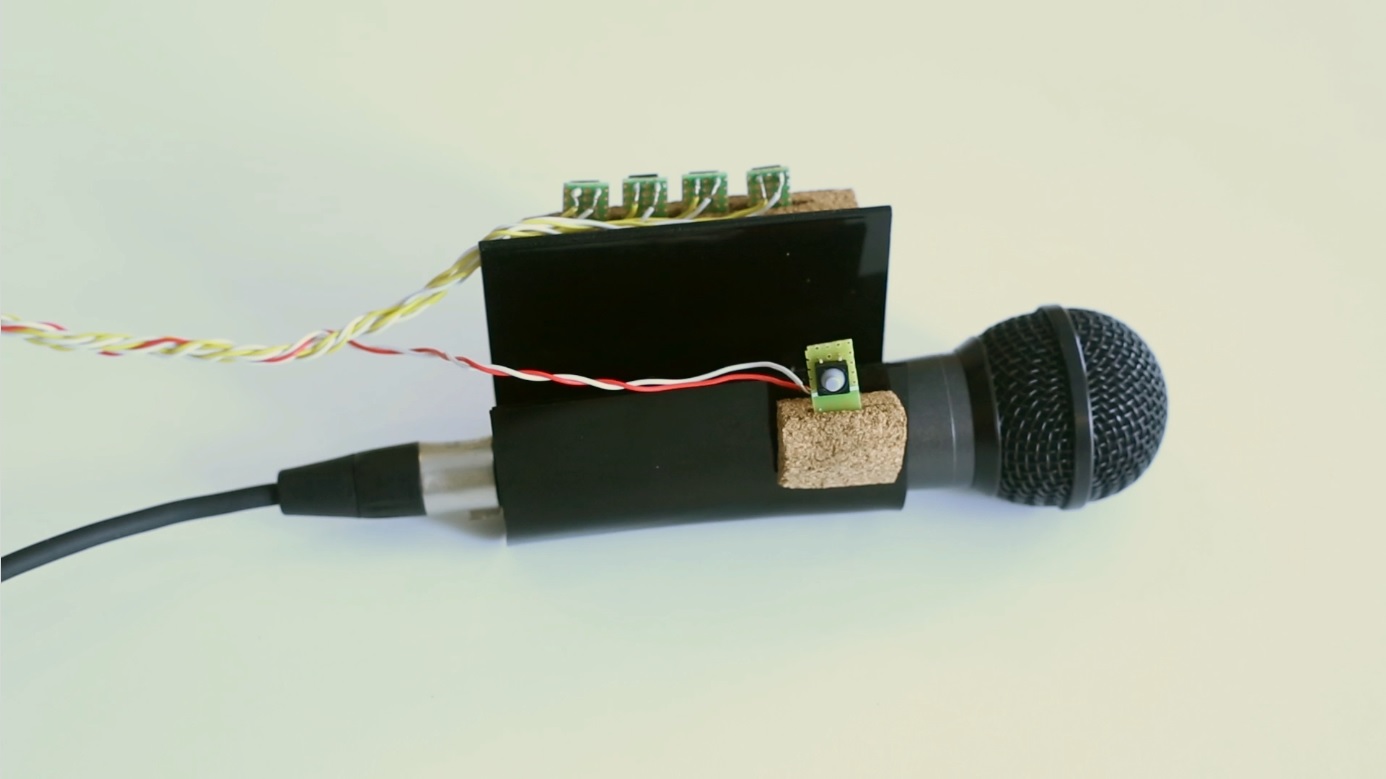
The button circuit boards were normal perf board cut with a bandsaw, and measured with enough extra space to allot slot-style insertion as mentioned above. I modified an enclosure with standoffs in order to facilitate easy access and wire flow for the purpose of prototyping. I'm using a Teensy LC, but didn't want to make it permanent so I made a shield of sorts that used block terminals for the wiring connections.
The Teensy LC is setup to send MIDI messages as a class compliant USB MIDI device. This was an early decision made early on in order to keep usage open ended for the user. I used Max MSP to prototype an audio performance environment in order to show some of the potential capabilities, but in the future I envision being able to use the Mic Cuff Controller as a performance interface for other avenues: lighting, visuals, or other command/control protocols that a performer with a microphone might want to have access to live. I will continue to prototype new variations on the software as well as the hardware in order to explore potential performance scenarios.
With that being said, there is plenty to develop in the real of audio and music performance. For my coursework, I implemented a granular sampler that was controlled by the Mic Cuff Controller. For public testing during the ITP Winter Show, I setup different modes to test out effects that the microphone was being run through. And of course, an autotune mode. Well, it was a vocoder, but that didn't stop people from doing their best T-Pain impressions.
I'm really happy with how this initial round of ideation, design, fabrication and programming went. I've had the idea for this in my head for a long time, so to see it come to fruition in at least an initial form gives me motivation to continue. The feedback I've gotten so far has been encouraging and helpful.
Next steps will push me to expand my production toolkit, including things like 3D printing. There are many different directions that this can go, and I'm excited to not just follow one approach but perhaps execute a few different variations just to see what is possible.